A real example: you’ll notice a 1920s cast-iron radiator with chipped enamel and subtle rust at the seams. You assess its condition, strip safely, and repair any damage before priming, then choose a period-appropriate finish. This work isn’t just cosmetic; it governs durability and authenticity. If you want predictable results and a true vintage feel that lasts, you’ll want a disciplined approach that covers surface prep, finish options, and ongoing maintenance—and you’ll need to plan what comes next.
Choose the Right Finish for Your Cast-Iron Radiator
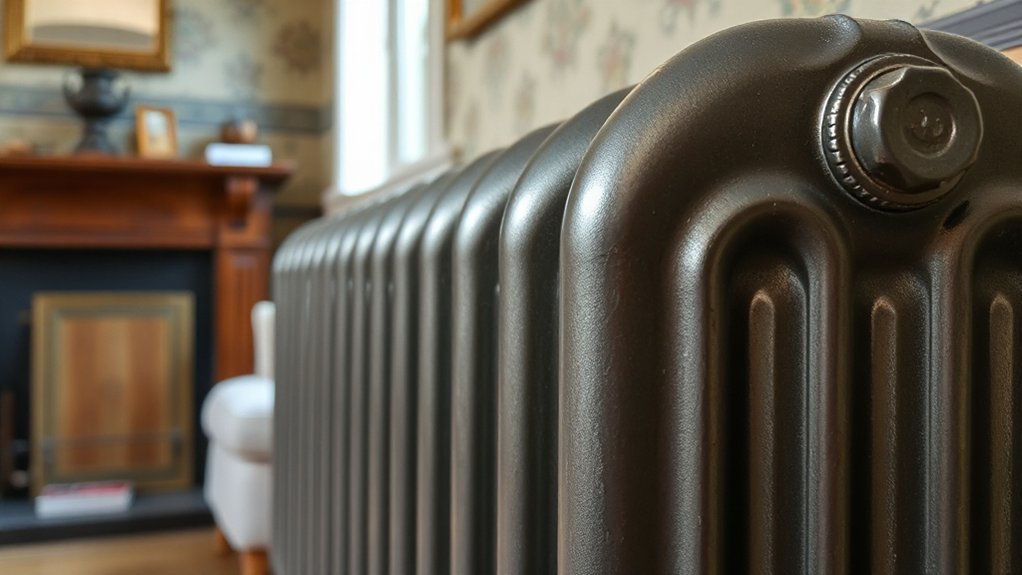
Choosing the right finish for your cast-iron radiator protects the metal and defines the room’s character. You’ll select a finish that provides corrosion resistance, ease of cleaning, and compatible heat transfer behavior.
Begin with a neutral primer if bare iron shows through, ensuring good adhesion and long-term stability.
For historical spaces, prioritize historical accuracy by matching period-appropriate hues and textures. Modern interiors may tolerate broader color ranges.
Color coordination matters: align the radiator tone with wall colors, trim, and furniture finishes to achieve cohesive harmony.
Assess the metal’s contour and surface flaws. Apply a stable, durable enamel or high-temperature coating designed for radiators, then cure per manufacturer specs.
Document your choices for future maintenance to preserve both protection and visual appeal.
Assess Your Radiator’s Condition Before Restoration
Begin by inspecting surface wear to determine where coating, plating, or enamel has failed and may require patching or re-finishing.
Check for rust across high-traffic areas and joints, as corrosion can signal deeper material loss or hidden leaks.
Finally, test valve operation to confirm responsiveness and identify sticking, leaks, or sluggish flow that could impact restoration decisions.
Inspect Surface Wear
Before you restore a cast-iron radiator, assess its surface wear to determine the scope of work and suitable treatments. You should inspect for inconsistencies in surface texture, noting where peeling paint, pitting, or glaze loss appears.
Identify wear patterns that indicate prior cleaning methods or moisture exposure, such as etching or micro-abrasions across high-contact areas. Document finish quality, including gloss variation and color drift, to guide refinishing decisions.
Evaluate surrounding joints for thermal expansion stress and track any localized corrosion that hints at hidden defects. Prioritize surfaces requiring adhesion-friendly preparation, and distinguish between superficial blemishes and structural compromises.
Your assessment informs material compatibility, masking needs, and the sequence of steps for restoration, ensuring durability and a vintage appearance.
Check for Rust
Rust has a direct impact on restoration outcomes, so start by checking for rust to gauge the extent of decay and treatment needed.
Begin with a visual inspection, focusing on flaking, pitting, and corrosion around joints, fins, and mounting points.
Use a stainless brush to remove loose debris, then assess underlying metal integrity with a light tap test for hollowness or thin spots.
Document rusty zones and quantify them to determine urgency and approach.
Prioritize rust prevention in the plan, especially where previous coatings failed.
Surface cleaning should precede any coatings, employing solvent wipes or mild degreasers to remove oils and oxides.
Record cleanliness levels before treatment and calibrate your rust management strategy to the radiator’s finish, ensuring compatibility with future coatings.
Assess Valve Operation
Evaluating valve operation is essential to determine how the radiator will perform after restoration. You’ll assess valve functionality by testing both supply and return valves for smooth travel, consistent seating, and absence of sticking.
Inspect valve stems for corrosion or wear, and verify that handles align with internal disks. Use a calibrated screwdriver or key to detect excessive play, which indicates worn packing or valve seats.
Observe heat response as you open and close the valve, noting any lag, hiss, or grinding sounds that signal lubrication or seal needs.
Confirm flow regulation by measuring inlet pressure changes corresponding to valve adjustments, ensuring linear response without abrupt surges.
Document any improvements, and plan targeted lubrication, sealing, or replacement to restore reliable, balanced heat output.
Strip Old Paint Safely Without Damaging Cast Iron
To strip old paint safely without damaging cast iron, start with a cautious assessment of the radiator’s finish and substrate to determine the appropriate removal method. You’ll verify substrate compatibility, identify lead-containing layers if present, and log any prior coatings.
For benign finishes, mechanical methods like plastic scrapers or nylon brushes minimize risk. For stubborn layers, apply paint removal or chemical stripping sparingly, following manufacturer guidelines.
Use protective gear, work in a well-ventilated area, and shield adjacent components to prevent collateral exposure. Test an inconspicuous area first, then proceed by applying the least aggressive method that achieves film removal.
After treatment, thoroughly rinse and neutralize residues, and inspect for etching or pitting. Document results, disposal requirements, and plan post-strip steps to maintain surface integrity.
Chemical stripping may be effective when used precisely.
Repair Dents, Cracks, and Corrosion Properly
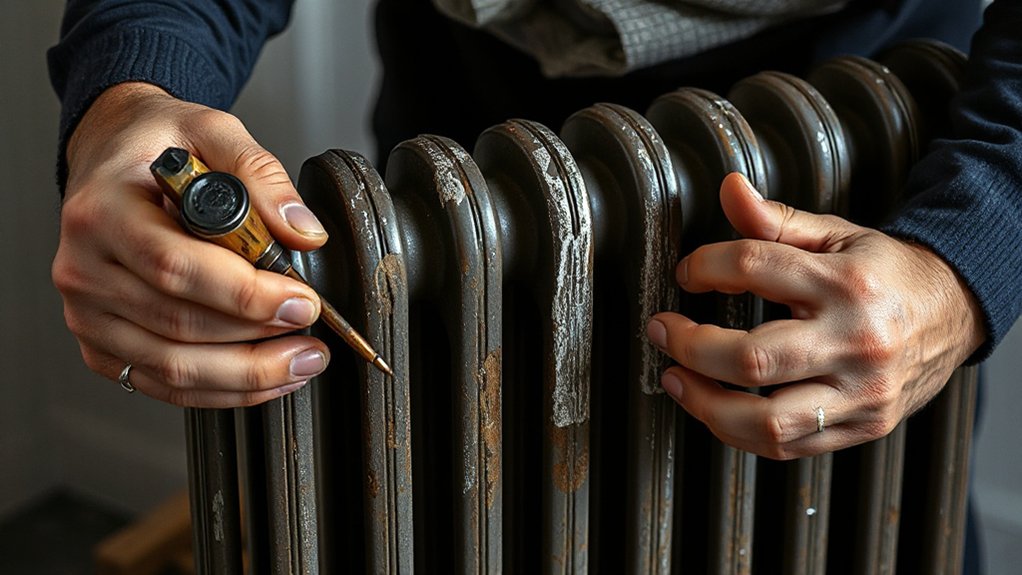
When addressing dents, cracks, and corrosion, start with a precise assessment to determine the repair approach and material compatibility. Inspect the radiator for structural integrity, flange alignment, and soldered joints before choosing a method.
Dents in flat panels can often be leveled with careful pressure and releveled after surface prep; use compatible fillers only where necessary.
For cracks, assess crack size, depth, and underlying corrosion; stabilize with steel pins or epoxy composites designed for cast iron, guaranteeing heat tolerance.
Remove loose rust with a wire brush, then apply a corrosion barrier that suits vintage styling while maintaining Modern compatibility.
Test for leaks by pressurizing gently, then finish with a thin, even coat of primer and paint to preserve details and ensure durable performance.
Prime and Seal: Foundation for a Long-Lasting Finish
To achieve a durable finish, you start with thorough surface prep, removing rust and old coatings before any priming.
Choose a primer that adheres to cast iron and provides good corrosion resistance, then apply it evenly per manufacturer guidelines.
Finally, seal with a compatible topcoat to lock in protection and extend the finish’s lifespan.
Surface Prep Essentials
Proper surface prep starts with a clean, stable substrate. You prepare the radiator surface by removing oils and dust, then verify flatness and corrosion control, ensuring adhesion for a durable finish. You’ll seal micro-pittings and oxidation with a compatible, rust-inhibiting barrier before final color selection. This foundation supports long-term performance, minimizes peeling, and preserves vintage lines.
- Use a solvent wipe followed by a tack cloth to eliminate residue and reveal true texture.
- Apply a rust-inhibitor primer that bonds to cast iron, creating a uniform base for paint color options.
- Finish with a high-build, heat-resistant topcoat that resists chipping and accommodates radiator insulation for efficiency.
This approach delivers control, predictability, and a refined, enduring restoration.
Primer Selection Guide
Choosing the right primer sets the stage for adhesion, corrosion control, and color performance. You select a primer compatible with cast-iron and your topcoat, considering the substrate’s porosity and historical context. Prioritize rust-inhibiting metals primers or epoxy esters that resist moisture and heat cycling typical of radiators.
Assess whether you need stain-blocking or self-etch properties to preserve sharp linework around fittings. Informed by paint chemistry, you balance film thickness, drying time, and finish durability to minimize lift or pinholes.
Historical accuracy isn’t just pigment shade; it informs primer choice to avoid era-inaccurate coatings that may compromise authenticity. Apply in light, crosswise coats, allowing proper tack between passes for an even foundation.
Sealing For Durability
- Consistent, controlled coats that minimize defects and maximize durability
- Rapid, uniform curing that preserves heat distribution and efficiency
- Thorough inspection for pinholes, ensuring lasting, resilient performance
Match Period-Appropriate Colors and Sheens
When restoring cast-iron radiators, match the period-appropriate colors and sheens to preserve historical authenticity and visual harmony with the surrounding architecture. You should begin with a precise assessment of original finishes observed on comparable structures and integrations within the space.
Color matching demands careful sampling under functional lighting to avoid color drift in different rooms and after aging. Choose neutral bases for understated rooms or rich hues for focal areas, ensuring contrast remains within period expectations.
Sheen selection matters as much as hue; flat or eggshell finishes reduce glare and emphasize texture, while satin adds subtle depth without modern shine.
Document your choices, reference period catalogs, and verify consistency across radiators, valves, and trim to maintain cohesive, authentic presentation.
Apply Finish: Brush, Spray, or Cold-Oil Techniques
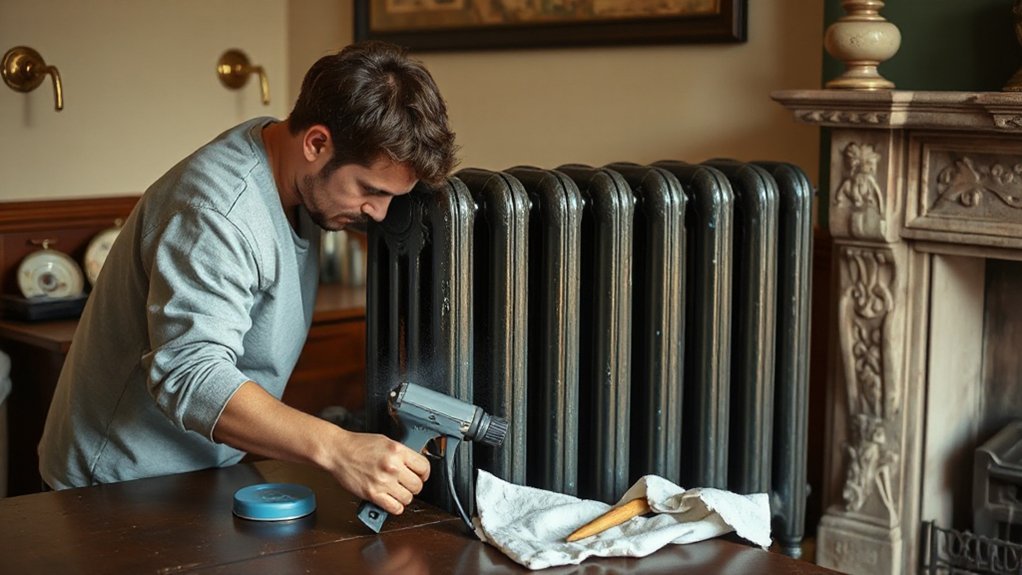
To apply the finish, you’ll choose between brush, spray, or cold-oil methods based on the radiator’s details, the room’s lighting, and your workflow goals. Each technique delivers different control, texture, and drying behavior, so select with intent to preserve Historical accuracy while achieving Color coordination with the surrounding decor.
1) Brush ends brushstrokes into a durable, even film, minimizing runs and showcasing subtle texture that reads authentically.
2) Spray yields a smooth, uniform coat, ideal for rapid coverage and consistent sheen without brush marks.
3) Cold-oil enhances color depth and corrosion resistance, best for intricate details and careful touch-ups.
Balanced choice respects historical accuracy, emphasizes color coordination, and preserves archival appearance while meeting modern durability.
Protect and Maintain Your Restored Radiator
Protecting your restored radiator begins with a disciplined maintenance routine that emphasizes corrosion prevention, careful cleaning, and seasonal checks.
You should inspect crevices and valves for signs of rust, looseness, or coating degradation, addressing issues before they escalate.
Use a soft brush and microfiber cloth for routine dusting, avoiding abrasive tools that could dull the finish.
When cleaning, select pH-neutral cleaners and test a hidden area first to preserve historical accuracy.
Wipe surfaces dry after cleaning to prevent moisture exposure, and reapply a thin protective coat if you notice dulling or minor corrosion.
Schedule seasonal inspections to verify flanges, brackets, and mounting hardware remain secure.
Document maintenance intervals and cleaning tips to sustain performance and preserve the radiator’s vintage character.
Safety, Ventilation, and Work Practices During Restoration
Safety, ventilation, and work practices must be established before you begin restoration to protect workers and preserve historical integrity. You assess risks, confirm proper PPE, and designate a controlled workspace to prevent dust migration and corrosion spread.
Adhere to fire safety protocols and maintain clear egress routes. Coordinate containment methods, dust barriers, and tool usage to minimize disturbances to adjacent rooms. Throughout, perform ventilation checks to guarantee air quality remains within safe limits and emissions stay contained.
1) Establish a dedicated, ventilated work zone with lint-free cleanup procedures to reduce particulate exposure and support clear visibility.
2) Verify continuous filtration and fire safety measures, and rehearse emergency shutoffs with your crew.
3) Document all airflow readings and PPE compliance to demonstrate adherence to professional standards and bolster long-term restoration credibility.
Budget, Tools, and Timeline for a Vintage-Style Restoration
Planning the budget, selecting the right tools, and mapping a realistic timeline are the next steps after establishing a safe, controlled restoration environment. You’ll prioritize Budget planning to allocate costs for materials, coatings, rust converters, and protective finishes, while reserving a contingency fund for unforeseen needs.
Tool selection focuses on purpose-built items: wire brushes, chemical strippers, multi-force grinders, and heat guns, paired with safety gear and dust containment.
Establish a practical timeline by batching tasks into assessment, cleaning, treatment, restoration, and curing phases, with milestone reviews. Accuracy matters: document material conditions, expected lead times, and maintenance intervals.
Align budget and tools with the radiator’s vintage profile to preserve authenticity, ensuring you can complete the project within the planned window without compromising quality.
Frequently Asked Questions
Can I Restore Radiators Without Removing Them From Walls?
Yes, you can restore radiators without removing them from walls. However, it’s delicate work. You’ll need careful access for cleaning, descaling, and sealing, often through valve ports or small openings.
Use non-caustic cleaners and avoid heat damage to nearby plaster. For best results, plan Wall removal or professional assistance if you encounter tight spaces, leaks, or stubborn corrosion.
A pro can advise, minimize disruption, and guarantee code-compliant, safe reassembly.
What Is the Best Heat Source for Curing Paint on Cast Iron?
A controlled heat source like a heat gun or infrared heater is best for curing paint on cast iron.
In a hypothetical case, you cure in stages, monitoring temp with a surface thermometer to avoid overheating.
You should consider heat source options carefully to prevent flash-drying or bubbling.
Paint curing techniques rely on steady, moderate heat; avoid open flames.
You’ll achieve a durable finish by gradual, even warming and proper ventilation.
How Long Does a Typical Radiator Restoration Take?
A typical radiator restoration spans from several days to a couple of weeks, depending on scale and detail. You’ll disassemble, inspect, and sand surfaces, then apply primer, followed by multiple coats of Radiator paint for durability.
Expect curing times between coats, and final assembly after a full inspection.
Use Restoration tools like wire brushes, grinders, and heat-resistant gloves. Plan for drying conditions, and budget extra time if you encounter hidden corrosion or lead-based paint.
Will Restoration Affect Radiator Efficiency or Heat Output?
One interesting statistic: properly insulated radiators can improve overall system efficiency by up to 10–20 percent. Yes, restoration can affect efficiency and heat output, but most gains come from targeted improvements.
When you upgrade radiator insulation and reduce heat loss, you retain more heat, boosting heat retention. You’ll notice steadier room temperatures, less cycling, and better energy use, provided you address valve function, leaks, and surface corrosion alongside insulation improvements.
Are There Eco-Friendly or Non-Toxic Finishing Options?
Eco finishes and non toxic coatings are viable options for cast‑iron radiators. You can choose waterborne enamels or low‑VOC epoxies that cure hard without releasing harmful fumes.
Make sure surface prep is thorough, then apply multiple thin coats for durability. You’ll gain corrosion resistance, stable color, and safer indoor air quality.
Follow manufacturer recoat windows and verify compatibility with radiator heat. Opt for finishes labeled non toxic and with documented low volatile compounds for best results.
Conclusion
You’ll transform your space with a radiator that feels antique and flawless, a beacon of durability that outlives decades of fashion. With meticulous prep, precise repairs, and the right finish, you’ll watch rust vanish and character shine—every dent a badge of history, every coat a revelation. Follow the schedule, protect your lungs, and respect the process, and your restored cast‑iron marvel will stand taller, prouder, and more efficient than you ever imagined possible. The legend starts with you.