To replace a window screen with a simple frame repair, start by inspecting and cleaning the frame, then remove the old screen without bending the frame. Measure the opening accurately, cut a new mesh slightly larger, and choose the right spline and frame material for your climate. Lay the mesh flat, seat it with fresh spline, and work evenly around the frame to prevent gaps. Test tension on all sides; minor frame tweaks may be needed, and more tips await.
What You’ll Need to Replace a Window Screen
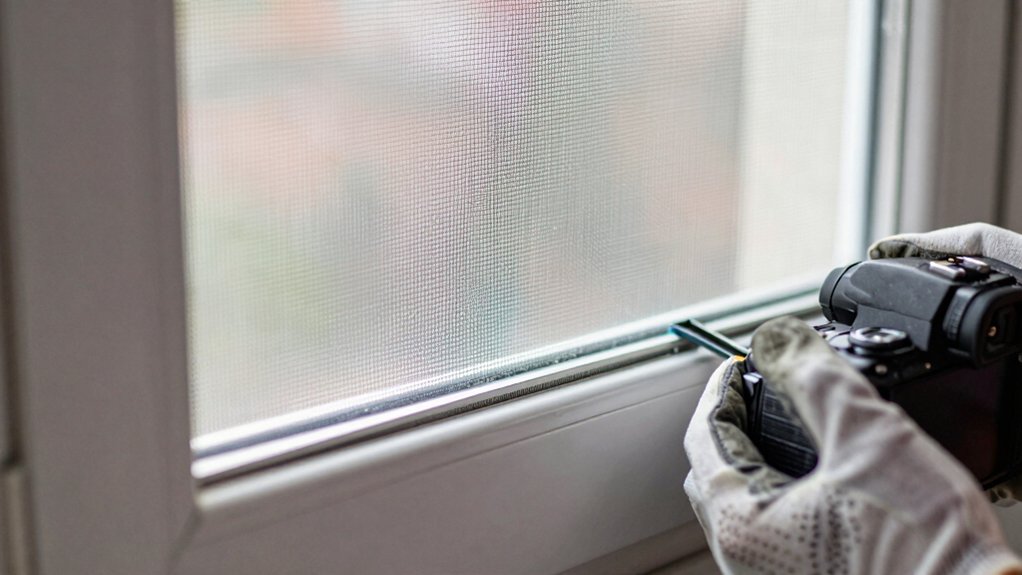
To replace a window screen, you’ll need a few basic supplies: a screen frame, screening material, spline, a spline roller, a utility knife or scissors, a measuring tape, and a pair of pliers or a staple gun if your frame uses staples. You’ll also want a clean workspace and good lighting.
The window frame should be intact and square, since a warped frame compromises screen durability. Check the frame corners for cracks or bent edges, and have a replacement frame ready if needed.
Choose the right screening material for weather exposure and pet use. Measure accurately, then cut material slightly larger than the opening. Secure, trim excess, and test for tautness.
With the basics prepared, you’re prepared to achieve a solid, long-lasting repair.
How to Choose the Right Screen Material and Spline
Choosing the right screen material and spline starts with your window’s size, insect exposure, and climate. This helps you pick options that resist tearing and weathering.
Consider screen materials like aluminum, fiberglass, or stainless options. Match them to your home’s airflow needs and visibility preferences.
Use a spline sizing guide to guarantee a snug fit. Then adjust for spline thickness and groove width to prevent gaps or sag.
Screen Material Options
If you’re replacing a window screen, picking the right material and spline is crucial for durability and fit. In this section, you’ll compare common screen fabrics and their trade-offs, focusing on how mesh size and weave affect visibility and airflow.
You’ll weigh fiberglass, aluminum, and pet- and corrosion-resistant options, noting ease of installation and long-term wear. Consider UV resistance for sunny panes and how stretchability influences tensioning without sag.
Pay attention to maintenance needs, cleaning ease, and replacement frequency. When evaluating, think about mesh durability and whether a finer or coarser weave suits your window’s purpose.
Also, review screen color options, which influence glare and appearance on exterior siding while keeping the frame clean-looking. Choose a material that matches climate, usage, and aesthetics.
Spline Sizing Guide
Spline size matters for a clean, durable install. When you size spline, you guarantee a snug seal and proper tension across the frame. Start by matching spline to the groove width on your sash and screen frame; too small and it won’t hold, too large and it won’t seat.
Measure carefully and verify with the manufacturer’s spec, then select a spline that fills the groove with slight compression. Remember that spline compression is what creates the grip that keeps the screen taut.
If you’re replacing worn or cracked spline, perform spline replacement in one continuous pass to avoid gaps. Avoid forcing mismatched sizes, which can distort the frame.
Use the right diameter and profile for your screen material to ensure even tension and lasting performance.
How to Measure Accurately for a New Screen Frame
To measure accurately for a new screen frame, start by confirming the inside frame dimensions you’ll use for the new piece.
Take precise measurements across each side, noting both width and height at multiple points to catch any irregularities.
Record the angles where corners aren’t 90 degrees, and note any skew so you can capture the true opening size.
Measure Inside Frame
Before you measure, remove the screen from the frame and inspect the interior corners for straightness.
You’ll measure inside the frame to guarantee a precise fit for the new screen.
Use a steel ruler and a square to verify that the frame walls are square, and record the smallest width and height at three points per side.
Measure from the inside edge to the opposite inside edge, not including the bead or spline groove.
Note any irregularities, then adjust your plan accordingly.
Confirm frame reinforcement is intact, especially at corners, so the frame remains rigid after reassembly.
Consider color matching if you’re replacing components; slight shade differences can be subtle but noticeable.
Accurate measurements save time and prevent rework.
Record Angled Corners
When corners aren’t square, you must record their angles precisely before cutting or assembling the new frame. Accurate records prevent misfits and delays. Use angle techniques to note each corner’s unique measurement, then transfer them to your framing jig.
This step ensures symmetry and proper tension for the screen fabric. Record both the corner angle and the baseline orientation so you can reproduce the frame later if needed. Consistent labeling saves time during assembly and preserves corner reinforcement at joints.
- Photograph each corner with a ruler for scale
- Mark the exact angle to the nearest half degree
- Note orientation (top, bottom, left, right)
- Include a brief validation check to confirm straight, square corners
How to Remove the Old Screen Without Damage
If you want to remove the old screen without damaging the frame, start by inspecting the screen’s spline and frame for any wear.
Gently pry the spline channel with a flat tool, working around the frame to release tension without digging into wood or plastic. If the spline resists, stop and loosen nearby corners before continuing; forcing it can warp the frame.
As you lift, support the screen so it doesn’t flex or tear. Keep a small tray handy for the pieces you remove, and note where the spline sits for reassembly.
After removal, wipe the frame with a damp cloth to prevent dirt from entering joints. Use window frame cleaning and screen repair tools to prep for re-screening, then store components safely.
How to Cut and Lay the New Screen Mesh
Once you’ve prepped the frame, measure the opening precisely and cut the new mesh a little larger than the frame on all sides. Lay the mesh over the opening, centering it to avoid gaps. Use a utility knife carefully to trim excess along the edges after seating it.
Secure with spline, starting at a corner and working clockwise to maintain tension. Keep the mesh taut but not stretched, preventing sag or tears. For best results, choose screen mesh selection based on exposure and pollen, then fit the spline with steady pressure to lock the edge.
- Confidently choose the right mesh for your climate and use-case
- Maintain consistent tension to prevent wrinkles
- Work slowly to avoid tearing at corners
- Check edges for smooth, even alignment before trimming
How to Reassemble the Frame With Fresh Spline
After you’ve positioned the new mesh and trimmed it to fit, reassemble the frame by seating fresh spline into the groove starting at a corner and working around the perimeter. Begin by pressing the spline into the groove with even pressure, keeping the spline aligned to avoid gaps. Move steadily, using steady, deliberate strokes so the mesh sits flat and evenly tensioned.
Check corners as you go; if you encounter a tight bend, ease the spline rather than forcing it. Once the entire frame edge is secured, trim any excess spline flush with the face.
This step delivers better frame reinforcement and prevents looseness over time. Remember to keep consistent tension across all sides to ensure a snug, durable finish, facilitating reliable spline installation.
How to Test for a Snug, Snag-Free Fit
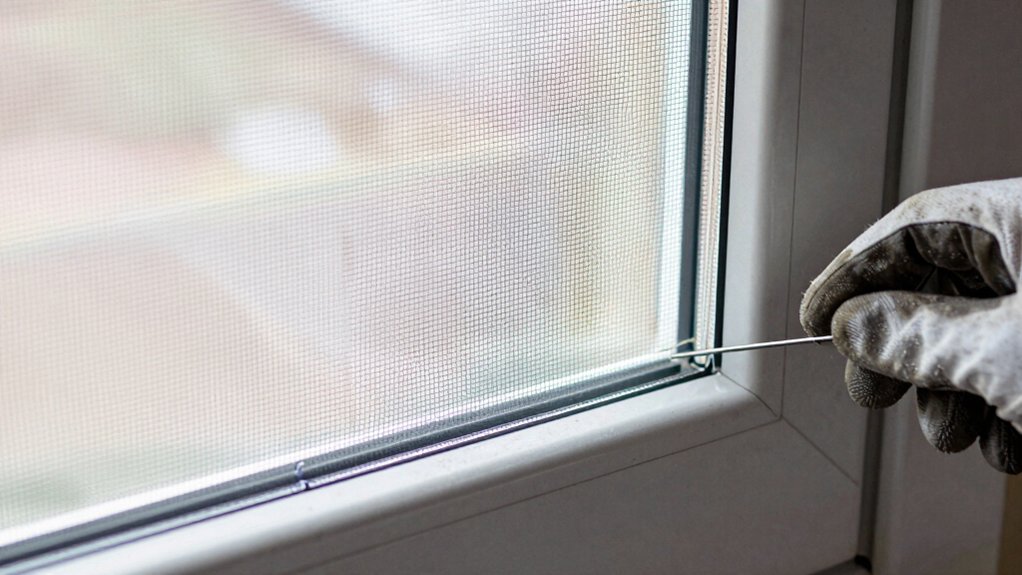
To guarantee a snug, snag-free fit, start by inspecting the installed mesh from the edge inward, looking for any sagging sections or gaps along the frame. You’ll assess screen tightness by checking tension at corners and midpoints, and you’ll gauge mesh flexibility as you work along each edge.
If you detect slack, adjust the spline or retension with even draws to restore uniform tension without over-stretching. Confirm the frame sits flush and the corner joints remain square. Recheck along every side after a light tap to settle the mesh.
- Visualize a taut surface, not a draped sheet
- Feel for uniform resistance as you test each edge
- Listen for subtle creaks that signal looseness
- Ensure corners stay aligned after final seating
How to Troubleshoot Common Frame Issues
Frame issues can crop up even when you’ve got a snug, snag-free screen. Start by inspecting the frame for obvious defects: dents, billowing corners, and loose joints.
If you spot frame corrosion, note its extent and where it’s most active; minor spots may rust through later if untreated. Check warped edges by placing a straightedge along the frame; any gap indicates alignment problems that affect fit and tension.
Test the hinge or corner connections for looseness; tighten screws or replace worn fasteners as needed. For metal frames, feel for sharp edges or flaking coating that signals corrosion progression.
If joints flex more than a millimeter under light pressure, plan for reinforcement or replacement. Address active issues before glazing to ensure a clean, secure fit.
How to Maintain and Prolong Your Window Screen
Regular maintenance keeps screens snag-free and tearing at bay, so inspect them seasonally and address issues before they escalate. You’ll extend lifespan by cleaning the frame and mesh, tightening fasteners, and resecuring corners as needed. Prioritize simple checks that prevent bigger problems, like tears or corrosion.
For lasting performance, weave these practices into your routine and stay proactive.
- Cleaning tips: wipe the frame, rinse the mesh, and let everything dry completely
- Seasonal maintenance: inspect for rust, re-tension spline, and replace damaged sections promptly
- Quick fixes: patch minor tears with a compatible repair kit to avoid full replacement
- Preventive habits: store screens properly in off-seasons to minimize warping and deformities
Frequently Asked Questions
Can I Replace a Screen Without Removing the Entire Sash?
Yes, you can replace a screen without removing the entire sash. Measure screen material, then fit into your frame types, securing edges while the sash stays in place. This saves time and avoids disturbing the window’s balance.
How Long Does a Screen Replacement Typically Take?
In about 20–40 minutes, you’ll finish a typical screen replacement. Think of it like a quick flat-tire fix: you’ll see screen durability improve, and replacement cost stay reasonable if you measure carefully and use the right spline.
Will Different Frame Shapes Affect Replacement Ease?
Different frame shapes can affect replacement ease; some shapes let you snap or slide screens in quickly, while complex frames may require adjustments. You’ll notice smoother installs with simple, rectangular frames and tougher maneuvering for curved or custom shapes.
Are Power Tools Necessary for Frame Repair?
Power tools aren’t strictly necessary; most frame repairs can be done with manual tools. Around 70% of DIYers complete fixes using hand tools, but power tools speed things up and reduce effort when installing new frames.
Can I Reuse Old Spline if It Looks Intact?
Yes, you can reuse it if it passes spline inspection and the material remains supple, though stretched or cracked spline should be replaced. Check screen material for tears, then reinstall with fresh spline for a secure fit.
Conclusion
If you’re repairing a screen, you might stumble on a secret: small fixes often prevent big costs. As you align mesh and snap in new spline, you’ll notice precision matters more than speed. Coincidences show up—your old frame might just be exactly the width of a fresh screen, your tools land where they’re supposed to, and a stubborn snag disappears with a final push. Stay steady, test, and you’ll enjoy a snug, snag-free view that lasts.