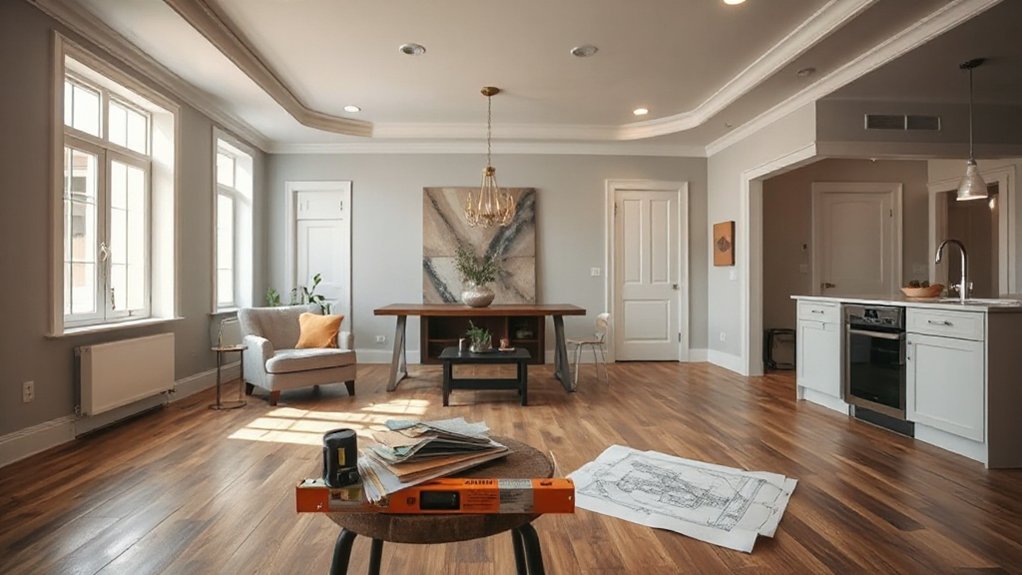
Consider a modest 1,200-square-foot home where a prepped kitchen and curb-appeal update can lift resale value by 8–12%; you’ll want to map costs against likely gains. You’ll balance must-do structural tweaks with durable finishes, schedule smartly to avoid pricey delays, and vet contractors for transparent pricing. The trick is prioritizing high-ROI updates, budgeting for hidden costs, and choosing materials that look premium without breaking the bank—so you can see exactly where every dollar matters as you push toward a solid return.
Define Your Renovation Budget for Maximum Value

To maximize value, start by setting a clear renovation budget that aligns with your home’s current value and your target return. You’ll map realistic costs against expected gains, then reserve a contingency—typically 10%—for surprises.
Break the budget into line items: structural, systems, finishes, and décor, prioritizing high-ROI tasks. Track money in a simple spreadsheet, updating estimates as quotes come in.
When planning finishes, specify quality and durability without overbuilding for resale. Consider interior lighting as a controllable improvement that amplifies space and mood while keeping down long-term energy costs.
Parallelly, design landscaping choices that require modest upfront investment but boost curb appeal.
Maintain strict scope boundaries to avoid scope creep, and re-evaluate the budget if market conditions shift before permits.
Identify High-ROI Updates You Must Do First
Identifying high-ROI updates starts with a clear map of where value gains are most reliable and fast. You begin by prioritizing structural and cosmetic improvements that buyers expect at each price tier, then quantify impact against cost.
Focus on updating kitchens and baths with durable finishes, efficient fixtures, and streamlined layouts that enhance flow without overhauling whole rooms. Address lighting, air quality, insulation, and soundproofing to improve daily comfort and perceived quality.
Plan outdoor enhancements that extend living space—functional patios, durable decking, and smart storage—without overbuilding. Don’t chase trends; calibrate price-to-value by benchmarking similar comps.
Reserve luxury upgrades for options that clearly lift perceived value, and log expected ROI per dollar. This disciplined approach keeps renovations targeted, predictable, and aligned with your budget.
DIY vs Hiring: Where You Can Save the Most
When you compare DIY to hiring, start with material costs differences—shop smart, compare bulk vs. per-project pricing, and track waste to keep budgets tight.
Next, assess labor time efficiency: determine which tasks you can finish quickly and accurately, and where contractor speed and expertise save you more hours than you spend coordinating the project.
Finally, weigh skill transfer potential: choose tasks that build your capability without sacrificing quality, so you gain value now and later.
Material Costs Differences
Material costs can swing the budget more than you might expect, and the biggest gap often shows up between DIY and hiring. You’ll find material sourcing matters most when you compare initial prices, delivery fees, and waste.
A careful cost comparison highlights who benefits from bulk purchases, store rebates, and contractor discounts, versus impulse buys for specialty finishes. When you source materials, verify compatibility with existing systems, and consider long-term durability to avoid frequent replacements.
DIY purchases may save on labor, but misordered items cause costly delays and returns. For hiring, you’ll pay for expertise in estimating quantities and avoiding over-ordering.
Track itemized line items, from fasteners to fixtures, and assess hidden costs like permits or disposal. This disciplined approach minimizes surprises.
Labor Time Efficiency
Labor time is where the biggest you’ll see gains often come from, and that’s where DIY and hiring choices truly bite. You’ll maximize value by mapping tasks to capability, then scheduling to minimize downtime.
Start with workforce scheduling: align crew availability with critical milestones, stagger trades to avoid overlap bottlenecks, and lock in clear handoffs so you don’t lose momentum. When you own tasks, plan for proper sequence, task duration estimates, and contingency buffers—but don’t overcommit; build in realistic foundations.
For hired help, set precise scope, milestones, and payment triggers tied to completed work.
Tool optimization matters too: select multi-use tools, keep blades sharp, and pre-fetch consumables to avoid stoppages.
Track daily progress, compare actual vs planned, and adjust quickly to stay on budget.
Skill Transfer Potential
Are DIY efforts worth it for you, or does hiring bags the most savings? Skill transfer matters because you’re not just saving on labor; you’re preserving budget for future renovations. Start by mapping tasks to your strengths and liabilities, then assess time cost against potential quality gaps.
For skilled trades, factor in learning curves, rework, and safety risks; for simpler tasks, you can confidently tackle them with clear instructions and proper tools. Budget planning should quantify hidden costs: disposal, permits, insurance, and tool depreciation.
Compare hourly rates with estimated completion times, plus risk-adjusted penalties for mistakes. Track which tasks release higher resale value when executed well. Prioritize high-impact areas—electrical cover plates, tiling alignment, and finish carpentry—where your Skill transfer gains are greatest.
Then reinvest savings strategically into definitive upgrades.
Materials That Look Lux Without the Price Tag
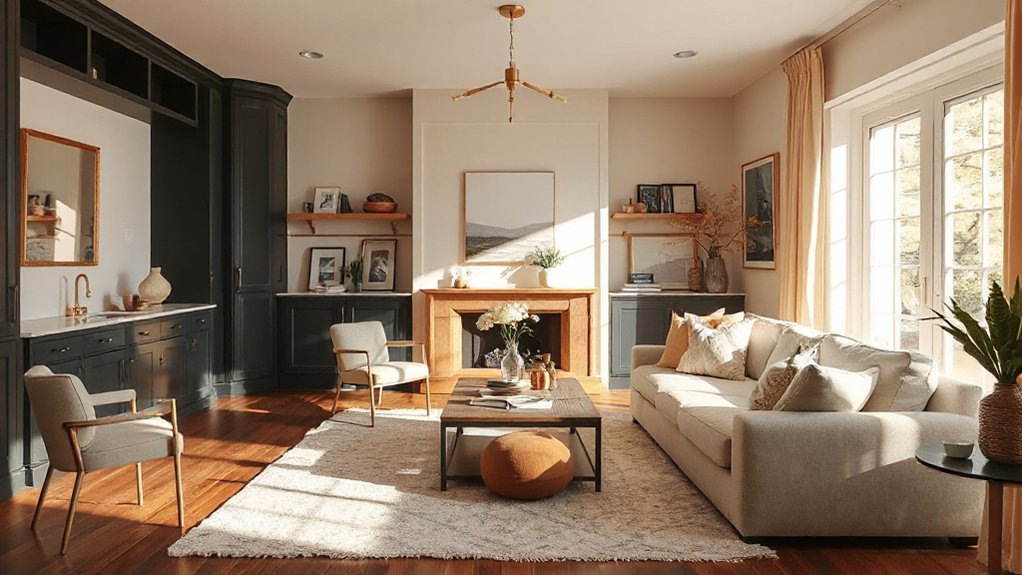
If you want a high-end look without the premium price, start by selecting materials that deliver luxury cues—think solid colors, subtle veining, and refined textures.
Prioritize durable surfaces that still read as elegant, so you get longevity and visual impact with less upkeep.
We’ll examine how texture, finish, and contrast can transform spaces while keeping costs predictable.
High-End Look, Low Cost
Opt for materials that mimic luxury finishes while staying firmly within budget by prioritizing texture, depth, and light reflectivity. You’ll achieve a high-end feel without overspending by selecting surfaces that play with gloss, matte, and subtle patterns.
Focus on consistent undertones across rooms to unify the look, and pair inexpensive yet convincing options with strategic lighting to heighten perceived value.
For surfaces, consider porcelain or ceramic tiles that resemble stone, engineered quartz that imitates marble, and laminates with embossed textures.
Use budget accessories to crown the design—decorative vents, trims, and hardware in brushed nickel or matte black can lift the space without significant cost.
Keep detailing intentional: seams, alignment, and clean joints matter.
Prioritize durability where it counts, then refine with accessories.
Durable Yet Elegant Surfaces
Durable surfaces that still feel luxe come from smart material choices and careful detailing. You’ll prioritize materials that resist wear while delivering refined looks, pairing performance with understated polish.
For counters, consider quartz or solid-surface composites; they resist scratching, stains, and heat, yet read as premium.
In flooring, opt for wide-plank vinyl or porcelain tile with matte textures, which endure heavy traffic without screaming “cheap.”
Wall surfaces benefit from durable coatings like ceramic panels or high-grade glass-backed paint that tolerate humidity and scuffs while maintaining a sleek finish.
Choose edge profiles, seam lines, and grout in near-same tones to enhance continuity and reduce visual clutter.
Surface durability supports aesthetic elegance by preserving clean lines, even under daily use, maximizing long-term value.
Texture That Transforms Space
Texture does more than fill space; it shapes perception. In this subtopic, you’ll use texture as a value lever, not just decoration.
Wall textures create tactile appeal and visual depth without heavy costs, so pick finishes that reflect light and enhance architectural lines. Consider shallow reliefs for bedrooms to boost coziness, or subtle plaster textures to elevate living areas with minimal maintenance.
Pattern enhancements can guide flow: align textures with furniture zones, contrast smooth walls with a single textured accent, or repeat a quiet pattern to unify spaces.
Use scalable options, like vinyl wall panels or thin-set stencils, that install quickly and wipe clean.
Test samples in multiple lighting moments to confirm how texture reads at different times of day and from various angles.
Time It Right: Scheduling for Lowest Costs and Availability
Timing is everything when you’re renovating on a budget: scheduling tasks to align with the lowest costs and peak availability can cut both price and delays.
Time management and scheduling tools help you map phases, price theory, and supplier windows with precision. Use these steps to stay lean:
1) Audit contractor calendars, and lock in critical trades during off-peak demand.
2) Align material deliveries with site readiness to avoid storage costs.
3) Build a rolling timeline that accommodates lead times and contingency buffers.
4) Review weekly progress and re-sequence tasks to recover delays quickly.
With disciplined monitoring, you’ll minimize downtime and squeeze value from every decision. Stay analytical, track changes, and adjust forecasts as prices shift.
Easy Curb Appeal Wins on a Tight Budget
Want an invigorating curb appeal without blowing your budget? Start with practical small wins that add perceived value fast. Begin by inspecting your front door, address numbers, and walkway lighting; these are high-visibility elements worth prioritizing.
Garden lighting can dramatically enhance evenings and security without heavy remodeling—opt low-voltage LED spots to highlight landscaping and architectural features.
Rejuvenating exterior paint on trim, doors, or shutters yields noticeable impact; choose a durable, washable finish in a classic hue that complements stone or siding. Keep costs predictable by testing an accent color on a small area first.
Repaint after cleaning surfaces to improve adhesion. Tighten hardware, tidy pipelines, and trim overgrown shrubs to frame the entrance.
Document before-and-after photos for future value assessments.
Affordable Upgrades to Boost Home Efficiency
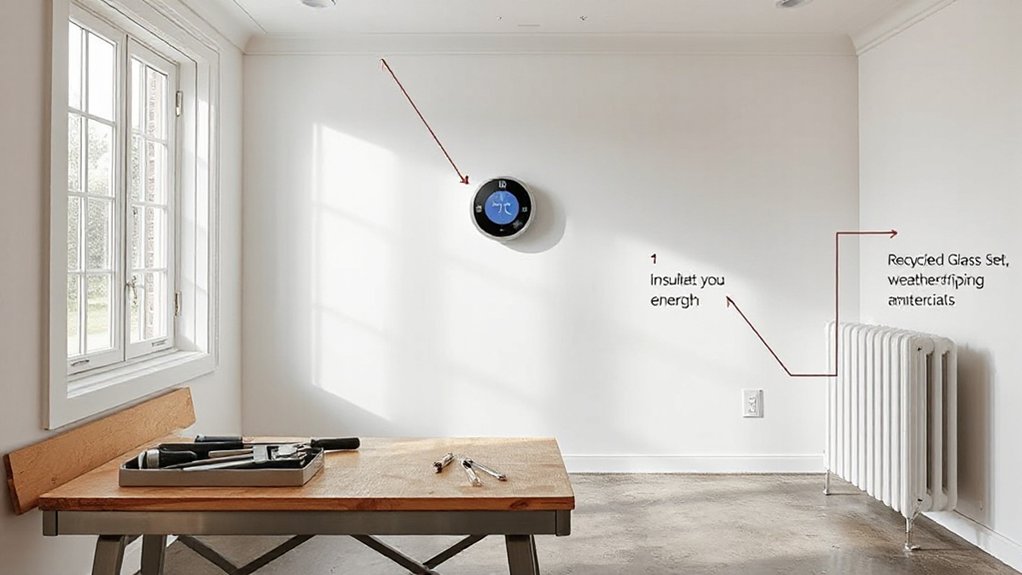
Focusing on affordable upgrades, you’ll start with efficient insulation changes that reduce heat loss and steady energy use.
Analyze options like sealing gaps, upgrading attic insulation, and choosing higher-R-rated materials to maximize savings without overspending.
With a practical, numbers-minded approach, you’ll compare costs and payback periods to determine which upgrades deliver the strongest budget-friendly efficiency gains.
Efficient Insulation Upgrades
- Seal air leaks first with high-accessibility weatherstripping and caulk, then verify with a blower door test.
- Strengthen thermal barriers at attic, wall, and basement interfaces using affordable batts or blown-in insulation.
- Use vapor barriers where moisture risks exist, installed to control condensation without trapping humidity.
- Evaluate radiant barriers in hot climates to reduce cooling demand without excessive expense.
This approach keeps installations simple, durable, and scalable for future upgrades.
Budget-Friendly Energy Savings
Begin with a simple energy audit to identify obvious leaks, stagnant air, and inefficient devices. Seal gaps around doors and windows, then calibrate thermostats to avoid overcooling or overheating. Replace worn weatherstripping and upgrade to LED lighting where appropriate.
Consider smart plugs for phantom load reduction and programmable schedules for heating and cooling. Compare utility rebates and eligible programs before purchasing appliances or components, ensuring quick payback.
Document changes and track consumption, validating savings against forecasts. Reassess after retrofit to confirm continued performance and long-term value.
Energy audits, utility rebates.
Smart Layout Tweaks That Expand Space Without Remodeling
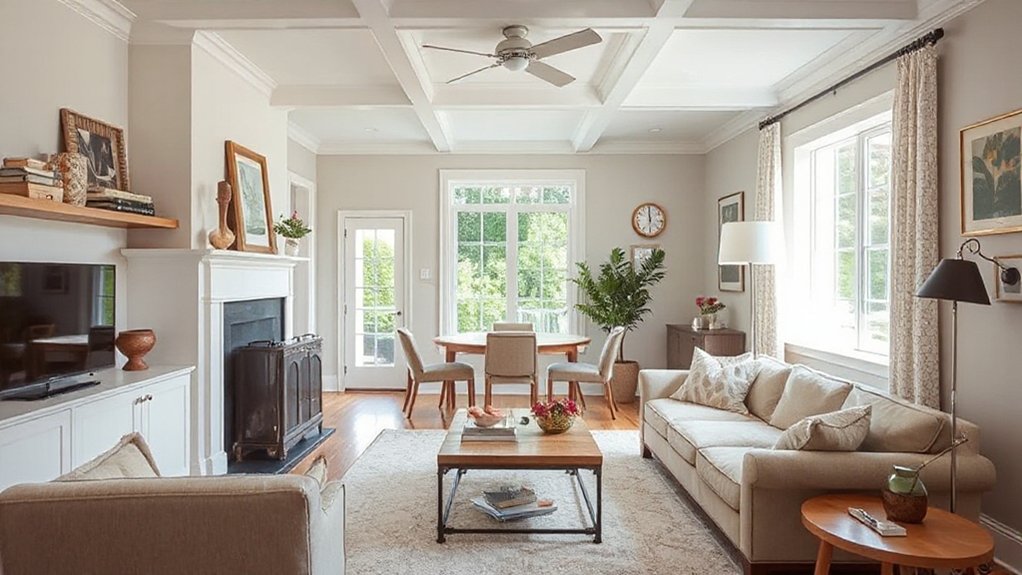
Smart layout tweaks can add meaningful space without tearing down walls. You’ll transform narrow areas by rethinking flow, storage, and light. Focus on practical, measurable changes that don’t require major renos.
1) Optimize smart storage: install tall cabinets, recessed shelves, and under-aisle niches to free floor space.
2) Reframe circulation: move furniture paths to maximize usable room, reducing dead zones.
3) Lighting placement: layer ambient, task, and accent lighting to visually expand ceilings and corners.
4) Dual-purpose surfaces: fold-down desks, extendable tables, and dining islands with hidden storage.
These tweaks keep costs low while delivering perceived square footage. You’ll gain clarity, reduce clutter, and improve habitability.
Use smart storage to conceal items and lighting placement to brighten depth, not just light.
Where to Source Deals Without Sacrificing Quality
Look beyond big-box stores and hunt for deals that don’t compromise quality by combining supplier relationships, timing, and warranty considerations. You’ll optimize value by vetting local wholesalers, trade shows, and atelier outlets, then negotiating bundled shipments and after-sale support.
Track production calendars to align purchases with seasonal discounts, and request price holds or staggered payments to improve cash flow. Prioritize long-warranty items and documented quality tests to reduce future repairs.
When you scan options, compare total cost of ownership, not just upfront price, and insist on consistent finish standards across batches. Seek sellers who provide repeatable sourcing, clear return policies, and ready-to-install components.
Consider luxury trends for enduring appeal, but balance with vintage finds for character and budget flexibility.
Plan for Hidden Costs and Build a Practical Contingency
Hidden costs can quietly derail a renovation budget, so you should anticipate them up front and quantify them clearly. You’ll improve accuracy by building a practical contingency that reflects risk, not guesswork, and by documenting every assumption you make.
Use disciplined contingency planning to keep decisions neutral and cost-informed rather than reactive.
- Identify categories: trade overruns, material fluctuations, schedule delays, and waste disposal variance.
- Assign percentages or dollar caps based on project size and complexity.
- Review monthly, adjusting for new data and change orders.
- Maintain a separate contingency ledger, excluding it from core budgets to avoid dilution.
Regularly test your assumptions with scenarios, and keep stakeholders aligned.
This proactive approach safeguards value and sustains momentum, even when surprises arise.
Permits and Compliance: Quick, Low-Drama Paths
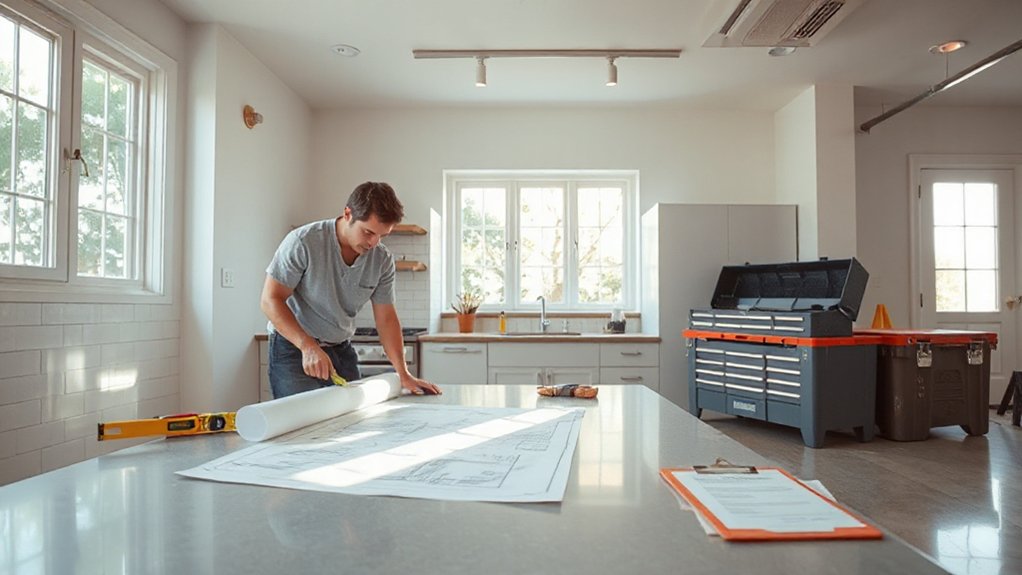
Permits and compliance can feel like a detour, but they’re the controls that keep a renovation moving smoothly. You’ll navigate the permit process with focus, gathering exactly what inspectors require and avoiding delays from missing items.
Start by mapping required approvals for structural, electrical, and plumbing work, then align design decisions to meet compliance standards without overreaching scope. Keep a running checklist of submittals, timelines, and fees, updating it as changes arise.
Build in buffer for inspection windows and rework, but don’t let paperwork drift into decision paralysis. Prioritize essential permits first, defer decorative upgrades until after approvals, and document compliance milestones for quick reference.
This disciplined approach minimizes risk, preserves budget, and maintains steady progress toward your renovation goals.
Vetting Contractors for Value and Reliability
Vet contracting choices can make or break a renovation budget, so vetting for value and reliability isn’t optional—it’s essential. You’ll compare bids not by price alone but by substance: track record, credentials, and proven delivery. Use a systematic approach to evaluate potential contractors.
- Check contractor credentials, licenses, insurance, and past project references.
- Review recent work quality and timeline adherence; request a portfolio and site visits.
- Assess communication, responsiveness, and clarity of written proposals.
- Apply negotiation tactics: set clear milestones, hold firm on payment terms, and document scope changes.
Beyond price, you want reliability, accountability, and transparent pricing. Vet thoroughly to avoid costly overruns, rework, or delays.
Measuring ROI: When to Extend a Project vs. Sticking to Budget
When you measure ROI on a renovation, decide early whether extending the project to improve long-term value is worth the added time and cost. You should quantify benefits like energy savings, maintenance reductions, and resale appeal, then compare them to extension expenses.
If the target additions clearly boost value or attract higher offers, plan a phased approach or parallel tasks to minimize disruption. Prioritize high-ROI elements such as garden landscaping that enhances curb appeal without delaying core work, and consider smart home automation as a future upgrade rather than a buy-now necessity.
If benefits are uncertain or marginal, stick to budget, sealing scope gaps with clear milestones and revised cost estimates. Always document scenarios, sensitivity analyses, and decision criteria for future reference.
Frequently Asked Questions
How Do I Prioritize Renovations for Highest Resale Impact?
Prioritize high-ROI updates: fresh kitchens and baths, solid flooring, and curb appeal first. Focus on Design trends that buyers expect, and Material durability for longevity. You’ll save costs with durable finishes, and automate lighting for modern vibes.
What Hidden Costs Most Frequently Derail Budgets?
Hidden expenses derail budgets more often than you’d think, like a hidden snag on a map. You must track Hidden expenses and Budget pitfalls, forecast contingencies, review contracts, and set milestones to stay disciplined and avoid surprises.
Is It Worth Renovating a Non-Structural Flaw for Value?
Yes, it’s worth it if the flaw harms curb appeal or interior aesthetics; prioritize Exterior upgrades and Interior aesthetics, ensuring cost alignment. Assess ROI, scope, and risks, then compare resale lift to renovation spend for an informed decision.
How Climate Affects ROI on Renovation Choices?
Climate affects ROI: you should prioritize climate adaptation and weather resilience, tailoring choices to your area’s conditions. You’ll gain value by upgrading insulation, waterproofing, and durable finishes, reducing future maintenance costs and improving comfort for buyers.
Can Smart Tech Retrofit Boost Value Without Big Spend?
Yes, smart tech retrofit benefits can boost value without a big spend. You’ll upgrade efficiency, automation, and security, while targeting key areas; prioritize low-cost, high-impact devices and track ROI to prove practical, cost-effective enhancements.
Conclusion
You’ve got this. A well-planned budget, smart priorities, and reliable trades turn updates into lasting value. I once watched a homeowner swap out dated fixtures for durable, cost-per-year efficient choices and cut energy bills while boosting curb appeal; the payoff wasn’t flashy, but nail-by-nail ROI stacked up. My advice: define costs, lock in high-ROI basics first, and stay disciplined with contingencies. When you pace projects and vet contractors, your renovation pays back in both comfort and value.