A precise 3D floor plan starts with a clear goal you can defend to stakeholders. You’ll gather measurements, validate data, and build a scalable model that stays accurate as you expand. Set camera positions for intuitive navigation, and choose lighting and materials that render clearly. Then establish a practical workflow from capture to delivery, avoid common pitfalls, and align with budget and timeline. The path you choose next will determine how smoothly the project translates into real-world use.
Define the Goal: What a 3D Floor Plan Should Achieve for Designers, Builders, and Clients
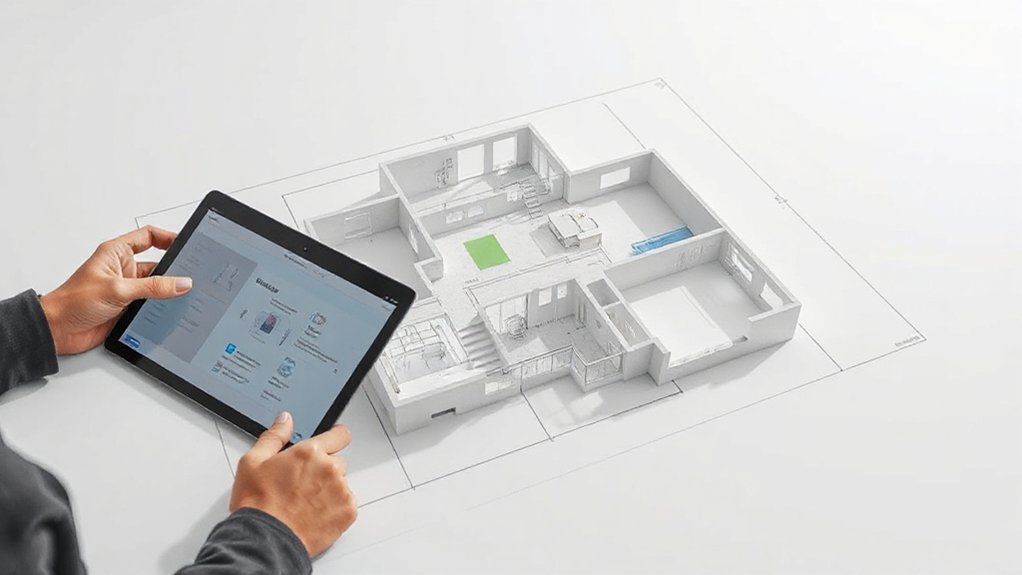
A 3D floor plan should clearly communicate spatial intent and project feasibility to designers, builders, and clients. You define the goal by specifying how the model guides decisions and validates assumptions.
You’ll determine required fidelity, levels of detail, and the metrics used to measure success, ensuring alignment with project constraints. Your focus centers on how color schemes influence perception of space and function, how furniture placement demonstrates workflow, traffic patterns, and occupancy.
You establish criteria for evaluating constructability, utility integration, and potential design changes early in the process. You document deliverables, revision protocols, and approval milestones to keep stakeholders synchronized.
You enable efficient decision-making, risk reduction, and cost control by translating vision into measurable, actionable specifications.
Gather Accurate Measurements and Build a Scalable Model
Gather accurate measurements and a scalable model by starting with a precise, ground-truth survey of the space, including walls, openings, utilities, and vertical dimensions. You compile exact floor plans, elevations, and datum references, then translate them into a parametric framework capable of scaling without distortion.
You document tolerances, material thicknesses, and install locations to preserve structural relationships as you construct the model. Establish a consistent unit system, naming conventions, and layer hierarchy to support collaborative workflows.
You incorporate Material textures and Color schemes early, mapping surface finishes to corresponding geometry for realistic visualization and precise budgeting. You validate measurements against as-built references, iterate with version control, and guarantee the scalable model remains responsive to design evolution, client reviews, and integration with fabrication data.
Set Camera Positions for Intuitive Navigation and Storytelling
You set camera angles to frame key architectural cues and guarantee consistent spatial cues across rooms.
Plan narrative camera paths that guide the viewer through shifts, highlighting flow and function without disorienting jumps.
Use precise, repeatable positions to support intuitive navigation and tell a clear spatial story.
Setting Camera Angles
How should you position cameras to guide navigation and storytelling effectively? You optimize camera angles to reveal scale, orientation, and flow without distortion. Start with a baseline perspective, then deploy tilt, pan, and roll to emphasize critical junctions, openings, and vantage points.
Use eye-level heights for human-scale realism and higher angles to convey overview and context, lowering for intimate or hazardous zones. Apply perspective techniques to minimize distortion in walls and floors, maintaining consistent grid alignment across rooms.
Prioritize stable, even motion when shifting between spaces; avoid abrupt pivots that break spatial continuity. Document each shot with a clear rationale, including target features and implied path.
This disciplined approach guarantees reliable camera placement that supports intuitive navigation and precise interpretation of the floor plan.
Narrative Camera Paths
- Focused camera movement governs pace and emphasis
- Shot composition aligns with architectural cues
- Consistent viewpoints sustain spatial memory
Choose Lighting and Materials That Render Clearly
Choosing lighting and materials that render clearly is essential for accurate interpretation of a 3D floor plan. Selecting high-contrast, neutral finishes and deliberate light placement guarantees measurements and spatial relationships read unambiguously.
In this section, you apply rigorous criteria to lighting choices and material selection so renders convey true geometry. You prioritize illumination that reveals edge definitions, wall faces, and floor boundaries without introducing glare or shadows that distort scale.
Use neutral palettes—grays, whites, and restrained earth tones—that minimize reflectance bias. Match lighting temperature to the design context, and document luminance values for critical materials.
Confirm consistent render settings across views, with calibrated cameras and uniform exposure. Precision in these choices reduces ambiguity and supports downstream interpretation by stakeholders and reviewers.
Build a Practical Workflow From Data Capture to Delivery
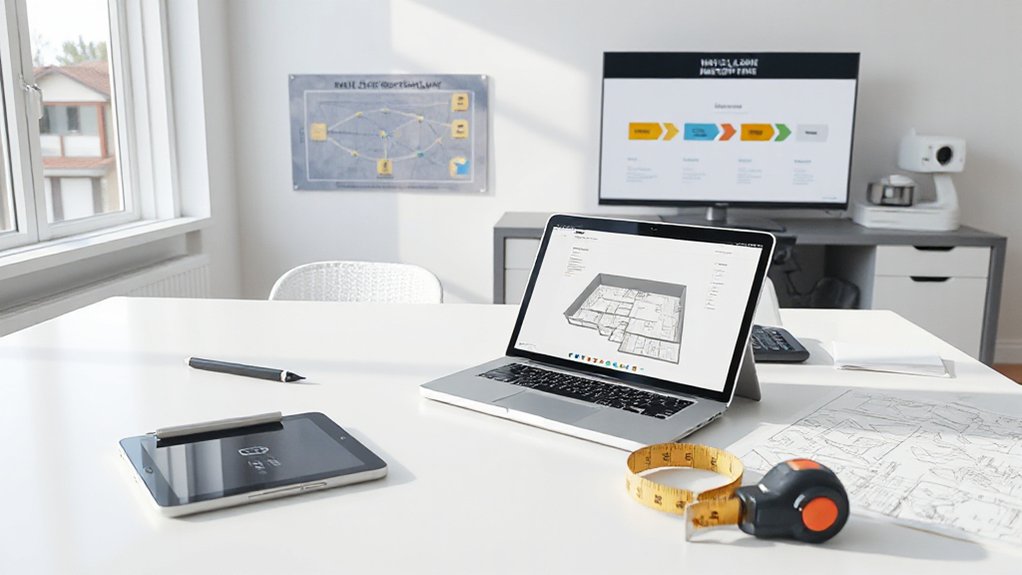
- Establish capture standards and naming conventions
- Define processing, modeling, and visualization steps
- Enforce reviews, version control, and quality checks
Avoid the Top 6 Pitfalls in 3D Floor Plans
Avoiding common missteps is essential when delivering accurate 3D floor plans; understanding the top six pitfalls helps you plan, model, and review more efficiently.
First, neglecting unit accuracy creates cascading errors; verify scales from capture to render.
Second, inconsistent color palettes confuse depth and material intent; establish a canonical palette early.
Third, poor software compatibility hampers export, shareability, and client review; confirm file formats and versions before modeling.
Fourth, overcomplicating geometry increases render times without added clarity; simplify where possible and document assumptions.
Fifth, ignoring metadata and layer management reduces future edits; tag objects and maintain a clean hierarchy.
Sixth, inconsistent lighting and camera settings misrepresent space; lock a standardized setup for comparisons.
Maintain discipline on data integrity, color palettes, and Software compatibility.
Align the Project With Budget and Timeline Constraints
Building on the discipline of data integrity from the previous subtopic, aligning the project with budget and timeline constraints guarantees the 3D floor plan deliverables stay on track from concept to client review.
You balance scope against costs and schedules to prevent overruns. Budget considerations guide material choices, software licenses, and resource allocation, while timeline management defines milestones, review points, and buffer periods.
You establish quantifiable targets, track variance in real time, and adjust priorities to preserve quality without compromising deadlines. Clear communication with stakeholders ensures alignment on trade-offs and approvals, reducing rework.
By enforcing disciplined change control, you protect the project’s financial and temporal integrity across all phases.
- Define and monitor budget considerations, with early risk flags
- Set milestones for timeline management, including client reviews
- Implement change control to minimize impact on cost and schedule
Review, Iterate, and Handoff to Real-World Use
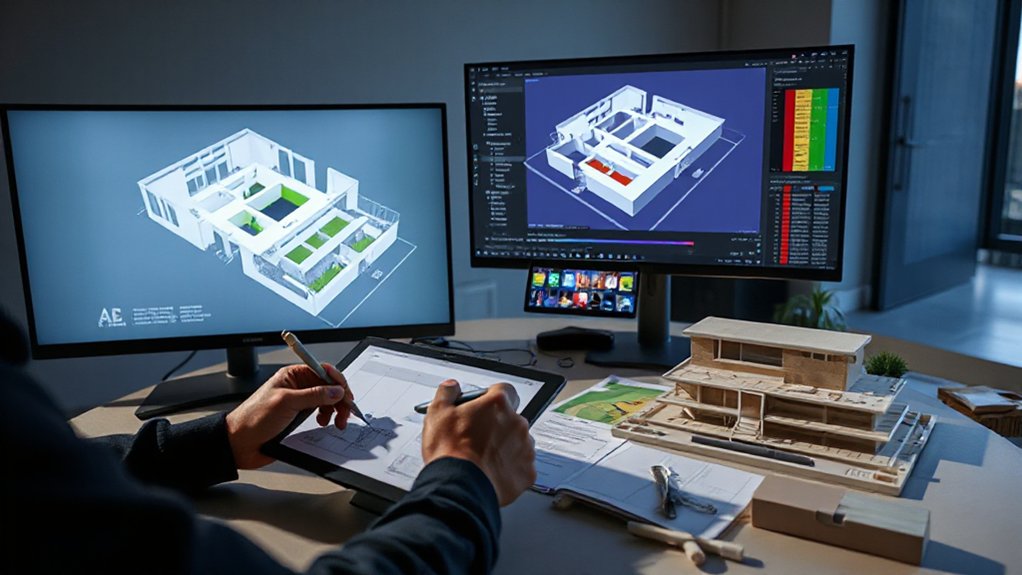
You’ll review the current 3D floor plan against real‑world constraints and user needs. Then, you’ll identify gaps for immediate iteration.
You’ll formalize handoff criteria, including data formats, documentation, and validation steps, to guarantee seamless adoption.
You’ll initiate a closed feedback loop between design, engineering, and stakeholders to drive rapid, measurable improvements.
Review And Iterate
In the Review And Iterate phase, you assess the 3D floor plan against project requirements, user feedback, and real-world constraints, then implement targeted refinements. You validate geometry, accessibility, and data accuracy, ensuring alignment with technical standards.
You also verify color schemes and furniture placement for legibility, scale, and functionality, adjusting materials and lighting where needed. Document rationale for changes, quantify impact on timelines, and update models to reflect real-world conditions.
Prioritize issues by risk and feasibility, and re-test repeatedly to confirm stability before finalizing. Communicate decisions clearly to stakeholders and prepare for shift to production environments.
- Prioritize refinements based on risk, impact, and feasibility
- Validate color schemes and furniture placement for clarity and usability
- Re-test repeatedly and document decisions and results
Handoff To Real World
How do we guarantee a seamless shift from review and iteration to real-world deployment? You establish a formal handoff protocol that ties validation outcomes to deployment gates.
Document final specifications, including material textures and camera positioning, so field teams reproduce the exact visual and measurable criteria.
Lock down data integrity by exporting a reference model with versioned textures, metadata, and coordinate systems, then attach a verifiable change log.
Conduct a final pre-deployment review with stakeholders to confirm risk, performance, and accessibility requirements are met.
Prepare training materials and on-site checklists that guide technicians through setup, calibration, and QA tests.
Assure support channels are defined for post-launch adjustments, maintaining traceability from design intent to real-world use.
Frequently Asked Questions
What Defines Success Metrics for a 3D Floor Plan Project?
Success metrics for a 3D floor plan project hinge on achieving design consistency and material accuracy. You’ll measure accuracy against scaled references, guarantee textures and finishes match specifications, and verify alignment across floor, wall, and ceiling elements.
You’ll track user usability, navigation intuitiveness, and accuracy under different viewpoints. You’ll also quantify rendering performance, error rates, and revision turnaround.
You’ll validate with stakeholders, delivering reproducible metrics, clear benchmarks, and documented tolerances tied to project goals.
How to Validate Measurements Beyond Initial Scans?
Start by treating measurement accuracy as your compass, guiding every decision beyond initial scans.
You validate measurements by cross-checking against multiple data sources: repeat scans, calibrated reference points, and architectural drawings.
Use scanning technology to capture surfaces from diverse angles, then fuse results with error bounds.
You quantify residual deviations, document tolerance envelopes, and flag outliers for re-scan.
You verify alignment with BIM exports, ensuring persistent accuracy across measurements, models, and schedules.
Which File Formats Ensure Smooth Client Handoffs?
You should choose formats that guarantee smooth client handoffs, prioritizing file compatibility and reliable format conversions. Use industry-standard constructs like STEP, IFC for interoperability, and OBJ or FBX for visualization clientside.
Include accompanying metadata and precise unit settings to maintain dimensional integrity. Avoid proprietary locks unless necessary, and provide a clear conversion plan with version notes.
Maintain clean textures, scene hierarchies, and embedded color spaces to minimize rework during reviews and approvals.
How to Balance Realism With Render Performance?
Balancing realism with render performance, you should optimize by prioritizing lighting accuracy and material realism where it most affects perception. Start by limiting light sources to key fixtures and use baked or mixed lighting to reduce compute.
A practical stat: 60–70% of perceived realism comes from lighting fidelity, not geometry.
Use LODs and proxy textures to keep interactivity snappy. Maintain accurate light falloff and physically-based materials to preserve realism without overburdening the renderer.
What Post-Delivery Updates Might Clients Request?
Clients might request post-delivery updates such as additional client feedback incorporation, asset refinements, and scene optimizations. You’ll navigate the revision process by prioritizing changes, tracking scope, and validating results against requirements.
Expect tweaks to lighting, textures, camera angles, and rendering settings, plus alternate layouts or viewpoints. You’ll document decisions, adjust timelines, and re-run checks for accuracy.
You’ll guarantee final deliverables align with client feedback while preserving performance and technical integrity throughout the revision process.
Conclusion
In short: nail the data, define the scope, and don’t pretend your software will save lazy planning. You’ll ship a believable model only if measurements are accurate, workflows are disciplined, and lighting isn’t a Houdini-level mystery. If you skimp on reviews, you’ll deliver a “wow” model that won’t fit a budget, timeline, or client reality. So follow the steps, test relentlessly, and remember: a realistic floor plan is honesty with textures. Satire aside, precision wins.