
You’ll start by a precise appraisal of the prefab’s structure, moisture risk, and fire compliance, then map a compliant retrofit plan that stays true to the building’s character. You’ll prioritize durable, low-embodied-energy materials, tighten the envelope, upgrade windows, and install efficient HVAC, all while documenting every step for regulators and residents. The approach balances safety, energy savings, and long-term stewardship, but the key decisions will hinge on the specifics you uncover in the initial assessment.
What Counts as Prefab in Local Authority Housing?
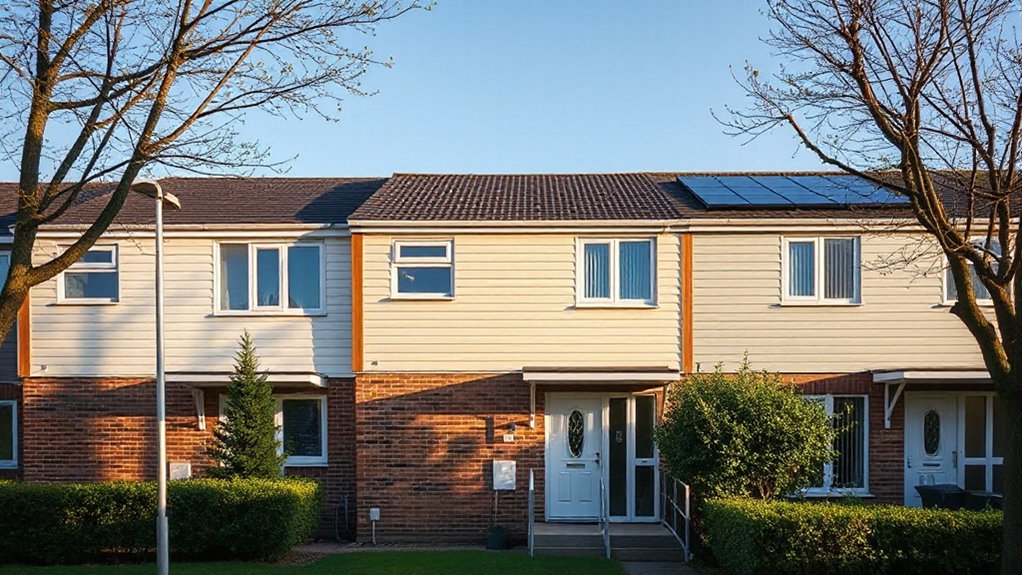
Prefab in local authority housing refers to manufactured or modular components used to construct homes or major elements of homes on-site, including factory-built panels, modular rooms, and completed units delivered for on-site assembly.
You assess what counts as prefab by focusing on how components are produced, transported, and installed under controlled conditions. Prefab construction encompasses factory fabrication, pre-assembled modules, and standardized subassemblies integrated at the site with minimal on-site alteration.
In a local authority context, you evaluate compliance with design briefs, building regulations, and safety standards for off-site production, transport limits, and assembly procedures.
You distinguish between complete factory-built homes and modular elements added to existing structures, ensuring that each item aligns with quality, performance, and maintenance expectations.
Baseline Shell Assessment: Structure, Moisture, and Loads
Start with an on-site evaluation of the shell to verify structural integrity, identify moisture risks, and confirm load pathways align with design specifications; this sets the foundation for durable upgrades.
You assess framing condition, fasteners, and connections, noting corrosion, rot, and insect damage that threaten performance.
Measure deflections and verify member sizes meet or exceed required capacities, documenting deviations.
Moisture screening includes vane tests, surface checks, and relative humidity readings to locate intrusion points and vapor barriers inadequacies.
Load evaluation confirms primary and secondary pathways, ensuring roof, floor, and wall assemblies transfer loads as intended.
Record findings with repeatable criteria to guide repairs and upgrades.
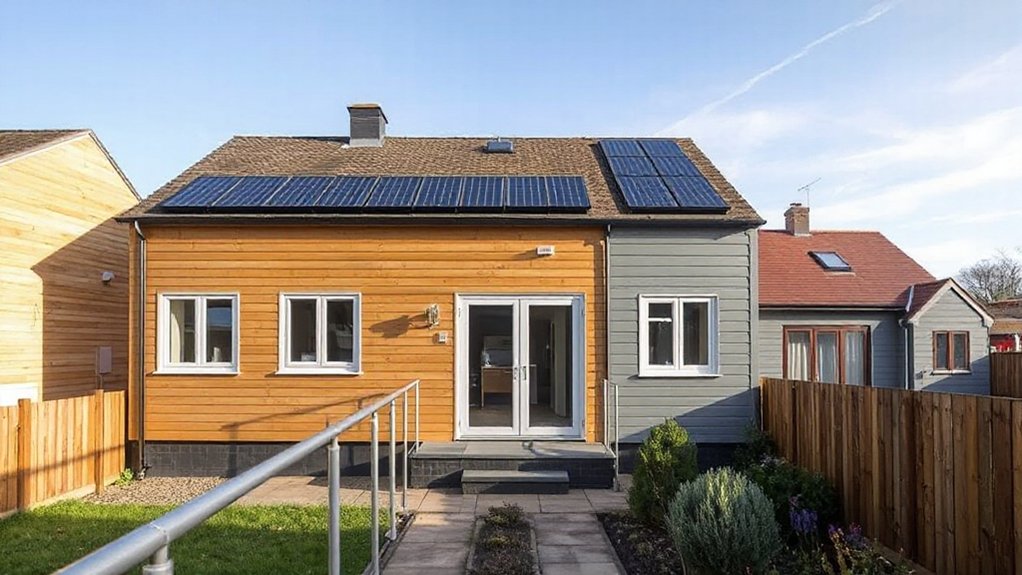
Prefab sustainability and Modern design inform material choices, detailing durable, low-maintenance options that align with standards and long-term performance.
Planning and Permits for Retrofit Work
You’ll map retrofit changes to local requirements and confirm your scope with the planning authority early.
Establish who’ll liaise with planners, submit applications, and track deadlines to avoid delays.
Keep documentation tight and aligned with standards to guarantee permitting proceeds smoothly.
Permitting Retrofit Changes
You prepare documentation that reflects prefab design realities, including panel joinery, load paths, and retrofit challenges, ensuring outputs align with fire safety, moisture control, and energy performance targets.
You map project milestones to permit milestones, anticipate zoning or designation constraints, and compile calculations for wind, seismic, and thermal performance.
You engage early with authorities to clarify required inspections and testing, avoiding later delays.
You maintain precise records, version control, and change logs, updating stakeholders on permit status and compliance verifications throughout construction.
Planning Authority Liaison
Effective liaison with the planning authority is essential for retrofit work, ensuring approvals align with design realities and compliance targets. You’ll map permitted changes, verify constraints, and anticipate objections before submissions.
Prepare a clear project brief that ties Prefab materials to performance standards, energy targets, and fire-safety codes, avoiding speculative claims.
Engage early with planners, neighbours, and building control to align timelines and minimize revisions.
Document retrofit strategies that preserve essential character while enabling Modern design enhancements, such as improved insulation, glazing, and services routing.
Present detailed drawings, elevations, section cuts, and material specs, plus a robust justification for deviations.
Track conditions and conditions precedent, and secure consented amendments through collaborative dialogue rather than last‑minute appeals.
Maintain records, monitor compliance, and adjust plans promptly to sustain momentum.
Budgeting Retrofit: Capex, Opex, and Funding Options
You’ll align Capex and Opex from the outset to guarantee transparent cost forecasting and lifecycle planning.
Consider funding strategy options that match project risk, payback expectations, and compliance requirements.
This foundation sets clear benchmarks for budgeting decisions and project governance.
Capex vs Opex Planning
Capex and Opex planning sets the foundation for a retrofit project by clarifying upfront investments and ongoing operating costs, so you can compare total lifecycle costs and funding options with confidence. You assess capital outlays for prefab materials, systems, and installation, against recurring Opex for maintenance, energy, and inspections.
This separation helps you model scenarios, align with budgets, and avoid surprises during procurement. Use a disciplined approach: define scope, specify performance targets, and itemize costs with unit rates and contingencies.
Favor contracts that tie performance to outcomes, and document depreciation and tax implications. Prioritize standards-compliant, durable solutions that support modern design while minimizing lifecycle risk.
Maintain traceability in records to support audits and guarantee retrofit quality without compromising schedule.
Funding Strategy Options
Balancing upfront investments with ongoing costs requires clear funding options that align with your retrofit goals. In this section, you evaluate Capex versus Opex implications for each project stage, shaping a practical funding strategy.
Start with a baseline budget that captures retrofit essentials: energyefficient equipment, enhanced envelope, and prefab innovation components that reduce long-term maintenance.
Map costs to time horizons, distinguishing one-off capital outlays from recurring operational expenses, so you can compare total cost of ownership.
Explore funding options that support phased upgrades, including public-private partnerships, grants, and low-interest retrofit loans, ensuring repayment aligns with expected energy savings.
Emphasize governance and transparency to preserve funding equity, and document standards-compliant procurement to sustain efficiency, reliability, and measurable performance throughout the programme.
Prioritise Energy Efficiency Upgrades First
Investing in energy efficiency should be the first step because it directly lowers operating costs and reduces demand on the building’s systems. You should audit current performance, set measurable targets, and prioritize upgrades with the highest impact on energy use.
Start with base-load reductions, efficient lighting, and modern controls to establish a reliable baseline. Plan upgrades that meet defined standards, ensuring compatibility with existing prefab construction.
Document expected energy savings and payback periods to guide decisions and procurement. Maintain focus on long-term reliability and lifecycle costs rather than novelty.
When improvements touch appearance, balance prefab aesthetics with function, avoiding cosmetic overreach. Respect historical preservation requirements by preserving key architectural features while upgrading envelopes and systems.
Choose contractors who can demonstrate compliance with applicable energy and building codes.
Insulation Strategies: Walls, Roofs, or Floors?
You’ll weigh wall insulation options first, focusing on materials, thickness, and air sealing to maximize thermal performance.
Next, assess roof and floor strategies for continuous insulation and moisture control, so combined performance isn’t compromised.
Start by aligning choices with local standards, retrofit feasibility, and long-term energy savings.
Wall Insulation Focus
Insulation for walls is a fundamental step in upgrading former local authority prefab homes because it directly reduces heat loss and improves comfort without expanding the building’s footprint.
You should assess existing wall assemblies for air gaps, moisture risk, and thermal bridging, then select compliant materials that meet UK/building standards.
Apply continuous insulation where possible, minimizing cold bridges at studs and joints.
Use breathable, vapor-permeable wraps to manage moisture, and ensure robust fixing details for wind load and long-term performance.
After installation, test airtightness and verify thermal conductivity targets, documenting U-values for compliance.
Plan garden landscaping to avoid shading effects that skew performance, and consider interior decor implications so the enhanced envelope harmonises with living spaces.
Focus results on energy use, comfort, and durable performance rather than decorative trends.
Roof and Floor Strategies
Roof and floor insulation strategies should target thermal continuity and moisture control across the whole envelope. Prioritise continuous insulation, air leakage reduction, and robust detailing at edges, penetrations, and floor-to-wall junctions.
You’ll evaluate roof insulation approaches that limit heat loss while resisting wind-driven moisture. Selecting breathable or vapour-permeable finishes where appropriate can help manage condensation risk.
For floors, you’ll reinforce structural strength while minimizing thermal bridges through continuous insulation layers and careful junctions with foundations.
Emphasise durable edge detailing and seam integrity to prevent drafts. Consider floor reinforcement to support long-term loading and ensure service routes remain accessible.
Document tested performance data, install to manufacturer specifications, and verify airtightness targets before commissioning.
Roof insulation and Floor reinforcement should integrate with overall retrofit standards for safety and comfort.
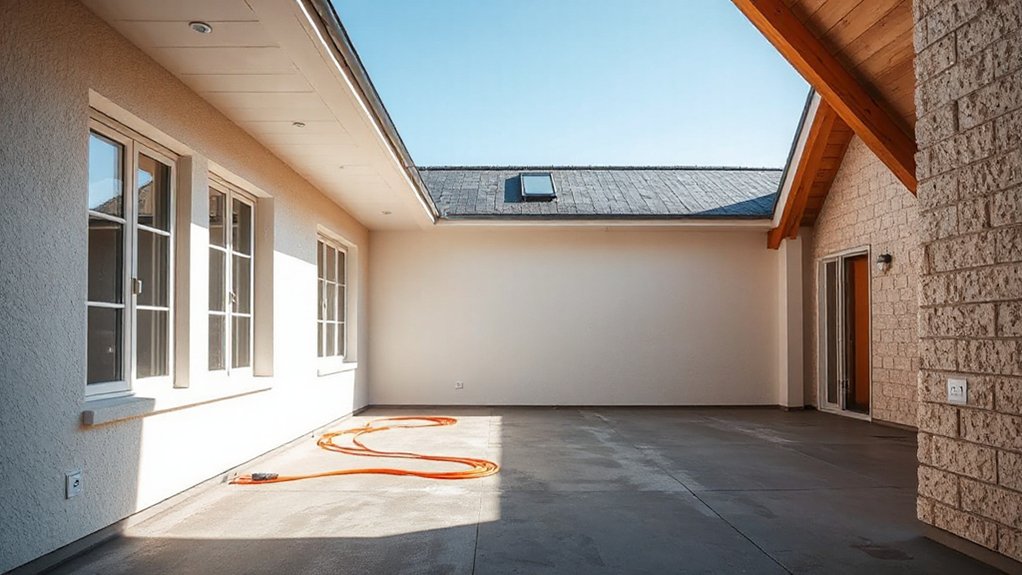
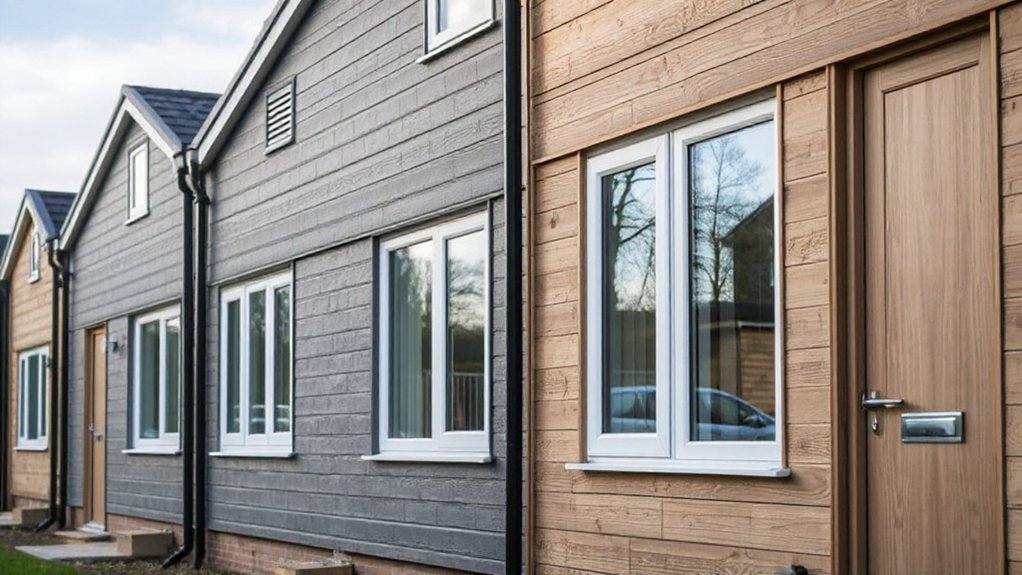
Upgrading the External Envelope: Cladding, Render, and Sealing
Then you’ll upgrade the external envelope by selecting cladding, render, and sealing schemes that meet current performance standards while preserving the structure’s safety and durability; this sets the baseline for energy efficiency, weather resistance, and long-term maintenance.
You’ll evaluate material compatibility with existing framing, moisture management, and thermal performance, prioritising breathable renders and moisture barriers where appropriate.
Choose cladding that resists impact, UV degradation, and mould growth, while ensuring proper detailing at penetrations and joints.
Sealants and tapes must be weather-tight and compatible with both substrate and finish.
Document performance metrics, warranty terms, and maintenance schedules.
Integrate garden landscaping considerations for effective drainage and visual cohesion, and plan interior decor accessibly around external improvements for a coherent, durable home upgrade.
Windows and Doors to Reduce Heat Loss and Boost Daylight
You’ll start by selecting high-performance windows and doors that minimize heat loss while maximizing natural light.
Prioritize triple-glazed units, low-emissivity coatings, and airtight fittings to meet standards and reduce drafts.
Use daylight-maximizing layouts and appropriate shading to balance bright interiors with thermal comfort.
Windows Thermal Improvement
To cut heat loss and boost daylight, focus on upgrading windows and doors. You should prioritise cold-bridge reduction through high-performance double or triple glazing, airtight frames, and compliant U-values.
Select frames with minimised thermal bridging and robust seals, and verify installation accuracy to prevent gaps. Consider low-emissivity coatings and inert gas fills to improve transmittance and insulation without compromising daylight.
Assess window geometry for solar gain balance, ensuring appropriate shading to avoid overheating in sunnier months. Prioritise window aesthetics alongside performance, aligning with your design standards.
Use thermal curtains where sensible to augment insulation during peak cold periods, while maintaining daylight access.
Document test results, installation quality, and label materials to support ongoing compliance and future upgrades. Maintain clear, actionable checklists for installers.
Daylight Maximization Techniques
Building on those window upgrades, daylight maximization focuses on harnessing natural light while keeping heat loss under control. You’ll select high-performance glazing, optimized frame details, and controlled shading to balance glare and warmth.
Prioritize daylight harvesting strategies that align with energy codes, enabling automatic dimming or radiant controls when daylight meets set thresholds. Use U-values and solar heat gain coefficients as your screening tools to compare products, aiming for continuous curtain-wall or sash systems that minimize thermal bridges.
Position windows to maximize usable daylight without compromising privacy or security; employ door skylights or light tubes only where there’s proven benefit. Document testing results, comply with standards, and train occupants on operation to sustain natural lighting benefits.
Regular inspections ensure seals remain tight and daylight performance endures.
Heating, Cooling, and Ventilation for Healthy Retrofit Living
Effective heating, cooling, and ventilation are essential for healthy retrofit living, especially in former local authority prefab homes. You’ll assess existing fabric, then target balanced air exchange to reduce drafts and moisture buildup.
Prioritise continuous mechanical ventilation with heat recovery where feasible, paired with high-performance filters to protect indoor air quality. Retrofit strategies should specify controlled infiltration limits, airtightness testing, and commissioning of new systems before occupancy.
When selecting heating and cooling, favour Zonal control, energy-efficient boilers or heat pumps, and appropriately sized radiators or underfloor circuits to avoid oversizing. Integrate smart thermostats to manage schedules, monitor consumption, and support setpoint discipline without sacrificing comfort.
Document performance targets, maintenance intervals, and filter replacement regimes to sustain indoor air quality and system longevity.
Electrical, Plumbing, and Gas Readiness for Retrofit Work
Electrical, Plumbing, and Gas readiness sets the groundwork for a safe, compliant retrofit of former local authority prefab homes; you’ll audit existing services, map upgrade routes, and align with applicable codes before any disruptive works begin.
You’ll systematically verify distribution boards, cable sizing, and earthing arrangements, then plan decommissioning and reconfiguration with minimal risk.
Condition assessments identify aging or undersized components, while gas and plumbing routes are coordinated to prevent cross-contamination and guarantee service continuity.
Documented test procedures, pressure checks, and leak detection become routine before works start.
Factor in energy storage and renewable integration early to avoid later bottlenecks.
Achieve compliance through concise risk assessments, method statements, and clear handover criteria, enabling seamless integration with retrofit design and long-term performance targets.
Structural Checks Before Renovation: Who to Hire and What to Test
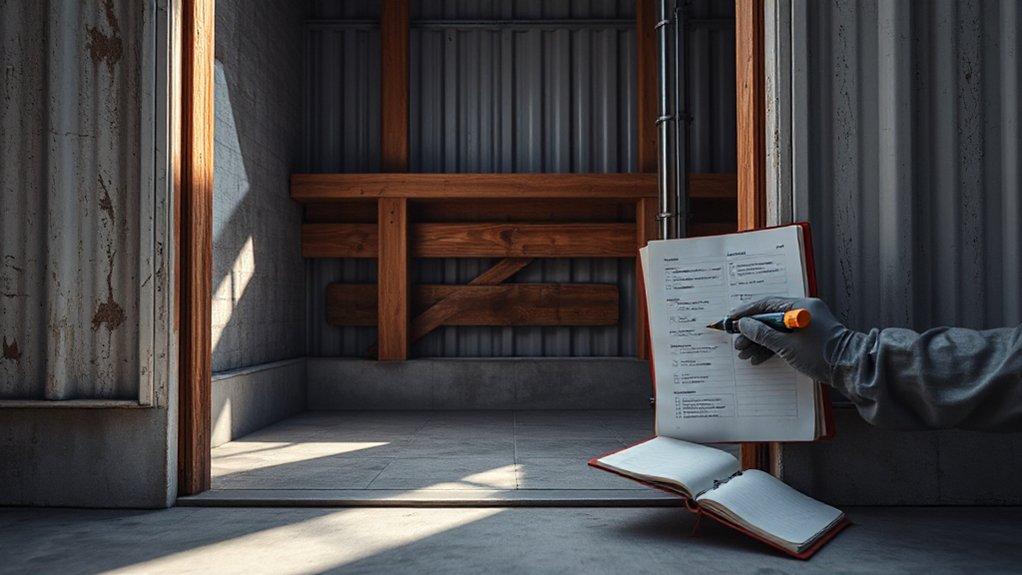
Structural checks set the baseline for a safe renovation, so you’ll identify who to hire and what tests to run before any demolition begins. You’ll determine structural engineer needs, surveyors, and quantity surveyors with experience in prefab manufacturing and modular framing.
Prioritize accredited professionals who understand site-specific loading, moisture exposure, and joint integrity. You’ll schedule load testing, foundation assessment, wall-frame inspection, and corrosion checks on connectors, vents, and steelwork.
Document results against housing policy requirements and applicable building standards, ensuring traceable certificates and clear scope of work. Expect a written plan detailing retrofits, re-anchoring, seam treatments, and retrofit adhesions.
Insist on non-destructive methods first, escalating to targeted destructive tests only when warranted. Choose teams who communicate findings, risks, and recommended actions promptly.
Fire Safety and Building Regulations for Refurbished Prefab Homes
Begin with a thorough risk assessment, addressing fire compartments, detection systems, and automatic suppression where mandated. Document material classifications, insulation, and compartmental boundaries to minimize rapid fire spread.
You’ll coordinate with building control and, where applicable, heritage authorities to balance compliance with historical preservation considerations.
Prioritize robust ventilation, electrical isolation, and retrofit methods that meet modern energy and fire performance criteria.
Engage residents early to refine emergency procedures, and foster community engagement.
Finally, maintain traceable records for inspections, approvals, and ongoing compliance throughout refurbishment.
Sustainable Materials That Fit Community Character
Prioritize materials with documented reuse or low embodied energy, and document lifecycle implications for long-term maintenance.
For external cladding and roofing, choose options that respect scale, texture, and colour palettes typical to the area, ensuring compatibility with historic or local styles.
Establish material sourcing protocols that emphasize traceability, local availability, and responsible extraction.
Embed community engagement early: present choices, collect feedback, and adjust specifications accordingly.
Maintain a clear audit trail, linking decisions to compliance, resilience, and sustainability goals.
Layout Optimisation: Reconfiguring Spaces Without Losing Charm
You’ll assess space flow to identify bottlenecks and opportunities for natural circulation between living, dining, and kitchen zones.
Consider functional room reconfiguration that maintains critical clearances and complies with standards for doors, storage, and circulation while preserving the home’s character.
Prioritize preservation-friendly layouts that respect existing structure and materials, using measured changes that enhance usability without compromising charm.
Space Flow Enhancements
To optimise space flow in former local authority prefab homes, start by mapping current paths and usage patterns to identify bottlenecks and underutilised zones. You’ll prioritise logical circulation, minimizing cross-traffic and dead-end corridors. Then implement a phased plan that preserves charm.
Use modular layout principles to reallocate multifunctional zones without compromising daylight, acoustics, or privacy. Focus on clear sightlines, accessible storage, and flexible furniture.
Keep thresholds low and openings wide to ease movement between living, dining, and kitchen areas, while preserving intimate nooks. Integrate outdoor landscaping as a transitional element that expands perceived space and supports seasonal use.
Foster community engagement by inviting residents to test flows in pilot spaces and provide feedback for refinements. Adhere to standards, documenting changes for ongoing maintenance.
Functional Room Reconfiguration
- Prioritise essential adjacencies to maintain social and functional links between living, dining, and cooking zones.
- Preserve character-defining features (nooks, alcoves, fireplace echoes) while swapping furniture footprints and circulation paths.
- Integrate garden landscaping and outdoor lighting considerations into the interior plan to extend perception of space.
Apply standards-based measurements, verify access for furniture and equipment, and confirm compliance with safety codes before implementation.
Preservation-Friendly Layouts
Maintain door alignments and load-bearing cues to support future reversibility, and use modular partitions that can be reconfigured without structural impact. Prioritise natural light paths, ensuring windows retain their original framing and proportions, while buffering glare with timing controls.
Document decisions for ongoing maintenance, linking layout choices to the property’s historical significance and potential for adaptable use. Engage residents early, inviting feedback to enhance community engagement, and align reconfigurations with preservation standards in commissions, audits, and future renovations.
Aesthetic Updates That Honour the Original Design
Aesthetic updates should respect the building’s original character while delivering modern durability and efficiency. You’ll align finishes, fixtures, and proportion with the historic shell, ensuring contemporary performance without erasing identity. Prioritize materials that echo period textures while meeting current standards, and choose color palettes that preserve tonal history.
You’ll document decisions for historic preservation compliance and public accountability, linking design outcomes to community values. Use precise detailing on edges, trims, and glazing to maintain rhythm and massing. Emphasize light, scale, and material honesty to reduce the chance of visual discord.
- Maintain original window proportions where feasible, updating seals and energy performance.
- Restore or reproduce key architectural features with durable, compliant materials.
- Integrate modern services discreetly to protect historic readability. Historic preservation, Community engagement.
Drainage, Damp Proofing, and Long-Term Durability
Drainage and damp-proofing are critical for long-term durability, so assess site conditions first and design a robust system that stays discreet yet effective. You’ll specify Drainage systems that divert groundwater away from foundations, install properly sloped external aggregates, and place cleanouts for maintenance.
Guarantee controlled drainage around slabs, with perimeters protected by waterproof detailing and continuous damp-proofing barriers. Apply Damp proofing techniques that resist hydrostatic pressure, using compatible membranes or liquid-applied systems, sealed at joints and penetrations.
Detail drainage, backflow, and venting requirements in plans, and test systems under rainfall and saturation conditions. Specify material grades, installation tolerances, and quality-control checkpoints to verify continuity.
Document inspections and remedial measures, linking durability to ongoing maintenance schedules and lifecycle cost considerations.
Getting Buy-In: Engaging Residents, Councils, and Funders
Engaging residents, councils, and funders starts with a clear, evidence-based case for upgrading former local authority prefab homes. You build buy-in by showing measurable benefits, risk reduction, and return on investment, using transparent data and concise visuals.
1) Community engagement plans: outline roles, channels, timing, and feedback loops to guarantee residents influence decisions and feel respected.
2) Funding mechanisms: map grants, loans, equity shares, and blended finance, highlighting eligibility, terms, and milestones.
3) Governance and standards: establish decision rights, accountability metrics, and independent verification to maintain trust and compliance.
You’ll align project milestones with funder requirements, council priorities, and resident needs, enabling timely approvals. The result: informed support, smoother procurement, and durable, compliant upgrades that meet statutory expectations.
Case Studies: Retrofit Success Stories in Local Authority Prefabs
Case studies provide concrete proof that retrofit work on former local authority prefabs can deliver reliable performance, faster upgrades, and lasting value. You’ll see patterns across projects: standardized assessments, targeted insulation upgrades, and spec-compliant mechanical fixes that minimize disruption to residents.
In successful examples, retrofit teams prioritise energy efficiency retrofits, airtightness testing, and durable finishes that withstand local climates, while preserving original floorplans where feasible. Documentation and post-work monitoring underpin the results, ensuring long-term reliability.
You’ll also notice small, practical gains that matter day-to-day, like improved indoor air quality and reduced utility bills. Gardening tips and community events often accompany upgrades to maintain resident engagement, demonstrate accountability, and share knowledge about upkeep and safe, smart maintenance.
Planning the Project Timeline and Managing Risk
Careful planning sets the project up for on-time delivery and minimal disruption. You map milestones, assign responsibilities, and align tasks with approved standards. This disciplined approach reduces surprises and keeps stakeholders in the loop, including community engagement requirements and preservation obligations.
- Define critical paths and buffers to absorb delays without cascading failures.
- Integrate risk registers with ongoing monitoring, assigning owners for mitigations and contingency budgets.
- Schedule stakeholder updates that respect historical preservation guidelines and document decisions for audits.
You’ll implement a risk-aware calendar, track permits, and verify compliance at each phase. Prioritize safety training, material availability, and supplier reliability to prevent shortages. Maintain transparent communication with residents and heritage officers, ensuring timelines respect sensitive areas and historic features.
Clear documentation and proactive adjustments keep the project on track while honoring community expectations and preservation commitments.
Keeping Affordability After Renovation: Uptime, Costs, and Stewardship
Keeping affordability after renovation means designing for uptime, controlling ongoing costs, and upholding stewardship. You’ll prioritise robust components, durable materials, and proven detailing to minimise maintenance cycles and avoid unexpected expenses.
Establish a quantified plan for energy use, water, and waste to drive predictable bills and dampen volatility. Track life-cycle costs from procurement through end of life, and align decisions with funding realities and grant conditions.
Community engagement helps sustain affordability by validating needs, guiding retrofits, and reducing retrofit waste. Maintain transparent budgeting, clear scope, and stringent quality checks to prevent cost overruns.
Embrace historical preservation where feasible to access grants and preserve value. Regular reviews and stewardship audits ensure uptime stays high, costs stay predictable, and the home remains affordable for occupants over time.
Frequently Asked Questions
How Long Does a Retrofit Typically Take per Unit?
A retrofit typically takes about 4–8 weeks per unit, depending on size and complexity. You’ll prioritize historical preservation and aesthetic integration, adhering to standards, coordinating trades, and ensuring minimal disruption during the schedule.
What Are Hidden Costs in Retrofit Projects?
“Forewarned is forearmed.” You’ll encounter hidden expenses and unforeseen challenges in retrofit projects, so you budget contingencies, track costs rigorously, and document deviations; you maintain standards, apply precision, and justify every expense with clear, practical rationale.
How to Measure Long-Term Maintenance Impact?
You measure long-term maintenance impact by tracking costs, durability, and failure frequencies. You’ll prioritize historical preservation and environmental sustainability, using standards-based metrics, scheduled audits, predictive maintenance, and lifecycle cost analyses to inform timely, cost-efficient decisions.
What Grants Are Most Accessible for Councils?
You’ll laugh, but funding sources are plentiful; you just navigate regulatory hurdles first. You’ll secure grants, loans, and partnerships, aligning with standards, timelines, and audits—then you deliver practical, compliant upgrades for council-owned prefabs efficiently.
How to Balance Character With Modern Standards?
You balance character with modern standards by prioritizing historical preservation and aesthetic integration, ensuring upgrades respect original forms, materials, and rhythms while meeting current safety, energy, and accessibility benchmarks with precise, practical, standards-oriented implementations.
Conclusion
You’ve planned with precision, kept standards at the center, and prioritized resident wellbeing every step of the way. With rigorous assessments, compliant retrofits, and transparent budgeting, you’ll deliver durable, energy-efficient homes that ages well and stay affordable to operate. Stay vigilant on moisture, fire safety, and regulatory approvals, and maintain detailed documentation for longevity. The project should flow like a well-tuned machine, smooth and reliable, guiding communities toward lasting comfort and stewardship.


