Gather your gear, prep the area, and choose the right cleaner and pressure washer for concrete. Test a small patch first, then pre-wet the surface and apply the cleaner. Use steady, overlapping strokes with a surface-friendly nozzle, brushing where needed to lift embedded dirt. Rinse top to bottom, re-treat stubborn stains, and avoid high pressure on delicate spots. After cleaning, seal and allow full drying before use. For lebih tips, continue and you’ll master the full process.
Gather Your Gear: What You’ll Need for Driveway Pressure Washing
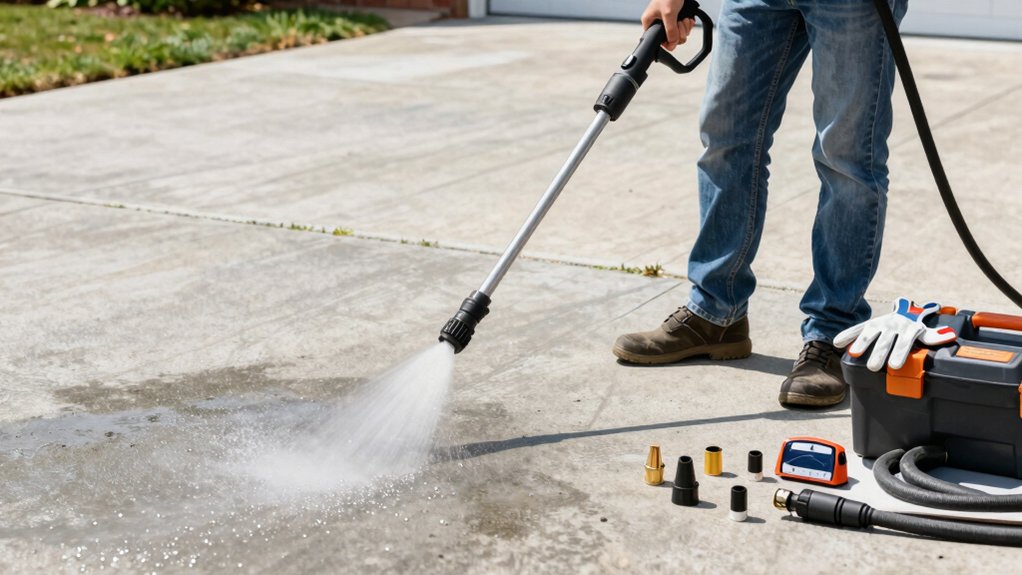
To start, gather the essential gear: a pressure washer with the appropriate nozzle, a sturdy extension cord, and safety equipment like gloves and eye protection. You’ll also need a surface cleaner or nozzle attachment, detergent compatible with concrete, and basic tools for quick prep, such as a stiff broom and a scraper.
Choose a washer with sufficient PSI for concrete but avoid excessive pressure that could damage the surface. Inspect hoses, fittings, and seals for wear, replacing damaged parts before use. Plan for drainage, placing tarps or plastic to catch runoff when needed.
For DIY tips, label cords and keep hoses organized to prevent tangles. After cleaning, perform equipment maintenance: clean filters, inspect nozzles, and store gear dry to extend lifespan.
Prep and Safety Essentials Before You Start
Before you start, assemble the Safety Gear Essentials—gloves, eye protection, hearing protection, and sturdy footwear—and confirm you’re wearing them throughout.
Clear the area by removing vehicles, pets, and objects, and set up barriers to keep bystanders away.
Stay mindful of the surface, power cords, and fuel or chemical containers, and follow manufacturer instructions for all equipment.
Safety Gear Essentials
You should wear sturdy work gloves, eye protection, and non-slip footwear as you prep, and lay out a clear workspace with a stable ladder or platform if you’ll be working near edges or higher areas.
In this section, focus on essential safety gear and proper use. Choose protective clothing that shields skin from splashes, and consider a long-sleeve, moisture-wicking layer beneath to manage heat and friction.
Eye protection is non-negotiable; select goggles or a face shield that seals well and fits over eyeglasses if needed.
A waterproof outer layer helps in wet conditions, while a respirator or mask reduces inhalation of dust and odors.
Ensure hearing protection around noisy equipment, and keep a first-aid kit and neutralizing agents within reach for quick response.
Area Clearing Steps
Start by surveying the driveway area and removing loose debris, toys, and vehicles to create a clear work zone. Before you begin, inspect the surface for cracks or loose pavers and note any weak spots.
Clear nearby landscaping ideas like shrubbery that could splatter or trap runoff; protect them with plastic sheeting or drop cloths. Identify drainage pathways to avoid mud buildup and make certain runoff won’t reach siding or windows.
Choose appropriate driveway materials and tools, confirming compatibility with your pressure washer’s PSI and nozzle. Set up barriers or caution tape to keep pets and kids at a safe distance.
Firmly secure hoses, cords, and extension cords to prevent tripping. Wear sturdy footwear and eye protection; practice safe start-up procedures for ideal results.
Selecting Cleaners and Equipment for Driveways
When selecting cleaners and equipment for driveways, prioritize products and tools that match the surface material (concrete, asphalt, pavers) and the type of stains you’ll encounter. You’ll achieve predictable results by aligning detergents and gear with the job at hand.
Choosing detergents requires understanding stain chemistry and adopting concentrated, label-guided formulas for efficiency.
Equipment selection should favor a pressure washer with adjustable PSI, appropriate nozzle tips, and a compatible surface cleaner for large areas.
For concrete, choose high-alkaline cleaners and degreasers.
For asphalt, opt for low-foaming, asphalt-safe formulas.
Paver surfaces benefit from non-fuming detergents and gentle brushes.
Verify compatibility, test on a small area, and follow manufacturer instructions.
This groundwork ensures effective cleaning while protecting surface integrity and your equipment.
Step-by-Step Washing: Pre-Wet, Apply, Scrub, Rinse
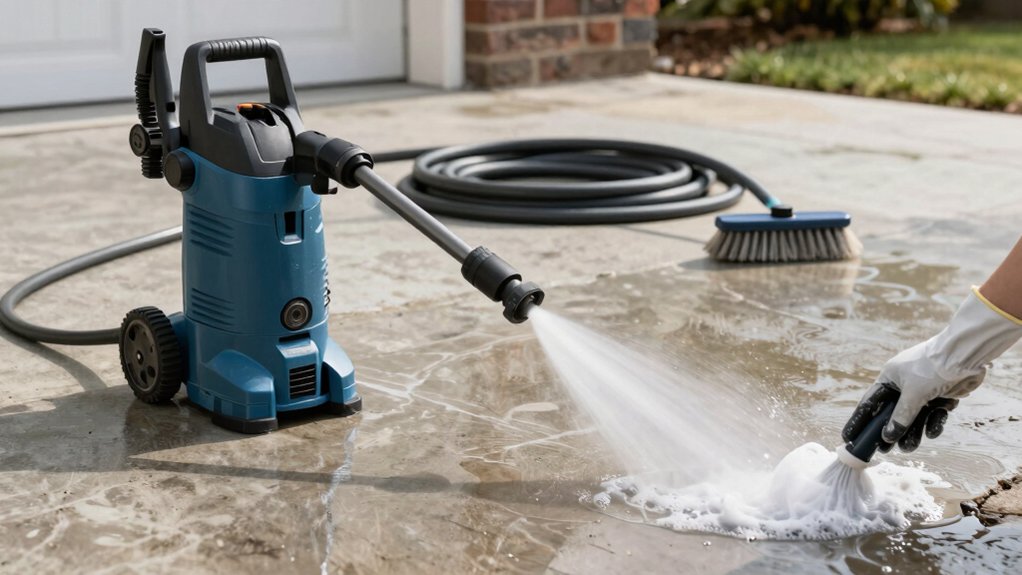
After selecting cleaners and equipment, the washing process follows a clear sequence: pre-wet the surface to loosen dirt, apply the cleaning solution to target stains, scrub with appropriate brushes, and finish with a thorough rinse to remove loosened grime and detergent.
You’ll pre-wet first, letting water saturate raised textures and tight joints. Then apply a measured amount of cleaner to concentrate on chemical stains. Use steady, overlapping strokes to avoid streaks, choosing brushes that match surface textures for even agitation.
Scrubbing dislodges embedded debris without gouging surfaces, and you maintain consistent pressure to prevent damage. Finally, rinse completely from top to bottom, ensuring all detergent is removed and residue is cleared.
Inspect for remaining traces, re-treat only where necessary, and proceed to the next step.
Stain-Busting Techniques and Sealing the Surface
You’ll tackle stain removal by selecting proven methods that suit your concrete type and stain, from enzymatic cleaners to poultices. After treatment, you’ll evaluate sealing options for durability and surface finish, choosing a sealer that matches foot traffic and weather exposure.
This section introduces the balance between effective stain busting and long-term protection, guiding your next steps with clear criteria and outcomes.
Stain-Removal Methods
Stains on a driveway can undermine curb appeal and signal deeper issues, but effective stain removal starts with identifying the contaminant and selecting the right treatment. You’ll use targeted methods that focus on the specific stain type, optimizing results while protecting surrounding areas.
- Identify the stain: oil, rust, mold, or organic matter, then choose a stain-specific treatment.
- Apply eco friendly solutions: enzymatic cleaners for organic stains, degreasers for oils, and rust removers as directed.
- Test in a small area, agitate with a soft brush, and rinse thoroughly to avoid residue.
- Seal surface after thorough cleaning, using appropriate products to slow future staining and maintain longevity.
This approach emphasizes precision, efficiency, and durability through stain-specific treatments.
Sealing Surface Effectiveness
Sealing the surface is the final step that locks in cleanliness and extends protection by creating a uniform barrier against future stains and weathering.
You apply a compatible sealant after cleaning and drying the concrete, ensuring the substrate is dry, dust-free, and crack-free. Choose a product labeled for exterior concrete and compatible with your environment, then follow the manufacturer’s coverage rates to avoid excessive buildup.
Surface sealing reduces moisture penetration, inhibits oil penetration, and minimizes UV degradation, but only if the surface is properly prepared and cured.
Apply evenly with a roller or sprayer, maintaining a steady pace to prevent lap marks.
Allow the sealant to cure fully before exposing the surface to traffic.
Sealant durability depends on proper application, climate, and maintenance schedule.
Troubleshooting, Maintenance, and Common Pitfalls
If you’re tackling driveway care, start with a clear plan to prevent common issues and extend the life of your surface. You’ll address maintenance, identify trouble signs early, and apply focused fixes. Follow these guidelines to keep performance high and costs low.
- Regular equipment maintenance: inspect hoses, nozzles, and wand for wear; replace damaged parts to maintain consistent pressure and prevent surface damage.
- Troubleshooting tips: pause if you notice streaking, sponginess, or uneven cleaning; recalibrate spray pattern, pressure, and nozzle type before continuing.
- Surface compatibility checks: test on a small area first to avoid etching, especially on concrete with additives or sealants.
- Pitfall avoidance: don’t rush, don’t dry-scrub aggressively, and don’t use high pressure on fragile materials.
Frequently Asked Questions
How Can I Remove Stubborn Oil Stains Without Harming Grass?
Oil stain removal can be done by applying cat litter or baking soda, letting it absorb, then rinsing promptly; use a degreaser labeled grass-safe, apply carefully, and rinse to keep grass safe and staining minimized.
Is Pressure Washing Safe on Concrete With Nearby Plants?
Yes, pressure washing is generally safe near plants if you maintain distance and start with a low psi. You must consider plant safety and chemical precautions, shielding foliage and rinsing detergent away to protect soil and roots.
Which Nozzle Tips Work Best for Moss vs. Grime?
You should choose nozzle tips for moss vs. grime based on nozzle selection and spray patterns: use a fan spray for broad grime and a pointed jet for moss buildup, adjusting distance to avoid surface damage.
Can I Pressure Wash Indoors After Sealing Outdoor Surfaces?
No, you shouldn’t indoor pressure wash after sealing outdoor surfaces. Indoor pressure washing exposes your home to moisture and damage. Focus on proper ventilation, and make certain outdoor sealing remains intact before performing any maintenance outdoors or indoors.
How Often Should You Re-Seal a Cleaned Driveway?
“Time heals all wounds.” You should re-seal every 2-5 years, depending on traffic and sealing schedule, to maintain protection; you’ll preserve color and durability, reducing wear as part of routine driveway maintenance.
Conclusion
You’ve got this: with the right gear, prep, and technique, your driveway can look brand-new in no time. Stick to the steps, stay safety‑mocused, and tailor cleaners to your surface to avoid damage. One surprising stat: homeowners who pressure-washed regularly report a 15–20% boost in curb appeal, according to recent home-improvement surveys. If stains resist, reapply with a targeted approach rather than brute force. Maintain results with periodic light cleanings and timely sealing for longer-lasting durability.