To replace cabinet hardware perfectly, start by matching style, finish, and size to your cabinetry—knobs 1.25–2.25 inches, handles 4–16 inches—then confirm door thickness and hole spacing. Mark centers with a punch, drill clean pilot holes per material, and use levellines to guarantee perpendicular mounting. Test-fit before tightening, deburr holes, and avoid overtightening. Clean and recheck alignment quarterly, and choose a cohesive metal palette to maintain a high-end look—and you’ll unbolt a seamless, durable upgrade as you continue.
Before You Start: Cabinet Hardware Basics, Styles, and Finishes
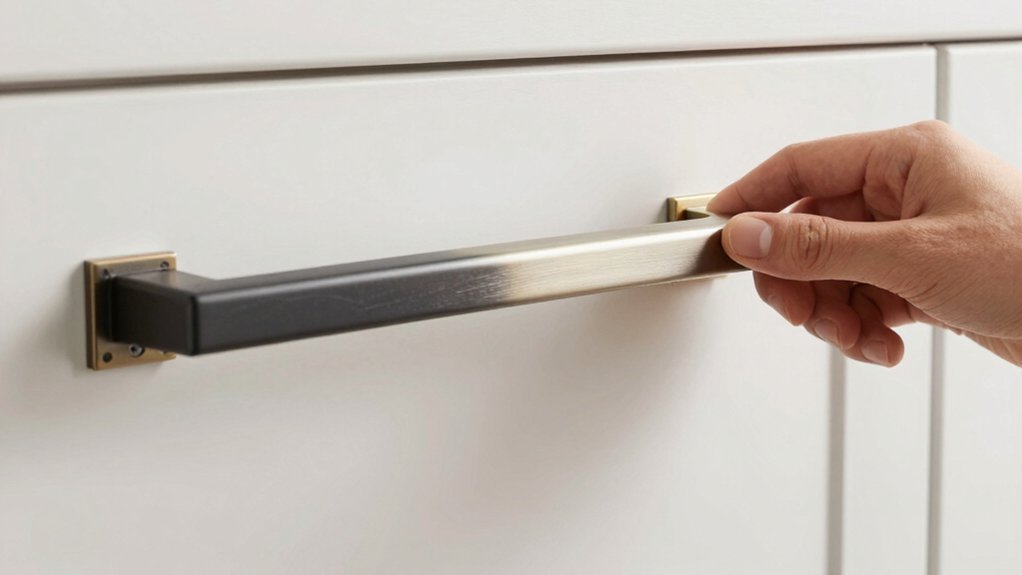
Before you plunge into swapping cabinet hardware, get a clear read on the basics: what hardware does, the common styles, and the finishes that pair best with your cabinetry. You’ll evaluate material durability to ensure longevity under daily use, and note how ergonomic comfort impacts operation, especially on high-traffic cabinets.
Understand that knobs, pulls, and backplates translate your design intent into tactile reality, not just accents. Confirm compatibility with door thickness, spacing, and mounting hardware, then map out the frequency of use in each area to prioritize grip design.
Catalog finishes—matte, satin, bronze, chrome—and their interactions with your wood tones and metal tones. This groundwork sharpens decisions, minimizes later revisions, and aligns aesthetics with function for a cohesive, durable result.
Choose Cabinet Hardware: Styles, Finishes, and Size Guidelines
You’ll weigh style options that align with your cabinet design, from classic to contemporary, so you pick a look that lasts. Check finish compatibility with your existing materials and hardware, ensuring durable adhesion and cohesive tone.
Measure for fit and scale, then apply size guidelines to confirm handles and pulls sit comfortably and functionally.
Style Options Guide
Choosing cabinet hardware is about harmonizing style, finish, and proportion so the pulls, knobs, and backplates feel like a cohesive part of the room. In this Style Options Guide, you’ll parse styles by silhouette first—modern, traditional, transitional, and rustic—then map finishes to use-case and lighting.
Consider shape language: linear, organic, or geometric profiles influence perceived scale and grip comfort. Balance metal tones with cabinet color and wood species to avoid visual competition. When evaluating finishes, weigh durability against appearance—satin and matte options offer finger-print resistance without glare.
For installation, verify screw spacing and backset for a precise fit. Hardware trends matter, but prioritize function and proportion. Do a material comparisons check: brass, stainless, bronze, and zinc alloys—note wear, patina, and maintenance.
Finish Compatibility Tips
Finish compatibility hinges on matching metal tone to cabinet color and lighting conditions, then confirming size and backset align with your existing holes and drawer fronts.
You’ll evaluate finish compatibility by comparing undertones—cool versus warm—and ensuring your chosen hardware reflects the cabinet sheen without overpowering it.
Material matching matters: if you’re pairing a brushed nickel pull with a matte white laminate, verify abrasion resistance and cleanliness, since different materials wear differently.
Consider surface texture as well; satin and matte finishes read similarly under similar lighting, while polished surfaces can appear brighter and more reflective.
Avoid mixing finishes with conflicting metallic hues; instead, align with a unifying palette across hardware, hinges, and fixtures.
Document your selections to guarantee consistency before installation.
Size and Fit Rules
When sizing cabinet hardware, accuracy matters as much as appearance. You’ll align proportion, function, and flow by checking standard practices before drilling. Start with knob diameter and handle width as your guardrails: knobs generally range from 1.25 to 2.25 inches, while handles often span 4 to 16 inches depending on door size and layout.
Maintain consistent spacing to avoid crowding, typically about 2.5 to 3 inches from the door edge to center of hardware for small drawers, and adjust for larger panels. Consider line weight, edge radius, and drawer configuration to preserve visual balance.
Don’t mix diameters or scales within a single cabinet run; use a uniform rhythm so hardware reads as a cohesive design element. Precision here prevents misalignment and regret.
Tools, Setup, and How to Measure for Holes

Here’s how to set up precisely: you’ll align hole centers using simple hacks, confirm mounting depth with a caliper, and map templates so each hole lands exactly where it should. Keep templates tight to the cabinet face, verify distances across both doors and drawers, and note any variability in hardware backplates.
With a clear measurement system in place, you’ll standardize hole spacing, guarantee secure mounting, and minimize rework for a clean, durable result.
Hole Centering Hacks
To center cabinet holes accurately, start with a solid layout: use a centered punch or a mark-in-a-template approach. Verify each reference line with a carpenter’s square, and double-check with a caliper or ruler before you drill.
In Hole Centering Hacks, you’ll apply drill bit selection thoughtfully to match your hardware size and wall material, reducing wander and tear-out.
Precision hinges on consistent references: drive from a shared datum, align edges to the template, and confirm hole-to-hole spacing with careful measurement.
Employ hole alignment techniques like cross-checking with a level line and using a drill guide for perpendicular entry.
Plan for pilot holes at strategic depths, then finish with clean, deburred holes to accept mounting hardware snugly.
Mounting Depth Basics
mounting depth basics: get your setup dialed in first. You’ll establish a precise baseline by locating the cabinet face, then align the screw line with the center of the hole pattern.
Measure your current mounting depth from the face to the rear of the door or drawer to determine where the screw should end. Consider hardware clearance—leave enough room for hinges, strike plates, and drawer fronts without rubbing.
Use a depth gauge or a simple measuring tape to record consistent values across all pieces. Mark a reference line for each door or drawer, ensuring uniform depth per piece.
Double-check the overall visual alignment from multiple angles, adjusting as needed. Finalize by test-fitting a mock screw to confirm smooth operation and clean aesthetics.
Template Measurement Tips
Template measurement tips streamline accuracy: set up your jig and tools first, then measure holes with consistent references across all pieces. You’ll align templates to cabinet face frames, verify centerlines, and document offsets for repeatability. Use a calibrated square and a depth stop to lock positions, ensuring hinge alignment stays true as you transfer marks.
Maintain parallel edge references to minimize drift during drilling or drilling-out stops. Double-check hole spacing against drawer slides to prevent binding and misalignment. Record measurements per door and drawer style, not just overall cabinet count. Finish with a final dry-fit before final hardware installation.
- Establish a common origin across all pieces
- Verify alignment with drawer slides and hinges
- Lock dimensions with stops and squares
- Cross-check measurements before drilling
Install Hardware: Step-by-Step Swap for a Flawless Finish
When you swap cabinet hardware, the goal is a flawless, evenly spaced finish that complements your doors and drawers. You’ll start by aligning all screws to a consistent centerline, then mark pilot holes with a level and masking tape to prevent slipping.
Use the same depth for every hole, and predrill slowly to avoid splintering. Attach handles or knobs using a snug, not over-tightened, grip to prevent wobble or distortion. Check alignment from multiple angles as you install, adjusting screw length if needed so hardware sits flush.
Re-tighten after a test pull to ensure stability. Consider DIY tips that emphasize symmetry and consistency, and stay mindful of design trends toward concealed screws or minimalist hardware. Finish with a gentle wipe to remove fingerprints and reveal a precise, cohesive look.
Common Installation Hiccups and Easy Fixes
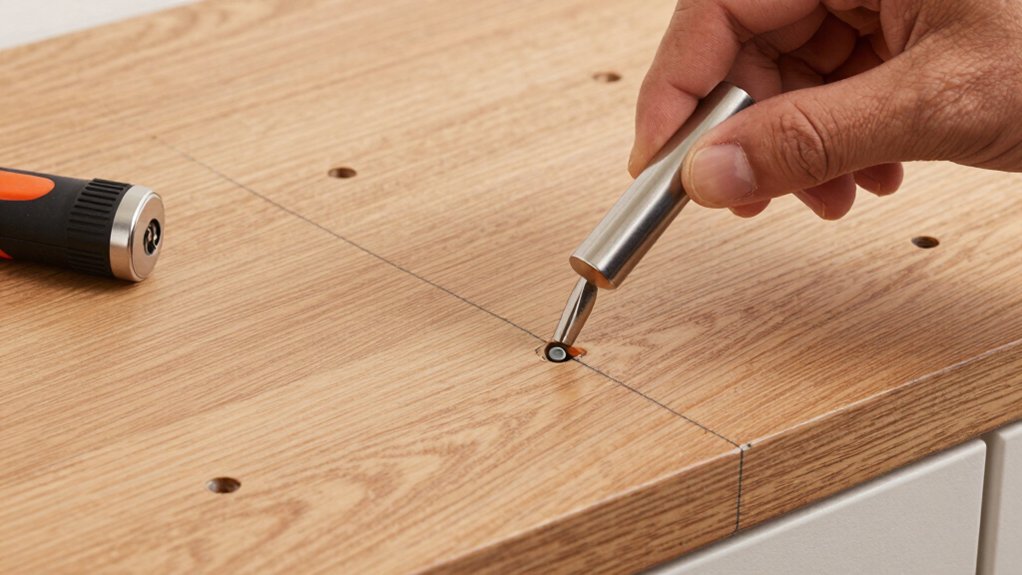
Even with careful planning, you’ll encounter a few common installation hiccups, and quick fixes keep the project moving. You’ll spot drill misalignment early, then adjust with precision. If a screw strips, stop, back out, and re-drill with a slightly larger bit or use a steady hand and a better pilot. Use a tape measure to verify spacing, and recheck lid clearance before final tightening.
Maintain alignment by marking mounting holes on the face frame, then drill perpendicular to the surface to avoid skew. When tightening, apply steady, even force and avoid over-torquing plastic anchors. Precision tools, cleanly sized hardware, and deliberate steps prevent wobble or misfit.
- Verify hole location and drill level before mounting
- Address drill misalignment with incremental pilot holes
- Prevent screw stripping by proper bit choice and pilot size
- Test fit and tighten gradually to avoid over-torque
Finishing Touches and Maintenance for Lasting Beauty
With careful finishing, you extend cabinet life and keep hardware looking sharp long after the install. Maintenance begins at once you finish mounting: establish a cleaning routine that respects finishes and metals, and schedule it to align with daily use.
Wipe in the direction of grain with a soft, lint-free cloth, using mild soap if needed, then dry completely to prevent corrosion. Avoid abrasive cleaners, ammonia, and steel wool on decorative surfaces.
Inspect screws, plates, and mounting hardware quarterly; tighten as needed to preserve alignment and function.
For long-term glow, apply a light, manufacturer-approved conditioner to wood surfaces and a compatible metal polish to metal components, following product guidelines. Document any changes to hardware finish to support future replacements.
Hardware care, practiced consistently, sustains aesthetic appeal and operation.
Frequently Asked Questions
How Long Do Cabinet Hardware Installations Typically Last Before Replacement?
Generally, cabinet hardware lasts 10 to 20 years if you install quality pieces with proper maintenance; expect hardware durability to influence your installation lifespan, including screws and mounting plates, which should be checked periodically for looseness and corrosion.
Can I Mix Knob Styles on the Same Cabinet Run Safely?
Yes, you can mix knob styles safely, as long as you maintain design cohesiveness; pair similar metals and sizes, then emphasize contrasting shapes subtly to achieve deliberate style mixing without visual chaos.
Do Soft-Close Hinges Affect Knob or Pull Installation Height?
Soft-close hinges don’t change installation height; they affect hinge alignment and cabinet door clearance. You’ll want precise bore alignment, verify door clearance at full close, and adjust mounting to maintain even gaps for smooth, consistent operation.
Are There Weight Limits for Different Cabinet Pull Sizes?
Knockout, careful calculation: yes, there are weight limits tied to pull size guidelines. You’ll prevent sag and strain with hardware weight awareness, matching heavier pulls to larger cabinets, lighter pulls to smaller ones, and precise spacing for stability.
How Do I Remove Old Hardware Without Damaging Veneer?
To remove old hardware without damaging veneer, you should work slowly, pry gently, and support the veneer edges; use delicate hardware removal techniques, masking edges. You’ll prevent chipping by lifting screws straight out and avoiding twisting.
Conclusion
Upgrading cabinet hardware elevates your space with precision and purpose. Choose a size, style, and finish that harmonizes with your cabinetry, then measure carefully and mark pilot holes before drilling. Swap old screws for matched lengths to avoid misalignment, and tighten until snug—not overtight. Example: in a hypothetical kitchen, swapping to matte black pulls after plugging new screw lengths resulted in perfectly aligned rows and a cohesive, modern vibe. Small details, big design impact.