
You’ll boost comfort and cut energy bills by choosing high-performance windows and installing them with precise framing, proper sealing, and careful consideration of whether to DIY or hire a pro. Start by defining goals and budget, then measure openings precisely and select durable, energy-efficient frames and glass. Decide DIY vs pro based on tools, skills, and code requirements. Install level and plumb, flash and seal, and test operation before finishing. Keep maintenance in mind for lasting performance and efficiency gains. More tips await if you keep exploring.
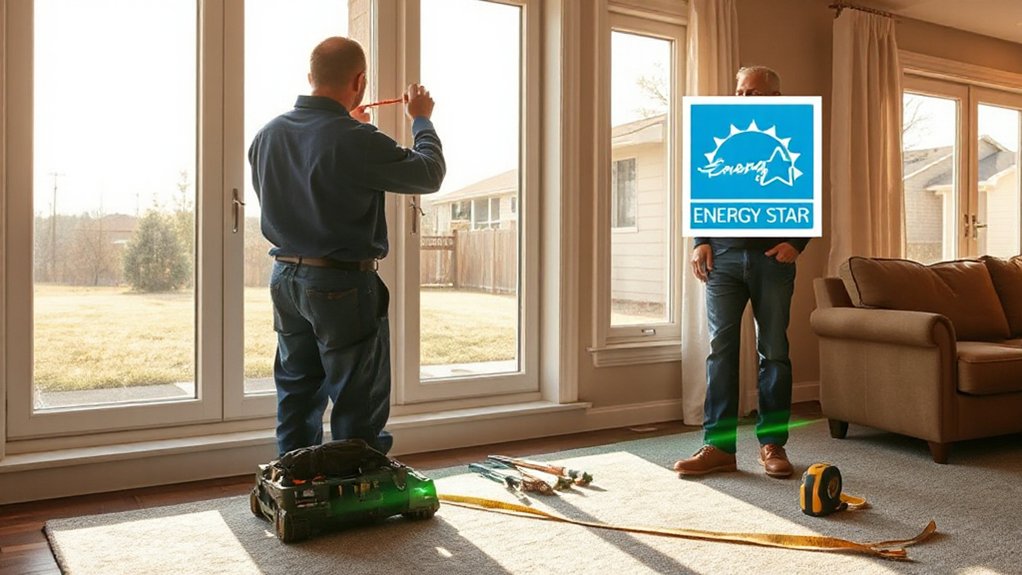
Identify Energy Goals and Budget for Energy-Efficient Windows
To start, define your energy goals and budget before choosing windows. You set clear targets for energy savings, comfort, and return on investment, then map them to a realistic spend.
Identify how much you’ll save annually versus upfront costs, and how long you’ll recoup the investment. Decide which seasons drive the most heat loss or gain, and prioritize features that shrink bills now.
Establish a budget range for product and installation, plus a contingency for surprises. Consider how window performance will affect home value and aesthetic appeal, while resisting impulse upgrades that don’t align with goals.
Record metrics, baseline energy use, and a preferred payback period. With goals aligned to budget, you’ll select windows that deliver measurable power and efficiency.
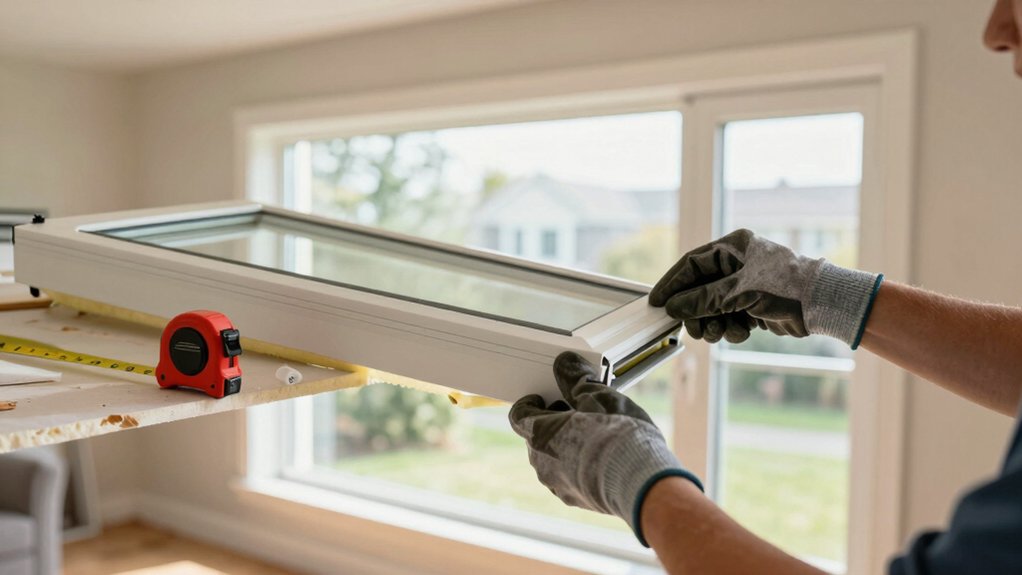
Select High-Performance Materials and Glass for Energy-Efficient Windows
Choosing high-performance materials and glass is essential for maximizing energy savings and comfort. You’ll select frames with robust, corrosion-resistant materials, focusing on long-term durability and low maintenance.
Opt for frames that resist warping and UV degradation, ensuring tight seals and consistent performance across seasons.
For glass, prioritize coatings and glazing that minimize heat transfer while preserving visible clarity. Glass clarity matters for natural lighting and interior comfort, so avoid tinted options that dull daylight without delivering savings.
Look for insulated glass units with low-emissivity coatings and inert gas fills to cut conduction and convection losses.
Ensure hardware, seals, and spacers are compatible with your frame choice to maintain airtight performance.
Durable frames combined with high-performance glass deliver reliable energy efficiency and user-friendly operation.
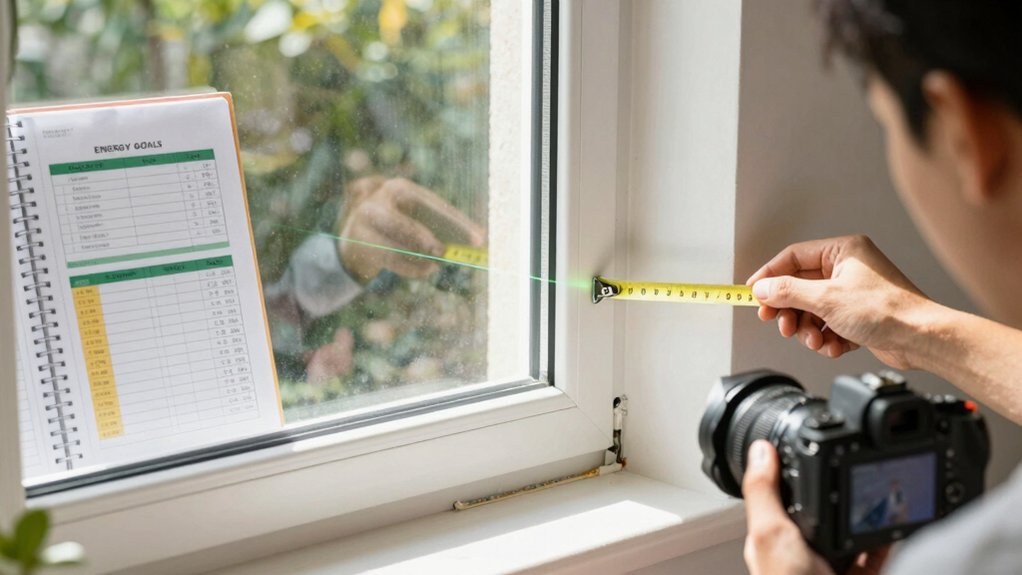
Measure Openings Precisely for Replacement or New Install
Precise measurements set the foundation for a fit that performs as designed. You measure openings with a steel tape, record to the nearest 1/16 inch, and verify four corners with a level. Check height, width, and diagonal to ensure squareness, correcting any outliers before you proceed.
Note the window frame’s reveal and variation in sill slope, documenting irregularities that influence fit and insulation. Use multiple measurements at each opening point, then average for accuracy.
When selecting weatherstripping options, match thickness to your framing tolerances and preferred compression. Plan for shims and fastener depth to avoid binding after installation.
Document your findings clearly for ordering. Precise data reduces guesswork, speeds installation, and delivers a tighter, more energy-efficient seal.
Decide Between DIY vs. Hiring a Pro (Criteria to Evaluate)
Weigh whether DIY can meet your timing, budget, and safety needs before you commit. You’ll weigh needed tools, access, and code awareness against the certainty you’ll complete returns on investment.
Consider your experience with carpentry, flashing, and sealant work, plus the risk of improper installation. DIY safety hinges on knowing when to pause and call a pro.
If your plan exceeds a weekend or two, or you lack accurate measurements, hiring a pro may save time and avoid rework.
Evaluate licensing requirements in your area and verify professional licensing and insurance. Decide whether precision, warranty coverage, and adherence to building codes justify pro oversight.
When in doubt, test with a small project or consult an experienced installer.
Prepare the Opening and Frame for Sealing and Insulation
After deciding whether DIY fits your timing and skill, you can move on to preparing the opening and frame for sealing and insulation. Inspect the rough opening for plumb, level, and square. Remove loose debris, nails, and old sealant; clean surfaces to a bright, dry plane.
Correct any framing gaps with compatible lumber or shims, and verify correct sill height for drainage. Apply a continuous bead of high-performance caulk around edges, then install flashing where required by code and weatherproofing strategies.
Check for warping or rot in the jambs and repair promptly. Measure and plan insulation coverage, ensuring proper fit without compression.
Consider aesthetic considerations of interior trims and exterior siding transitions to maintain a clean, durable finish. Maintain tight tolerances for a precise, powerful result.
Install the Window With Proper Alignment
Align the window with the frame and verify it sits true from edge to edge.
Check level and plumb across all corners, adjusting shims as needed before fastening.
Confirm the reveals are even and the sash moves freely for a clean seal and long-term performance.
Align With Frame
Have you verified the window sits squarely in the rough opening before you proceed? You align the unit by placing shims at hinge and latch points, then check the reveals for uniform gaps.
Plumb the frame with a level as you tighten fasteners, watching for settling during partial closure. Use a self-leveling line to confirm the sill pitch remains straight, preventing binding and air gaps.
Ensure the window is square, then secure with screws through predrilled holes, avoiding over-tightening that deforms the frame.
Inspect adhesive foam or compression gaskets for full contact, trimming excess material as needed.
When aligned, the window delivers Energy savings through airtight seals and reduces drafts, while maintaining aesthetic appeal with clean, even lines. Proper alignment reinforces performance and long-term durability.
Check Level And Plumb
You’ll verify the window’s level and plumb before you tighten anchors. Start with a level assessment across the head, sill, and jambs to confirm horizontal and vertical alignment. Use a reliable spirit level or laser tool, and note any deviation. If the sash doesn’t align, adjust shims or shimming points until the frame sits true without binding.
Check side-to-side plumb by measuring from the top corner to the opposite bottom corner; it should track within a millimeter or two. Recheck after minor adjustments.
Make certain the threshold remains square as you incorporate weatherproofing. Perform a final plumb verification with the window closed to confirm even gaps around the perimeter. Once true, you’re ready to secure fasteners and proceed.
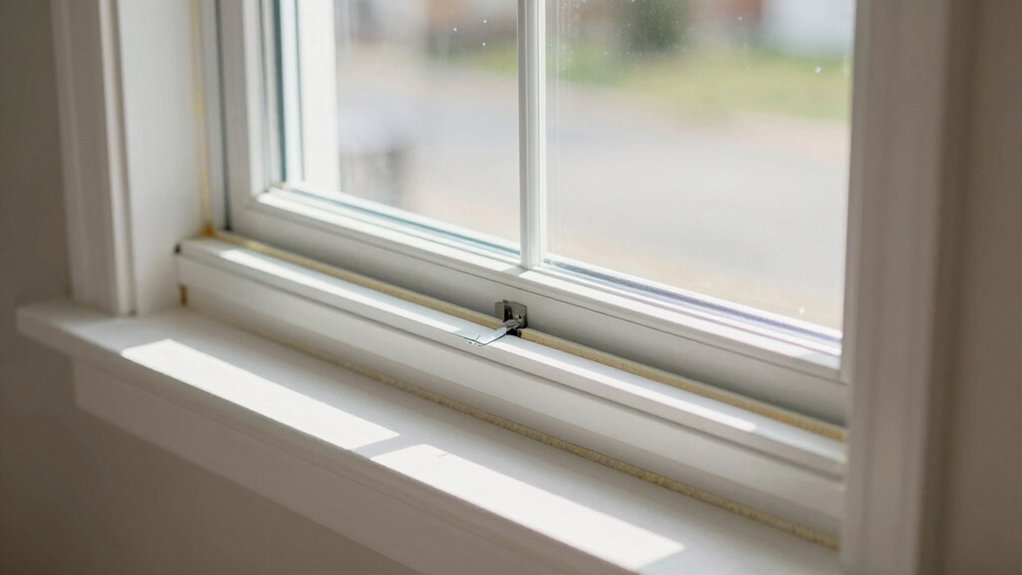
Seal, Insulate, and Flash for Air Tightness
To guarantee airtightness around a window, you must seal gaps, insulate where needed, and flash properly before finishing.
Begin with weather stripping on operable joints to compress against the sash, then apply caulking at the exterior perimeters to bridge small gaps.
Inspect the rough opening for drafts, and fill voids with minimally expanding foam where framing allows.
Install insulation in any hollow framing cavities, ensuring a snug fit without restricting sash movement.
Flashing should be continuous and overlapped at the sill and head, sealed to the rough opening with compatible sealant.
Smooth progressions prevent air leakage paths and water intrusion.
Finish by rechecking alignment, ensuring no pulling or bowing, and verify that all seals remain intact after temporary window movement.
Test Window Performance Before Finishing With Trim and Hardware
Before finishing with trim and hardware, test the window’s performance to catch issues early. You’ll verify air tightness, operation, and insulation, so don’t skip this step. Open and close smoothly, seal compressions, and confirm the sash sits square in the frame.
Use a smoke pen or household incense near the edges to detect leaks; fix any gaps with proper flashing and weatherstripping before proceeding.
Check glazing for consistent mullion alignment and verify that the operation remains effortless under different temperatures. Measure draft reduction at typical wind angles and ensure the unit responds to locking points.
Consider window aesthetics and decorative trim in planning, ensuring trim doesn’t hinder seals or operation. Document results for future maintenance and durability.
Verify Long-Term Performance and Create a Maintenance Plan
With long-term reliability in mind, set up a plan to monitor performance over time and keep it running smoothly. You’ll track seal integrity, glazing gaps, and operability every season, noting any changes in drafts, moisture, or noise.
Establish a simple maintenance schedule that targets cleaning tracks, lubricating hinges, and inspecting weatherstripping twice a year. Record air leakage measurements and window performance metrics to identify trends before problems escalate.
Prioritize durable components and prompt repairs to protect energy savings and comfort. Schedule professional inspections after severe weather or major HVAC upgrades.
Document replacements, part numbers, and dates to guide future refreshes. This approach ensures long term durability and provides a clear framework for ongoing care, minimizing costly failures and extending life.
Frequently Asked Questions
What Is the Typical Payback Period for Energy-Efficient Windows?
The typical payback period ranges from 5 to 15 years, depending on climate and heating costs. You’ll improve your cost analysis by factoring installation, fuel savings, and potential rebates, noting material durability impacts long-term returns.
How Often Should Window Seals Be Inspected and Replaced?
You should inspect window seals annually and replace when you notice seal deterioration. Stay proactive with window maintenance, catching leaks early helps energy efficiency, prevents drafts, and preserves comfort and power in your home. Replace promptly when compromised.
Can Energy-Efficient Upgrades Qualify for Tax Credits or Rebates?
Yes, energy-efficient upgrades can qualify for tax credits and rebate programs. You can deduct or claim incentives for eligible windows, insulation, and efficiency improvements, reducing installation costs and accelerating payoff while you power through higher performance and savings.
Which Window Styles Maximize Natural Light and Efficiency?
Skyrocket your daylight: choose large, fixed or double-hung windows with minimal framing to maximize light and efficiency. Compare window frame options and glass tinting for best performance; you’ll feel the difference in energy savings and control.
How Do You Handle Condensation Between Double Panes?
You’ll tackle condensation by inspecting the window spacer and seals, then improve moisture control with proper drainage and ventilation. Clean any buildup, replace failed seals, and guarantee a tight frame to prevent warm air meeting cold glass.
Conclusion
You’ve set clear energy goals and budget, chosen smart materials, and measured precisely, so your install should be efficient and durable. If you DIY, stay meticulous about sealing and alignment; if you hire a pro, verify credentials and a solid warranty. Keep the opening airtight, test performance, and plan maintenance. Like a well-built breath, your home will stay warmer in winter and cooler in summer. Your energy savings will be the quiet, steady heartbeat of comfort.


