
Fix paint drips quickly by identifying the type first (latex, oil, or hybrid), then pick the right fix. For fresh latex, wipe excess with a loaded brush, feather edges, and skim with a dry cloth after a brief set. For oil, wipe with mineral spirits, feather edges, and apply thin, even layers. If dry, gently sand and recoat in thin passes. Prevent future drips with steady strokes and clean tools—you’ll uncover more tips as you keep going.
Identify Drip Issues Quickly and What They Mean
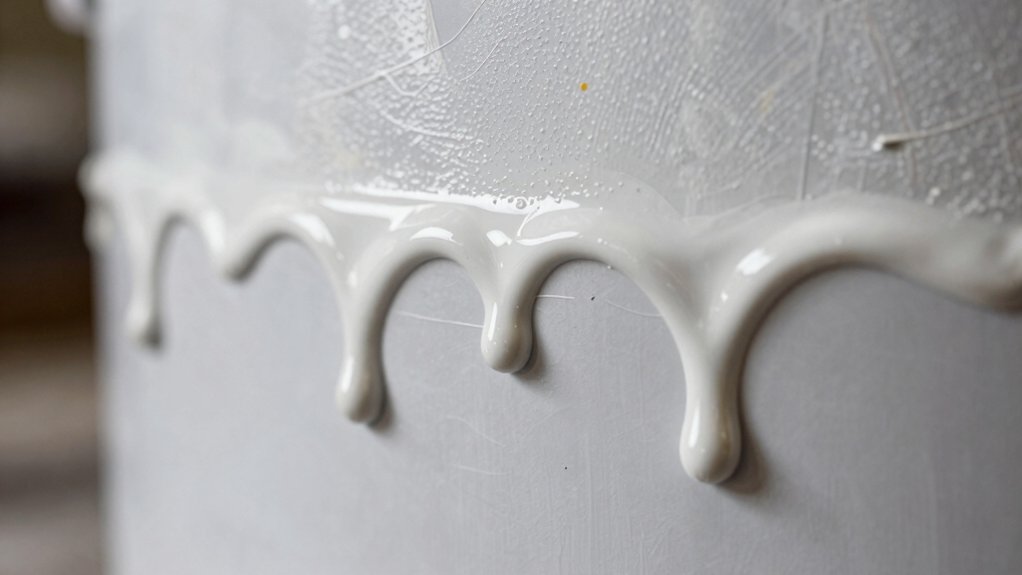
When you spot a drip, you’re reading the surface for telltale signs that it’s caused by speed, temperature, or level issues. You can quickly identify the culprit by watching flow, edge sharpness, and pooled edges.
If droplets form long tails, speed’s too high; if edges feather, temperature’s too low or paint is too thin. Level issues show uneven distribution across panels, with heavier drips toward the bottom.
Brush techniques matter: a light, steady stroke helps control runny areas, while a stiffer brush shields edges from excess paint.
Paint consistency also reveals problems—too thick causes heavy drops, too thin causes veil-like runs. Note where damp spots stop and dry patches begin to guide you toward adjustments.
Use this insight to calibrate pace and material balance for cleaner coats.
Gather Tools and Materials for a Prompt Fix
Gather the essential tools you’ll need and gather the materials you’ll prepare, so you can start right away. Keep everything within reach and organized for a quick, clean fix.
This contrast between tools and materials sets a precise path to prompt, effective repair.
Gather Essential Tools
Before you start fixing paint drips, assemble the essential tools and materials you’ll need. You’ll want a small tray, foam brushes, angled sash brush, fine-grit sandpaper, painter’s tape, utility knife, microfiber cloths, mineral spirits or water, and a level for reference. Include a mixing cup and a disposable brush, plus a smoothing blade or plastic scraper for delicate DB. Make sure you have touch-up paint that matches color and sheen.
Check the space for drop cloths and adequate lighting. Keep rags handy for spills and gloves to protect skin. Consider brush techniques you’ll use and the paint consistency you’ll expect for seamless blending.
Gather these items now to streamline the correction and avoid mid-project interruptions.
Prepare Materials Properly
To prepare for a prompt fix, assemble the exact tools and materials you’ll rely on, then verify you have a clean, organized workspace. Gather quality brushes, a small abrasive pad, painter’s tape, microfiber cloths, mineral spirits or water, soap, and a compatible solvent. Choose a spray bottle for misting and a paired palette or tray for paint control.
Verify the paint is compatible with your surface and that you have the correct color plus any needed primer. Prepare rags and a waste container for cleanup. Plan brush techniques to avoid streaks, and confirm paint consistency remains workable—thick enough to apply smoothly, thin enough to level.
Keep spare brushes handy, and label cans to prevent mix-ups. Maintain a tidy area to support precise, efficient fixes.
How to Tell Your Paint Type: Latex, Oil, or Hybrid
You’ll identify your paint type by testing if the finish is water-based, oil-based, or hybrid, and note how it responds to cleaners. Start by wiping a small area with plain soap and water.
Then try a common cleaner like mineral spirits on a hidden spot to see if it smears or cleans easily. This helps you choose the right method and precisions for removing drips and selecting compatible cleaners.
Determine Paint Type
If you’re unsure which paint you have, start with a quick test to tell latex, oil, or hybrid apart. You’ll identify the base quickly by feel, odor, and finish, then confirm with a simple swatch comparison.
For accurate results, use a paint chip and color matching to compare sheen, texture, and drying time.
- Check odor: latex is mild, oil smells stronger and dries slower
- Feel the texture: latex rinses with water, oil feels tackier
- Test drying: latex dries fast; oil takes longer to cure
- Compare finish: hybrids blend characteristics and may require experts
Use a paint chip to compare color matching under proper lighting, then label your sample. This quick method saves you missteps and informs the right application approach.
Identify Cleaners Used
Identifying cleaners used can quickly confirm your paint type. To test, you’ll apply small amounts of common cleaners and observe the reaction.
If a paint strip requires a strong solvent cleaner or paint stripper to soften, you’re likely dealing with oil or alkyd. If water-based products dissolve or lift the film easily, latex is probable.
For hybrid paints, you’ll notice mixed behavior: partial dissolution with mild solvents, but stubborn spots resisting water alone.
Always work in a ventilated area and protect nearby surfaces. Use minimal cleaner on a clean cloth, test in an inconspicuous spot, and avoid rubbing hard.
Record which cleaners work best, then tailor your approach for removal and refinishing. This knowledge streamlines decisions and supports safer, more effective fixes.
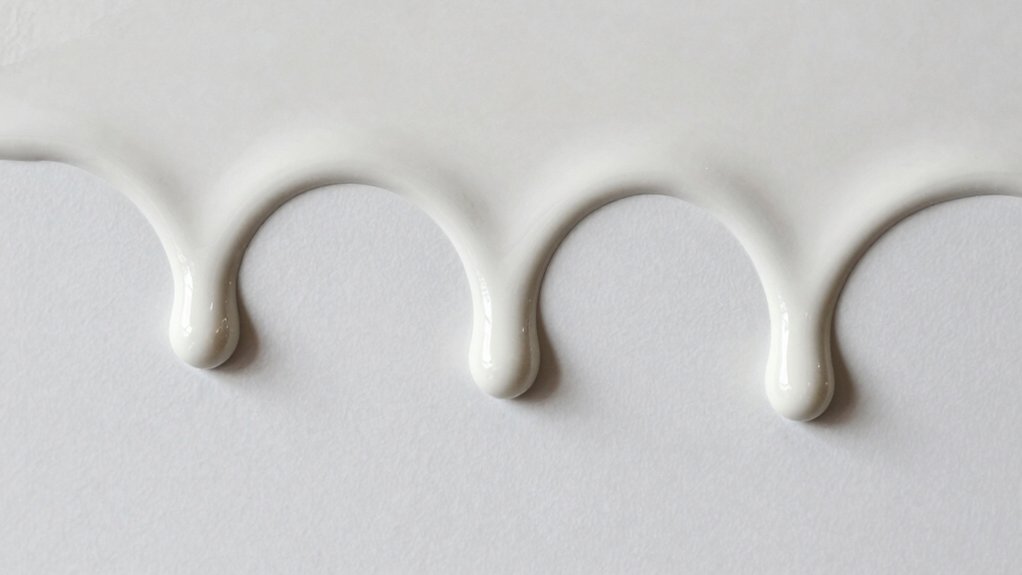
Fix Minor Drips on Fresh Latex Paint
Small drips can ruin a fresh finish if you don’t act quickly. When you spot a minor drip on latex paint, act fast with controlled steps.
First, keep your brush loaded to the right level, avoiding excess paint that creates new drips.
Second, feather the edge by lightly brushing from the drip outward, using smooth, overlapping strokes.
Third, correct paint consistency by thinning only if necessary and testing on a spare surface before continuing.
Fourth, let a fresh drip set briefly, then lightly skim with a dry tacking cloth to remove excess without pulling color.
- Assess spill size and act promptly
- Use precise, steady brush techniques
- Maintain proper paint consistency for even coverage
- Recheck surface and blend for a seamless finish
Repair Drips on Oil-Based Surfaces
Oil-based finishes handle drips differently, so start by wiping away any fresh drip with a clean, lint-free cloth dampened with mineral spirits to prevent skewing color.
You’ll then assess the drip height and choose a controlled approach. For minor runs, use a steady brushing motion with light, overlapping strokes; maintain brush techniques that avoid heavy pressure. Squeeze out excess paint to keep a consistent flow, preventing new drips.
If you need to feather the edge, dampen a clean brush and lightly wiggle along the border to blend. Check paint consistency: it should be smooth and tack-free within minutes.
Avoid overworking the surface; work in thin layers, allowing brief drying between passes. Finish with a final light pass to even sheen without creating new drips.
Restore Dry, Cured Paint Without Damaging It
When you’re restoring dry, cured paint, you must work gently to avoid reactivating or damaging the finish. You’ll repair minor flaws by planning, testing, and applying targeted touchups that blend with the surrounding area.
- Use a clean, fine brush and minimal product for each pass.
- Sample color on a hidden patch, then color match under indoor lighting.
- Lightly feather edges to prevent visible halos.
- Check for uniform sheen and touch up as needed.
Keep painting safety in mind, with ventilation and protective gear, so you don’t inhale fumes or irritants. If you’re unsure, practice on a scrap area first.
Rely on meticulous color matching, matching both hue and saturation, to preserve the original look. Reassess from a distance to confirm consistency.
Smoothing Techniques for a Seamless Finish
To achieve a seamless finish, start with proper sanding and feathering to blend any edges into the surrounding paint. You’ll sand lightly with 180–220 grit, then wipe away dust. Inspect the surface for remaining ridges; if you feel them, sand again until smooth.
Apply thin, even coats and maintain consistent pressure to avoid creating new brush strokes. When you’re satisfied with leveling, use a high-quality finishing pad or soft brush to buff lightly, preventing streaks.
For color blending, work with adjacent areas while the paint is tacky enough to blend smoothly, not when dry. If you notice slight color mismatch after drying, apply a controlled, light glaze or tinted touch-up to harmonize.
Finish with a final light sand and a clean, even topcoat for a seamless appearance.
Prevent Drips: Pro Tips for Future Projects
Prevent drips before they start by setting up your work with steady, controlled motions and the right technique. You’ll build consistency when you plan coverage, maintain a light touch, and keep your tool transferring evenly.
- Maintain brush maintenance routines: clean, condition, and inspect bristles between coats to prevent stray hairs and sags.
- Keep paint storage stable: seal, label, and refrigerate or heat as needed to avoid thick or uneven textures.
- Pace your strokes: apply thin coats, overlapping slightly, and avoid heavy pulls that cause pooling.
- Dress the work area: minimize drafts, secure drop cloths, and protect edges to reduce accidental drips.
Apply these habits daily to sustain precision and repeatable results across projects.
When to Call a Pro or Repaint the Area
If you notice persistent drips, texture issues, or uneven color after repainting, it’s time to evaluate whether you should call a pro or repaint the area yourself.
First assess color matching: mismatched shade or sheen signals professional help or a full repaint for consistency.
If color is acceptable but texture or edge bleed remains, consider another round with proper surface preparation: clean, sand, and prime the area, then test a small patch before committing.
Surface preparation is the key to durable results; skip it and flaws recur.
If budget or time constraints are tight, you may repaint yourself with controlled technique, but reserve calling a pro for complex stains, peeling, or inaccessible corners.
In those cases, professional tools and methods ensure lasting, even coverage.
Conclusion
You know the drill: identify the drip, gather the right tools, and choose the fix that fits your paint type. Quick tip: latex dries faster, so you’ll need to work in small sections to avoid new drips. About 70% of repaint calls come from improper prep, not finish. If a drip stains or hardens poorly, you can sand lightly and recoat without stripping. With careful touch-ups and proper drying, your surface will look seamless and fresh.


