To clean and maintain your tankless water heater, start by turning off power and shutting off the cold-water supply, then depressurize the system. Check and clean inlet filters, tighten all connections, and inspect for leaks. Flush the unit with a descaling solution (vinegar or a commercial product) for 45–90 minutes, then rinse thoroughly. Reassemble, restore power, and test hot water delivery. Keep a maintenance log and schedule regular flushes to protect efficiency and longevity; more tips await.
How Tankless Heaters Work and Why Regular Maintenance Matters
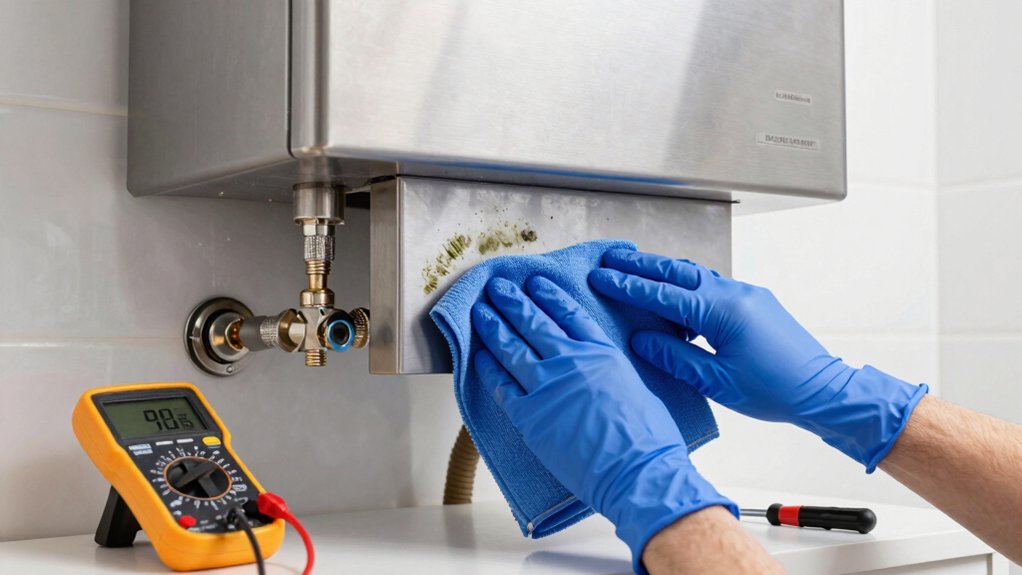
A tankless water heater heats water on demand, using a heat exchanger powered by a gas burner or electric element rather than storing hot water. You operate it with speed and efficiency, relying on solid engineering behind tankless technology.
Water passes through the exchanger, transfers heat, and exits at the desired temperature without holding a reservoir.
Regular maintenance matters because mineral buildup, scale, and burner or element wear can reduce flow, efficiency, and lifespan. You should monitor filters, check venting or exhaust paths, and schedule periodic flushing as part of a disciplined maintenance routine.
System diagnostics and manufacturer guidelines help you verify performance, confirm correct temperature, and detect abnormal noises early.
Emphasize reliability, energy savings, and consistent hot water delivery through disciplined upkeep.
Signs a Tankless System Needs Cleaning
You’ll notice scale buildup and reduced flow when the unit isn’t cleaned regularly.
If you see longer wait times for hot water or diminished pressure, that signals you may have mineral deposits restricting passages.
Address these signs promptly to maintain efficiency and extend the heater’s lifespan.
Scale Buildup Indicators
Scale buildup in a tankless water heater isn’t always obvious, but several telltale indicators point to cleaning needs. You’ll notice reduced flow at faucet taps, longer hot-water wait times, or inconsistent temperatures during showers. Minor pressure drops on the flow gauge can signal mineral deposits accumulating inside heat exchange paths.
A faint or metallic odor may accompany soiled heat exchangers, while discolored water suggests disrupted filtration. If you hear new running-water sounds or banging during operation, mineral deposits could be causing scaling resistance. Visual inspections might reveal crusty scale around inlet screens or heat exchanger ports.
Track performance over weeks; gradual decline warrants cleaning before efficiency drops further. When scale buildup is confirmed, schedule a professional flush or follow manufacturer-recommended descaling steps.
Flow Reduction Signals
Flow reductions are a clear sign your tankless system needs cleaning. When flow drops, you’ll notice weaker hot water at taps and slower recovery between uses. This isn’t just an annoyance; it points to mineral buildup or sediment restricting flow paths.
Inspect the unit’s filter screen for debris, and listen for unusual pump noise, which can accompany partial clogs. Pay attention to simultaneous fixtures: if multiple outlets lose volume, you likely have broader flow issues rather than a single faucet problem.
Check water pressure: persistent pressure drops after cleaning or flushing suggest mineral scale restricting the heat exchanger. If reductions persist, perform a targeted flush or consult a technician.
Addressing flow issues early prevents overheating, efficiency loss, and unnecessary wear on components.
Tools Needed and Safety Steps for DIY Maintenance
You’ll need the right basic tools for safe, effective maintenance, including wrenches, screwdrivers, and a multimeter for basic checks.
Follow clear safety steps: shut off power and water, depressurize the system, and wear eye protection and gloves.
This discussion covers the exact tools and essential precautions to keep DIY work precise and safe.
Tools For Maintenance
To safely perform DIY maintenance on a tankless water heater, gather the essential tools and follow clear safety steps: adjustable wrench, needle-nose pliers, screwdriver set, bucket, towels, and a siphon or peristaltic pump for draining, plus safety gear like gloves and eye protection.
Tools overview and practical setup set the tone for reliable servicing. You’ll use these items to support routine maintenance scheduling, ensuring you can access connections, drain lines, and modules without delays. Keep a dedicated workspace to avoid cross-contamination and misplacement.
- Organize tools by function for quick access
- Label hoses and fittings to prevent mixups
- Inspect gear after each session and log results for future planning
Safety Steps To Follow
Before you start, gather the essential tools and safety gear, then review the steps carefully to prevent injury or equipment damage. You’ll approach safety with a calm, methodical mindset.
Always shut off power and gas, close the water supply, and relieve pressure before touching any components.
Wear eye protection, gloves, and non-slip footwear; keep a clear workspace.
When performing Chemical cleaning, follow manufacturer directions precisely, test solutions in a small area, and never mix chemicals.
Ventilation checks are essential—open nearby doors or vents to dissipate fumes and ensure unobstructed airflow.
Never bypass safety features or rush through steps.
Document procedures and reset settings only after components are dry and inspected.
If in doubt, pause and consult the manual.
This disciplined approach minimizes risk and protects your system.
How to Flush a Tankless System: Step-By-Step With Vinegar or Descale Solution
If your tankless heater shows signs of mineral buildup, flushing it clears the flow path and restores efficiency. You’ll use white vinegar or a commercial descaler, plus a pump, hoses, and a bucket.
Disconnect power and isolate cold water lines, then circulate the solution through the unit for 45–90 minutes.
Rinse with clean water to remove residue, and test hot water flow.
This process can extend water heater lifespan and supports DIY repair confidence.
- Gather a pump, hoses, vinegar or descaler, and a bucket
- Circulate solution, pause, then flush with fresh water
- Reconnect, power up, and verify steady hot output
Note: follow manufacturer limits and safety guidelines to avoid damage.
Descaling the Heat Exchanger for Efficiency and Longevity
Maintaining your heat exchanger starts with detergent-free descaling to preserve material integrity.
Guarantee proper heat exchanger circulation to dislodge scale efficiently.
Then implement scale prevention methods to reduce future buildup.
This sets a precise foundation for sustained efficiency and longevity.
Detergent-Free Descaling
Detergent-free descaling removes mineral buildup from the heat exchanger without chemicals, preserving efficiency and extending the unit’s life. You’ll rely on mechanical or acidic-free approaches that minimize residue and corrosion risk, while avoiding chemical detergents and their downsides.
This method reduces environmental impact by limiting waste and chemical exposure. You’ll still need to follow safety guidelines and manufacturer directions to prevent damage and voided warranties. Consistent flushing intervals keep heat transfer ideal and energy use steady.
- Maintain mineral balance without introducing additives
- Monitor flow rate and pressure to detect blockages early
- Schedule regular inspections to confirm seals and connections remain sound
Note: This approach emphasizes efficiency, longevity, and reduced chemical detergents usage without discussing circulatory details.
Heat Exchanger Circulation
Heat exchanger circulation targets the core of descaling efforts: flushing mineral deposits from the heat exchanger passages to restore heat transfer and efficiency. You’ll establish a controlled flow path, ensuring circulating solution reaches every bend and coil.
Use manufacturer-approved descaling agents or a mild, non-corrosive cleaner, following instructions precisely. Initiate circulation with minimal pressure to prevent leaks, then ramp to a steady rate that maintains contact time without turbulence.
Monitor flow visually or by pressure drop, stopping if you detect unusual resistance. Rinse thoroughly to remove loosened scale, repeating as needed until the heat exchanger surfaces look clean and evenly wetted.
Confirm you’ve restored heat transfer by observing stabilized outlet temperatures. Document cycle counts and intervals to schedule future maintenance.
Heat exchanger cleanliness directly influences overall efficiency and longevity. Circulation matters.
Scale Prevention Methods
To prevent scale buildup and preserve heat-transfer efficiency, implement a proactive descaling strategy that targets the heat exchanger before deposits harden.
Regularly schedule flushing with a descaling solution to dissolve mineral deposits, and use a bypass valve to isolate the exchanger for focused treatment.
Monitor inlet water hardness and adjust frequency accordingly, ensuring you avoid mineral buildup that impedes performance.
After flushing, run a brief rinse with clean water to remove any residual solution.
Inspect fittings and seals for wear, replacing where needed to maintain tight seals and prevent leaks.
Document maintenance intervals to sustain efficiency and extend life.
- Focused descaling targets the heat exchanger for maximum impact
- Track water hardness to time interventions accurately
- Verify seals and connections post-flush to prevent leaks
Clean Inlet Filters and Hot-Water Aerators for Optimal Flow
Regular maintenance starts with your inlet filters and hot-water aerators. You’ll want to inspect and clean these components routinely to preserve flow and efficiency.
Begin by locating the inlet filters housed near the unit’s cold-water line. Remove the filter screen, rinse under running water, and brush away any sediment with a soft-bristle brush. Reassemble once dry.
Next, check the hot water aerators at each faucet or fixture fed by the tankless system. Unscrew aerators, soak in distilled vinegar to dissolve mineral buildup, then scrub with a soft brush before reattaching. Replace any damaged screens or gaskets.
After cleaning, run hot water for a few minutes to flush debris from the lines. Document when you performed maintenance for predictable service intervals.
Inspect and Tighten Water, Gas, and Gas-Line Connections
After cleaning the inlet filters and aerators, it’s time to verify the integrity of all connections feeding the tankless unit. Inspect each water, gas, and gas-line joint for signs of leakage, corrosion, or wear.
If you detect moisture or hissing, shut off the supply and tighten connections with the appropriate wrench, then recheck.
Ensure the water pressure is within the manufacturer’s spec and that gas line fittings are snug without over-tightening.
Use soapy water to confirm leaks around joints—bubbles mean trouble.
Maintain accessible shutoffs and replace faulty gaskets or fittings promptly to prevent inefficiency or hazards.
- Check Water pressure and adapt to recommended ranges
- Tighten Gas line fittings without over-torquing
- Inspect for leaks and replace damaged seals promptly
Quick Electrical and Gas Safety Checks Before Maintenance
Before you start maintenance, perform quick electrical and gas safety checks to prevent shocks, leaks, or ignition hazards. Begin by turning off power at the circuit breaker and shutting off the gas supply valve.
Verify there’s no electricity flowing to the unit and that the gas line is depressurized before handling connections. Inspect visible wiring for signs of damage, fraying, or loose terminals, and ensure the grounding conductor is intact.
Check the gas line inspection: look for corrosion, kinks, or leaks around fittings using a soap solution, not an open flame. Confirm venting is clear and the condensate drain is unobstructed.
Restore power and gas only after all checks pass, then proceed with maintenance steps confidently and safely.
Schedule Regular Maintenance With a Cleaning Calendar
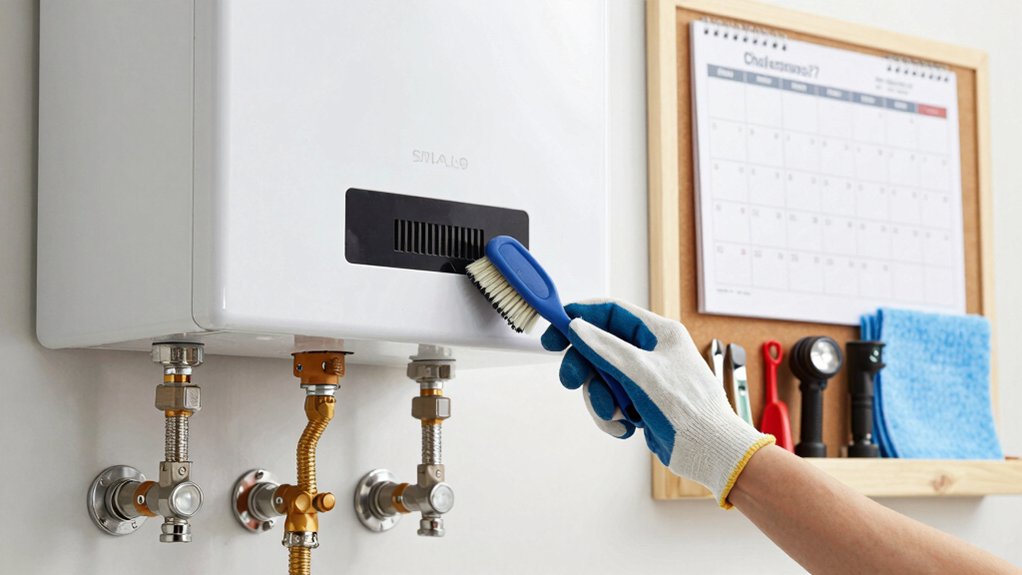
Creating a cleaning calendar guarantees you stay on top of maintenance without missing steps. A disciplined approach keeps your tankless system reliable and efficient, and it helps you track what’s been done, when, and by whom.
Build a simple maintenance schedule that fits your household’s usage and water hardness. Use a Cleaning calendar to assign tasks, dates, and reminders, so nothing slips through the cracks. Include annual flushes, filter inspections, and vent checks, plus post-season checks for seasonal homes.
Keep records short and precise so you can quickly verify completion.
- Establish recurring tasks and due dates on a shared calendar
- Log confirmations after each service event
- Review quarterly to adjust timing and priorities
Troubleshooting After Maintenance: Common Symptom Paths and Next Steps
When you’ve completed maintenance, start with a quick check of system indicators and performance. If readings look off, note the symptom path you observe: low flow, error codes, fluctuating temperature, or unusual noises.
Begin with the simplest fix, such as reseating connections or recalibrating settings, then test again. If a fault persists, consult the error code guide and log the event for warranty coverage discussions.
Consider whether recent work could have altered venting, mineral buildup, or gas supply; these issues often recur after maintenance and signal a potential system upgrade if efficiency or safety risks emerge.
Avoid delay; unresolved symptoms can worsen. Maintain records to support warranty coverage and future service, and schedule a professional assessment if you’re uncertain about root causes.
Frequently Asked Questions
Can a Tankless Heater Be Serviced During Cold-Weather Temps?
Yes, you can schedule winter maintenance and perform cold weather service on a tankless heater during cold temps, provided you follow safety precautions, verify power and gas shutoffs, and guarantee proper venting and frost prevention for reliable operation.
How Often Should Gas Lines Be Inspected Separately From the Unit?
You should have gas line inspections performed annually, separate from the unit, with safety checkups documented. Stay diligent: schedule professional tests before winter use, confirm leak checks, venting integrity, and proper pressure—ensuring ideal performance and your household’s safety.
Do All Vinegar Cleaners Affect Warranty Coverage?
Vinegar efficacy varies; not all cleaners void warranties, but many manufacturers restrict acidic solutions. You’ll want to check your warranty terms. I once saw a repair bill drop after switching to manufacturer-approved cleaners, avoiding warranty implications.
What Signs Indicate Finally Replacing the Unit Rather Than Cleaning?
You’ll know it’s time to replace when efficiency drops persistently, your costs rise, or frequent costly repairs appear; these are replacement indicators that your tankless lifespan has diminished beyond practical restoration.
Is Professional Maintenance Needed for Propane Versus Natural Gas Models?
Yes, you should have professional maintenance for propane models just as for natural gas. Make certain gas line inspections are included, because propane systems demand stricter safety checks and leak testing during professional maintenance.
Conclusion
Regular maintenance keeps your tankless heater reliable, efficient, and long-lasting. You inspect, you flush, you descale, you tighten, you reconnect, you test, you confirm. You protect, you optimize, you schedule, you monitor, you adjust, you record. You prevent clogs, leaks, and outages. You understand, you act, you stay vigilant. You invest in care, you gain peace of mind, you save energy, you extend life. You own the system, you own the outcome.