Renovating your electrical system isn’t just swapping in brighter lights; it’s sizing loads, evaluating panel capacity, and budgeting for wiring, labor, and permits. You’ll weigh partial versus full service upgrades, choose materials, and plan for drywall repair or contingencies. As you map costs, consider efficiency gains, safety features, and potential tax credits. The next step clarifies what triggers an upgrade and how to quantify a realistic budget before you commit to a plan. Continue to establish a solid framework.
Identify Renovation Electrical Needs: Core Upgrades and Triggers

Identifying renovation electrical needs begins with a clear assessment of existing capacity and fixtures, then maps what must change to support planned upgrades. You start by documenting service size, panel condition, conductor insulation, and any code-imposed limits.
Next, catalog existing circuits, loads, and sparing capacity for future expansion. Core upgrades include feeder extensions, panel replacement or relocation, and dedicated circuits for high-draw devices.
Triggers signal when you exceed 80% of panel rating, encounter degraded wiring, or foresee added loads from appliances, HVAC, or home automation. Plan routes for new receptacles, switches, and lighting zones with symmetry to usage patterns.
Prioritize energy conservation through efficient devices and smart controls, and guarantee compatibility with future home automation capabilities. Maintain thorough records for inspections and permit compliance.
How to Evaluate Your Panel and Service Capacity
To assess your panel, start with the panel capacity basics and confirm the main breaker rating matches your service entrance.
Evaluate triggers for a service upgrade by noting load growth, future appliance additions, and code requirements, then map these against your current service capacity.
Use clear load calculations guidance to verify whether your existing panel and service accommodate planned renovations or if an upgrade is warranted.
Panel Capacity Basics
Is your electrical panel sized to support your planned upgrades, or will you need service or conductor changes? You assess panel capacity by auditing available main breaker rating, busbar integrity, and conductor sizing. Begin with the label sheet and as-built drawings to confirm feeder sizes, service disconnect type, and main rating.
Then perform capacity planning: compare load forecasts for lighting, outlets, appliances, and new circuits to the sum of existing branch circuits, adjusting for diversity and simultaneous use. Check whether the panel accepts additional breakers or requires tandem units, and verify conductor ampacity meets NEC rules for future loads.
Document spare capacity and potential derating factors, noting any deratings due to ambient temperature or enclosure constraints. This methodical approach prevents undersized upgrades and unnecessary service changes.
Service Upgrade Triggers
Evaluating panel and service capacity triggers upgrade needs when forecasts show more than a panel’s available headroom or when critical rules are exceeded. You assess service capacity by verifying main breaker rating, conductor sizing, and feeder health, then compare to anticipated loads from renovations.
Identify triggers such as multiple dwellings, new high‑demand equipment, or subpanel migrations that reduce headroom below a safe margin. Use documented thresholds for service entry, overcurrent protection, and grounding continuity to flag immediate upgrade needs.
Prioritize actions that improve Electrical safety, like correcting improper bonding or degraded insulation, before any modification. Employ circuit troubleshooting to isolate looming overloads and verify that panel labeling matches actual circuits.
Maintain precise records of measurements, forecasts, and replacements to support a justified upgrade path.
Load Calculations Guidance
When evaluating panel and service capacity, start with a clear capacity baseline: confirm the main breaker rating, verify conductor sizes against code requirements, and inspect feeder health.
You’ll then quantify load using your expected use, factoring mandatory circuits, continuous loads, and diversity.
Build a baseline from existing panel labeling, service disconnects, and ampacity, noting any deratings.
Apply demand factors to nonessential loads and simulate peak conditions during renovation.
Document feeders, meters, and bus bars for aging or corrosion that could impact capacity.
Compare calculated demand to the service rating, identifying gaps that require upgrade decisions.
Integrate cost analysis early to align scope with budget, and use contractor selection criteria that emphasize experience with panel upgrades, load management, and coordination with utility requirements.
Maintain clear, auditable records for approvals and permits.
When to Upgrade the Main Service Panel and Why
A main service panel should be upgraded whenever its capacity, condition, or safety certifications no longer meet your load demands or code requirements, typically during a major renovation or when converting from overhead to underground service.
You assess the upgrade need by comparing existing panel rating, conductor protection, and breaker design against anticipated continuous and noncontinuous loads, future expansions, and code changes.
Upgrading improves reliability and safety, reducing risk of nuisance trips and insulation failures. A planned upgrade should address bus compatibility, grounding, and enclosure integrity, ensuring proper isolation from the service disconnect.
Critical considerations include main breaker size, feeder conductor ampacity, and surge protection adequacy.
Expect improvements in power outage resilience and voltage stability during peak demand periods.
Calculate Load and Circuit Requirements for Renovations
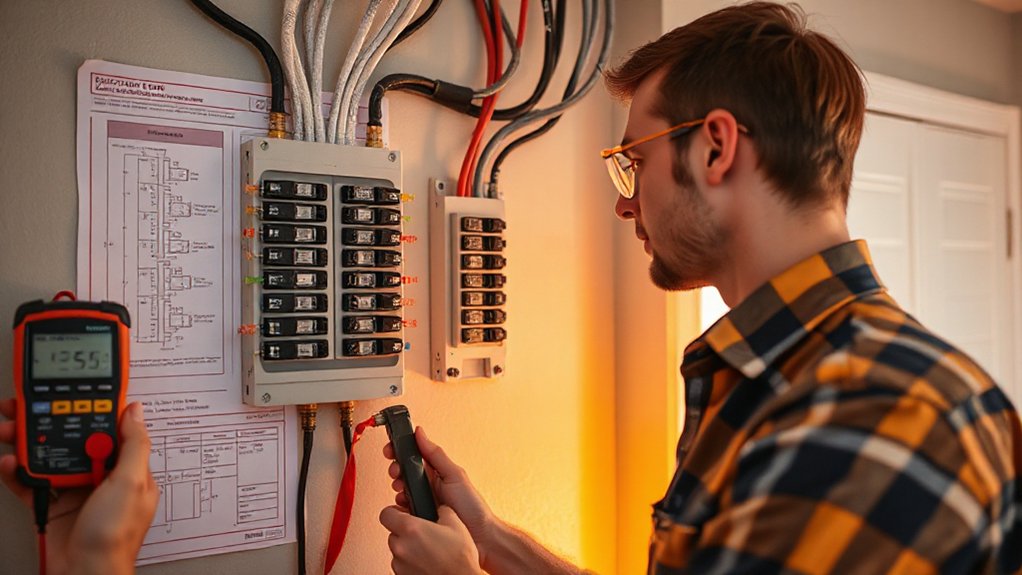
You’ll determine load demands first, using planned loads and existing service data to establish a baseline.
Then, you’ll assess circuit requirements by mapping receptacle, lighting, and appliance loads to each branch circuit, noting any oversubscription risks.
Finally, you’ll plan renovation upgrades by sizing feeders and breakers to meet the calculated demands while maintaining code compliance and future flexibility.
Calculate Load Demands
Calculating load demands for renovations requires a precise, step-by-step assessment of existing electrical capacity and intended changes. You map feeder capacity, panel rating, and service allowance, then tally lighting, receptacles, and hard-wired appliances for each space.
You reference: connected load, demand factors, and diversity to estimate simultaneous usage. You verify voltage, phase balance, and conductor sizing, translating room-by-room plans into a single load profile.
You compare calculated demand to service capacity, identifying where upgrades are mandatory or where adjustments suffice. You consider future needs, such as Electrical aesthetics, energy-efficient layouts, and potential additions, while ensuring code-compliant derating and conductor insulation.
You document assumptions, methods, and results clearly for the next steps, avoiding unnecessary speculation and preserving technical precision. Historical wiring considerations inform compatibility without dictating circuit requirements.
Assess Circuit Requirements
With the load profile established, assess circuit requirements by translating the calculated demand into specific branch circuit needs. You’ll map appliances and outlets to dedicated or shared circuits, ensuring continuous loads are grouped correctly and feeder capacity isn’t exceeded.
Apply diversity factors to lighting and receptacle loads, then verify NEC-required breaker sizing, wire gauges, and conduit routes.
Consider wireless charging zones and how they affect circuit count and AFCI/GFCI placement. For future flexibility, note potential solar integration interfaces and inverter considerations in panel planning.
Document all derate factors and cable lengths to prevent voltage drop. Confirm grounding and bonding comply with local amendments.
Reconcile essential circuits first, then nonessential loads, maintaining headroom for renovations.
- Load-to-breaker mapping with diversity factors
- Dedicated versus shared circuit decisions
- Safety devices and grounding requirements
- Wire sizing, voltage drop, and conduit routing
- Future-ready considerations (wireless charging, solar integration)
Plan Renovation Upgrades
Calculate continuous and noncontinuous loads, apply derating factors, and determine feeder sizing and panel capacity. Develop a phased plan that aligns with construction milestones, minimizing redos and downtime.
Allocate dedicated circuits for high-draw appliances, lighting, and specialty equipment, while preserving headroom for future expansions. Verify breaker types, wire gauges, and conduit routes to meet code, manufacturer, and safety standards.
Document the final load calculation, circuit count, and panel schedules. Emphasize electrical safety and power redundancy to sustain essential operations during renovation disruptions.
Typical Wiring Upgrade Costs by Scope
When upgrading wiring, costs vary by the scope of work and the starting condition of the electrical system. You’ll see clear differences between partial updates, full service upgrades, and panel replacements, with material quality and labor time driving variance.
Precision calculations hinge on conductor runs, box counts, and grounding requirements, plus compatibility with existing circuits and code compliance. Given decorative fixtures or vintage wiring, expect higher assessment, protection upgrades, and possible re-inspection for updated safety standards.
Planning should quantify permit fees, disposal, and contingency for hidden delays. In practice, you’ll benchmark unit costs, then aggregate by scope to produce a transparent budget.
- Scope definition and baseline assessment
- Material quality and compatibility
- Time and labor intensity
- Code compliance and permits
- Hidden risks and contingencies
Lighting Upgrades That Boost Value and Efficiency
Upgrading lighting with efficient LEDs and proper load planning reduces ongoing energy use while maintaining task performance.
You’ll assess luminaire efficiency, color rendering, and thermal management to optimize both value and functionality.
This discussion centers on Efficient LED Upgrades and Lighting Load Optimization to establish a precise baseline for performance and cost.
Efficient LED Upgrades
- Define target lumen efficacy and color rendering index
- Map fixture placement to daylight exposure and task needs
- Verify driver compatibility and dimming range
- Integrate controls for occupancy and daylight sensing
- Assess long-term maintenance and disposal impacts
Lighting Load Optimization
Start with fixture selection that matches output, color temperature, and glare control to minimize wasteful over-illumination. Quantify wattage per area and anticipated usage hours to model annual energy impact, then compare scenarios with dimming, occupancy sensors, and daylight harvesting.
Prioritize high-lumen-per-watt options without sacrificing lighting aesthetics, ensuring uniform distribution and sufficient color rendering for tasks. Standardize connectors and dimming protocols to reduce retrofit friction.
Document maintenance access, heat dissipation, and ballast or driver efficiency. Conclude with a concise bill of materials, installation steps, and a post-occupancy evaluation plan.
Smart Switches and Outlets: Upfront Costs and Long-Term Savings
Smart switches and outlets require an upfront investment, but their cost is offset by ongoing energy savings and improved control. You’ll quantify payback by comparing device costs to annual energy reductions, typically from scheduling, occupancy sensing, and load shedding.
Precision budgeting includes hardware price, installation labor, and potential hub or gateway needs, with compatibility checks for existing circuits. Expect monthly utility data accuracy to guide ongoing optimization, not just a one-time install.
- Upfront hardware and installation costs, including any required bridge or hub
- Expected energy reductions by room and load type
- Payback period based on local utility rates and usage patterns
- Long-term maintenance, firmware updates, and warranty terms
- Compatibility with smart home ecosystems and voice assistants
Wiring for Home Automation and Energy Management
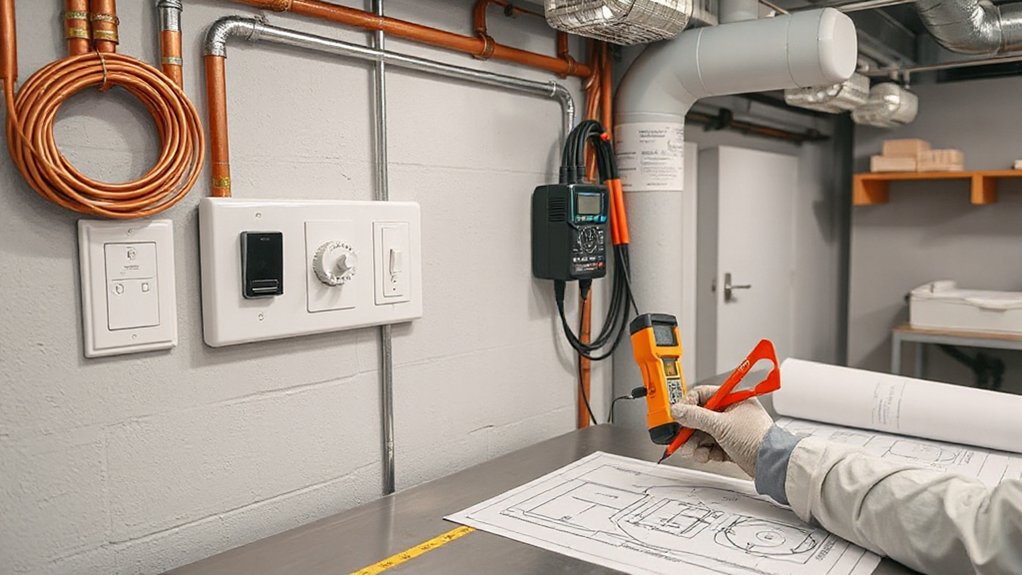
You’ll plan smart wiring routes and panel capacity to support future home automation, prioritizing conduit paths and pull lengths for scalable device counts.
Consider system integration timing, compatibility with existing breakers, and-wire standards to minimize retrofit complexity.
Weigh upfront costs against long-term energy gains by selecting modular, firmware-friendly components that can grow with your energy-management goals.
Smart Wiring Costs
Upgrading wiring for home automation and energy management requires careful planning, cost estimation, and regulatory compliance. You’ll quantify device counts, wire gauges, and conduit layouts, then forecast labor, permit fees, and future expansion.
Smart wiring costs hinge on passive infrastructure, controller nodes, and protection devices, with attention to reliability and safety. You’ll evaluate compatibility with wireless charging and solar integration, ensuring common neutrals and ground fault protection.
Expect incremental pricing for backbones, hidden runs, and labeling, plus contingency for code upgrades.
- Material costs per device tier (basic, mid, premium)
- Home run drops versus daisies for sensors
- Conduit sizing and bend radii
- Labeling, documentation, and testing requirements
- Future-proofing and scalability considerations
System Integration Considerations
How do you guarantee seamless system integration when wiring for home automation and energy management? You map the grid, devices, and protocols before any trenching or terminations. Specify standards (Zigbee, Z-Wave, Matter) and central controllers, then design a homogeneous backbone with a dedicated low-voltage plane.
Plan for future expansion by reserving pull boxes, conduit, and labeled junctions at each zone. Use high-quality connectors, compliant cable assemblies, and surge protection aligned to device requirements.
Implement a dedicated energy-management subpanel with monitored circuits, metering, and redundancy for critical loads. Verify interoperability through staged commissioning: device pairing, automation scripts, timing, and failover tests.
This precision ensures Smart technology integrates reliably, optimizing Energy savings while reducing maintenance gaps and latency.
Grounding, Bonding, and Electrical Safety Upgrades
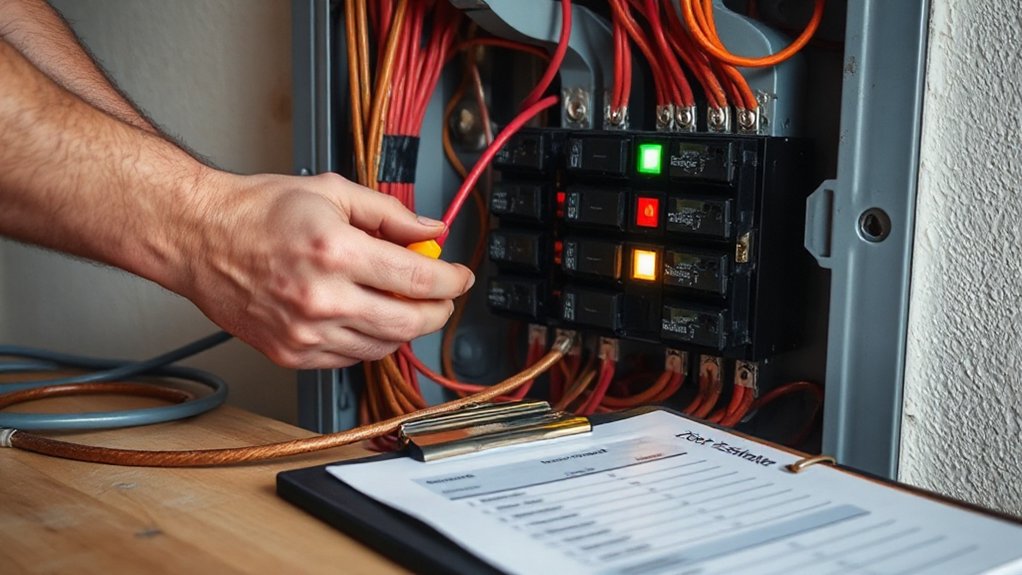
During renovations, grounding, bonding, and electrical safety upgrades are essential to guarantee system reliability and occupant protection. You implement targeted improvements by verifying conductor sizing, ensuring continuous grounding paths, and upgrading panels to meet current grounding safety requirements.
Bonding standards guide connections between metallic components, reducing potential differences and arcing. You minimize shock risk through GFCI/AFCI protection where required and test continuity after modifications.
Documentation demonstrates compliance with code updates and system performance criteria. You’ll prioritize surge protection, equipment grounding, and proper enclosure labeling to sustain safety margins through renovation phases.
- Verify grounding conductor sizing and continuity
- Upgrade panels to current grounding safety standards
- Implement proper bonding between metallic components
- Install GFCI/AFCI protection where mandated
- Test and document post-modification resistance and continuity
Permits, Inspections, and How They Affect Timelines
As you move from implementing grounding and bonding improvements to renovation planning, permits and inspections become a determining factor in project timelines. You’ll navigate permit scopes, electrical code compliance, and scheduling with local authorities, aligning your plan to documentation requirements and inspection windows.
Historical context informs typical review cycles and pourquoi, shaping expectations for review times and potential rechecks. Inspections enforce safety and performance benchmarks, often triggering corrections that adjust milestones and procurement windows.
You’ll coordinate electrical work phases with trade sequencing to minimize delays, ensuring drawings, load calculations, and material certifications are accurate before submission. Aesthetic considerations influence conduit routing and device placement within legal constraints, reducing rework later.
Hidden Costs: Drywall Repair and Finishes After Rewiring
When you rewire, you’ll incur drywall repair costs to restore wall integrity and alignment around new or relocated boxes.
After finishing, expect potential texture and paint touch-ups to match the existing surface, with finishes needing color, sheen, and durability consistency.
We’ll quantify these costs and outline a methodical workflow to minimize surprises in your project budget.
Drywall Repair Costs
- Patch size and corner alignment
- Joint compound layering counts
- Sanding and dust control requirements
- Matching wall textures to existing finishes
- Compatibility checks for wiring materials and fasteners
Finishes After Rewiring
Finishing after rewiring introduces hidden costs tied to drywall repair and subsequent texture and finish work. You’ll assess patching, sanding, and seamless blending to restore surface uniformity after conductor and box placements.
Precision planning matters: match joint compound schedules to minimize cracking and guarantee substrate stability for new finishes. Drywall repair costs intertwine with texture selection, so you quantify material waste and labor step by step.
When installing Energy efficient appliances and Smart home integration, expect additional wall openings or cavity work for power, data, and routing.
Account for moisture control, corner bead accuracy, and paint or veneer matching to maintain a cohesive aesthetic.
Document scope, verify fixtures’ clearances, and confirm that final finishes meet durability and fire-rating requirements.
Budgeting for Electrical Upgrades: Contingency Tips
To budget effectively for electrical upgrades during renovation, start with a clear scope and a realistic cost baseline that accounts for current electrical code updates, potential upgrades to panels, outlets, circuits, and wiring, plus permitting fees.
- Define scope boundaries and assumed loads to prevent scope creep.
- Include a separate contingency line at 10–20% of base estimate.
- Identify external factors: permit delays, material shortages, and labor rates.
- Budget for Outdoor outlets and Surge protection specifically.
- Plan for design reviews and documentation to avoid rework.
Contingency use should be tracked weekly, with thresholds triggering reforecasting. Document change orders promptly, compare estimates to invoices, and adjust the baseline to reflect actuals for accuracy.
Prioritize Upgrades by ROI and Safety Impact

Apply a risk-reduction score to each item, considering fire protection, overload prevention, and fault isolation. For vintage wiring, assess not just modernization costs but the liability of outdated insulation and short-circuit exposure, prioritizing remediation that yields the largest reduction in fire and shock risk.
Factor in Electrical permits as a compliance accelerant, ensuring scope alignment with code, inspection timelines, and insured coverage. Sequence upgrades so high-return, high-safety items coincide with permitting milestones to streamline approval and minimize disruption.
How to Evaluate Contractors and Get Reliable Quotes
How should you evaluate contractors and secure reliable quotes when upgrading electrical systems during a renovation? You approach this with verifiable criteria, documented scopes, and transparent costs. Prioritize credentials, project history, and insurer coverage. Request itemized quotes, then cross-check unit pricing, labor hours, and material grades. Demand schedule milestones, warranty terms, and change-order protocols.
Validate electricians’ licensing, bonding, and electrical experience with similar renovations. Compare quotes for energy management and home automation compatibility, ensuring integrability with existing systems. Use a standardized evaluation matrix to score reliability, safety practices, and communication responsiveness.
Negotiate fixed pricing for key line items while retaining contingency clarity. Mandate references and site visits. Require detailed diagrams, load calculations, and backup protection plans.
- Credential verification and insurance
- Itemized, scorable quotes
- Scope, milestones, and warranties
- Energy management and home automation compatibility
- References and field verification
Common Electrical Upgrade Pitfalls to Avoid
Even with solid quotes and a clear scope, several common electrical upgrade pitfalls can derail a renovation. You’ll encounter scope creep when retrofit requirements reveal unseen circuits, forcing midstream design changes.
Poor load calculations lead to nuisance tripping or undersized feeders, especially in open-plan spaces demanding shared circuits. Inadequate coordination with lighting design can produce mismatched color temperatures or glare, undermining perceived quality.
Don’t overlook electrical aesthetics; subpar finish work around outlets or concealed wiring diminishes the final feel and may require costly rework. Skipping as-built verification creates documentation gaps that complicate future upgrades.
Overreliance on DIY fixes for critical components risks code violations and safety hazards. Finally, neglecting accessibility and future-proofing reduces adaptability, increasing long-term replacement costs rather than enabling smooth evolution of the system.
Scheduling to Minimize Delays During Rewiring
Coordinating schedules between demolition, panel work, and finish trades is essential to minimize rewiring delays. You’ll align task sequences, allocate access windows, and preserve a clean work footprint to prevent interruptions during Electrical wiring installation and circuit breaker placement.
- Establish a shared timeline with all trades to identify critical intersections
- Reserve dedicated access for panel upgrades and wire routing
- Pre-count circuits and label each location to avoid rework
- Schedule inspections after main runs to catch conflicts early
- Implement buffer blocks for subcontractor constraints and material delivery
You’ll monitor daily progress, tighten change orders, and document deviations to maintain schedule integrity. This disciplined approach reduces idle time, safeguards safety protocols, and ensures accurate circuit breaker coordination without compromising finish quality.
Energy Efficiency Incentives and Tax Credits You Might Qualify For
Energy efficiency incentives and tax credits can considerably offset renovation costs, especially when you target upgrades like insulation, high-efficiency HVAC, LED lighting, and smart controls. You should assess available programs before purchasing, identifying federal, state, and local options that apply to residential electrical upgrades.
Track eligibility criteria, required documentation, and cap levels for each incentive, then prioritize projects with the strongest return on investment. For example, qualifying high-efficiency equipment often yields instant rebates or tax credits aligned with energy performance metrics.
Historical wiring, if updated to modern codes, can release further credits tied to safety and efficiency improvements. Be wary of electrical myths that overstate benefits or timelines; verify claims with program guidelines and official sources.
Maintain precise records for audits and future deductions.
Maintenance Plan to Protect Your Investment After Upgrades
To protect your investment after upgrades, implement a structured maintenance plan that targets efficiency, safety, and compliance with current codes. You’ll standardize inspection intervals, document performance metrics, and enforce preventative tasks that sustain capacity and reliability.
Emphasize clear ownership, traceable records, and timely part replacement to minimize downtime. Integrate cost comparison data into ongoing budgeting, and align activities with upgrade planning milestones to avoid scope creep.
Adhere to electrical codes, label circuits, and test protective devices after every major change. Maintain a risk register, schedule annual reviews, and track energy performance to preserve efficiency gains.
- Regular inspection cadence and documented test results
- Circuit labeling, documentation, and device verification
- Preventive tasks tied to upgrade milestones
- Energy performance tracking and cost comparison analyses
- Risk register, reviews, and compliance verification
DIY vs. Professional: When to Call an Electrician
If you’re deciding whether to tackle electrical work yourself or hire a licensed electrician, start with safety and code compliance as the non-negotiables. You should evaluate project scope against wiring standards and local amendments before any tool touches metal.
For simple tasks—like replacing outlets, upgrading fixtures, or correcting labeling—you may proceed only if you hold current knowledge of electrical safety and meet all manufacturer instructions.
Complex tasks, including panel work, new circuits, or service upgrades, require professional intervention. A licensed electrician ensures proper grounding, overcurrent protection, and adherence to permit requirements.
Consider energy management goals, but prioritize risk mitigation and inspection results. When in doubt, defer to expertise to minimize electrical hazards and guarantee long-term reliability.
Frequently Asked Questions
What Hidden Costs Accompany Electrical Upgrades During Renovation?
Unexpected issues can surge costs; you’ll face hidden factors like electrical code compliance, permit delays, and panel upgrades. You must refine Cost estimation precisely, anticipate old wiring hazards, compact layout constraints, and scheduling conflicts affecting overall project timing.
How Long Do Typical Electrical Remodel Projects Take?
Typically, an electrical remodel takes 1–3 weeks, depending on scope. You plan lighting design carefully, and you conduct circuit analysis to prevent overloads, schedule inspections, and coordinate with other trades, ensuring safety and code compliance throughout the process.
Can DIY Rewiring Be Safe During Renovations?
Yes, DIY rewiring can be risky during renovations. Imagine wiring as a delicate clock—one misstep disrupts the mechanism. You need DIY safety, electrical skills, proper permits, tools, and testing; otherwise, errors jeopardize lives and property. Proceed cautiously.
What Permits Are Required for Electrical Upgrades, and Who Handles Them?
You must navigate the permit process and confirm licensing requirements for your project; coordinates with local building authorities, verify electricians hold valid licenses, and your contractor handles applications, inspections, and compliance documentation to complete electrical upgrades correctly.
How Do Upgrades Impact Home Resale Value and Insurance?
Upgrading safely boosts resale value and stabilizes premiums when you demonstrate electrical safety and compliant upgrades. It’s not just price—it’s Cost estimation clarity, reduced risk, and a documented history, improving buyer confidence and ongoing insurance terms.
Conclusion
Upgrading electrical systems during renovation is a disciplined process of defining needs, evaluating panel capacity, and budgeting for scope, materials, and labor. A precise plan minimizes delays, while contingency funds guard against hidden costs. On average, wiring upgrades can range from a few thousand to well over ten thousand dollars, depending on scope. An interesting statistic: homes with LED retrofits and smart controls can cut lighting energy use by up to 50%—a meaningful contributor to total project savings.