
You’ll find standard kitchen faucet hole sizes mainly around 1 1/2 inches for single-hole setups and 1 3/8 inches in some configurations, with common 4-inch centers-to-centers mounting and compatible escutcheon options to guarantee a precise, leak-free fit. Verify hole diameters with manufacturer specs, measure center-to-center spacing, and check deck thickness for compatibility. Use sleeves or fillers as needed to match the faucet pattern. If you want more, you’ll discover detailed steps and checks further on.
Understanding Standard Faucet Hole Diameters
Standard faucet hole diameters are defined by widely accepted measurements to guarantee compatibility with common fixtures. You assess mounting requirements by referencing standardized hole sizes, ensuring you select faucets designed for 1-handle or 2-handle configurations and for deck-mount or wall-mount installations.
The guideline emphasizes compatibility across inlet spacing, typically 4 inches on centers, and rim-to-sill clearance, to prevent installation conflicts. Precision data indicate common diameters around 1 1/2 inches for single-hole setups and 1 3/8 inches for some widespread configurations, with variations documented in product standards.
You should consider water conservation objectives when evaluating fixtures, prioritizing faucet aerators that meet flow-rate limits without compromising performance. Documentation confirms that compliant aerators maintain efficiency while fulfilling consumer and code expectations.
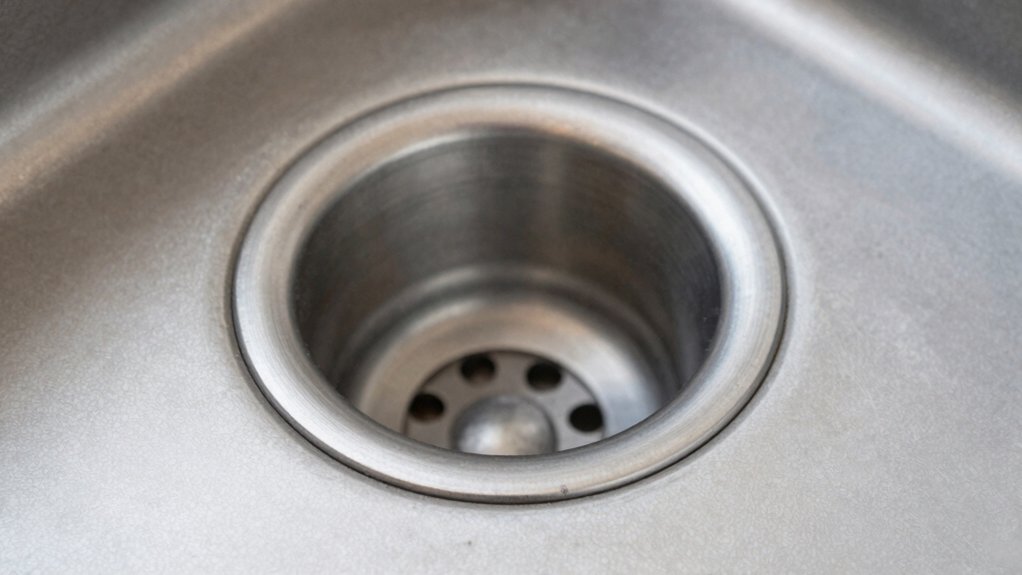
How to Measure Your Sink for Faucet Compatibility
To guarantee faucet compatibility, you’ll measure your sink by confirming the available mounting area aligns with common faucet configurations described earlier. Start with the deck hole count and spacing, using a caliper to verify diameter tolerances per manufacturer specs.
Record the distance between edge cutouts and the centerline of each hole, ensuring alignment with the faucet shank pattern you plan to install. Check the underside for mounting hardware clearance and verify there’s uninterrupted access for supply lines and valves.
Assess pipe roughness and underside obstruction to prevent hydraulic pressure loss or water flow restrictions. Note supply-line routing, ensuring compliant flex hoses fit without kinking.
Compare your measurements to the product’s mounting template, confirming compatibility before purchase to avoid retrofit work.
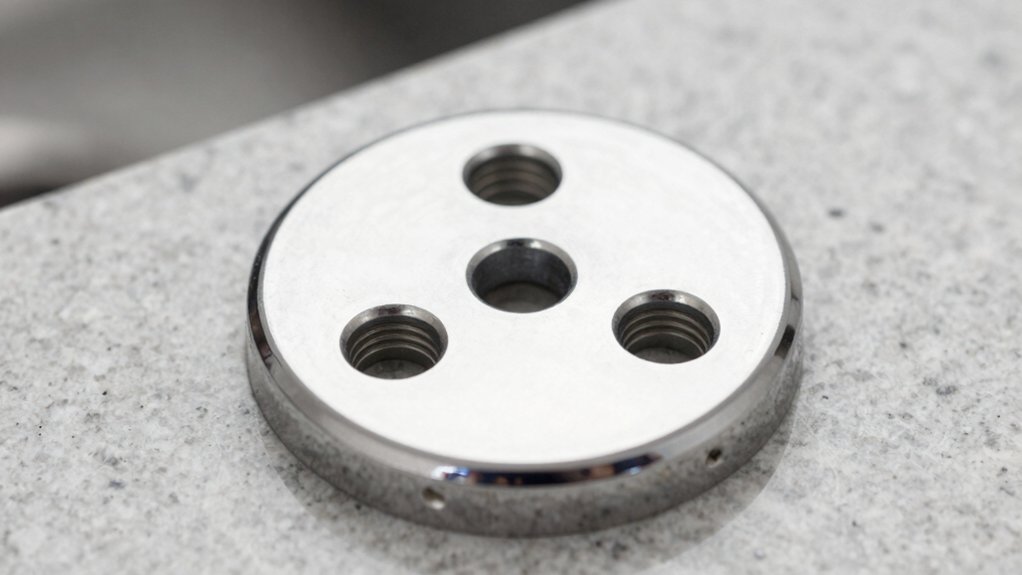
Single-Hole vs. 3-Hole Configurations
You’ll compare single-hole and 3-hole setups by weighing pros and cons, drilling steps, and how plates affect compatibility. You’ll note that single-hole offers simplicity but limited mounting options, while 3-hole configurations support most widespread faucet and plate combinations.
You’ll assess drilling requirements, compatibility with escutcheon plates, and how this choice aligns with standards for installation and future upgrades.
Single-Hole Pros & Cons
Single-hole faucet configurations offer a streamlined install and a clean countertop profile, but they also limit mounting flexibility and trim options compared with three-hole setups.
In this assessment, you compare space needs, compatibility, and retrofit potential with a focus on functional performance.
Water flow through single-hole designs depends on cartridge size, aerator specification, and spout geometry, with pressure consistency governed by valve type and supply lines.
Faucet durability hinges on build quality, material corrosion resistance, and mounting hardware integrity under repeated use.
For installation standards, verify hole size tolerance, mounting clearance, and deck thickness limits to ensure compliant sealing and support.
Operational considerations include ease of maintenance, component availability, and compatibility with ancillary accessories.
Drilling for Three-Hole
When drilling for a three-hole faucet configuration, make certain that the existing countertop and deck can support the spread and mounting hardware required by a three-hole setup. You assess hole spacing and material compatibility to ensure a secure mounting plane, typically 8 inches on centers for many widespread models.
Verify the integrity of the counter edge, cabinet clearance, and skirt or backsplash interactions to prevent stress transfer. Use manufacturer templates to align the center, left, and right holes, and confirm the deck’s thickness accommodates mounting clips and gaskets without deformation.
Consider faucet finish compatibility with finish wear and corrosion resistance for long-term performance. Maintain specified water pressure ranges to ensure seal integrity under flow, avoiding leaks or warranty voids.
Compatibility With Plates
Plates and escutcheons must match the faucet configuration to guarantee a reliable seal and proper mounting.
In single-hole setups, ensure the plate provides adequate coverage for the deck and aligns with the supply lines, avoiding interference with valve stems.
For 3-hole configurations, verify that the escutcheon accommodates the existing hole pattern, preserving gasket integrity and preventing lateral movement.
Compatibility hinges on match between mounting hardware and plate diameter, hole spacing, and finish compatibility with the faucet body.
Consider water pressure, ensuring the plate doesn’t restrict aerator or flow paths.
Temperature control efficiency depends on correct plate sizing to allow proper clearance around valves and cartridges.
Always follow manufacturer specifications for venting, mounting depth, and gasket material to minimize leak paths and support long-term performance.
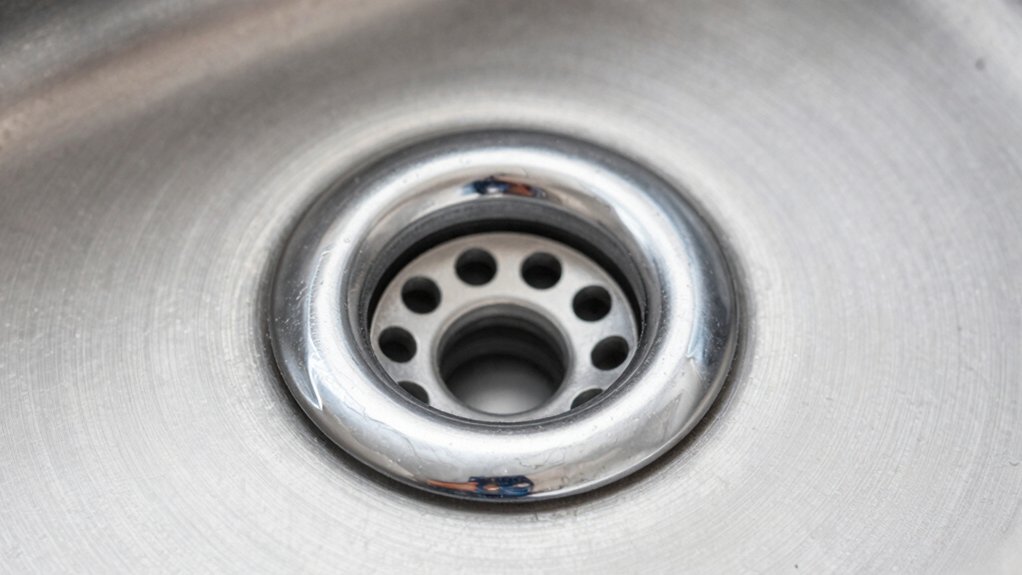
Common Hole Sizes for Kitchen Sinks
Most residential kitchen sinks are drilled to accommodate common hole patterns, with 1-3/4-inch (44.5 mm) and 3-1/2-inch (89 mm) standard faucet holes dominating the market. You’ll encounter additional configurations, including dual-hole setups for themed fixtures and 1-hole centerspread variants for compact layouts.
Hole sizing follows standardized diameters to ensure compatibility with single-hole, centerset, and widespread faucet models. When selecting, verify the deck thickness and mounting hardware compatibility, as these factors influence ring size, escutcheon coverage, and sealant requirements.
For performance, align hole size with your faucet’s shank diameter and gasket tolerances to preserve water flow and minimize leakage. In design terms, respect Kitchen decor considerations while maintaining precise flow pathways.
Adhere to manufacturer guidelines for installation clarity and long-term reliability.
Tools You’ll Need for Accurate Measurements
To measure kitchen faucet hole patterns accurately, assemble the essential tools: a tape measure or caliper for precise diameter checks, a hole gauge or stepped drill bit for verifying standard sizes, and a straightedge or square to confirm alignment. You’ll also need a depth gauge or thumb ruler to capture mounting depth limits and clearance. Use calibrated marks for repeatable results, and document measured values per industry standards.
For water filtration considerations, verify compatibility with filtration-equipped faucets by confirming port spacing and nut dimensions before installation. When evaluating spray settings, ensure the faucet body aligns with the sink deck cutout to prevent interference.
Maintain clean work surfaces, secure the cabinet, and record deviations from nominal sizes to guide future replacements or adjustments. Precision, verification, and documentation ensure reliable, leak-free performance.
Dealing With Oversizeddecks and Rough Edges
When a deck or mounting surface presents oversized decks or rough edges, you must first assess the tolerance mismatch and hazards to prevent leaks or instability. You evaluate substrate flatness, edge burnishing, and manufacturer guidance for ultimate compatibility with faucet installation.
Measure the deck thickness variation and edge rake, noting how any discrepancy affects gasket seating and fastener engagement. If edges protrude, you square and deburr them per standard hand-tool practices, avoiding metal shavings in the mounting cavity.
Apply appropriate sealants or escutcheon coverage only as specified, ensuring no compressive force disturbs the valve body. Document deviation, adjust mounting hardware torque per spec, and recheck water intrusion after tightening.
For repair techniques, rely on shimming, edge smoothing, and verified fastener sequences to maintain leak-free performance.
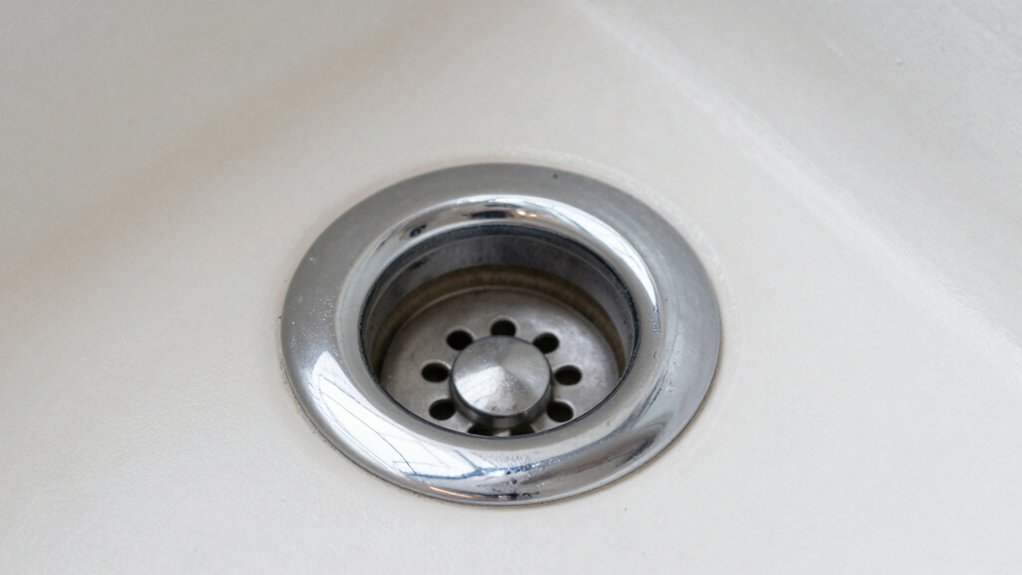
Sleeves, Escutcheons, and Fillers: Helpful Accessories
Sleeve types vary by installation context and valve configuration, so you should review compatibility with your faucet model and hole size.
Escutcheon and filler fits must align with edge clearances and deck thickness to maintain seal integrity and aesthetics.
Assess these accessories for standard dimensions, then verify fitment before final assembly.
Sleeve Types Overview
Sleeves, escutcheons, and fillers serve as essential accessories in kitchen faucet installations, providing a clean finish, proper alignment, and leak protection between the sink surface and the faucet shank. You select sleeve types to match hole diameter, countertop thickness, and stud spacing, ensuring tight tolerances.
Standard-metal sleeves resist corrosion and compressive loads; polymer variants reduce weight while maintaining seal integrity. Escutcheons distribute clamping forces and conceal rough cut edges, aiding surface flatness and aesthetics. Fillers adjust for uneven substrates and variable sink depths, preserving water-tight interfaces.
When sizing, verify faucet height compatibility with under-sink clearance and splash zones, and confirm that chosen sleeves maintain stable grip under normal water pressure. Adhere to manufacturer assembly instructions and applicable codes for a compliant, durable interface.
Escutcheon and Filler Fits
Escutcheon and filler fits guarantee a precise, water-tight interface between the sink, countertop, and faucet shank. You assess tolerances, diameters, and material compatibility to confirm a secure seal across nominal hole sizes.
Escutcheons, sleeves, and fillers compensate for irregularities, accommodate bidirectional mounting, and align with industry standards for leak prevention. Choose components with concentricity, flatness, and finish consistency to minimize gap formation around the faucet shank.
Verify that the escutcheon depth matches the countertop profile to avoid interference with cabinetry or hardware. Consider the impact on water pressure and aeration; a proper filler maintains stable flow paths without turbulence.
Ensure compatibility with a faucet aerator accessory and verify sealants or gaskets meet applicable code requirements for long-term durability.
Adjusting for Multiple Holes and Centers
When adapting a faucet installation to multiple holes and centers, you must verify the hole pattern against the faucet’s mounting template and the sink or countertop specs. If mismatches occur, select an escutcheon, adapter, or alternative mounting option that aligns with both the faucet’s shank configuration and the sink’s drilled-hole layout.
You assess center-to-center measurements, edge distances, and material thickness to determine compatibility, then document deviations and corrective steps for quality records.
Choose hardware with appropriate torque ratings and seal types to preserve water-tight integrity. Guarantee the final arrangement maintains proper water flow without introducing dead legs or excessive bending.
Consider faucet materials compatible with the installed sink finish, and verify that securing hardware maintains balanced clamping across all mounting points.
Selecting a Faucet for Your Sink’s Hole Size
Choosing a faucet that matches your sink’s hole size requires confirming the manufacturer’s recommended hole configuration and the sink or countertop’s drilled-hole pattern.
You select a faucet by verifying inlet spacing, mounting type, and gasket requirements against your sink’s existing template.
Precision standards dictate checking the hole diameter tolerances and ensuring the escutcheon accommodates the expected spread without crowding nearby features.
Consider compatibility with water filtration systems to maintain flow and filtration integrity across the supply lines.
Evaluate faucet finish options for corrosion resistance, stain resistance, and compatibility with your hardware palette.
Confirm that the chosen model supports required installation accessories, such as punch-out plugs and risers.
Finally, document the configuration for serviceability and future upgrades, aligning with manufacturer installation guides.
Practical Tips for a Leak-Free Fit
Make certain you match the standard hole diameters to your faucet model, verifying compatibility with the gasket and mounting hardware.
Check gasket fit and seating surface for a uniform seal, using manufacturer torque specs and approved sealants only as directed.
Apply tightening techniques in a star pattern to evenly compress the seal without over-tightening, and recheck for leaks after initial test.
Standard Hole Diameters
Standard hole diameters for kitchen faucets are specified to guarantee a leak-free fit and straightforward installation. You’ll encounter standard configurations for deck-mounted and single-hole setups, defined by recognized codes and manufacturer tolerances.
Measure hole diameters against 1 1/4 inch, 1 1/2 inch, and 1 3/4 inch templates, ensuring compatibility with faucet shanks and escutcheon rings. Verify that cutouts align with unified tolerances to minimize wobble and avoid gasket overload.
When selecting parts, prioritize consistent edging and smoothness to reduce edge wear on gaskets and seals. This standardization supports reliable faucet installation and preserves sink durability by limiting misalignment forces.
Document hole measurements during rough-in to prevent rework. Maintain strict adherence to manufacturer instructions and relevant plumbing standards for predictable performance.
Proper Gasket Fit
When installing a kitchen faucet, address gasket fit first to prevent leaks and wobble; misfit gaskets are the leading source of drips at the deck. You must verify the gasket thickness matches the mounting surface tolerance and the shank diameter.
Use manufacturer-specified gaskets that are compatible with your faucet model, and inspect for nicks or deformations before installation. Ensure clean contact surfaces to avoid air gaps that compromise seal integrity.
Apply sealant as directed by the gasket design, using the minimum required quantity to prevent squeeze-out without bypassing the seal. Consider gasket durability under expected thermal cycles and water chemistry, selecting resistant materials when hard water or sanitizers are present.
Document sealant application steps for future maintenance to preserve leak-free performance.
Tightening Techniques
Correct tightening is essential for a leak-free faucet fit. Start by verifying that the mounting hardware matches the gasket and shank diameter, then apply torque per the faucet manufacturer’s specification.
You should use a calibrated wrench and torque values aligned to industry standards for valve assemblies. Inspect threads for corrosion and use fresh thread sealant only where specified by the manufacturer; avoid over-tightening, which can damage the faucet finish.
After initial torque, recheck alignment and ensure the gasket sits flush against the mounting surface. Observe water pressure during final testing to confirm leak-free operation without binding handles.
Document torque, finish type, and any deviations for future service. Maintain compliance with installation manuals and faucet finish recommendations to preserve warranty and performance.
Conclusion
You’re standing at the sink, the metal gleam of your faucet catching the light like a precise datum on a spec sheet. With the right hole size in hand, you’ll hear the seal snap and feel confidence settle in—no leaks, no guesswork. Measure, compare to standards, and fit sleeves or fillers as needed. When the centers align and threads thread true, your kitchen works with engineer-level calm: durable, compliant, and ready for daily use.


