
Yes, you can safely paint an old radiator if you prep properly, use heat-rated primers and finishes, and work in a well-ventilated area. Start by inspecting for leaks, cleaning and degreasing the surface, then lightly sand and mask surrounding areas. Apply a thin coat of high-heat primer, let it dry, then finish with a compatible, heat-resistant topcoat in thin layers. Don’t rush curing times, and ventilate well—if issues pop up, you may need professional help; more tips await.
Should You Paint Your Radiator? Key Criteria to Decide
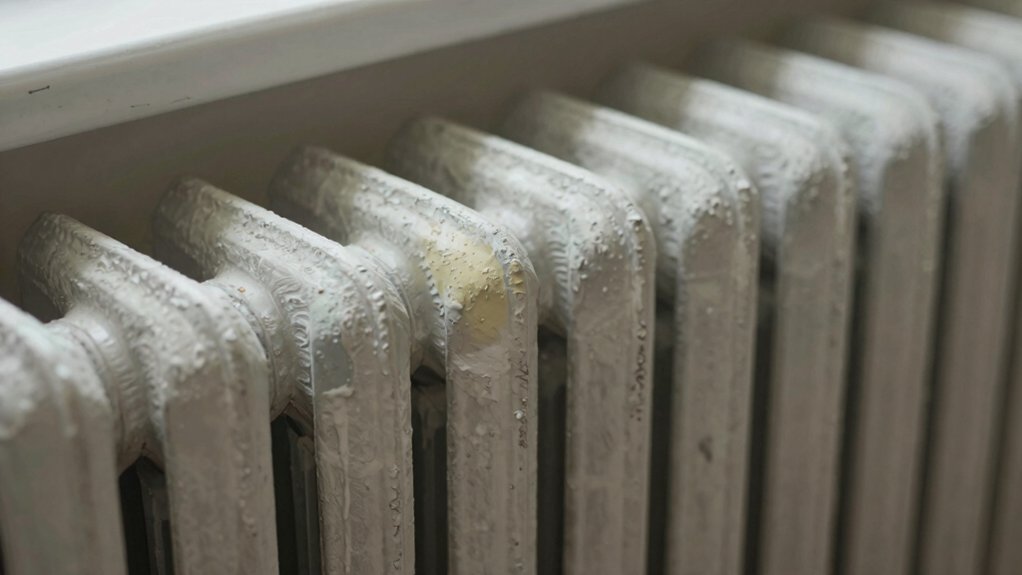
If you’re deciding whether to paint your radiator, start by evaluating its condition and your goals. First, check for rust, flaking paint, and leaks; these issues can affect results and safety.
If the surface is sound, consider why you want to repaint: cosmetic refresh, heat effectiveness, or long-term protection. Radiator aesthetics matter, but so does preparation quality—cleaning, degreasing, and, if needed, rust treatment improve adhesion and finish.
Choose a high-temperature, adhesive-friendly paint designed for metals, ensuring even coverage and minimal fumes. Consider paint durability in your environment: a high-traffic room or exposure to humidity demands tougher coatings.
Weigh the cost, time, and potential need for multiple coats. If durability and appearance align with your goals, painting can be a practical, durable upgrade.
Safety Checks Before You Start
Before you start, inspect for leaks and address any drips or corrosion so you don’t trap moisture or paint onto moving parts.
Ventilate your workspace safely to keep fumes down and make certain you can notice issues quickly.
Check paint compatibility with your radiator material and heat level to avoid peeling or hazardous reactions.
Inspect For Leaks
Before you start painting, inspect the radiator for leaks. Begin with a visual check for damp spots, corrosion, or mineral deposits around joints and valves. Gently touch suspect seams to confirm any moisture or crust, and listen for faint drips when the system runs.
If you find leaks, address them before painting; temporary fixes aren’t reliable for long-term paint adhesion or safety. Tighten fittings only if you know the correct torque, and replace worn gaskets to prevent future seepage.
If pressure remains stable and surfaces are dry, wipe down with a mineral-free cleaner and dry completely. Consider how the radiator color will look after coating, and remember that detecting leaks protects heat efficiency and safety.
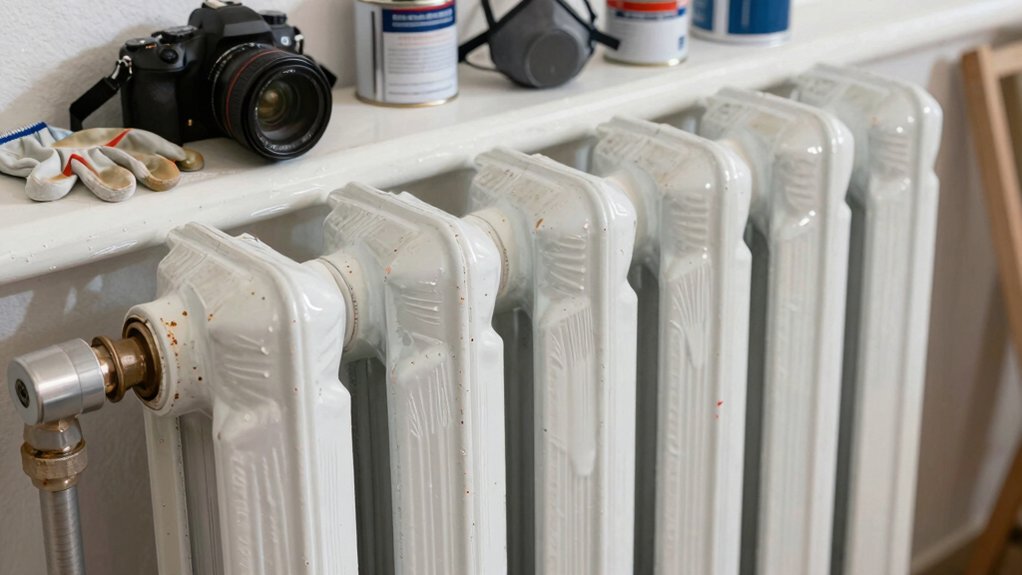
Ventilate Workspace Safely
Open windows and doors to create a cross-breeze, and turn on any available exhaust fans before you start painting. You’ll control fumes, ventilation, and drying times by spacing airflow from intake to exhaust, reducing lingering odor and particle buildup.
Keep doors open to adjacent rooms only as needed to avoid spreading dust. Use a breathable mask if fumes are noticeable, and never paint in a sealed space.
Monitor humidity; too high slows paint durability, too low risks rapid drying and cracking. Guarantee a designated safe area away from heat sources and kids.
- Fresh air drafts sweeping across the workspace
- A labeled, dedicated vent path guiding fumes outside
- Lightweight, filtered respirator ready for use
- Clear workspace with minimal dust and debris
Radiator aesthetics and paint durability rely on controlled airflow.
Check Paint Compatibility
To guarantee compatibility, check the paint’s label for heat-rated performance and compatibility with metal radiators. You’ll want a product designated for high heat and direct metal contact, not indoor wall paints.
Verify solvent type, dry time, and recoat window; mismatched solvents can cause bubbling or adhesion failure. Look for warranty claims that cover radiator surfaces and any gloss or finish limits under heat.
Ensure the primer and topcoat are compatible with each other and with metal, avoiding rubberized or low-temperature coatings that crack when heated.
Consider Radiator aesthetics: choose a durable finish that resists fingerprints and cleaning solvents. Evaluate paint durability under fluctuating temperatures and humidity to prevent yellowing or flaking.
A tested combo saves touch-ups and downtime.
Best Paints and Finishes for Radiators
Choosing the right paint and finish for radiators matters for durability, heat flow, and appearance. You want coatings that resist heat, handle temperature changes, and clean easily.
For best results, pick high-heat enamel or ceramic-based paints designed for radiators or metal surfaces. Satin or gloss sheens reduce dust buildup and offer smoother wiping. Use heat-resistant primers if the metal is bare, and avoid latex in high-heat zones.
Consider rust-inhibiting formulas for longevity and to maintain radiator aesthetics over time.
For color decisions, think about paint color options that complement room lighting and fixtures.
- Vibrant epoxy gloss that reflects light and highlights clean lines
- Soft satin for subtle, modern radiator aesthetics
- Matte metallics for a contemporary, understated look
- Neutral neutrals that blend with walls and furniture
Step-by-Step Prep: Cleaning, Sanding, Priming, and Masking
Start with cleaning and degreasing to remove soot, oil, and dust. Then move to careful sanding to key the surface without gouging. Use a tack cloth or damp rag to remove residue after each step, ensuring the radiator is dry before priming.
Keep masking precise to protect surrounding surfaces, and choose a primer compatible with your paint and metal to promote adhesion.
Cleaning And Degreasing
Before you begin painting, start with a thorough cleaning and degreasing to make certain the finish adheres properly.
- Wipe down every surface with a degreasing cleaner, focusing on crevices and valves.
- Rinse with clean water, then dry thoroughly to prevent rust.
- Remove dust and grime with a tack cloth before masking.
- Inspect for oil, grease, or old paint buildup and address hotspots.
Use a non-residue cleaner to avoid haze, and wear gloves for protection. This step supports radiator safety by reducing contaminants that could compromise adhesion.
Choose a compatible paint that suits metal surfaces and temperature exposure; correct paint selection minimizes fumes and finish mismatch.
Keep ventilation steady during cleanup and drying, and store rags safely to prevent spontaneous combustion.
High-quality prep now saves touch-ups later and yields a durable, even coating.
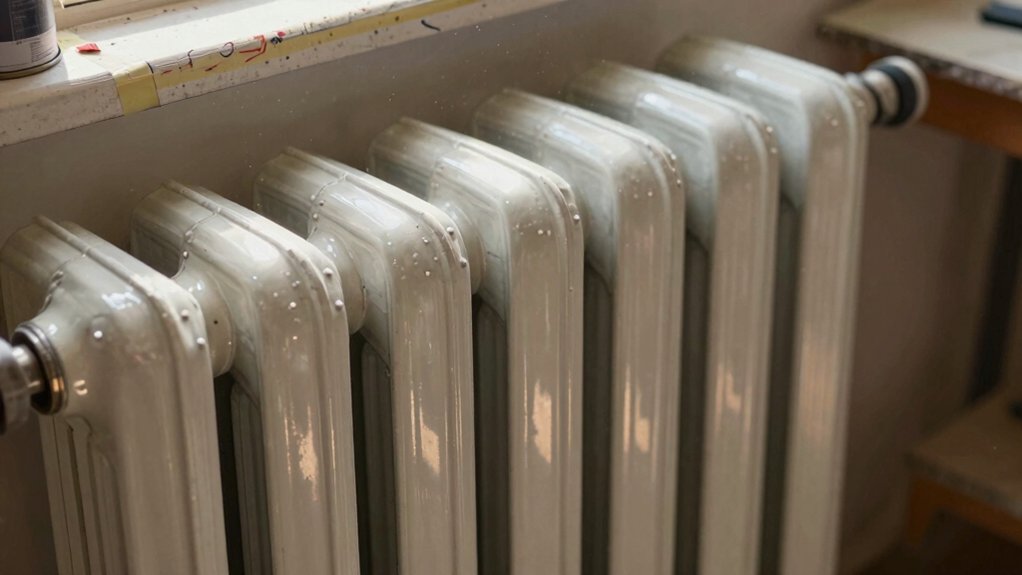
Sanding And Prep Work
Now that the surface is clean, you’ll prep the radiator by sanding to create a smooth, keyed base for adhesion. Use fine-grit sandpaper (400–600) and maintain even pressure to avoid gouges. Focus on flat areas and crevices, finishing with a light, dust-free wipe to remove debris.
Mask nearby walls, valves, and ornaments with painter’s tape and protect floors with a drop cloth. Inspect for rust spots; lightly scuff them to promote bonding. Apply a rust-inhibiting primer to perforations and bare metal, then let it dry fully before moving to paint.
This prep preserves radiator aesthetics by ensuring uniform coverage and reduces chance of blistering. Proper sanding also supports heat efficiency, preventing trapped coatings that could impede heat transfer.
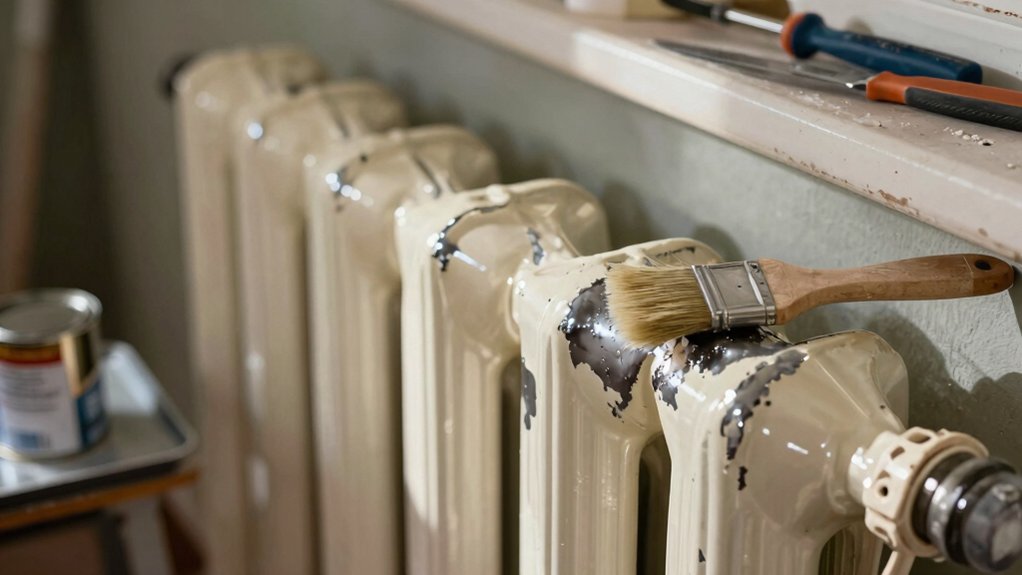
How to Apply Paint for Even Heat Distribution
To guarantee even heat distribution, start with a clean, dry radiator surface and prime any bare metal with a high-adhesion primer.
- You apply a thin, even coat, keeping strokes uniform to avoid ridges that block heat.
- You wait the recommended recoat window to prevent uneven layering and color blotches.
- You use a radiator-specific color, selecting a shade that supports heat transfer rather than insulating.
- You finish with a light, consistent topcoat for a smooth surface that enhances heat efficiency.
Apply paint in a well-ventilated area and avoid thick layers. Maintain steady hand pressure and overlap strokes slightly.
After curing, inspect for missed spots and touch up promptly to preserve radiator color and airflow, ensuring ideal heat efficiency.
Common Mistakes to Avoid: And How to Fix Them
Common mistakes derail a radiator repaint, but you can fix them fast by staying mindful of prep, product choices, and curing times. You’ll often rush surface prep, skip degreasing, or ignore masking, which traps dust and causes uneven texture. Avoid this by washing with warm soapy water, scuffing only as needed, and applying a thin primer layer.
Choose high-heat, rust-inhibiting paints suitable for radiators, and don’t thin beyond manufacturer guidance. Temperature regulation matters: keep the room consistently warm during curing, and ventilate to prevent moisture buildup. Track cure times precisely; rushing to the next coat invites cracking and peeling, undermining paint durability.
If you notice nibs or sags, sand lightly and recoat with minimal pressure. Patience with prep and curing yields smoother finish and lasting performance.
Aftercare and When to Call a Professional
After you’ve finished painting, proper aftercare protects your work and extends its life. You’ll maintain radiator aesthetics by keeping surfaces clean and free of dust that dulls the finish. Allow adequate cure time before use, and ventilate to prevent odor buildup. Check for chips or peeling and touch up promptly to preserve paint durability. Keep heat cycling gradual at first to prevent premature cracking. Use breathable covers or shields when needed to reduce scuffing from routine cleaning.
- A warm, well-lit workspace helps you spot imperfections before they harden.
- Gentle cleaning with a soft cloth preserves the finish without abrasion.
- Regular inspections catch chips early, saving larger repairs later.
- If you notice peeling, cracking, or bubbling, stop DIY and call a professional for assessment.
Conclusion
If you’re considering painting an old radiator, proceed with caution and follow the right steps. Yes, you can refresh it, but use heat-resistant paint, work in a well-ventilated area, and avoid clogging vents. Prep meticulously, protect nearby surfaces, and cure fully before restoking. Don’t skip masking or testing a small area first. Remember: measure twice, paint once. An ounce of prevention is worth a pound of cure.


