
To install a durable tile or stone hearth, start by evaluating your fireplace opening, floor substructure, and local clearances, then pick heat‑resistant materials and finishes that suit your room. Prep a flat, clean base with a proper mortar bed and moisture barrier, ensuring noncombustible clearances and ventilation. Cut tiles or slabs precisely, dry‑fit, then set with grout seams that read as a single, seamless surface. Seal and maintain per manufacturer guidelines, and you’ll achieve a cohesive, long‑lasting focal point—more details ahead.
Assess Your Fireplace and Floor: Key Factors to Check
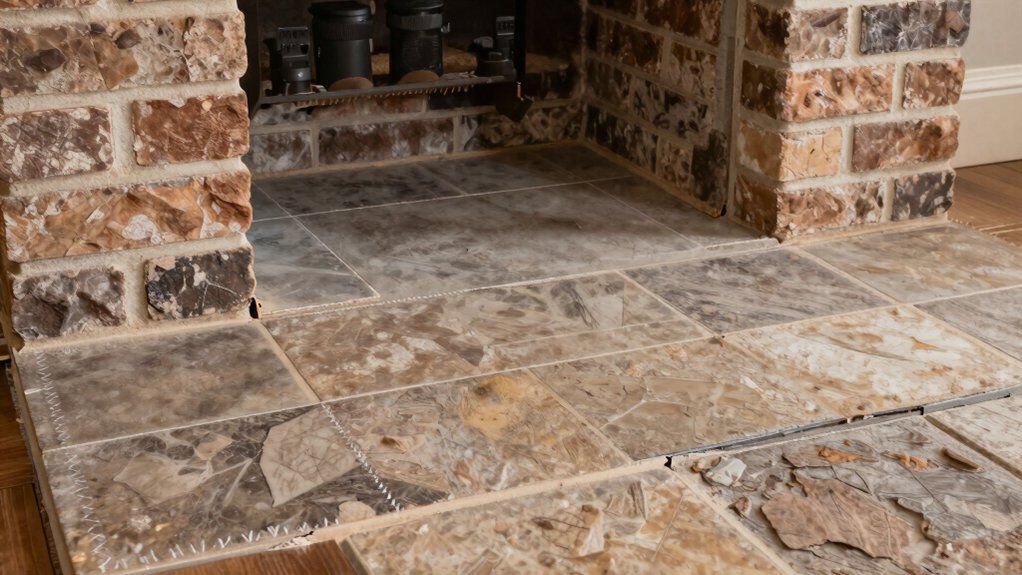
Before you install a tile or stone hearth, assess the fireplace and surrounding floor to guarantee a safe, stable base. You’ll verify clearances, structural integrity, and subfloor flatness, since deviations skew alignment and heat performance.
Inspect chimney conditions, flue liner, and damper operation to prevent venting bottlenecks that compromise efficiency. Evaluate existing hearth dimensions against planned proportions to ensure balanced sightlines and functional clearance for doors or embers.
Check substrate compatibility—concrete, plywood, and underlayment must support weight without settlement. Confirm heat shield coverage and noncombustible clearances around combustibles, and note potential displacement from vibrations or seasonal movement.
Plan for proper ventilation paths, because fireplace venting affects performance and safety. Finally, align design intent with hearth aesthetics, ensuring material choices respect scale, texture, and surrounding finishes.
Choose Tile or Stone for a Hearth: Materials, Sizes, Finishes
Choosing the right tile or stone for a hearth hinges on material performance, size, and finish, so start by matching heat resistance, durability, and maintenance needs to your fireplace use. You’ll weigh material selection against heat output, cleaning frequency, and edge detailing before you buy.
Consider these core choices:
- Material selection: ceramic, porcelain, natural stone, or glass tiles, each with distinct heat tolerance and porosity.
- Sizes: large-format planks for minimal grout lines, or modular pieces for intricate layouts.
- Finishes: matte, satin, or high-gloss; honed or polished surfaces influence glare and cleaning.
- Finish options: sealants and impregnators to reduce staining and staining risk on natural stone.
Choose a finish that stays consistent with your room’s palette and curb appeal.
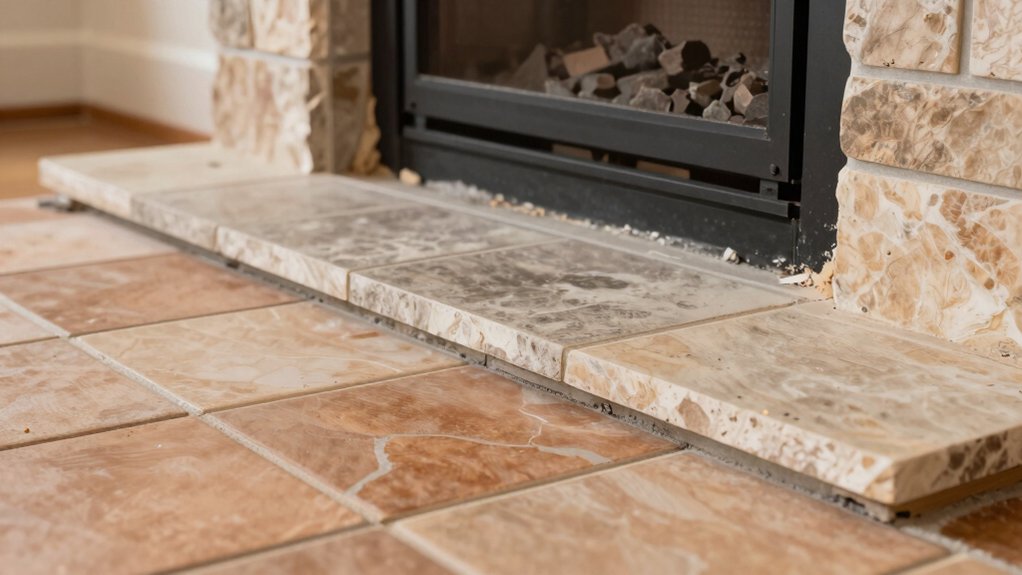
Prep the Base: Subfloor, Mortar Bed, Clearances, and Waterproofing
You’ll establish a solid base by ensuring the subfloor is flat, clean, and adequately supported before you lay any mortar.
Next, you’ll configure the mortar bed and strict clearances to prevent movement, moisture wicking, or heat stress.
Finally, you’ll integrate waterproofing and barrier details to protect structural framing while maintaining a precise, long-lasting tile or stone hearth.
Subfloor Preparation Essentials
A solid subfloor sets the foundation for a durable tile or stone hearth, so prepare it meticulously: verify structural integrity, guarantee a flat, cementitious base, and lay out appropriate clearances and moisture barriers.
Your focus is subfloor durability and moisture barriers, ensuring a stable platform that resists cracking and moisture intrusion. Maintain precise tolerances, check for movement, and confirm compatibility with tile setting materials.
- Inspect joists and new or existing framing for lateral stability
- Sill plate, mud slab, and underlayment alignment with a level substrate
- Install moisture barriers without gaps, overlaps, or punctures
- Verify flatness with a straightedge and 1/8-inch tolerance per area
Proceed to mortar bed planning only after subfloor integrity is confirmed, and avoid compromising future clearances or adhesion.
Mortar Bed and Clearances
Mortar bed preparation follows once the subfloor is verified as solid and true. It should establish a stable, uniform base for tile or stone while maintaining strict clearances and a waterproofing plan.
You’ll mix and set a uniform mortar bed to a consistent thickness, avoiding voids that compromise support or drainage. Verify that edge clearances meet code and designer intent, typically maintaining dedicated gaps from walls and hearthstone surfaces to prevent cracking transfer and allow for movement.
Trowel-smooth the bed to a true plane, then cure under controlled conditions. Apply a compatible waterproof membrane over the bed’s surface before full tiling or stone layout.
Document clearance requirements clearly in your installation notes to guide future maintenance and inspections.
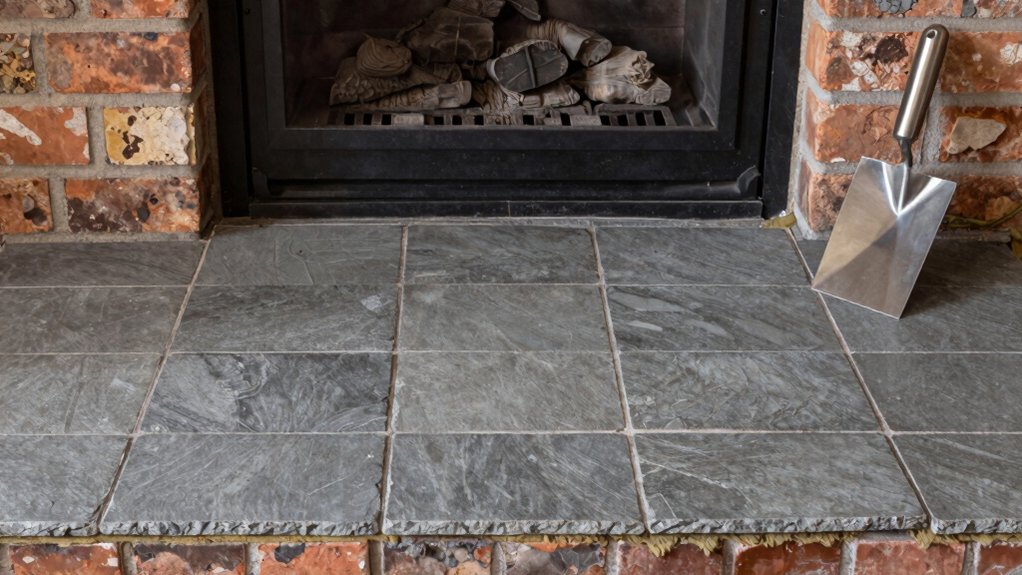
Layout, Cut, and Install the Hearth Surfaces
When laying out and cutting the hearth surfaces, start by measuring the fireplace opening precisely and marking the intended surface boundaries on the backing substrate. You’ll translate those lines into centered layouts, evaluating edge tolerances and joint placements to guarantee a clean flush appearance.
Maintain straight cuts and square corners to support even seating of tiles or slabs, then dry-fit before adhesive. Prioritize design considerations and safety precautions throughout the process to avoid misalignment or breakage.
- Dry-fit with mock pieces to verify alignment and transitions
- Mark cut lines accurately, then execute precise, shallow score cuts
- Check for square and plumb edges; adjust as needed
- Plan edge finishes and grout seams for a seamless look
Seal, Protect, and Maintain the Hearth
Seal and protect the hearth with a durable, heat-resistant sealant, then maintain its finish through regular inspection and timely touch-ups. You should choose a seal that withstands high temperatures and moisture, matching the tile or stone’s porosity. Apply per manufacturer directions, ensuring even coverage and complete curing before use. Protect surrounding materials by masking edges and avoiding overspray.
After installation, wipe away excess sealer promptly to prevent hazing, and verify the sealant remains intact at least twice a year. Inspect for cracking, staining, or wear, and re-seal focused areas as needed to preserve color fidelity and surface integrity.
Keep routine cleaning to a minimum—abrasive methods should be avoided. Use pH-neutral cleaners to maintain the surface’s appearance and long-term durability.
Troubleshooting Pitfalls and Quick Fixes
You’ll start by identifying common installation snags and evaluating how mismatches in tile, substrate, or trim impact the overall fit.
When you spot a gap or misalignment, apply quick fixes that preserve line, continuity, and heat paths, documenting any adjustments for consistency.
Proactive troubleshooting tips now set you up for repeatable precision, minimizing errors before they occur.
Common Installation Snags
Common installation snags can derail a project fast, so anticipate them and address root causes before they bite. You’ll head off problems by aligning chimney venting with your hearth design from day one, then verify clearances, substrate integrity, and moisture controls before setting tile or stone.
- Confirm vent paths and fittings match your hearth design, avoiding offsets that squeeze grout and heat exchange.
- Pre-check substrate flatness and support, correcting deviations to prevent lippage and cracking.
- Seal all junctions and joints to prevent moisture intrusion and tile debonding.
- Schedule a final inspection for heatproof clearance, finish trimming, and a clean, durable edge profile.
Quick Fixes for Mismatches
When mismatches crop up, address them at once with targeted remedies that keep heat performance intact and aesthetics clean. You approach fixes with surgical precision, prioritizing fit, finish, and airflow.
If grout lines diverge, adjust with a quick skim cut and light regrout to preserve continuity without compromising heat transfer. For edge irregularities, install a slim decorative trim or decorative accents that mask gaps while reflecting your design intent.
Where tile color or texture clashes, consider alternative materials in small insets or a midline band to anchor the palette. Use silicone or heat-rated caulk to seal joints and prevent heat creep.
Document your choices for future renovators, aligning the hearth’s visual rhythm with your overall room scheme.
Preventative Troubleshooting Tips
Preventative troubleshooting starts with anticipating issues before they surface, so you can head off problems with minimal disruption to heat performance and visual flow. You’ll address common failure points by planning clear details around layout, materials, and airflow, keeping airflow and aesthetics in balance. Focus on early detection of subtle signs that hint at deeper flaws, and apply corrections before they escalate.
- Verify ventilation issues are resolved in the hearth enclosure, ensuring proper draft and exhaust paths
- Check moisture concerns near edges and joints, using sealants compatible with tile and stone
- Confirm substrate stability and leveling to prevent cracking or wobble
- Inspect seasonal shifts for gaps or movement, sealing promptly to maintain insulation and appearance
Frequently Asked Questions
How Long Does a Hearth Installation Typically Take From Start to Finish?
Typically, you’ll complete a hearth installation in 1–3 days, depending on scope. You should plan with timing considerations in mind, and follow preparation steps meticulously to prevent delays, ensure precision, and achieve a durable, design-focused result.
Can I Install Tile or Stone Over Existing Flooring Without Removal?
Yes, you can, but you’ll inspect existing flooring and guarantee proper surface preparation first, including patching gaps and leveling. You’ll assess substrate compatibility, address moisture, and plan for edging shifts to protect the hearth space.
What Are the Best Heat-Resistant Grouts for Hearths?
Yes—opt for a heat resistant grout, like epoxy or cementitious blends rated for high temps, and guarantee proper hearth sealing to prevent moisture ingress and staining, preserving color, integrity, and long-term performance of your design.
Do I Need a Professional for Electrical or Gas Fireplace Connections?
Yes, you should hire a pro for electrical or gas connections. Electrical safety and gas line regulations demand licensed expertise; DIY risks are high. Let precision guide you, and prioritize compliant, design-focused installations over shortcut enthusiasm.
How Do I Ensure the Hearth Meets Building Code Requirements?
You guarantee building code compliance by selecting materials and clearances that meet official specs, and you verify adjacent clearances with local inspectors, documenting documentation. You prioritize safety standards, precise installation measurements, and adherence to manufacturer guidelines for a compliant hearth.
Conclusion
In sum, you’ve planned with precision, selecting materials that endure and harmonize with your fireplace. By prepping a solid base, respecting clearances, and laying out with exacting cuts, your hearth will perform and look timeless. Seal and protect, then maintain with consistent care, so grout and edges stay pristine. The result embodies thoughtful design and durable craft, a quiet statement of warmth that speaks to both function and beauty, with every detail deliberately aligned to endure.


