
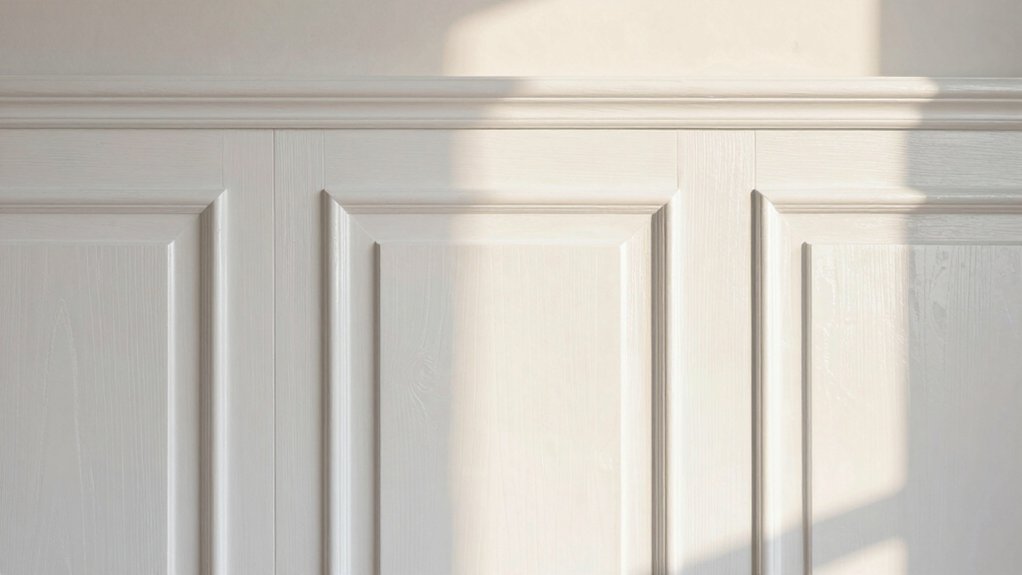
Painting wood paneling transforms a room by clarifying light, enriching texture, and creating a cohesive palette that shifts mood and perceived space. You’ll notice deeper warmth, sharper contrasts, and more modern or traditional character depending on color and finish. Proper prep and durable finishes matter for longevity, so you’ll control sheen, durability, and wipeability. With expert techniques, you’ll avoid common flaws and achieve crisp lines and even coverage. Ready to see how it can elevate your entire space, and why it matters?
What Painting Paneling Achieves in a Room
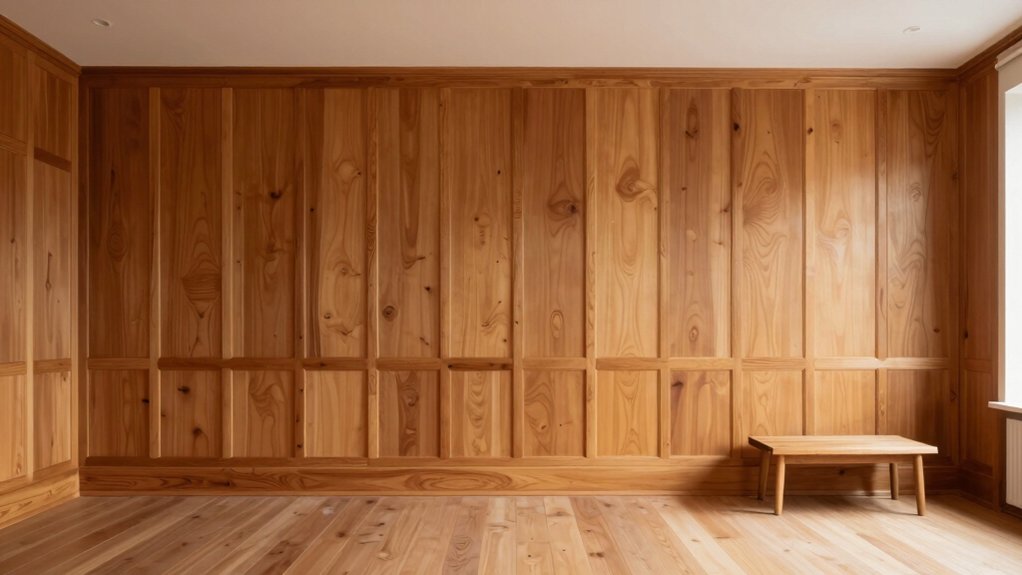
Painting paneling can dramatically transform a room by redefining its texture, tone, and light. You’ll notice immediate impact in texture patterns that emphasize grain, depth, and tactile quality, giving surfaces a refined, cohesive presence. This change loosens or tightens the room’s perception, depending on the finish you select, so you control the atmosphere with precision.
Lighting effects become more pronounced as reflected light interacts with the new surface, enhancing brightness or introducing subtle shadows that carve architectural interest. Ensure your preparation supports uniform adhesion and color accuracy, since even slight imperfections skew results.
The result is a tailored restraint or bold statement, enabling you to anchor furniture, define zones, and elevate the room’s perceived value with deliberate, deliberate craftsmanship.
How to Choose Paneling Color: Strategies That Work
Choosing paneling color hinges on how you want the room to feel and how it interacts with lighting, existing finishes, and the furniture you’ll keep. To choose effectively, anchor your palette with color harmony, then apply practical contrast techniques for depth.
- Analyze lighting: natural light shifts the perception of tone; choose hues that stay true in daylight and lamplight.
- Establish focal contrast: pair a dominant, lighter shade with a darker paneling accent to ground the space.
- Test in context: apply swatches on large panels, observe under different times of day, and adjust until balance feels precise.
Color harmony guides cohesion; contrast techniques create focal interest while preserving readability and flow.
Paneling Finishes That Shape Mood and Durability
Paneling finishes do more than merely protect wood; they define mood, durability, and daily usability. You’ll choose finish types that resist wear, moisture, and staining while shaping light reflection and perceived warmth. Texture options influence tactile perception and room character, from silky sheens to more tactile, matte surfaces.
Your finish choices affect cleaning ease, maintenance intervals, and long-term glow; gloss levels sharpen contrast and highlight grain, while low-sheen options soften shadows and disguise flaws. Consider durability needs: kitchens and family spaces benefit from robust, wipeable coatings; bedrooms may favor breathable, low-odor formulas.
Color compatibility guides not only aesthetics but performance, ensuring the finish endures sun exposure and humidity. Informed selection aligns protection with atmosphere, delivering lasting, practical beauty.
Prep Steps to Prevent Future Paneling Problems
Proper prep is the foundation of durable paneling, and starting with a solid surface prevents future problems before they start. You’ll safeguard long-term results by addressing key prep steps that affect paneling material and surface preparation.
1) Inspect and repair: identify loose boards, nails, or warping; fix with appropriate fasteners and shims.
2) Clean and de-grease: remove dust, oils, and residues to ensure adhesive and paint bond firmly.
3) Sand and prime: smooth irregularities, then apply a compatible primer for an even, bite-ready surface.
Keep humidity stable during finishing and seal edges where panels meet walls. These measures minimize gapping, peeling, and moisture damage, ensuring a durable, even finish.
Pro-Level Techniques for Painting Paneling
To achieve a showroom-finish on painted paneling, start with a disciplined approach to technique and materials. In this pro-level overview, you’ll execute with precision, not guesswork.
Begin with a techniques overview that prioritizes surface integrity: thorough cleaning, flawless sanding, and two-prime systems to minimize tannin bleed.
Maintain crisp lines by using masking and stable lighting, then apply coatings with deliberate, even strokes.
Your tool selection matters: choose high-quality brushes for cut-in work, a long-nap roller for broad panels, and a variable-speed drill with a micro-foam roller attachment for seamless laps.
Control moisture and firing temperature to avoid brush marks and blistering.
Finish with a fine-sand between coats and a satin or semi-gloss topcoat suited to room use, durability, and cleaning needs.
Paneling Style Ranges: Cozy Traditional to Modern Minimal
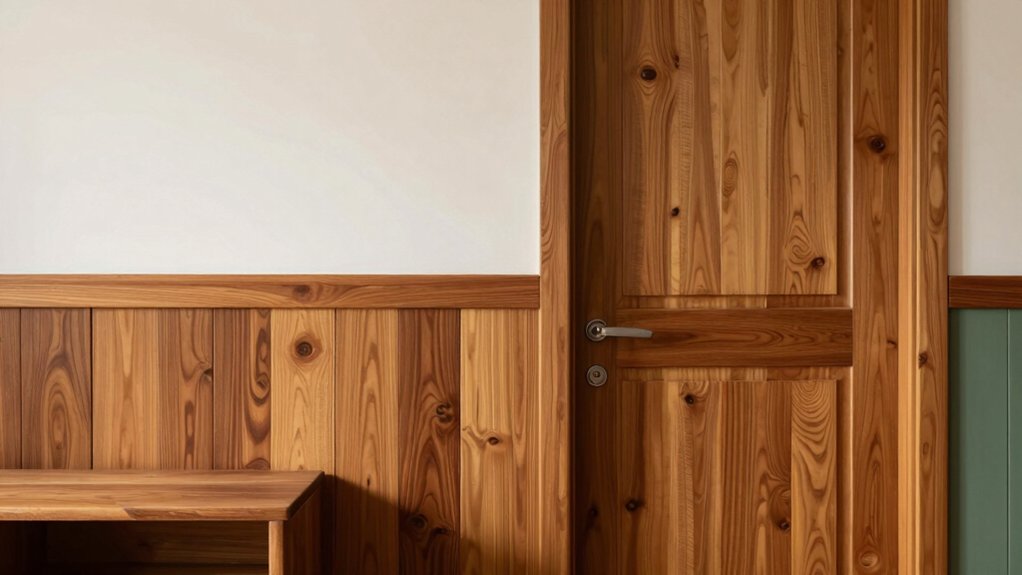
You can shape the room’s mood by selecting paneling that leans Cozy Traditional or embraces Modern Minimal, each creating a distinct baseline for color and texture.
Consider how Cozy Traditional emphasizes warmth, detail, and layered finishes, while Modern Minimal favors clean lines, restrained hues, and smooth surfaces.
The color impact dynamics—warm vs. cool tones, subtle vs. bold contrasts—define how the space reads from entry to nook.
Cozy Traditional Vibe
Cozy traditional paneling envelops a room with warmth and timeless appeal, balancing familiar character with modern comfort. You achieve this by pairing warm stains with soft wall texture and restrained ornament, so the space reads inviting yet refined.
Focus on three proven tactics:
- Highlight architectural depth with careful lighting effects that emphasize panel grooves without glare.
- Choose complementary fabrics and materials that reinforce classic cohesion while allowing for contemporary pops of color.
- Maintain proportional scale between panels, furniture, and ceiling height to preserve intimacy without sacrificing clarity.
In this approach, you project comfort and heritage while preserving visual clarity. Use precise measurements and controlled finishes to guarantee consistency, then observe how subtle lighting and texture choices translate into a cohesive, timeless atmosphere.
Modern Minimal Appeal
Modern Minimal Appeal distills paneling down to clean geometry, restrained texture, and high-contrast accents that keep spaces bold yet uncluttered. You pursue restrained profiles, tight joint lines, and sparsely applied details, ensuring each element serves a purpose.
This approach emphasizes form over ornament, so you select finishes that emphasize the panel’s planes rather than cover them. You leverage artistic techniques to render depth: subtle shading, edge highlighting, and selective grain exposure to read dimensionality without visual noise.
Historical influences inform the language you choose—Neo-modern, mid-century, or Bauhaus echoes—yet you translate them into contemporary restraint. Precision matters: align panels with architectural cues, balance light, and maintain consistent rhythms.
The result is a space that reads as intentional, sophisticated, and timeless, rather than ornamental.
Color Impact Dynamics
Color impact in paneling ranges from cozy traditional warmth to modern minimal clarity. The palette choice drives both mood and perceived space. You’ll notice how texture variety interacts with finish, shaping tactile impressions and depth. Lighting effects amplify these cues, making panel grooves and flat planes read differently as daylight shifts.
- Choose a base tone that supports your room’s light levels, then introduce contrast via edge detailing or selective glaze.
- Pair matte textures with subtle satin sheens to balance warmth, legibility, and visual pull without overpowering architecture.
- Test lighting scenarios at different times; track how color shifts alter perceived size and intimacy.
Budget and Timeline: DIY vs. Pro Help for Paneling
When you weigh DIY versus professional paneling, your budget hinges on material costs, tools, prep work, and the time you’re willing to invest. You’ll compare unit prices for paneling textures, adhesive, fasteners, and finish coats, then factor labor hours or contractor rates.
DIY saves labor, but demands time for surface prep, priming, and meticulous fitment around outlets and corners. Pro help delivers faster timelines, consistent results, and professional-grade finishes, often with warranties.
A realistic schedule highlights lead times for materials and approvals, especially if decorative molding is requested. Budget clarity comes from itemized quotes that separate removal, repairs, masking, and cleanup.
Choose based on your priority: cost control and learning opportunities, or speed, predictability, and a finished look that meets higher durability expectations.
Troubleshooting Common Paneling Paint Issues

If you notice paneling paint peeling, cracking, or uneven adhesion, start with a systematic check of the substrate and finish stages before repainting. Inspect for moisture intrusion, loose boards, and prior coatings that may trap solvents. Prepare the surface with light sanding to remove brush strokes and ensure even adhesion, then repair damaged areas with compatible filler.
Prime correctly to seal stains and improve adhesion, choosing a high-quality, stain-blocking formula if needed. Then proceed with two-coat sealing for durable coverage.
- Assess moisture, repair substrate, and re-sand for uniform texture.
- Prime with a compatible bonding primer, addressing stains and sheen.
- Apply two even coats, allowing proper dry times between passes.
Finishing Touches That Maximize Longevity and Impact
To maximize both longevity and impact, choose finishes and application practices that resist wear and maintain color depth over time. You’ll want topcoats with durable UV resistance and minimal yellowing, plus a precise sanding schedule to prevent micro-scratches from showing.
Apply in thin, even layers and follow manufacturer-curated open times to avoid trapped dust or bubbles. Keep ambient conditions steady to lock in color and sheen.
Decorative accents should be planned early, using contrasting or complementary tones to guide eye movement without overpowering the paneling’s base finish. Texture enhancement can be subtle: a fine-bristle stipple or light glazing adds depth without creating hotspots.
Finally, perform controlled wipe-downs and routine touch-ups to sustain uniformity, ensuring longevity and consistent impact across years.
Conclusion
You now know how painting wood paneling can reinvent a space, from mood and durability to value and upkeep. With the right color, finish, and prep, you’ll transform textures into a cohesive centerpiece—fast and efficiently. Don’t overlook lighting, hardware, and protective coats; they’re your secret weapons for longevity. This approach isn’t just good; it’s world-changing. Follow proven steps, apply expert technique, and your paneling project will exceed expectations and endure for years to come.




