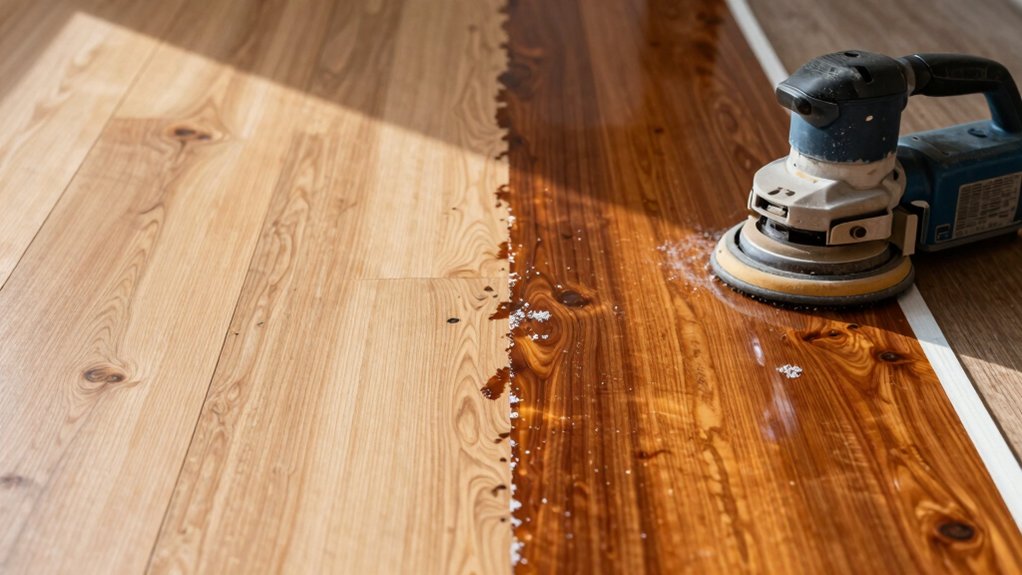
Sanding removes old finish and reveals a fresh surface, best for deep scratches, gouges, or uneven wear, but it’s messier, takes longer, and costs more. Buff-and-coat restores only light surface wear with minimal dust and faster results, ideal for minor wear and preserving character, but it won’t fix major damage or drastic color mismatches. Decide based on floor condition, budget, and timeline. If you keep going, you’ll uncover how to choose confidently and get lasting results.
Should I Sand or Buff-and-Coat? A Quick Diagnostic
If you’re deciding whether to sand or buff-and-coat, start with a quick diagnostic of your floor’s condition. Inspect the surface for depth of scratches, gouges, and worn high spots.
If the wood grain shows in dull, evenly scuffed lines and the finish sheen is losing luster but the boards are structurally solid, buff-and-coat can restore brightness without removing material.
If scratches are deep, edges feel rough, or delamination appears, sanding is usually necessary to even out the surface and renew the wood grain’s uniform look.
Inconsistent color or staining problems may also signal sanding.
Consider traffic patterns and budget: buffing preserves more finish, while sanding offers a fresh base.
Decide based on surface integrity and desired finish sheen.
Sanding: Pros, Cons, and What You’ll Need
Sanding sets the stage for a smooth, durable finish, so you’ll want to understand the process and your rationale before you start. You’ll review the sanding steps and the rationale behind each move, then map out the tools you’ll need for a clean, even result.
We’ll also summarize the essential tools and their roles so you can assemble what’s required with confidence.
Sanding Process Rationale
To understand why you sand hardwood floors, start with the rationale behind the process: sanding removes old finish, reveals a smooth, true surface, and primes the wood so stains and sealants apply evenly.
You sand to eliminate scratches, pinpoints, and wear patterns that would otherwise distort color and sheen. This step is essential for even absorption, which supports lasting, uniform results.
The decision hinges on finishing options you prefer and how much surface preparation you’re capable of delivering. Sanding is the foundation that ensures a flat, receptive base, minimizing blotchiness.
It also helps identify damaged boards before finishing. In short, sanding is the deliberate kickoff to predictable color, durability, and a refined final look.
Required Tools Overview
A successful sanding job hinges on having the right tools at hand, so you can work efficiently and achieve a smooth, uniform surface. Start with a quality floor sander suited to your floor type, plus edging tools for corners. You’ll also want a genuine dust control system or shop vac, a power sander for corners, and a vibration-damping pad to reduce chatter.
Include assorted grits, from coarse to fine, and sanding screens for burnishing. For protection, wear respirator, hearing protection, and easy-access gloves. Have a breathable respirator-friendly mask, tack cloths, and clean rags.
Don’t overlook finish-ready accessories: applicator pads, brushes, or rollers. Consider flooring patterns and your finish durability goals when selecting tools, so results stay even and long-lasting.
Buff-and-Coat: Pros, Cons, and What You’ll Need
Buff-and-coat is a quick, practical option for revitalizing worn floors without a full sand-and-refinish. You’ll remove light surface debris, address minor scratches, and renew color with a compatible polyurethane topcoat.
Pros include minimal dust, faster completion, and reversible results if you don’t like the look. Cons involve limited life extension, potential uneven tones on heavily worn patches, and the need for careful surface prep to prevent peeling.
You’ll still want a clean, dry surface and adequate ventilation. Materials you’ll need: quality applicator, PPE, and the correct finish for your floor type.
Consider wood stain for subtle color tweaks before sealing, and plan for floor repair on deeper flaws before applying the topcoat. This approach preserves character while restoring even sheen.
Step-by-Step Guide: Sanding Your Hardwood Floors
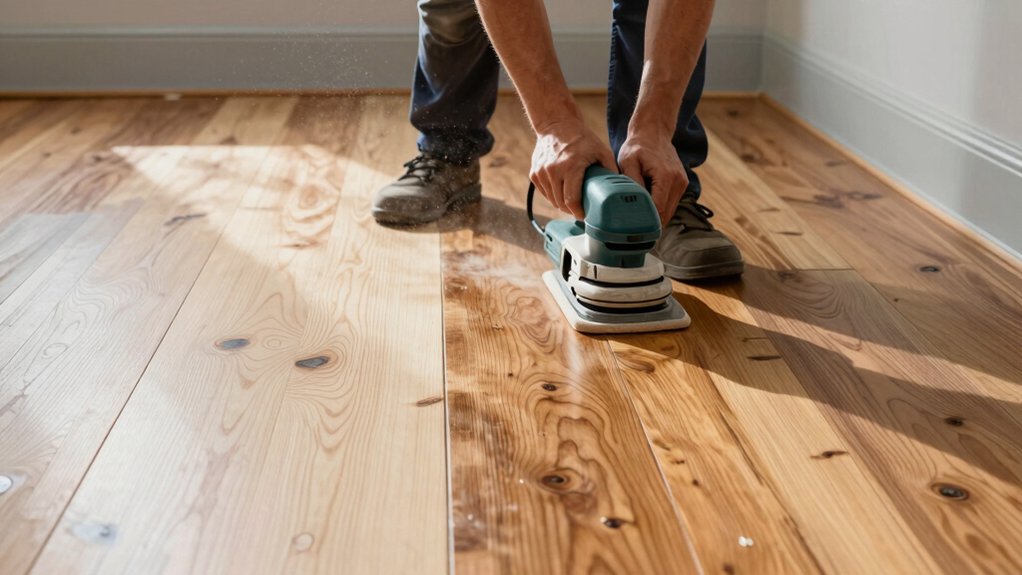
Start with solid sanding prep steps to set up a smooth finish and protect surrounding areas. Keep dust management front and center as you work, using plastic barriers, vacuums, and careful containment.
Stay precise and efficient, outlining each action so you can proceed confidently.
Sanding Prep Steps
Before you begin sanding, prepare the workspace and materials to prevent mistakes and damage. Clear the room, remove furniture, and seal doors to contain dust. Inspect boards for loose nails and secure them first. Gather your respirator, safety goggles, hearing protection, and a grounded dust-free vacuum.
Choose a drum sander, edging sander, and appropriate grits; start with coarse to remove finish, then finer grains for a smooth surface. Protect adjacent areas with tape and plastic, especially baseboards and trim.
Check moisture levels and acclimate wood to room conditions to support flooring longevity. Move methodically: sand with even pressure, avoid gouges, and check for high spots with a straightedge.
This prep minimizes flaws, enhances aesthetic enhancement, and ensures a solid foundation for the next steps.
Dust Management Techniques
Dust management is the core of a clean, efficient sanding job. You guard air quality by setting up a closed workspace, sealing doors, and minimizing door gaps.
Use a shop vac with a HEPA filter on every pass to capture fine dust at the source, reducing airborne debris. Attach sanding dust collection to the machine and maintain consistent movement to prevent gaps that reintroduce particles.
Between passes, perform vacuum cleaning of floors and walls, not just the floor surface, to prevent carryover.
Wear a respirator and ensure proper air filtration in the room, cycling air through filtration devices designed for fine particulates.
Finally, wipe down surfaces after you finish sanding and before finishing to maintain a clean, dust-free environment.
Step-by-Step Guide: Buff-and-Coat Your Hardwood Floors
Buffing and applying a fresh coat is the quickest way to revitalize worn hardwood floors. You’ll start by cleaning and deglossing the surface, removing dust and debris so the new layer adheres properly.
Lightly sand any severely worn areas to smooth ridges, then vacuum and wipe with a tack cloth. Choose a compatible finish and apply according to manufacturer directions, keeping a steady, overlapping stroke to avoid lap marks.
Allow the first coat to cure fully before adding a second for even depth. Color matching matters: match stain or tinted finish to your surrounding decor and existing floor shade for seamless results.
Assess finish durability after curing, testing wear in a small area and ensuring hard, even film formation across the floor.
Choosing Based on Floor Type, Time, and Budget
Choosing the right refinishing path depends on your floor type, how much time you have, and your budget. Your decision should start with floor type: solid hardwood, engineered, or plank with unusual finishes influences sanding depth, vibration, and dust control.
If you need quick results, buff-and-coat delivers minimal downtime, but may not address deeper wear; sanding can restore a more uniform surface, yet takes longer and costs more upfront.
Time constraints drive method: a tight schedule favors quick coats, while long timelines support thorough sanding and stain options.
Budget matters: consider cost considerations like materials, labor, and potential dust-m containment.
Factor floor durability as you plan future use and maintenance, balancing immediate needs with long-term value.
Choose the method that aligns with longevity and your expectations.
Common Pitfalls and Troubleshooting Tips
Downsides and missteps can crop up at any stage of refinishing, so pinpointing common pitfalls helps you avoid costly fixes. Start with prep: uneven sanding leaves scratch marks that show in the wood grain and ruin tone. Don’t skip dust removal; particles under the finish can dull sheen and require rework.
When choosing machines, using too aggressive grit or slowing too long in one spot causes burns and swirl marks, diminishing finish sheen. Test stain and topcoat on a sample area to ensure color match and grain visibility. Apply coats evenly; puddling creates lumpy patches that stand out in the wood grain.
Allow proper cure times between coats to prevent peeling. Resist rushing the process; meticulous prep preserves depth, clarity, and durable protection.
Frequently Asked Questions
How Long Does a Typical Refinishing Project Take?
A typical refinishing project takes about 2–4 days, depending on room size and prep. You’ll finish faster with DIY tips, but expect higher professional costs for labor, dust containment, and multiple coats to make certain durable results.
Can You Refinish Engineered Hardwood Floors?
Yes, you can refinish engineered hardwood. You’ll choose from refinishing options that suit its wear layer, matching sheen and color, and you’ll prepare, sand lightly, and seal carefully to protect the engineered surface.
Will Sanding Damage Existing Underlayment or Joists?
Sanding won’t inherently damage underlayment integrity or joist stability if you proceed carefully. You’ll protect underlayment integrity and maintain joist stability by using proper equipment, dust control, and a shallow, controlled grind with professional guidance.
Is Dust Containment Enough for Allergy Sufferers?
Yes, dust containment helps, but it isn’t sufficient alone for allergy sufferers. Use high-efficiency filtration, seal doors, and minimize dust generation. Monitor airborne allergens, adjust containment strategies, and guarantee you ventilate safely during and after refinishing.
How to Choose Between DIY and Pro Refinishing?
Choosing DIY or pro refinishing? You weigh DIY challenges against Professional costs, you assess time, tools, and finish quality, you consider safety and dust, you trust pros for complex repairs, and you decide based on value and confidence.
Conclusion
Sanding or buff-and-coat? The choice hinges on your floor’s condition, time, and budget, and you’ll know which path to take by testing for finish integrity and wood depth. I once refinished a floor with just two coats of buff-and-coat, and it held up for years, like a well-tuned instrument. Remember: sanding is deeper but messier; buff-and-coat is quicker but gentler. Pick the method that fits your floor, your schedule, and your patience.