To clean your HVAC ducts and vents, start by getting permission, inspect for damage, and gather safety gear, brushes, microfiber cloths, a non-abrasive cleaner, and an EPA-approved vacuum attachment. Remove vent covers, vacuum loose dust, then gently brush metal or non-metal ducts, wiping with a damp cloth and letting them dry fully. Reinstall covers and ensure seals are tight. Schedule regular filter changes and annual inspections to keep airflow steady—more tips await to help you optimize performance.
What Cleaning Ducts Actually Accomplishes for Your Home
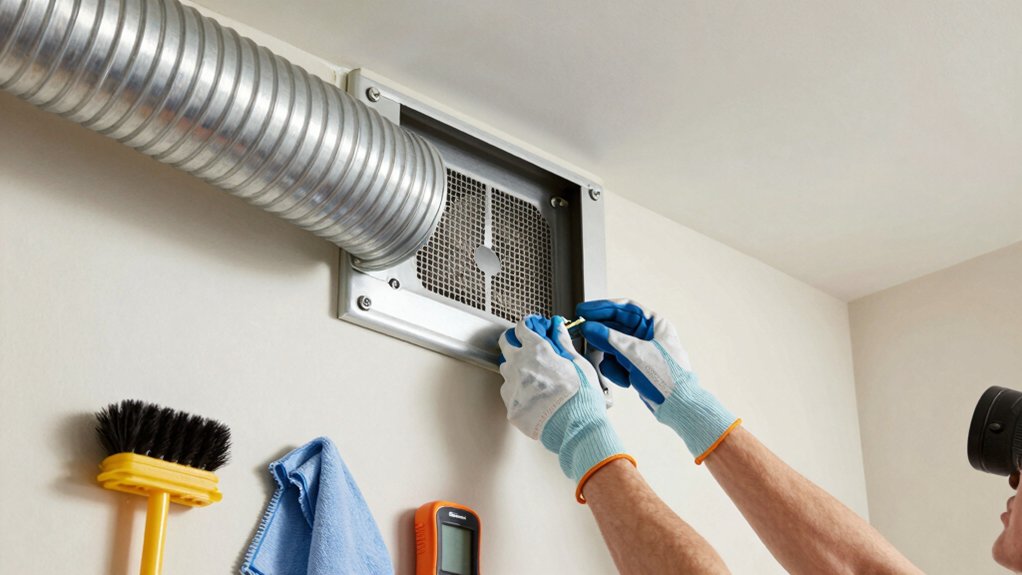
Duct cleaning removes accumulated dust, debris, and microbial buildup from supply and return ducts, including primary trunks and vents, which can improve airflow and reduce particle distribution. You’ll notice steadier airflow, fewer cold spots, and enhanced system efficiency as vents remain clearer and less resistive.
By removing buildup, you reduce the circulating load of particulates, so your HVAC unit doesn’t work as hard to deliver conditioned air. The result isn’t cosmetic; it’s functional. Air quality improves as dust, mold fragments, and pollen are less likely to travel through the system.
You should experience fewer sneezes and throat irritations tied to poor indoor air. Allergen reduction accompanies cleaner ducts, contributing to a healthier, more comfortable living environment with consistent temperature and reliable airflow.
Safety Prep and Permissions for DIY Duct Cleaning
Before you grab any tools, assess safety and obtain permissions: confirm you’re allowed to work on HVAC components inside your home, check your warranty or lease terms, and coordinate with other residents or building managers if needed. Begin with a clear plan and written authorization if required.
Identify potential hazards tied to your system, such as electrical components, access panels, and concealed ducts. Confirm disconnecting power follows electrical safety guidelines, and never work on live circuits.
Review manufacturer instructions and any local codes before starting. Verify you have a safe workspace free of clutter, trip hazards, and moisture. Document timeframes and access windows to minimize disruption.
Prioritize safety, communication, and compliance over haste in every step.
Gather Safe, Practical Tools and Materials
To prepare effectively, gather a focused set of safe, practical tools and materials tailored to your system and workspace.
- Tool safety essential: sturdy gloves, eye protection, a dust mask, a sturdy flashlight, and a basic utility knife.
- Material selection: non-abrasive brushes, microfiber cloths, lint-free rags, extension cords, and labeled resealable bags for debris.
- Workspace compatibility: EPA-approved vacuum attachments, duct-safe cleaning brushes, and sealable containers to prevent cross-contamination.
Choose tools that fit your ducts’ size and access points, and prioritize reliability over novelty. Inspect handles and grips for wear; replace damaged items before use. Keep electronics dry and cords out of walkways.
Plan for waste disposal and contamination control to maintain safe, efficient progress. Make sure you can access every area without forcing components or creating shortcuts.
Step-By-Step: Inspecting Ductwork and Locating Cleanable Surfaces
Start by visually inspecting accessible duct surfaces for visible buildup, damage, or loose connections.
Note any areas that look dirty or have tight corners where debris could accumulate, marking them for closer cleanability.
Focus on identifying cleanable surfaces and plan a targeted approach for those areas first.
Inspect Duct Surfaces
Inspect duct surfaces carefully to identify which areas are accessible for cleaning and which require special attention. You’ll assess liner material, joints, and accessible plenums for visible soil, dust, and signs of dirt accumulation. Look for surface deterioration, discoloration, or corrosion that could impact cleaning effectiveness or airflow.
Note any moisture staining or mold indicators that demand careful handling. Focus on high-traffic sections near supply vents and returns, where buildup tends to concentrate. Mark fragile connections and compromised seals so you don’t inadvertently worsen conditions during cleaning. Use a flashlight to reveal hidden deposits along edges and joints.
- Identify accessible surfaces and fragile zones
- Document dirt accumulation and surface deterioration indicators
- Prioritize sections needing gentler cleaning or professional assessment
Locate Cleanable Areas
Begin by mapping the ductwork to pinpoint cleanable surfaces: identify accessible interior plenum walls, straight runs, and easy-to-reach joints where soil is removable with standard tools.
You’ll assess each area for dust accumulation and potential debris hotspots, focusing on segments with minimal bends to avoid inaccessible pockets.
Note vent accessibility for cleaning tools and inspection, marking panels, plenums, and return-air trunks that permit direct access.
Prioritize surfaces that can be scrubbed or vacuumed without disassembly, and identify any sections requiring specialized equipment.
Create a quick diagram or list with location notes, including approximate dimensions and material type.
By establishing reachable, cleanable zones, you optimize cleaning efficiency, reduce cleanup time, and limit recontamination during maintenance.
This step guarantees thorough, effective duct remediation and safer indoor air quality.
DIY Cleaning Methods for Metal and Non-Metal Ducts
Diy cleaning methods for metal and non-metal ducts require a careful, methodical approach to guarantee damage and assure effective debris removal. You’ll assess duct material first, then choose appropriate tools and cleaners.
For metal ducts, avoid aggressive scrubbing that could weaken joints; use a soft brush or microfiber cloth and a mild detergent solution.
For non-metal ducts, stick to non-abrasive cleaners and test on a small area first to prevent staining or warping.
Always observe diy safety practices: power off HVAC, wear gloves, and protect surroundings from splashes.
- Inspect duct material for corrosion or damage before cleaning
- Use non-abrasive methods and test cleaners first
- Rinse and dry thoroughly to prevent mold growth
Cleaning Vents: Removing Dust From Registers and Grills
Dust accumulates not only in the ducts but on the ventilation registers and grills, so you’ll want to address these surfaces now that you’ve assessed duct material.
Begin by removing vent covers carefully with a screwdriver if needed, then place them on a clean surface. Use a microfiber cloth to wipe away loose dust, followed by a vacuum with a brush attachment to dislodge particles from slats.
For stubborn grime, dampen the cloth slightly or use a mild household cleaner, but avoid soaking metal components. Rinse and dry vent covers before reinstalling.
When you reattach, ensure a tight fit to prevent air leaks. This phase is about precise dust removal, not altering airflow dynamics.
Regular maintenance reduces buildup and improves overall air quality.
When You Should Stop DIY and Call a Pro for Mold or Contaminants
Mold and other contaminants aren’t worth the gamble of DIY fixes. When you encounter visible mold, a musty odor, or ongoing moisture, stop and call a pro.
DIY chemical cleaning can spread spores and fail to address the source, risking cross-contamination and recurrent growth. Professionals perform mold remediation with containment, industrial tools, and validated methods to protect your home and health.
- Recognize when remediation is needed: mold growth, persistent dampness, or recurring HVAC contamination.
- Choose a licensed contractor for contamination assessment, containment, and safe remediation practices.
- Verify qualifications, insurance, and a written plan that includes mold remediation and post-cleanup verification.
When you’re unsure, prioritizing professional assessment guarantees thorough cleanup and minimizes future risk.
Preventive Habits to Minimize Dust and Mold Buildup
Regular upkeep goes a long way: establish a simple, repeatable routine that targets both dust and moisture. You should inspect and replace disposable filters every month during peak seasons, choosing one with the right MERV rating for your system. Keep supply vents clear of obstructions and vacuum nearby areas to reduce dust migration into ducts.
Maintain consistent indoor humidity between 30% and 50% using dehumidifiers or humidifiers as needed, since excessive moisture drives mold growth. Schedule professional cleaning of ducts every 3–5 years, or sooner if you notice reduced airflow or visible buildup.
Use high-quality air filters and seal leaks around return grills to improve air quality and prevent dust buildup. Regularly monitor for musty odors and address moisture sources promptly. Dust prevention remains a continuous priority.
Aftercare: Verify Results and Maintain System Efficiency
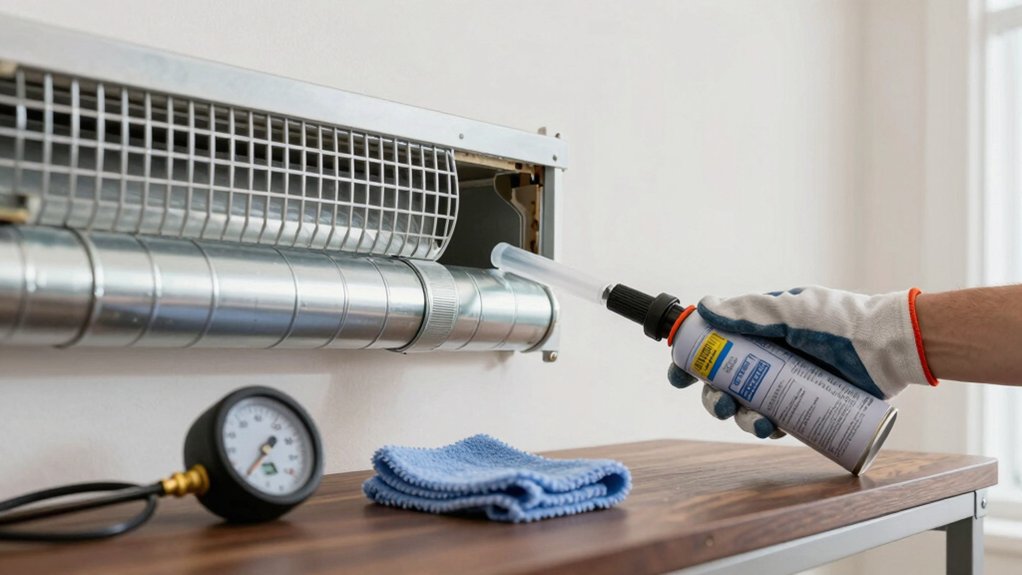
To verify results and keep your system efficient, start with a quick performance check right after cleaning: verify airflow from each register, listen for unusual noises, and note any lingering odors. Then confirm that the ducts are unobstructed and the blower runs smoothly.
Keep an eye on the thermostat readings and system cycling to assess efficiency. Regular maintenance extends system lifespan and boosts energy savings by preventing pressure drops and dirty filters from forcing extra work.
- Inspect and replace filters every 1–3 months to sustain airflow and reduce contaminants
- Schedule professional inspections annually to verify duct integrity and overall performance
- Clean supply and return vents as needed to maintain balanced airflow and steady temperatures
Frequently Asked Questions
How Often Should Ducts Be Cleaned in a Typical Home?
Duct cleaning frequency isn’t fixed for everyone; typically, check your Home maintenance schedule and consider every 3–5 years. You should assess dust buildup, odor, or visible mold and adjust frequency accordingly for ideal performance.
Can DIY Cleaning Damage Essential HVAC Components?
Yes, DIY cleaning can damage components, because you loosen debris, clog passages, or dislodge coils; prevent that by duct sealing, and air filter maintenance, using proper tools, slow motions, and professional guidance when needed.
What Signs Indicate Mold in Ducts Requiring Professional Help?
If you notice mold growth or persistent musty odors, you likely need professional help. Don’t DIY; mold can spread. A certified technician will inspect, test, and safely remove contamination while addressing moisture sources causing the problem.
Are Metal and Non-Metal Ducts Cleaned the Same Way?
“Practice makes perfect.” You can’t treat metal vs non metal ducts the same: metal cleans easier and resists bending, while non-metal requires gentler handling to avoid denting; adapt techniques to duct material differences for effective cleaning.
Will Cleaning Ducts Improve Air Quality and Energy Efficiency?
Yes, cleaning ducts can improve air quality and energy savings. You’ll remove dust and contaminants, reducing system strain, boosting airflow, and lowering energy use while you maintain filters, sealed ducts, and regular maintenance for lasting benefits.
Conclusion
Conclusion: You’ve got the know‑how to assess, clean, and maintain your ducts without overhauls or guesswork. By staying focused on accessible surfaces, using the right tools, and knowing when to stop DIY for mold or contaminants, you protect your air quality and system efficiency. Consistency is key—habits that cut dust now pay off later. Keep a routine, document findings, and you’ll sleep easier knowing you’ve kept things running like clockwork. In short, you’re home free.