

To soundproof affordably, start by diagnosing the noise: is it airborne or impact, and where’s it coming from? Seal gaps with caulk and foam, then block air leaks with airtight outlets and seal plates. Add mass with inexpensive panels or acoustic wallpaper, and layer soft, porous materials to damp reflections. Equip doors with seals, sweeps, and proper strike alignment. Regularly reseal and maintain hardware. For stronger results, keep exploring practical, room-by-room upgrades. You’ll uncover more tips next.
Diagnose Noise Type, Source, and Your Target Reduction
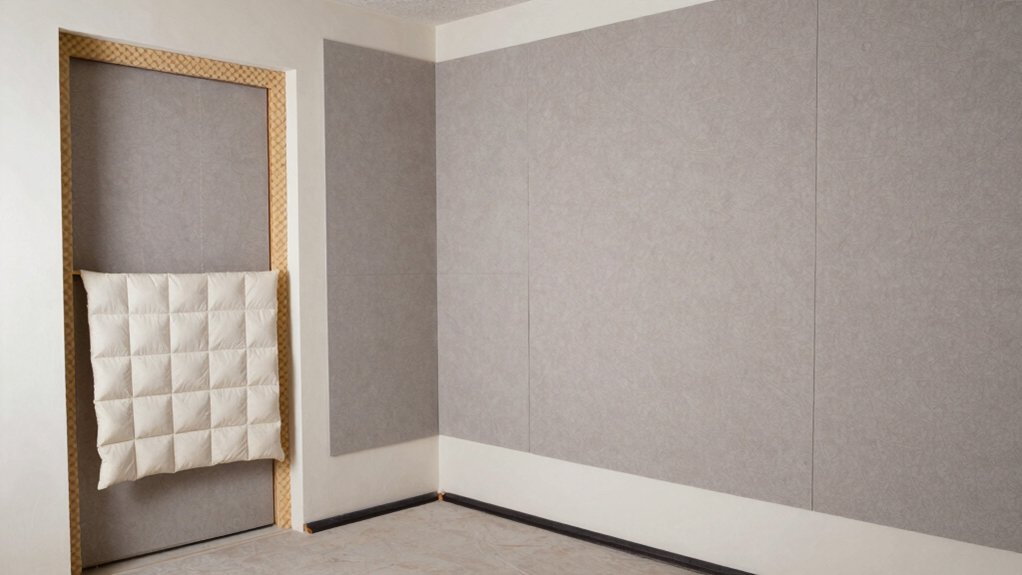
To effectively reduce sound, start by identifying what you’re hearing, where it comes from, and how loud you want it to be after treatment. You’ll diagnose noise type—airborne vs. impact—and its primary source, whether adjacent rooms, street traffic, or mechanical systems.
Determine your target reduction in decibels or perceived quiet, so you can measure progress later. Map noise transmission paths: walls, doors, ceilings, floors, and gaps around fixtures.
Prioritize fixes that block the strongest paths first. Choose appropriate soundproofing materials and sealing strategies tailored to the source and type of noise.
Document baseline levels and expected outcomes to guide decisions and budget. Clear, concrete goals keep you focused on practical, effective steps rather than vague improvements.
Fast, Budget-Friendly Wall Soundproofing Upgrades
If you want fast, budget-friendly wall improvements, start with sealing gaps and adding inexpensive mass to walls. You’ll block air leaks with caulk or foam and pressurize the room to verify tightness.
Next, increase surface mass cheaply: install decorative panels or apply acoustic wallpaper, aiming for multifaceted density rather than perfect seams. Decorative panels can be lightweight yet effective when spaced correctly, adding mass without removing studs. Acoustic wallpaper isn’t a miracle cure, but it contributes damping and a small extra barrier.
Prioritize airtight outlets and switch plates with foam gaskets, and seal crown and baseboard gaps. Avoid overdoing layer count; build up gradually, test, and adjust.
Focus on incremental gains, then plan higher-cost upgrades if needed.
Door Soundproofing: Seals and Tweaks That Work
Door gaps around a door frame are usually the main path for sound, so start with solid seals and smart tweaks. You’ll improve shut-in sound quickly by inspecting gaps at the door edge, bottom, and latch area.
Install door seals along the frame to block airborne noise, choosing compressible vinyl or rubber for a snug fit. Add self-adhesive weatherstrip on the sides and top where gaps exist.
Fit a door sweep to the bottom to seal the threshold and reduce floor-side leakage. Check the latch alignment and adjust strike plates if needed to reduce wobble.
Consider a door bottom plate or threshold seal for uneven floors. Test by knocking and listening near the hinge; if you still hear leaks, recheck seal compression and sweep placement.
door sweeps, door seals.
Layer Materials for Real Noise Absorption
Layer materials determine how well a room absorbs sound. To optimize absorption techniques, you mix and match layers that damp, trap, and dissipate energy rather than just block it. Focus on practical stacking that fits your budget and space.
- Choose a dense, thin backing panel to reduce reverberation without adding bulk.
- Add mid-density insulation between studs or panels to trap sound energy.
- Place a soft, porous layer in contact with the wall surface to convert sound to heat.
- Seal gaps around edges to prevent flanking paths and preserve layer effectiveness.
This approach relies on material layering and strategic placement, not single heavyweight fixes.
You’ll notice clearer, calmer rooms as you tune each layer for the right balance of absorption techniques and performance.
Maintenance, Safety, and What to Tackle Next
Now that you’ve layered for absorption, it’s time to keep your room quiet and safe while you use and modify it. Inspect seals around doors and windows weekly, reseal gaps promptly, and replace worn weatherstripping to uphold performance. Check hardware and hinges for looseness; tighten or upgrade to quiet, damped options to prevent rattles.
Choose decorative accents that double as sound dampers—thick tapestries, heavy curtains, and upholstered panels—without cluttering the space. Track lighting and fixtures should be secured and wired safely, with cords hidden to reduce trip hazards and noise from movement.
Plan your next steps by prioritizing safety: ensure exits remain clear, install minimal yet effective lighting solutions, and document upgrades for future improvements. Maintain, refine, and you’ll sustain both quiet and usability.
Frequently Asked Questions
How Does Drywall Thickness Affect Sound Transmission Loss?
Drywall thickness matters: thicker boards raise mass, improving sound transmission loss. For better results, prioritize drywall density and soundproof drywall; use multiple layers, decouple surfaces, and seal edges to dramatically reduce noise transfer.
Which Decibel Reduction Is Achievable for Apartment Walls?
Typically you can reach 20–30 dB reduction with apartment walls. You can boost it to 30–40 dB by adding soundproof curtains and window sealing techniques, then seal gaps, air leaks, and door edges for better results.
Can Door Thresholds Block Footstep Noise Effectively?
Door thresholds alone won’t fully block footstep noise, but when you install soundproof thresholds with door sealants, you considerably reduce leaks. Use tight-fitting seals, and guarantee the threshold creates a continuous barrier to minimize vibrations.
Do Mass-Loaded Vinyl Layers Require Professional Installation?
Symbolism: you’re the builder, not the barrier. Do mass-loaded vinyl layers require professional installation? No—DIY installation works if you follow instructions. You’ll assess material durability, prepare surfaces, cut precisely, seal edges, and test for stability before finishing.
Are Acoustic Foam Panels Actually Legal in Rental Spaces?
Yes, you can install acoustic foam panels in rental spaces, but check rental restrictions and foam panel regulations first. You must comply with building rules, obtain consent, and avoid damaging walls to stay compliant and avoid penalties.
Conclusion
You’ve got the basics to cut noise fast: identify what’s leaking, seal gaps, add mass to walls, and tighten doors with simple seals. If you think it’ll break the bank, remember you can layer affordable options—weatherstripping, acoustic panels, and door sweeps—without drastic renovations. The key: start small, measure impact, and iterate. Don’t let “it’s not perfect” stop you; even modest improvements create real quiet, so you’ll breathe easier and stay focused.




