Sistering a floor joist strengthens a sagging or damaged span by adding a matching joist beside the existing one, effectively doubling cross-section for better load transfer. Start by inspecting for rot, cracks, or insect damage, then temporarily shore and align the new joist with the existing, keeping depth and spacing consistent. Attach with through-bolts or structural screws, ensure flush edges, and verify level before removing supports. With proper planning, you’ll restore stability—and more steps wait beyond this overview.
What Is Floor Joist Sistering and When to Use It
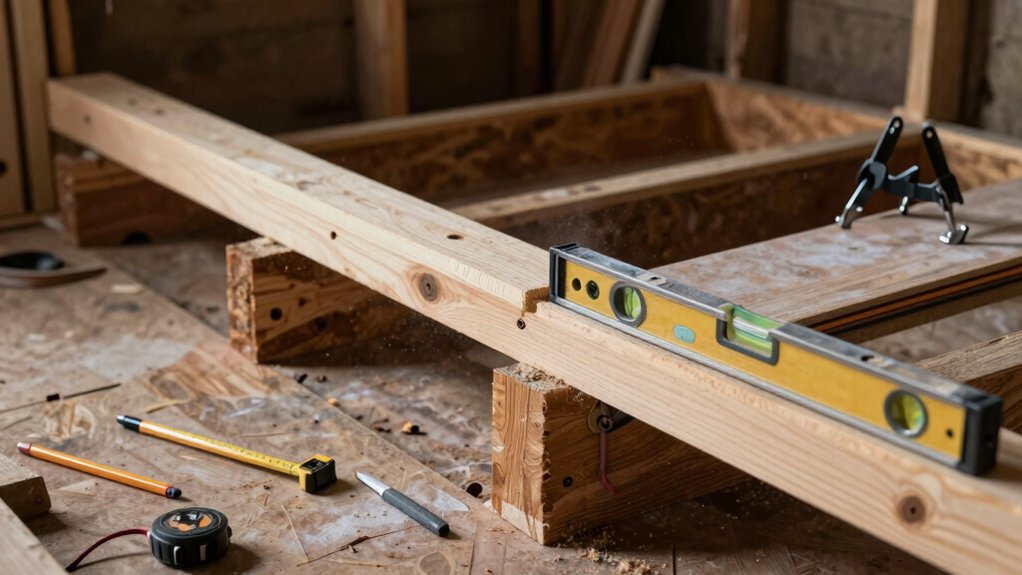
Sistering floor joists involves adding a new joist beside an existing one to restore strength and support. You do this when a joist is undersized, cracked, or sagging, and you want a reliable repair without major teardown.
The method doubles the cross-section in the affected area, improving load transfer and reducing deflection. You’ll assess the joist span to determine if sistering will effectively restore function, noting that longer spans may require additional reinforcement.
Plan to align the new member flush with the bottom edge and face of the existing joist for proper bearing and fastener placement. Confirm compatibility in species and grade, and verify the repaired assembly meets applicable load capacity requirements before restoring the floor surface.
This approach restores stiffness while maintaining structural integrity.
Tools, Materials, and Safety for Sistering
To effectively sister floor joists, gather the right tools, materials, and safety gear before you start, and plan your work to minimize disturbance to the existing structure. You’ll prioritize joist reinforcement while protecting yourself and the home’s occupants.
Use a framing square, level, reciprocating saw, drill, measuring tape, and clamps to secure accurate alignment and tight fits. Choose solid lumber or an engineered substitute with matching thickness and grade for best structural integrity.
Make certain you have dust mask, eye protection, hearing protection, gloves, and a stable ladder or scaffold. Inspect fasteners—coarse-thread screws, nails, and structural screws—and bring shims for precise seating. Have a plan for temporary support if needed while you work.
- Framing square, level, clamps
- Appropriate fasteners and lumber, shims
- PPE, ladder, drill/driver
joist reinforcement, structural integrity
Prepare the Joist and Site for Sistering
Before you start the sistering process, inspect the joist and the surrounding framing to confirm the scope and identify any damage. You’ll want clean, straight surfaces for secure attachment, so remove loose debris and dust from the joist bays and mating members.
Check for excessive rot, cracks, or insect damage; note any areas needing treatment or replacement.
Clear the work area to maintain site safety, ensuring adequate lighting and stable access paths.
Verify that temporary shoring, if used, is in place and stable before you begin any fastener work.
Mark the joist edges to guide alignment, and select compatible sister joists with matching dimensions.
Plan fastener spacing and sequence to minimize movement.
Prioritize joist preparation and site safety to achieve a solid, durable repair.
Attach Sister Joists for Maximum Strength
To maximize strength, you align the sister joists with the adjacent ones, matching depth and layout precisely.
Use the right fasteners—through-bolts or structural screws when appropriate—and drive them in fully to prevent movement.
Keep the joist axis consistent to preserve structural alignment and make certain even load transfer across the span.
Align With Adjacent Joists
Sistering floor joists works best when you align the new joists with the existing ones, ensuring the nails or screws bite into solid wood on both sides. You’ll maximize strength by matching their depth and bearing with the neighboring members, preserving uniform load paths.
- Visualize seamless edges: the new joist sits flush against the old, sharing the same plane.
- Check spacing carefully: keep joist spacing consistent with the rest to preserve load distribution.
- Lock them in place: use fasteners that pull tightly without overdriving, avoiding gaps that weaken support.
Aligning with adjacent joists maintains consistent load distribution and prevents torsion. Confirm no unexpected dips, and recheck levels across the run.
Use Proper Fasteners
Choose the right fasteners to guarantee maximum strength when attaching sister joists. You’ll select fasteners that resist shear and pullout while fitting your lumber size and species. Use corrosion-resistant options for long-term durability in damp spaces.
Fastener types include structural screws and Simpson nails or bolts, depending on load and code requirements. Space them to distribute forces evenly along the joint, avoiding gaps that loosen over time.
Drive screws or nails with a calm, steady sequence, maintaining alignment as you progress. Don’t skim on quantity; enough fasteners prevent torque concentration at a single point.
Confirm that the fasteners penetrate both joists deeply and engage solid wood beyond any damaged fillets. Adhere to manufacturer guidance and local code limits for maximum performance and safety.
Preserve Structural Alignment
Preserving structural alignment is essential to maximize the strength of a sistered joint. When you attach the new joist, align it precisely with the existing one to maintain even load paths and prevent twist or binding over time. Use plumb lines and shims as needed to keep the face flush, and check both ends for consistent bearing.
- Align edges squarely to ensure uniform load distribution across fasteners.
- Slack no more than necessary during setback; verify tight but not overtightened connections to avoid wood expansion issues.
- Recheck after temporary support removal, confirming the sistered pair stays true under load.
In this approach, you control wood expansion and load distribution, delivering a stable, long-lasting repair.
Common Mistakes to Avoid
Incorrect fastening practices and failing to adequately assess the joists are common mistakes that jeopardize the whole repair. Make sure you use proper hardware, match fasteners to wood species and sizes, and follow manufacturer specs.
Start with a thorough joist assessment so you don’t miss hidden issues that could compromise strength.
Improper Fastening Practices
Improper fastening practices can compromise the entire sistering project, so you must install joist fasteners correctly and consistently. If you skimp on fasteners or misapply them, you weaken both joist strength and load transfer. Use proper fasteners and follow proven fastening techniques to guarantee a solid connection that won’t back out or loosen over time.
- Visualize each fastener driving straight and true through both joists, seating flush without countersinking that can trap moisture.
- Picture using the right size and type for your lumber, avoiding underdriven screws or nails that shear under load.
- Imagine maintaining consistent spacing and pattern, so every joist shares the load evenly and resists twisting.
Inadequate Joist Assessment
Before you sister joists, you must accurately assess their condition; assuming they’re fine can doom the project. Inadequate assessment invites hidden issues, including rot, insect damage, or progressive sag that won’t be fixed by a single sister alone.
Start with a careful visual inspection, then confirm with moisture tests and soundness checks across multiple points. Don’t rely on one measurement or a single joist’s appearance.
Document span, grade, and any supports impacted by previous repairs. When you choose materials, prioritize proper joist material selection that matches load, span, and existing members, not just the easiest option.
Precision matters: improper assessments lead to mismatched sizes, inadequate fasteners, or incompatible species, compromising strength. Prioritize thorough evaluation to ensure lasting performance and safe restoration.
Assessing Success and Next Steps
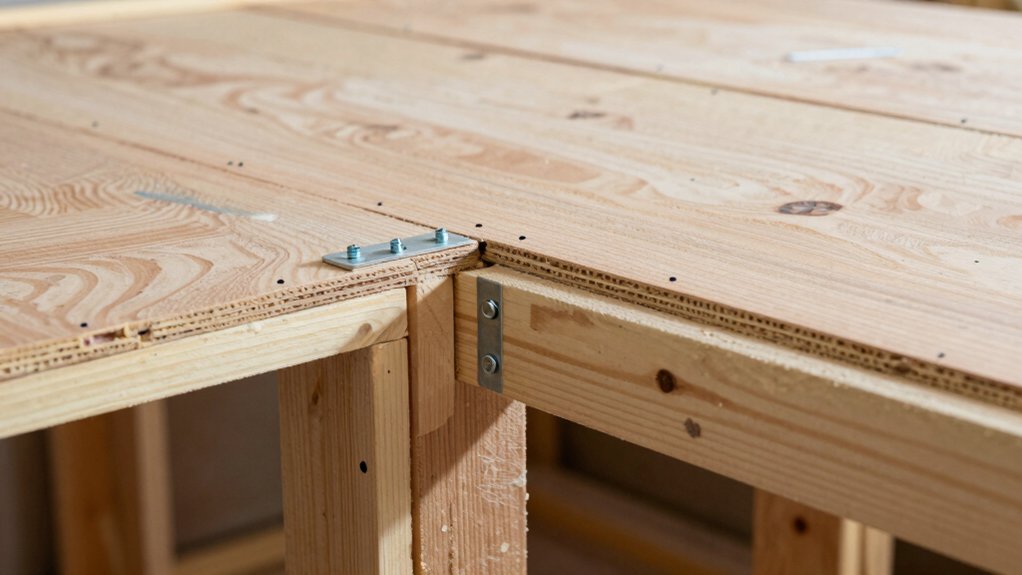
Evaluating success means you clearly compare outcomes to your plan and check that the sistered floor joists provide the intended support. After installation, complete a post repair inspection to verify alignment, fastener security, and no new gaps or movement. If issues appear, address them promptly before loading the structure further.
For long term durability, establish a monitoring routine and schedule follow-up checks.
- Visual check of joist alignment and hidden connections after the first few loads
- Documentation of any creaks, deflections, or obvious movement during seasonal changes
- Ongoing notes for future maintenance and remodeling plans to anticipate stress points
Frequently Asked Questions
Do I Need a Permit for Floor Joist Sistering Projects?
Yes, you usually need a permit for floor joist sistering. Check building codes and permit requirements with your local building department before starting, since requirements vary by jurisdiction and project scope. Always obtain approvals to avoid penalties.
Can Sistering Be Done on Concrete or Non-Wood Floors?
“Measure twice, cut once.” You can sister on concrete or non-wood flooring by attaching solid blocking and compatible brackets to a solid base, using concrete reinforcement methods; guarantee proper fasteners and load transfer for safe, durable support.
How Long Does Sistering Typically Take to Complete?
Sistering typically takes a few hours to a full day, depending on joist access and number of spans. You’ll want to account for preparation, fastening, and curing time. Timing estimates guide project duration and help you plan accordingly.
Will Sistering Fix Creaking Floors or Just Sagging?
Sistering dramatically helps floor stability, but it mainly addresses sagging, not every creak. You’ll notice noise reduction once joists are stiffened; however, some creaks persist from boards, nails, or framing, requiring tightening and possibly additional fixes.
How Do I Choose Between Steel and Lumber Sistering?
You should choose based on load needs and budget: steel offers greater strength, stiffness, and span potential, while lumber is simpler, cheaper, and easier to work with. Material comparison and cost considerations guide your decision.
Conclusion
A sagging floor isn’t a broken spine; it’s a door that won’t close. When you sister a joist, you plant a steady second timber beside the fault line, like a twin heartbeat syncing with yours. The old and new press together, sharing weight, until the creaks quiet and the span remembers its purpose. Check every connection, measure the trust, and let the structure stand taller—a quiet harbor built from careful hands and deliberate, steady rhythm.