To level a wobbling or sinking toilet, start by locating the movement at the base and shut off water to remove pressure. Clear the area, empty the tank, and inspect the flange, bolts, and wax ring for looseness or damage. Choose plastic, stainless steel, or composite shims and stack 2–3 thinner pieces under the flange for solid contact with a stable subfloor. Space shims evenly, recheck level, tighten bolts in a cross pattern, and test for leaks. More tips ahead if you want.
Diagnose the Toilet Wobble and Prep

To diagnose a wobbly toilet, start by locating the wobble at the base and noting whether it’s lateral (side to side) or vertical (rocking front to back).
You assess toilet bowl stability by feeling for movement at the flange and under the pedestal.
Inspect bolts for looseness, corrosion, or missing washers, and verify the wax ring’s integrity if you notice odors or leaks.
Clear the area, shut off water, and empty the tank to simplify testing.
Mark the wobble direction to guide shim placement later.
Document any cracks or shifts in the floor, and check for uneven tile or subfloor movement.
This step supports bathroom remodeling decisions and ensures a stable, secure toilet before adjustments.
Maintain safety, avoid over-tightening, and proceed with planned, measured fixes.
Choose Shims and Layout for Best Support
Next, choose the right shims and layout to support the toilet securely. Begin by selecting shim materials suited to your floor: plastic, stainless steel, or composite are common, each with load tolerance and moisture resistance.
For most bathrooms, stack two or three thinner shims under the flange area rather than a single thick piece, creating a stable foundation without stressing the bolts. Plan layout so shims contact solid subfloor or unfinished slab and evenly distribute weight around the toilet base.
Use thin shims near corners and a central support if needed, ensuring the toilet sits level front-to-back and side-to-side. Check for smooth, full contact between shim surfaces and the toilet flange, avoiding gaps that could shift over time. Shim placement matters for ongoing stability.
Install Toilet Shims Step by Step
Begin by placing a shim under the flange area where the toilet will sit. Then verify that the shim contacts solid subfloor or concrete.
You’ll install shims to achieve level seating and a solid base, focusing on even contact and stability. Keep the Toilet base seal in mind as you work, ensuring it remains undisturbed and effective.
Then, proceed to fine-tune height through selective shim placement, avoiding overfills that could crack or shift the flange.
- Insert shims incrementally at key points to level the toilet base.
- Check for wobble and re-seat until a sturdy, even stance is achieved.
- Verify the overall floor leveling before securing the toilet with bolts and a new seal.
Test for a Leak-Free, Stable Toilet
Once the toilet feels solid, the next step is to verify there are no leaks and that it stays stable under use. First, inspect the toilet flange area for signs of moisture or staining after a test flush. If you see damp spots, reseal and retighten connections as needed.
Next, perform a controlled flush test with the water supply on, watching for wobble or movement as the tank refills. Confirm the floor around the base remains dry and that the wax ring shows no leakage.
Check the fittings at the water supply line for tightness without over-tightening. If stability holds and no leaks appear, you’re finished; if movement returns, recheck shims and flange seating.
Maintain access to shutoff valves for future maintenance.
Troubleshoot Common Wobble Fixes
To fix a wobble, start by confirming the toilet is securely seated on the flange and that the base is level. If it isn’t, use shims under the defeated points and recheck.
Next, identify common wobble causes and address them directly. Follow these steps:
1) Inspect toilet materials and bolts for corrosion or wear, replacing any damaged parts to restore solid contact.
2) Tighten flange bolts in a cross pattern to avoid uneven pressure, then recheck level and stability.
3) Consider warranty considerations if components fail under normal use; verify coverage and document installation as needed.
With the basics confirmed, you’ll preserve stability, minimize leaks, and extend fixture life.
Frequently Asked Questions
Can a Wobbly Toilet Cause Sewer Gas Leaks?
Yes, a wobbly toilet can contribute to sewer gas exposure if seals fail or joints loosen, compromising Toilet stability and allowing gas to escape. Inspect wax ring, floor flange, and connections; tighten, reseal, or replace as needed.
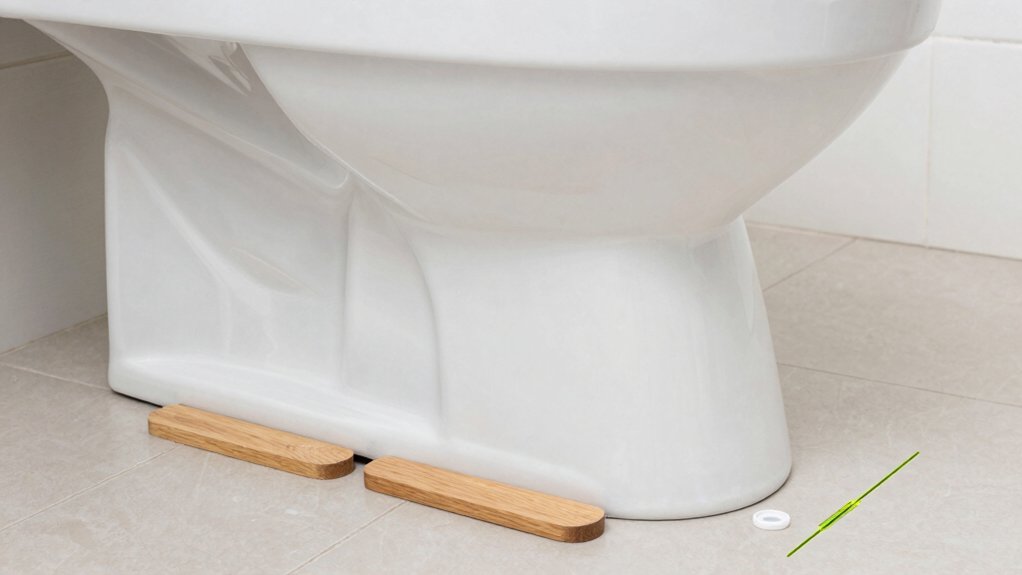
Are Wooden Shims Safe for Bathroom Moisture?
Wooden shims aren’t ideal for bathroom moisture; they can swell and rot. Choose moisture-resistant alternatives like plastic or composite shims, seal edges, and regularly inspect for moisture so you don’t compromise stability or hygiene.
How Long Do Toilet Shims Last?
Toilet shims last many years if kept dry and properly installed, but their lifespan hinges on toilet stability and shim durability; inspect annually, replace as needed, and avoid moisture exposure to maintain reliable support and prevent wobble.
Can I Replace a Toilet Flange Instead?
Yes, you can replace a toilet flange. To do this, shut off water, remove the toilet, inspect the waste line, and install a new toilet flange with proper screws and a wax ring, then reseat the toilet and test for leaks.
Do I Need a Professional for Tile Damage?
Yes, consider a professional inspection for tile damage. You’ll get accurate assessment, proper tile repair, and prevent further issues. If you’re unsure, hire a pro to guarantee safe, lasting results and protect your home’s value.
Conclusion
You’ve diagnosed the wobble, chosen solid shims, and set them with precise layout. You’ve tightened flange bolts, checked for level, and confirmed a leak-free seal. If wobble returns, recheck shim placement and bolts, and replace any damaged wax ring. Maintain the toilet by avoiding heavy loads and bumps. Remember: a stable toilet is a foundation you can rely on—like a rock under a river. Stability isn’t optional; it’s practical safety you can trust.