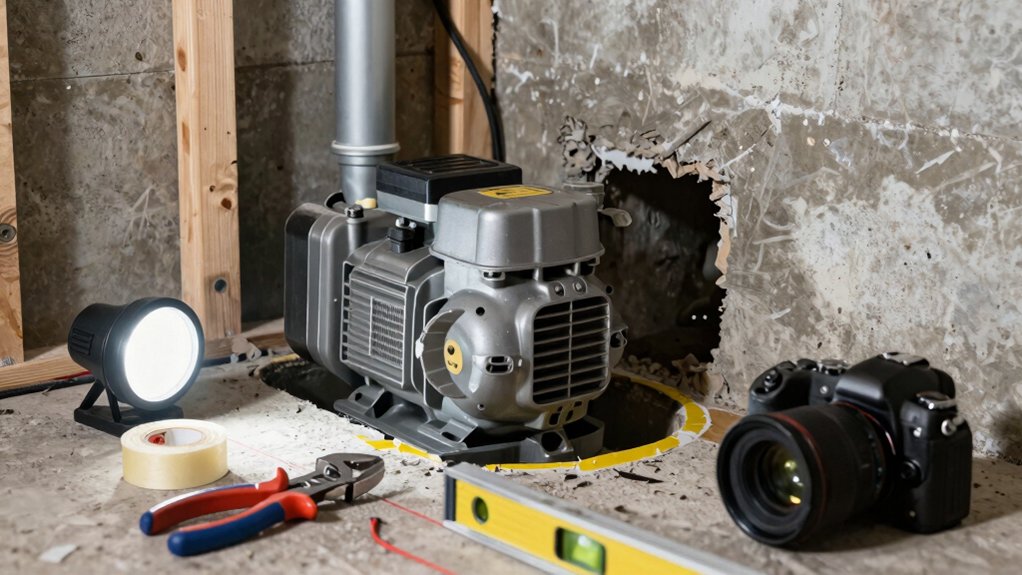
To install a sump pump, start by defining your sump criteria—flow, head, and duty cycle—then choose the right pump type and size for your basement. Plan a discharge route that moves water away from the foundation with a backflow check valve, and prepare a pit sized for the pump and float switch. Gather tools, install the pit, set the pump, and confirm a GFCI outlet and ventilation are in place. Test, prime, and troubleshoot, then establish a maintenance routine for ongoing reliability. You’ll pick up more details as you continue.
Define Your Sump Pump Criteria (Flow, Head, Duty Cycle)
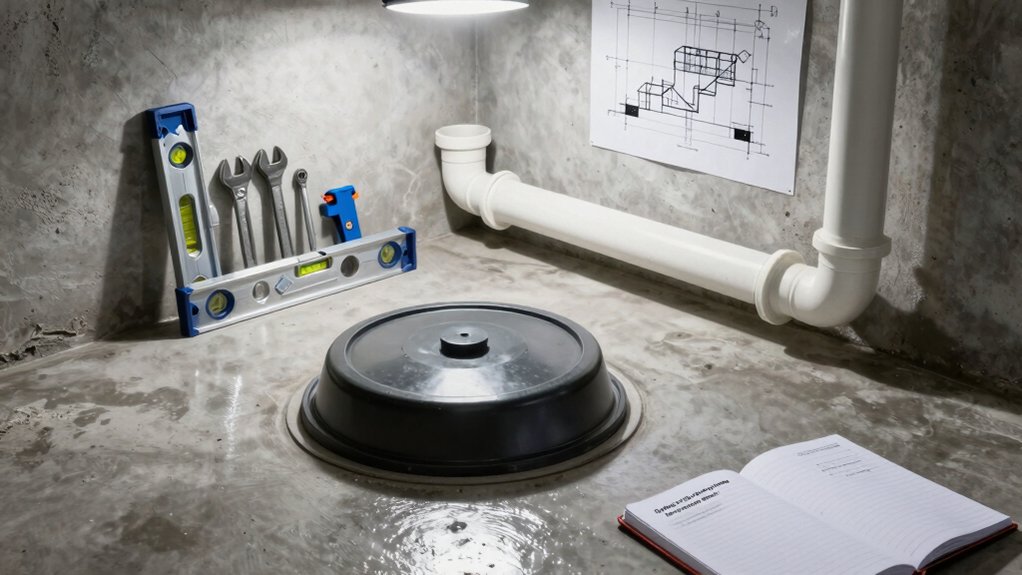
To choose the right sump pump, start by defining your criteria: the required flow, head, and duty cycle. You’ll map expected rainfall, basement size, and drain clarity to determine gallons per minute any pump must move.
Flow matters for fast removal during heavy rain, while head reflects vertical lift to the discharge point. Duty cycle tells you whether the pump runs continuously or intermittently; keep a longer lifecycle in mind for frequent use.
Consider reliability features like a float switch for automatic operation and a backup power option to guard against outages. Verify your chosen model aligns with your square footage, sump depth, and outlet position.
This criteria set keeps selection objective and practical for installation.
Select the Right Pump Type and Size for Your Basement
Choosing the right pump type and size starts with understanding your basement’s water rate and discharge needs.
Compare pump types (submersible vs. pedestal) and match them to your space.
Then size for both flow and head to prevent overwork or short cycling.
Finally, confirm you have adequate power supply and drain options to support safe, reliable operation.
Pump Type Differences
When selecting a sump pump, you’ll need to think about both the pump type and the size to match your basement’s needs. Different pump types handle water differently, so understanding their distinctions helps you avoid wasted power or failure.
Submersible models sit underwater and stay quieter, while pedestal pumps stay above water and are easier to service. Diaphragm and centrifugal designs vary in flow, head height, and reliability.
Consider enhanced features like built-in check valves or automatic switches, which influence overall performance and maintenance. Be mindful that Pump noise and sump pump lifespan are affected by type choice, install quality, and load conditions.
- Submersible vs. pedestal: noise, access, and serviceability
- Flow rate vs. head height: matching your basement’s conditions
- Longevity factors: quality construction and proper installation
Sizing Basements Correctly
Sizing your basement correctly means choosing a pump that matches both the volume of water you expect and the vertical lift required to discharge it outdoors. You’ll pick a pump size by evaluating expected peak flow, sump capacity, and the height you must push water to, ensuring the unit can handle brief surges without clogging or overheating.
Consider basement moisture patterns, history of flooding, and your drainage solutions to prevent overflow. A smaller pump may run constantly, wasting energy, while an oversized model can wear out components faster. Match the impeller type and horsepower to the anticipated load, then verify electrical requirements and switch reliability.
Select a model with a proven warranty and service support to maintain consistent, quiet operation and reliable drainage.
Power and Drain Needs
Power and drain needs require you to pick a pump type and size that match how much water you expect and how high you must lift it. Choose a submersible pump for full basements or a pedestal model for easier maintenance if space is tight.
Check flow rate (gallons per minute) against your sump size and expected rainfall. Consider lift height, or discharge height, to ensure it reaches your exterior drainage without clogging.
Also decide on backup options, like a battery backup, to guard against power outages during storms. Make sure wiring and outlet placement comply with code, and plan for a check valve to prevent backflow.
- Match capacity to your basement’s needs and discharge distance
- Include a reliable backup option to protect against outages
- Account for pump noise and accessibility for service
Plan the Discharge Route to Prevent Backflow
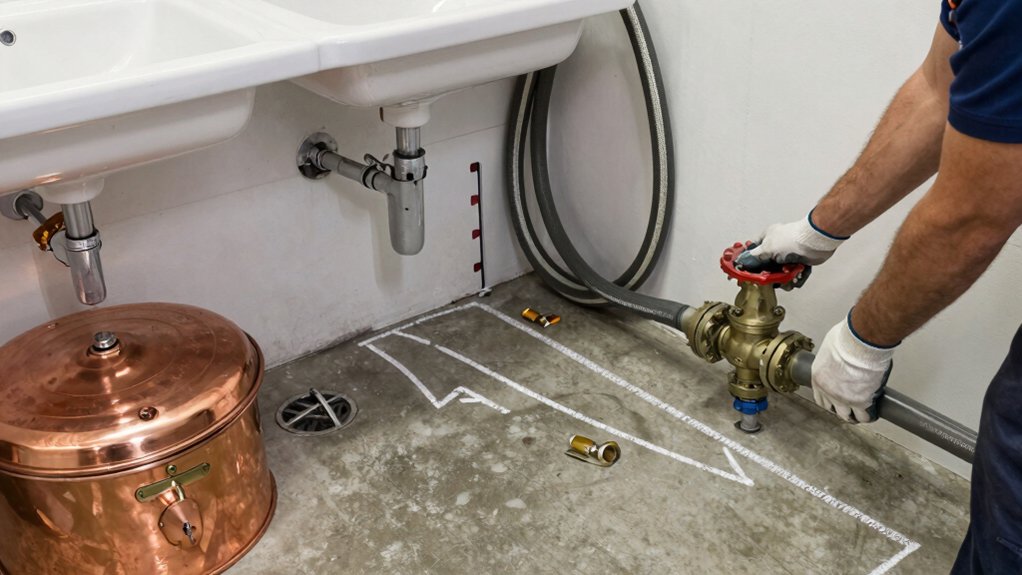
Plan the discharge route to prevent backflow by selecting a path that moves water away from your foundation and never toward it. You’ll design the route so gravity assists drainage and prevents stagnation near walls. Choose a discharge point that directs water to a storm sewer, septic field, or appropriate exterior drain, well above any basement openings.
Avoid low spots, unnecessary turns, or routes that run under porches or slabs. Install a non-return valve if your system allows, and ensure the discharge line remains clear of debris with routine inspections. Label the line and document the route for future maintenance.
This plan reinforces backflow prevention, protects your foundation, and reduces moisture risks, contributing to reliable sump pump performance and long-term basement integrity.
Prepare the Pit and Validate Plumbing for a Battery Backup System
With the plan for backflow prevention in place, you’ll prep the sump pit and verify that plumbing supports a battery backup system.
Make certain the pit is clean, free of debris, and adequately sized for the pump and float switch.
Inspect inlet and discharge piping for proper slope, tight joints, and unobstructed flow paths.
Confirm the drain lines connect to a reliable power source and that the electrical box is accessible, GFCI-protected, and labeled for sump use.
Check for a dedicated vent or air gap if required by code.
Validate that connections won’t conflict with the existing discharge route.
This phase ensures battery backup readiness and reduces risk during outages.
- battery backup readiness
- sump pit preparation
- pipe and power verification
Tools, Materials, and Safety Checklist
Before you start, gather the essential tools, materials, and safety gear you’ll need to install the sump pump and perform battery backup work. You’ll use a basic tool set, including an adjustable wrench, screwdrivers, pliers, a tape measure, a level, silicon sealant, and a utility knife.
For materials, have the sump pump, overflow discharge hose, check valve, PVC pipes, elbows, couplings, clamps, and conduit as required by your setup.
Safety gear matters: gloves, eye protection, dust mask, and non-slip footwear.
Prepare electrical considerations with a battery backup module and a dedicated outlet.
Create a clear workspace and keep a flashlight handy.
Maintain a tools checklist and follow safety precautions to minimize risk and ensure reliable operation.
Install the Pit and Install the Pump
To install the pit and set the sump pump, start by choosing a dry, accessible location in the basement and mark the pit dimensions according to your pump’s specifications. Dig the pit to the required depth, making certain a level bottom, then verify that the interior walls are smooth to prevent leaks.
Install the base, seal joints, and set the sump unit firmly. Connect the discharge outlet to your chosen line, using appropriate slope and fittings. Place fill material around the unit, keeping the top edge clear for inspection.
Test operation, listen for minimal sump pump noise, and confirm proper priming. Maintain a dry surrounding area to manage basement moisture and verify that the pump sits evenly.
- Ensure pit is level and clean
- Verify discharge line slope and sealant
- Check for smooth interior pit walls
Electrical and Ventilation Safety for Sump Pumps
Electrical and ventilation safety are essential when a sump pump is in use; improper wiring or poorly vented basements can cause shock hazards, fire risk, or mold growth. You’ll safeguard yourself by installing a grounded, GFCI-protected outlet, using a dedicated circuit, and securing connections with proper strain relief.
Confirm the discharge line is vented appropriately so moisture doesn’t accumulate in living spaces. Keep the area around the pump dry and unobstructed to reduce corrosion and overheating.
Verify basement ventilation supports air exchange, reducing humidity that fuels mold. Plan for groundwater management with a sump pump cover that seals and minimizes debris ingress, and consider noise-reduction strategies, such as anti-vibration pads and flexible couplings.
These steps promote safe operation and reliable performance.
Test, Prime, and Troubleshoot: What to Expect
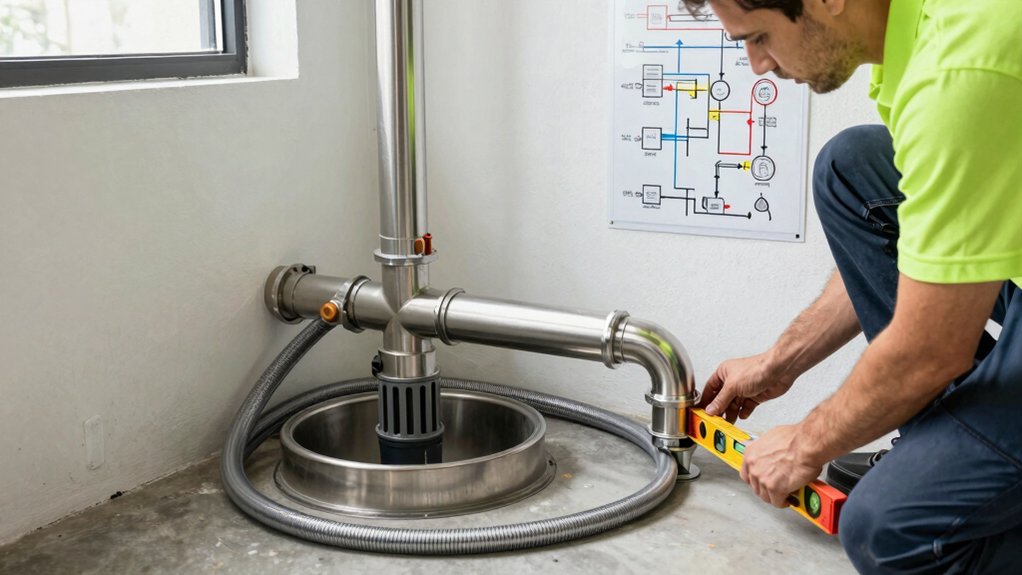
After ensuring the electrical and ventilation safeguards from the previous section, you’ll move into testing, priming, and troubleshooting the sump pump. You should expect a quick startup: the unit should power on without tripping breakers, the discharge line clear, and water level sensors responsive.
During test priming, pour water into the basin until the float activates and the pump runs smoothly to the discharge. Listen for abnormal noises or vibrations, which signal alignment or mounting issues. If the pump won’t start, check the switch, power cord, and fuse.
Troubleshooting issues promptly prevents downtime and potential flooding.
- Check power, switch, and fuse if the pump won’t run
- Confirm the float activates and initiates pumping during test priming
- Inspect discharge line for clogs or kinks to prevent backflow
Maintenance Plan to Prevent Future Sump Pump Failures
Regular maintenance is essential to prevent future sump pump failures and protect your basement. To start, implement a simple schedule: inspect the pump monthly, and test the system during heavy rain.
Check that the discharge line is clear and directed away from the foundation. Clean the screen and impeller to remove debris, mud, or sediment that can impede flow.
Listen for unusual noises and verify the float activates smoothly. Replace worn power cords or adapters promptly, and ensure the backup battery remains charged if you rely on one.
Record maintenance activities and any observed issues. This disciplined approach supports sump pump maintenance and effectively extends pump lifespan, reducing the risk of unexpected downtime.
Consistency sustains reliability during critical wet seasons.
Frequently Asked Questions
What Are Common Sump Pump Failure Signs Homeowners Miss?
You’ll notice warning signs like the alarm sounds and power outages, and you might ignore subtle noises, frequent cycling, or rising basement humidity; these indicate impending failure, so inspect seals, check discharge, and test backups promptly to prevent flooding.
How Often Should a Sump Pump Be Inspected Annually?
“An ounce of prevention is worth a pound of cure.” You should inspect annually, aiming for a quarterly maintenance schedule, and use a thorough inspection checklist to verify switches, seals, and backups are functioning properly.
Can a Sump Pump Handle Sewage or Gray Water?
No, a sump pump isn’t designed for sewage compatibility or gray water handling. For sewage, use a dedicated sewage ejector pump. For gray water, separate systems are preferred; mixing can cause clogs, odors, and code violations.
What Is the Typical Noise Level During Operation?
Noise levels during operation vary, but you’ll typically hear a low hum or whir from the pump and a slipping brief rushing sound in water. You’ll notice operation sounds decrease when the unit isn’t cycling frequently.
How Long Does a Battery Backup Unit Usually Last?
A battery backup unit usually lasts 3 to 5 years, depending on usage and maintenance. You should monitor charge, replace batteries promptly, and perform backup maintenance annually to maximize battery lifespan and reliable sump performance.
Conclusion
You’ve mapped the plan, chosen the pump, and routed the path to dry floors. As you finish, think of a quiet lighthouse guiding ships home—your sump pump is that beacon, once tested and primed. When storms come, it stays steady, guarding the basement’s heart. Keep the routine checks, the battery backups, and the clean discharge. Stay vigilant, and the flood won’t rewrite your home’s story. Dry, secure, trusted—that’s your quiet harbor.