

To convert a garage into a functional living space, start with a viability check: inspect structure, foundation, and rough-ins for HVAC, plumbing, and electrical, then reinforce as needed. Plan a space-saving layout with zones for entry, living, sleeping, and work, using modular furniture and concealed utilities. Upgrade insulation, moisture control, and climate systems; make certain permits and codes are addressed up front. Choose durable finishes and layered lighting. With smart budgeting, you’ll open up long-term flexibility as you progress. More details ahead.
Assess Garage Viability for a Conversion

Evaluating garage viability begins with a clear, practical inventory of constraints and opportunities. You assess structural integrity, insulation, moisture, electrical capacity, and HVAC compatibility to determine if a conversion is feasible.
You verify ceiling height, door conditions, and window presence, noting any required permits or code considerations. You map existing utilities and plan future access routes, ensuring that essential systems won’t disrupt traffic flow or storage.
You evaluate traffic patterns, daylight, and potential glare, aiming for consistent comfort. You prioritize practical workflows, identifying where Garage organization and Storage solutions can be integrated without compromising structural safety.
You document thresholds for retrofit costs versus projected value, guiding a data‑driven decision. You finish with a concise viability verdict and a prioritized action list.
Design a Space-Saving Garage-Conversion Layout
To maximize usable space, plan a compact furniture layout that keeps essential functions near shared zones and folds away when not in use.
Implement clear zones for living, storage, and work, using space-saving pieces and vertical organizers to reduce footprint.
Prioritize natural light by aligning windows, skylights, or glazed doors with key activity areas to enhance openness and efficiency.
Space-Saving Furniture Layout
What’s the most efficient way to arrange furniture in a garage-turned-living space, so every square foot serves a purpose? You’ll optimize a compact footprint by prioritizing multifunctional pieces and modular systems.
Begin with a clear zoning outline—entry, living, sleeping, and work areas—so sightlines remain uninterrupted.
Choose furniture placement that maximizes wall use: wall-mounted storage, foldable desks, and sofa beds reduce floor clutter.
Elevate vertical storage with tall shelving units and pegboards for tools, kits, and electronics.
Opt for compact coffee tables with built-in storage or nesting options to minimize surface waste.
Use accent seating that doubles as storage benches to maintain flexibility.
Prioritize durable, easy-to-clean surfaces and concealed cables.
Finally, plan routes that avoid bottlenecks, ensuring safe, efficient movement between zones while maximizing storage solutions.
Zoning For Multiuse Areas
Consolidate the garage’s footprint into clearly defined zones—entry, living, sleeping, and work—so every function has a dedicated niche without crowding. You’ll apply zoning for multiuse areas by aligning layout with property boundaries while respecting zoning restrictions.
Plan boundaries first, then fit furniture and utilities to minimize overlap and avoid encroachment. Use vertical storage and modular partitions to adapt zones without expanding the footprint.
- Define each zone’s core function and access routes, ensuring clear sightlines and safety clearances.
- Assign plumbing, electrical, and HVAC utilities to centralized corridors to reduce material costs and improve maintenance.
- Implement flexible barriers and movable furniture to reconfigure spaces as needs shift while honoring property boundaries.
Result: tighter circulation, compliant zoning, and scalable livability within a compact shell.
Natural Light Maximization
Maximize natural light by prioritizing window placement, door orientation, and glazing efficiency to brighten the space without sacrificing privacy or energy performance.
In a space-saving layout, you align openings with traditional sightlines and circulation, ensuring daylight penetrates deep without creating glare. Use narrow transom or clerestory windows to maintain privacy while boosting illumination near work zones.
Consider a compact glass door with high-performance seals to blur indoor-outdoor boundaries when desired. Skylight options become critical in center rooms; select insulated units with low-e coatings and appropriate curb heights to minimize heat gain.
Position operable windows to cross-ventilate during mild days, reducing mechanical cooling needs. For bathrooms and storage, restrain glazing to opaque or tempered panels.
Document natural-light goals early to validate with energy modeling.
Audit Structural, Insulation, and Rough-Ins for Conversion Readiness
Before you start converting, perform a thorough audit of the garage’s structure, insulation, and rough-ins to gauge readiness and identify upgrades. You’ll verify that the shell can support insulation levels and live loads, and confirm that essential rough-ins align with your design.
Prioritize a foundation inspection and assess electrical wiring for safety and future needs.
- Inspect framing integrity, wall connections, and floor slab condition to determine load-bearing capacity.
- Evaluate insulation type, thickness, and air sealing to meet target comfort and energy goals.
- Review rough-ins for HVAC, plumbing, and electrical, ensuring proper routing, clearances, and accessibility for finish work.
Secure Permits and Meet Codes Up Front
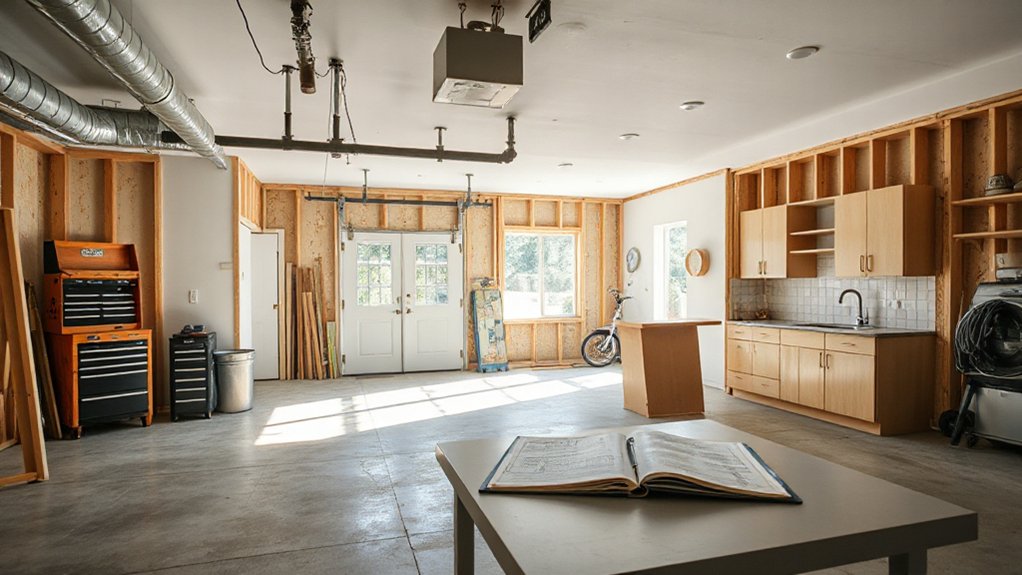
You’ll set a realistic permitting timeline and map out required approvals before you start.
Next, follow a clear, code-focused checklist to guarantee each step aligns with local standards and avoids backtracking.
This upfront discipline minimizes delays and keeps your conversion on track.
Secure Permitting Timeline
Securing permits and meeting code requirements up front sets the foundation for a smooth garage-to-living-space project. You must map a realistic permitting timeline, stress-testing each phase against local calendars and staff workloads to avoid delays.
Align approvals early with plan accuracy, submission completeness, and expected review cycles so you’re not surprised by requests for revisions.
- Identify applicable permit types (building, electrical, plumbing) and estimated review windows.
- Prepare a single, consolidated package with all drawings, specifications, and energy calculations to minimize back-and-forth.
- Build in buffer time for neighborhood input, plan revisions, and potential re-inspections, noting impacts on Garage security and Neighborhood approval.
Code Compliance Steps
Code compliance should be planned from the start to prevent delays and rework. You’ll begin by identifying local building codes, zoning restrictions, and any HOA requirements that apply to garage conversions.
Secure permits before renovations to formalize scope and avoid inspections delays.
Review structural, electrical, plumbing, and ventilation standards relevant to habitable space, ensuring your design meets minimum room sizes, egress, and emergency access.
Schedule inspections at key milestones and maintain complete documentation for each approval.
Address noise and thermal performance, fire separation, and smoke detectors to protect occupants and property.
Plan for garage security and storage organization within the finished space, coordinating door hardware, lighting, and access control with code requirements.
Documentation and early coordination reduce project risk and keep you compliant throughout.
Choose Durable Finishes That Feel Welcoming

When choosing finishes for a garage conversion, prioritize materials that resist moisture, wear, and temperature swings while still feeling warm and inviting. You’ll select durable, low-maintenance surfaces that perform in diverse conditions yet read as cohesive spaces.
- Use moisture-resistant drywall or siding with a warm core, paired with sealant.
- Choose flooring rated for fluctuating temps, like vinyl planks with a cork underlayment, and incorporate decorative accents to soften the look.
- Opt for paint and coatings in cohesive color schemes that resist scuffs and wipe clean easily, then balance with textiles and wood tones for texture.
This approach delivers a practical, polished feel while maintaining resilience and comfort throughout the living area.
Budget Smartly for a Realistic Garage-Conversion Project
Set a baseline by outlining must-haves versus nice-to-haves, then map costs against a realistic timeline to avoid scope creep. You’ll prioritize core systems, structural tweaks, and essential finishes first, with optional upgrades scheduled later as funds permit.
Break down line items into categories: materials, labor, permits, and contingency. Use a conservative contingency—typically 10% to 15% of hard costs—to absorb unknowns.
Compare quotes from licensed contractors and factor decommissioning or code-compliance needs into your budget.
Track progress using a simple dashboard: estimated vs. actual spend, and revise timelines if approvals lag or material lead times shift.
Consider Garage aesthetics and Storage solutions early, so finishes and shelving align with your budget.
This disciplined approach keeps the project realistic, focused, and within reach.
Add Light, Ventilation, and Climate Comfort Systems
To make a garage conversion comfortable year-round, you’ll add lighting, ventilation, and climate-control systems that fit your layout and budget. You’ll select practical, energy-conscious options that integrate with existing walls and ceiling lines while meeting code requirements. Focus on reliable performance, easy maintenance, and controllability to minimize ongoing costs.
Use Lighting design to guide placement, brightness levels, and color temperature for different zones, and choose Ventilation options that balance air exchange with insulation goals.
- Plan layered lighting with task, ambient, and accent layers, prioritizing dimmable fixtures.
- Install a balanced ventilation strategy—mechanical exhaust with make-up air and humidity control.
- Size and zone climate-control equipment to your space, ensuring efficient operation and minimal drafts.
Plan for Daily Use and Future Flexibility
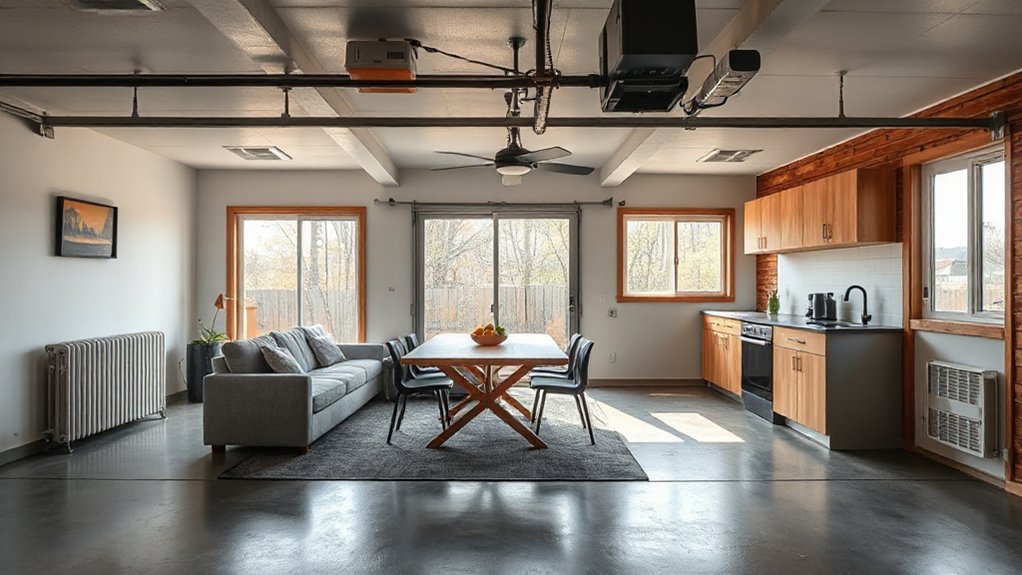
Efficient daily use and future flexibility rely on a layout that anticipates routine tasks and evolving needs. You plan zones: entry, work, living, and storage, mapping traffic flow to minimize disruptions.
Prioritize convert-ready dimensions: door openings, ceiling height, and clearances that accommodate furniture, appliances, and evolving tech. Choose modular finishes and multipurpose furniture that adapt with minimal disruption.
Incorporate robust utilities planning: electrical, plumbing, and data conduits secured in accessible chases for upgrades.
Consider seasonal usage and climate control needs, sizing spaces to reduce energy waste without sacrificing comfort.
Address structural considerations early: Garage insulation to reduce thermal losses and Structural reinforcement where loads or new uses demand it.
Document changes for future renovations and budgeting, ensuring compliance with codes and short-term maintenance needs.
Frequently Asked Questions
What’s the Best Way to Finance a Garage Conversion?
You should compare loan types, like FHA 203(k) or a home equity loan, to fund your project. Factor interior insulation costs and building permits into your budget, and guarantee you’ve got a solid plan and lender prerequisites.
How Long Does a Typical Garage Conversion Take?
A quick paradox: you finish faster by planning slower. Usually, a garage conversion takes 4–6 weeks; you guarantee quality with Garage insulation and Structural reinforcement, coordinating trades, inspections, and precise framing to avoid costly overruns.
Do I Need a Separate HVAC System for the Converted Space?
You don’t necessarily need a separate HVAC system for the converted space. Use HVAC zoning and proper insulation techniques to balance temperature, minimize duct losses, and integrate with your main system for efficiency and comfort.
How Do I Address Moisture and Mold Prevention?
Breathe easier by addressing moisture directly: implement ventilation improvements and use mold resistant materials. You’ll reduce dampness, monitor humidity, seal leaks, guarantee proper grading, and maintain airflow to prevent mold growth while preserving indoor air quality.
What Resale Value Can I Expect From a Garage Conversion?
You can expect a modest resale lift, about 5–15%, depending on finish quality and market. Prioritize Garage aesthetics with cohesive flooring and lighting, and secure Conversion permits to reassure buyers and avoid future compliance risks.
Conclusion
You’ll wrap this project with confidence, not chaos. By treating the garage as a careful system, you avoid costly surprises and keep workflows smooth. If a snag appears, use a pragmatic pause, recheck codes, and adjust details quietly. With thoughtful finishes and efficient layouts, you’ll gain usable space without shouting style. The result is a practical, comfortable room that respects structure, respects budget, and respects your future plans—an understated upgrade that quietly delivers.




