
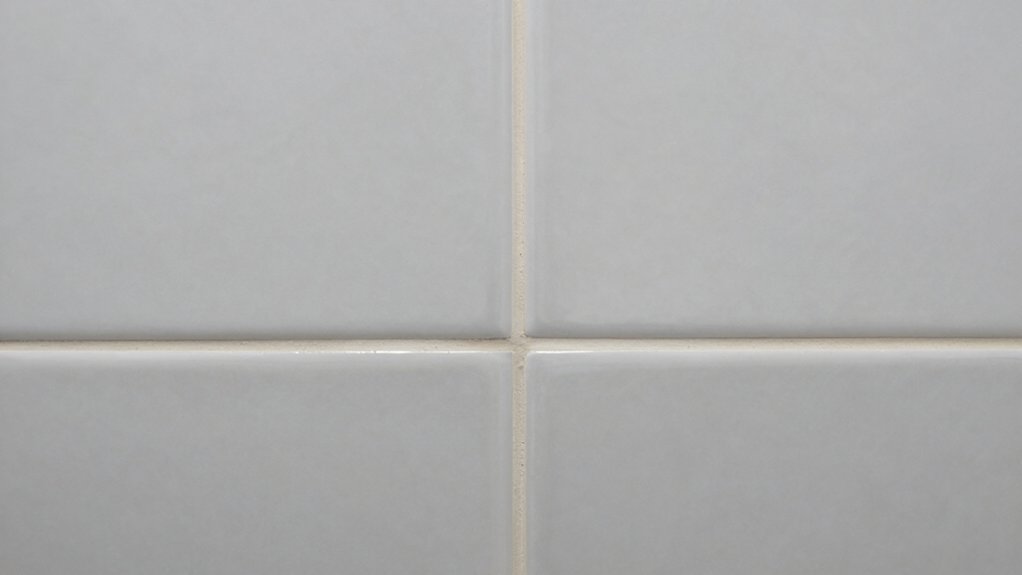
You can restore grout to its original color by identifying your grout type (cementitious, epoxy, or urethane) and testing colorfastness first. Use gentle cleaners, a soft brush, and baking soda with hydrogen peroxide for deep cleaning, then apply a controlled whitening product. Seal afterward to lock in color and slow future staining. Protect surrounding tiles during treatment and follow manufacturer timings precisely. If you keep going, you’ll uncover practical steps that tweak results and boost durability.
What Grout Whitening Can Realistically Achieve

Grout whitening can dramatically brighten tile lines, but its effectiveness has realistic limits. You’ll see noticeable improvements on mild grout discoloration, especially when the staining is surface level and the grout is intact.
However, whitening is less effective on deep, ingrained grime or damaged grout. You should expect partial restoration rather than a pristine, like-new match across all joints.
Whitening limitations include color saturation, substrate staining, and uneven absorption, which can leave patchy results. Use safe, tested products and follow manufacturer directions to avoid etching surrounding tiles.
Prepare a small, inconspicuous test area first to gauge response. If discoloration persists after a treatment, you may need professional repair or replacement.
For severe grout discoloration, whitening alone won’t suffice.
Know Your Grout: Types, Colors, and Whitening Limits
Understanding grout starts with recognizing its types, colors, and how each responds to whitening. You’ll encounter cementitious, epoxy, and urethane varieties, each with distinct porosity and staining tendencies. Cementitious grout absorbs color more readily, while epoxy resists, but both react differently to whitening agents.
Color options range from white to charcoal, with midtones offering the most forgiving repair paths. Whitening limits hinge on foundation shade, tile surface texture, and existing mineral deposits; some discoloration is permanent without replacement.
For real results, consider grout sealing before whitening to slow future staining, and plan touch-ups to maintain hue consistency. Always verify color matching in a small, inconspicuous area first.
Remember grout sealing and color matching guide your approach, not overpromising outcomes.
Tools and Safety Gear You’ll Need for a Safe Clean
You’ll want the right protective gear and safe cleaning habits at the start of every grout job. Wear goggles, gloves, and a mask.
Choose ventilation-friendly cleaners to minimize fumes and skin contact.
Keep tools organized and follow label directions to prevent accidents and protect your grout and surfaces.
Protective Gear Essentials
To clean safely, gather essential protective gear before you start: rubber gloves, safety goggles, a dust mask or respirator, and sturdy, non-slip shoes. You’ll protect skin from chemicals, eyes from splashes, and lungs from dust and fumes.
Choose protective clothing that covers arms and legs and is easy to clean or disposable; this reduces contamination transfer between grout and other surfaces. Respiratory protection matters when sanding or using acidic cleaners, so pick a mask with appropriate filtration and a snug fit.
Keep a lightweight apron or lab coat handy to shield your clothing and minimize cleanup. Inspect gear for wear, replace damaged components, and store it clean and dry. This setup keeps your work efficient, safe, and compliant with basic grout-restoration standards.
Safe Cleaning Practices
Equipping yourself with the right tools and protective gear is essential for a safe grout clean, so assemble sturdy gloves, safety goggles, a dust mask or respirator, and non-slip footwear before you start.
Use a dedicated bucket, soft-bristle brush, and a microfiber sponge to minimize grit transfer and surface damage.
Choose a pH-neutral cleaner or a grout-safe adhesive remover only when needed, avoiding harsh solvents.
Ventilation precautions are critical; open windows or run a gentle exhaust to disperse fumes.
Keep chemicals sealed when not in use and label containers clearly to prevent mix-ups.
Adhere to chemical safety guidelines, wear eye protection during application, and rinse thoroughly after each pass.
Never mix cleaners, and store supplies out of reach of children and pets.
Test Colorfastness Before You Start

Before you start cleaning, test colorfastness to prevent staining your grout. Do a patch test on an inconspicuous area using a small amount of cleaner and observe for color release or bleeding.
If you notice any color transfer, adjust your product choice or method before proceeding.
Test Color Release
If the dye or pigment in your grout could bleed, test color release before you start to avoid staining nearby tiles.
You’ll verify how the grout responds to moisture and cleaning solutions by applying a small amount of the chosen cleaner to an inconspicuous area and blotting gently.
Wait the manufacturer’s recommended time, then inspect for any color transfer onto the cloth or adjacent tiles.
If bleeding occurs, reconsider stain removal strategies or switch products to prevent damage.
Document the result and proceed only if no color release is observed.
This step supports accurate color matching and preserves grout integrity.
Use a conservative approach, perform multiple quick checks on representative sections, and avoid aggressive scrubbing that could alter color or texture.
Patch Test Method
Patch testing your chosen grout cleaner or stain product confirms colorfastness before you proceed. You’ll select a small, inconspicuous area to apply the product and wait the recommended dwell time.
Use a clean, white cloth to dab gently, avoiding excessive scrubbing that could lift grout. Observe color changes, noting any darkening, fading, or staining that deviates from the surrounding grout.
If color matching remains stable, you can continue with confidence; if not, choose an alternative product or adjust dilution. Document results for future reference.
When testing, record product name, batch, and exact dwell time. This step minimizes risk of uneven results, ensuring consistent stain removal and restoration.
Proceed only after confirming colorfastness to achieve a uniform, professional finish.
Quick Daily Maintenance to Keep Grout Bright
Daily maintenance keeps grout bright and extends its life: wipe up spills promptly, then rinse and dry the area to prevent soap scum and mineral buildup. You’ll stop stains before they set, and you’ll favor consistency in color matching across joints.
Keep a routine that avoids harsh cleaners and minimizes moisture linger.
- Wipe spills within minutes to prevent grout staining
- Rinse with clean water and dry thoroughly after every use
- Seal high-traffic areas as recommended to slow discoloration
- Use a soft brush for routine brushing, not abrasive pads
- Inspect grout lines weekly for cracks and color shifts
Consistency matters: regular care preserves color matching, reduces staining risk, and extends life between deep cleanings.
Deep-Cleaning Methods: Peroxide, Heat, and Safe Alternatives
To deep-clean grout effectively, peroxide can lift organic stains without harsh acids, while controlled heat helps dissolve built-up residues. Safe alternatives like baking soda and hydrogen peroxide blends offer a gentler option when heat isn’t appropriate.
You apply peroxide directly to grout lines, let it bubble briefly, then scrub with a stiff brush to maximize stain removal.
For heat-assisted methods, use a trust-worthy steamer or low-heat appliance to loosen grime without damage; never apply high heat to colored grout.
When using safe alternatives, mix baking soda with hydrogen peroxide to form a paste, spread, wait, then scrub and rinse thoroughly. This approach supports color restoration while preserving tile integrity, delivering consistent results.
Limitations exist for organic oils and deeply embedded tinting; repeat as needed.
Protecting Surrounding Tiles During Whitening
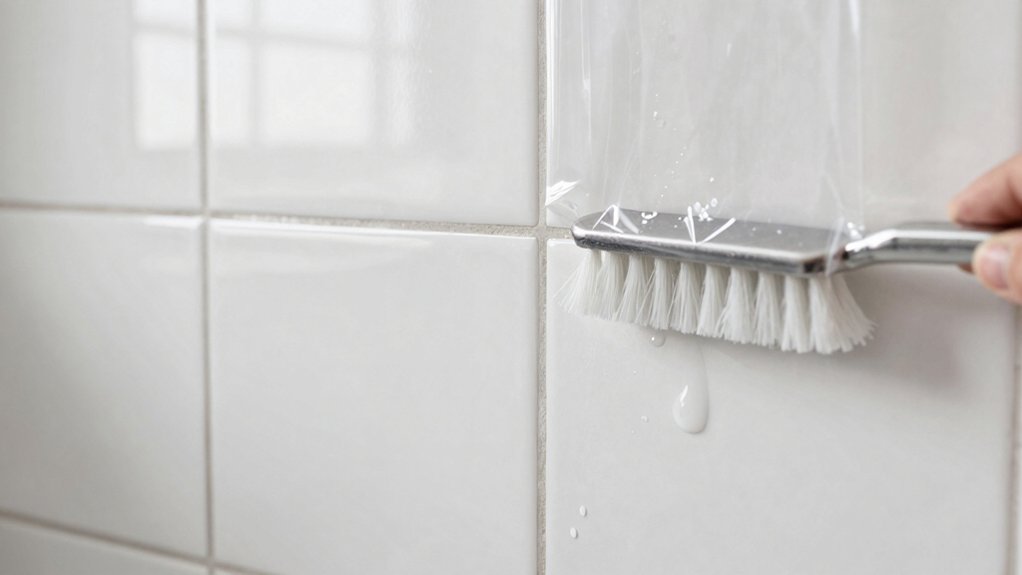
Protecting surrounding tiles during whitening starts with a careful plan to prevent runoff and staining. You’ll shield nearby surfaces using masking techniques and deliberate placement of barriers, then proceed with controlled application.
Begin by clearing the area and laying down drop cloths along beyond the grout line. Use painter’s tape to seal edges where whitening products could creep onto tile faces.
For exposed joints, apply a thin layer of barrier fluid or petroleum jelly to the grout line only if compatible with your product.
Work in short, focused bursts to limit splash and heat. Rinse tools frequently and wipe overspray immediately.
Keep tile protection in place until you finish and the room dries.
- masking techniques
- painter’s tape
- barrier fluids
- drop cloths
- controlled application
Re-Sealing Grout: When and How to Restore Protection
After protecting surrounding tiles during whitening, you’re ready to restore grout protection with a re-seal. Begin by choosing a breathable sealant appropriate for your grout type and environment.
Clean grout thoroughly, dry completely, and remove any residue that could impede adhesion. Apply sealant evenly using a low-pressure applicator or brush, working in small sections to prevent pooling.
Wipe off excess sealant within the manufacturer’s window to avoid streaks and haze. Allow the first coat to cure fully before evaluating the need for a second, if recommended.
For best results, perform sealant application in low humidity and moderate temperatures. After curing, test a small area for repellency.
If color restoration is part of your goal, consider grout dyeing prior to final sealing for uniform protection and color longevity.
Frequently Asked Questions
Can Grout Whitening Affect Waterproofing or Mold Resistance?
Yes, grout whitening can impact waterproofing and mold resistance if you skip sealing; you’ll reduce grout sealing and mold prevention. After whitening, apply a proper sealer, maintain regular reapplication, and follow manufacturer guidelines to protect against moisture and mold.
How Long Do Results Typically Last After Whitening?
Results typically last several months to a year, depending on wear and maintenance. You’ll maximize lifespan longevity by sealing grout, using proper cleaners, and performing regular durability maintenance to protect color and prevent staining or fading.
Will Whitening Grout Damage Antique or Delicate Tile Installations?
Whitening grout can risk damage to antique preservation and delicate tile if overdone or applied unevenly. You should test first, use gentle products, and consult professionals to avoid compromising fragile, historic installations. Proceed cautiously, minimizing exposure and mechanical scrubbing.
Are There Safe DIY Alternatives for Colored Grout Restoration?
Yes, you can: pursue safe diy stain removal methods and use grout sealing techniques to protect color. You’ll apply careful cleaners, scrub with a soft brush, then seal to minimize future staining and maintain consistent hue.
How Often Should Grout Be Professionally Inspected for Wear?
You should have professional inspections every 1–2 years, depending on traffic and condition, to catch wear early; plan grout sealing and consider grout pigmentation updates to extend life and prevent future damage.
Conclusion
You can clean, brighten, and renew grout with careful, consistent care. Start smart, safety-first, and study your grout’s limits, then select suitable solutions. Scrub, seal, and safeguard surrounding tiles, steadily strengthening their resilience. Persist with practical maintenance: daily dusting, damp wipe-downs, and periodic deep cleans. Plan, perform, and protect your project with precision. Grout gains grip, color, and confidence through patient, persistent practice—powerful, proven, and perfectly performative for long-lasting, pristine results.




