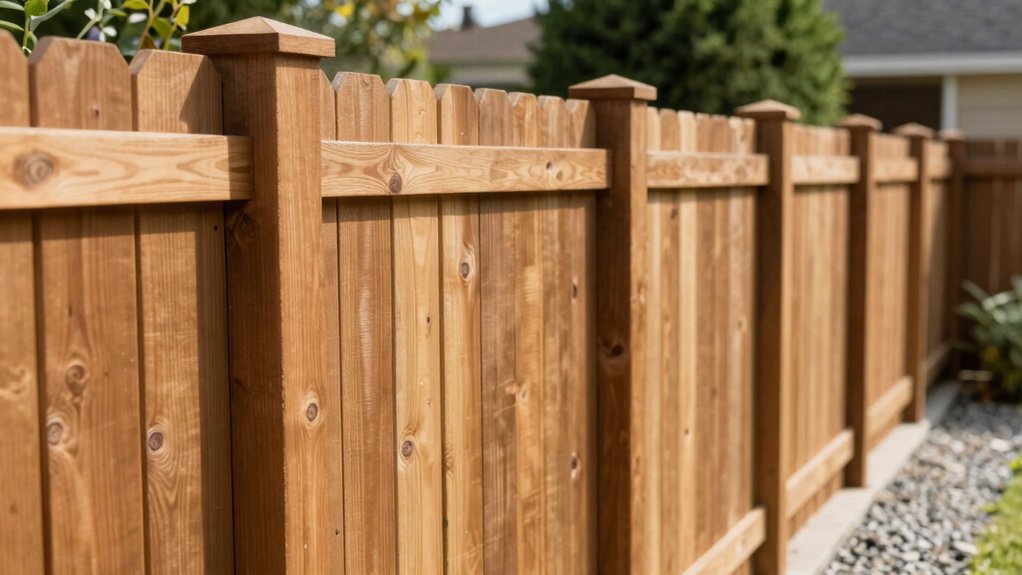
Identify your fence line with pins or a survey, then confirm setbacks and rules with local authorities. Choose durable wood like cedar or treated pine, and decide on solid privacy boards or panels. Space posts every 6–8 feet, align gates early, and guarantee level, plumb posts. Build from bottom to top with secure rails, then finish with a UV-blocking, breathable sealant. Regularly inspect and recoat every 2–4 years; details ahead will help you finish strong.
Identify Your Fence Line and Local Rules
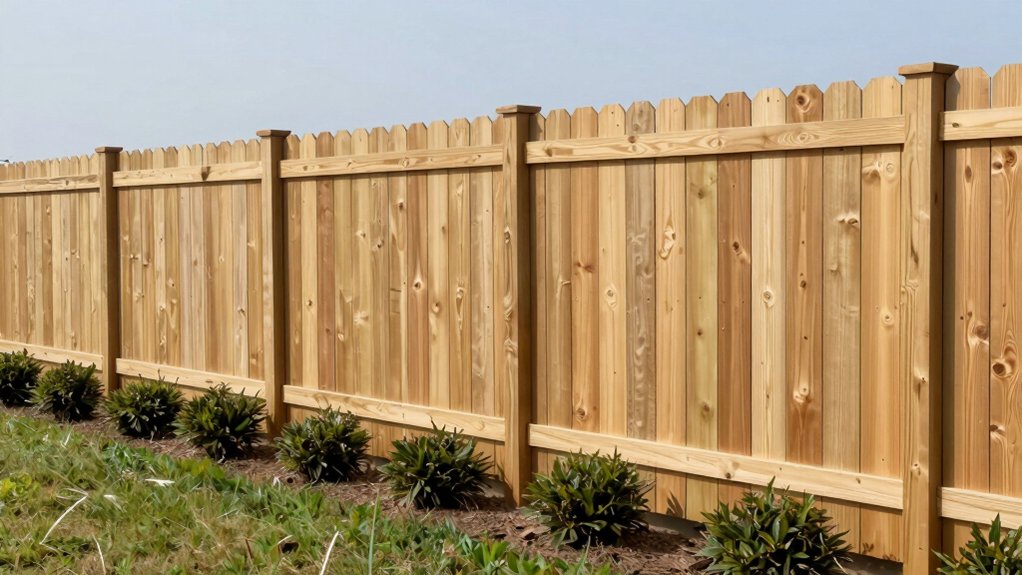
Before you start, determine exactly where your fence will sit and check any local rules that apply. You’ll mark the line along property boundaries to avoid encroachment, then confirm setbacks with your city or county.
Identify property boundaries clearly, using pins, stakes, or a survey if needed, and reference your deed for exact measurements.
Understand local regulations about fence height, opacity, and setbacks, since rules vary by jurisdiction.
Note easements or utility lines that could require extra clearance.
Talk to neighbors if required by law or good practice, and document any agreed placements.
Record all measurements and rulings in writing for future reference.
Choose Materials for a Wood Privacy Fence
Start by selecting durable, rot-resistant wood options like cedar, redwood, or treated pine, and decide between boards, pickets, or panels.
You then weigh types of wood for durability, cost, and maintenance. Cedar and redwood resist decay and insects, while treated pine offers budget-friendly strength with proper sealing.
Consider fence style options that suit your yard and HOA rules—solid privacy boards, spaced pickets, or closed panels.
Weather exposure, load, and staining plans influence choice: cedar ages gracefully with a silvery patina; redwood stays darker and richer; treated pine accepts finishes evenly.
Look for straight grain, sound joints, and consistent thickness. Request warranty details and supplier remediation policies.
Finally, guarantee available lengths match your span needs to minimize waste and maximize project efficiency.
Plan Post Spacing and Gate Placement for Privacy
Consider how far apart you set posts for sturdy support and predictable spacing.
Place gates where they won’t snag or require awkward cuts, and plan hinge and latch alignment early.
Use the Post Spacing Guide and Gate Placement Tips to map measurements now, so everything seats cleanly later.
Post Spacing Guide
Looking to nail the layout quickly? Here’s the post spacing guide you’ll rely on for a tight, durable fence.
Start by determining total fence length and subtract the gate opening. Then plan uniform spacing between posts to maintain spacing consistency across sections. For a standard privacy fence, place posts 6 to 8 feet apart, adjusting for slope or terrain.
At corners and gates, add extra posts or intermediate bracing as needed. Use a consistent post height across the line to simplify framing and cap design.
Mark exact locations with stakes and a string line, and double-check for level and plumb before digging. Remember, precise spacing and predictable post height save time during installation and reduce future maintenance.
Gate Placement Tips
Even with tight post spacing, plan gate placement early to avoid rework. Start by deciding an access point that pairs with your fence’s length and terrain. Place gate posts square to the line and level, using a temporary brace until you set concrete.
Measure twice, mark hinges, latch, and hinge clearance before digging any holes. Leave enough clearance for the swinging arc, plus room for decorative accents and smooth operation in high-traffic areas. Consider light conditioning; align with lighting options so the gate remains visible at dusk.
Install a sturdy framework, ensuring plumb posts and a taut panel line. Recheck gate alignment after concrete cures, then tighten hardware. Finally, test lock, swing, and weatherproof seals before finalizing any masking or finish.
Build Posts, Rails, and Panels
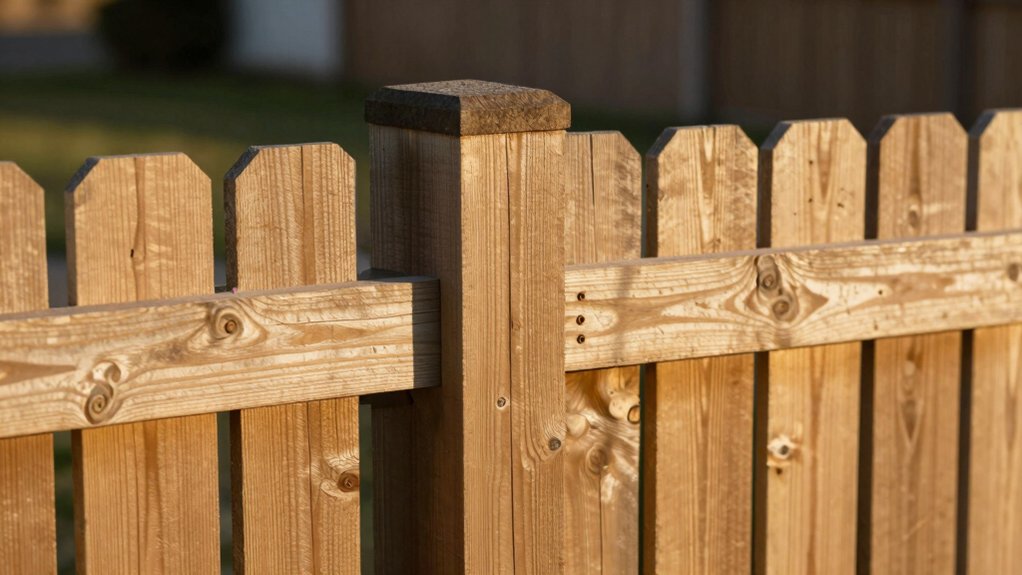
To build the posts, rails, and panels, start with a solid layout: set the corner posts, plumb and level, then add rails between them and attach the panels securely.
You measure spacing, drill through posts, and drive fasteners flush. Use treated stock for longevity, then confirm each rail bears full contact with posts to prevent flex.
Install decorative accents and privacy lattice where desired, ensuring they’re square and aligned with the fence line.
Mount panels from bottom to top, staggering joints if you’re using multiple panels. Check for consistent gaps, then temporarily brace sections until fasteners are set.
Finish with clean corner bracing, verify gate alignment, and recheck plumb after final panel installation to ensure a sturdy, attractive perimeter.
Finish, Weatherproof, and Maintain Wood Privacy
To protect your fence, start with a seal, then apply a stain that enhances grain while resisting moisture.
Weatherproofing and regular cleaning keep color and structure stable, so schedule inspections and touch-ups as needed.
Keep an eye on joints and fasteners, addressing wear promptly to maintain long-term privacy and durability.
Seal, Stain, Weatherproof
Seal, stain, and weatherproof your fence to protect wood from moisture and sun. You’ll choose a sealant that blocks UV rays and penetrates the surface, then apply evenly in the direction of the grain.
For best results, clean and dry the wood first so you don’t trap dirt or moisture. Use a brush, roller, or sprayer, applying thin coats that dry thoroughly between passes.
Consider a water-repellent finish with mold deterrents for longevity. When you stain, select a product labeled for exterior wood with breathable film-forming resin to avoid peeling.
This is where color enhancement comes into play, offering a durable tone while preserving texture. Track weather windows, recoat as needed, and avoid heavy coats that crack or peel, ensuring a uniform, protected finish.
Regular Cleaning, Inspection
How often should you clean and inspect your wood privacy fence to stay ahead of issues? Set a simple routine: wipe surfaces with a mild cleaner, rinse, and dry within a day after cleaning.
Do a visual inspection every season for loose boards, nails, and fasteners; tighten or replace as needed.
Check for raised grain, splits, or rot near ground level, then address promptly to prevent spread.
Clean mold or mildew with a brush and gentle solution; avoid power washing at close range, which can damage wood.
Maintain weed control around posts to reduce moisture retention and pest prevention issues.
Refinish or reseal every 2–4 years, depending on sun exposure and wear, to preserve color, durability, and structural integrity.
Budget, Timeline, and Troubleshooting for Your Fence
Before you start, set a realistic budget, a practical timeline, and a plan for common hiccups.
Budget, timeline, and troubleshooting basics keep your project on track. Do cost estimation upfront to avoid surprise fees, then lock in project scheduling with buffer days for weather and material delays. Track daily progress and adjust as needed to stay on target.
- Estimate materials and tools with a small contingency
- Schedule deliveries and weather windows for exterior work
- Plan for common hiccups: sagging gates, ground settling, or nailed boards
- Set checkpoints to reassess costs and timing
Sticking to this approach helps you finish sooner, with fewer budget shocks and smoother workflow.
Frequently Asked Questions
How Deep Should Footings Be for Different Soil Types?
You’ll want appropriate footing depths: in firm soil, 12–18 inches; in loose or sandy soil, 18–24 inches. For clay, go 18–24 inches and add wider footings. Focus on soil stabilization and correct footing depth for stability.
Which Fasteners Resist Rot and Corrosion Best?
Those fastener materials win—galvanized and stainless steel achieve best corrosion resistance. You’ll use corrosion-resistant fasteners, and keep maintenance minimal, because these dominate durability for your fence, preventing rust and rot through weather years.
Can Reusing Reclaimed Boards Impact Warranty?
Reusing reclaimed boards can affect warranty; check your supplier’s terms. You’ll want documented proof of origin, treatment, and grade—reclaimed wood benefits include sustainability, but warranty considerations require compliance, inspection, and potential exclusions for defects or processing.
How to Handle Fence Setbacks on Sloped Lots?
Satirical kicker: you’ll pretend the grade is flat, yet your slope proves otherwise. You set fence height to match grade, adjust posts, and address privacy concerns. You’ll guarantee alignment, avoid gaps, and maintain sturdy, compliant setbacks.
What Are Common Mistakes to Avoid in Staining?
Common mistakes to avoid in staining include skipping prep surface work, rushing coats, and choosing the wrong finish. You should evaluate fence stain types and prep surface thoroughly, then apply even, weather-appropriate coats for long-lasting, even color.
Conclusion
You’ll see a sturdy fence emerge, steady as a rock, yet you’ll notice how quickly it takes shape. Juxtapose the patient, deliberate posts with the brisk, decisive finish of panels snapping into place. Plan, measure, and check codes, then swing into action with concrete resolve. The result feels simple and solid—privacy you can lean on, project-ready, and weather-ready. Trade fuss for function, and you’ll enjoy quiet corners and confident boundaries on a budget you can actually manage.