
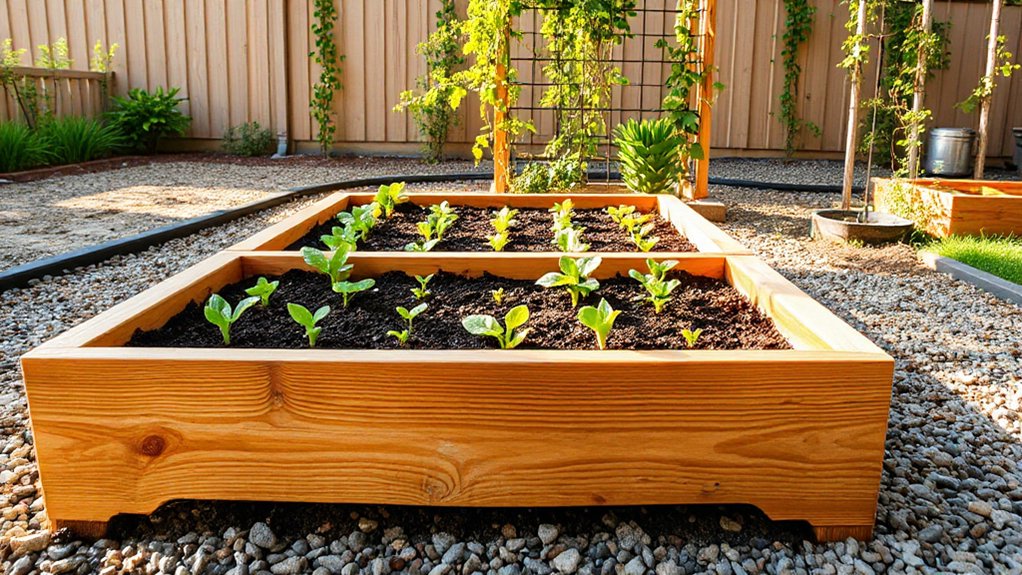
You might think raised beds are fussy, but they’re a practical upgrade that fixes drainage and soil control. Plan your bed with precise dimensions, accessible paths, and solid anchoring to last seasons. Choose budget-smart materials and tools, then assemble with clean joints and durable fasteners. Fill with tailored soil and a steady mulch routine to uphold structure and vigor. The method invites you to refine each detail as you go, guiding you toward a more productive, organized garden.
Why Raised Beds Solve Common Garden Problems
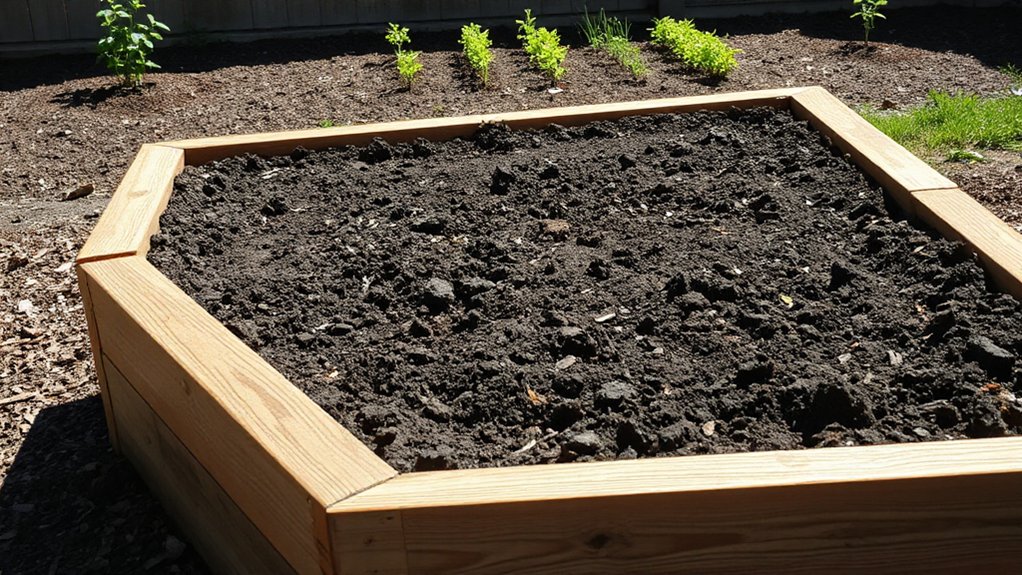
Raised beds address the main garden problems by improving drainage, warming soil faster in spring, and enabling precise soil customization. You gain enhanced soil drainage, reducing waterlogging and root rot, while airflow improves root respiration.
The looser, warmer soil accelerates germination and early growth, shortening the time to harvest. You can tailor substrate blends—balanced with compost, grit, and organic matter—to suit crop needs, boosting nutrient availability without compaction.
Pest control benefits arise from improved sun exposure and airflow, diminishing fungal dampness and harboring conditions for pests. The elevated depth creates a barrier to certain ground-dwelling pests, and uniform bed dimensions simplify maintenance, irrigation, and timing.
In short, you gain measurable consistency, greater resilience, and refined microclimates for diverse crops.
Plan Your Bed: Size, Location, and Easy Access
Choosing the right size, location, and access for your bed sets the stage for efficient work and productive growing. Plan dimensions to fit available space, sun exposure, and irrigation reach, ensuring bench-like work zones on at least two sides.
Position beds along a south-facing axis when possible to maximize light uptake and airflow, reducing disease pressure.
For easy access, allow 18 to 24 inches of clearance at paths and 24 inches between beds to maintain wheelbarrow and tool workflow.
Consider soil depth based on crops; expand at the center where roots thrive.
Soil preparation begins with precise soil testing and amendment sequencing before installation.
Implement Pest control considerations by situating barriers and trap crops away from entry points.
Maintain consistent drainage to prevent waterlogging and nutrient leaching.
Budget-Friendly Materials and Tools for the Build
To keep costs low without compromising durability, select sturdy, affordable framing like cedar or pressure-treated lumber that’s rated safe for contact with soil, or opt for salvaged boards from pallets and salvage yards.
Prioritize material durability by choosing rot-resistant species and properly treated components, and verify certifications for soil contact.
For fast assembly, use pre-cut dimensional lumber, metal brackets, and corrosion-resistant screws.
Budget-conscious buyers can substitute PVC or plastic liners with breathable, UV-stable landscape fabric to reduce weed pressure while maintaining drainage.
DIY safety matters: wear eye protection, gloves, and a dust mask during cutting and sanding, and keep power tools guarded.
Document weight limits and joint connections, and pre-plan wire-tying or corner brackets to guarantee stable, straight framing.
Build Your Bed: Step-by-Step Assembly and Finish
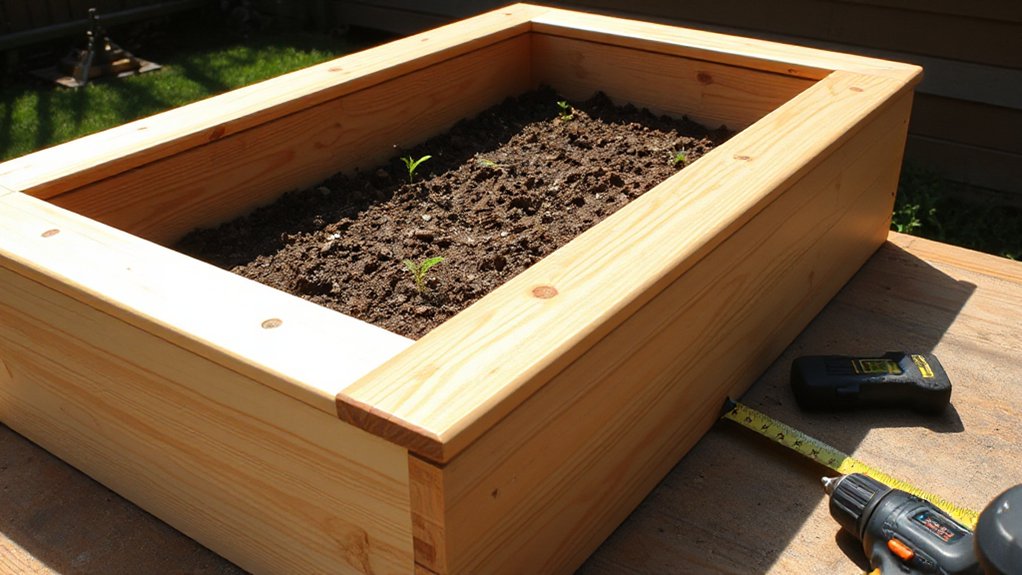
With your materials gathered and joints planned, you’ll start assembling the bed frame in a logical sequence that guarantees square corners and solid connections. Align rails with corner posts, then secure using corrosion-resistant screws and washers to prevent wobble. Dry-fit joints first, verify with a carpenter’s square, then tighten progressively to avoid binding.
Chamfer edges lightly to reduce splinters and enhance handling, finishing with a clean seal if wood is untreated. Check for level surfaces across the frame, correcting any misalignment before final fastening. Apply interior brackets for added rigidity, particularly at long spans.
When finished, trim any overhangs for a precise silhouette, which contributes to Garden aesthetics. Plan soil packing and aeration methods adjacent to installation, emphasizing Soil optimization to support healthy root growth.
Fill, Plant, and Maintain for Long-Lasting Beds
As you fill and plant, prioritize a layered, well-drained bed that promotes healthy roots from day one. Begin with a coarse base layer to improve drainage, then add well-aged compost and a balanced soil mix to achieve a target pH near 6.5.
Incorporate soil enrichment through gradual, repeating cycles of organic amendments—algae meal, bone meal, and composted manure—to sustain microbial activity and nutrient availability. Layer organic matter lightly to prevent compaction, mulch the surface to conserve moisture, and maintain consistent soil moisture with drip irrigation.
Practice pest prevention by rotating crops, integrating companion plants, and installing physical barriers where needed. Monitor for nutrient deficiency signs and adjust with timely top-dressings, ensuring long-lasting beds with stable structure and enduring productivity.
Frequently Asked Questions
What Wood Should I Avoid for Edible-Root Beds?
You should avoid pressure-treated, creosote, and some painted woods for edible-root beds. They may leach Toxic chemicals and compromise flavor. Opt for untreated cedar, redwood, or labeled hardwood, ensuring Pest resistance without harmful residues.
How Deep Should a Raised Bed Ideally Be?
You should aim for a bed about 12–24 inches deep, because deeper improves soil drainage and root growth. Interestingly, deeper beds reduce compaction by 50%. For ideal soil drainage, mount bed height and adjust accordingly.
Can I Build a Raised Bed on Concrete?
Yes, you can build a raised bed on concrete, but guarantee a moisture barrier and frame drainage. For garden design and pest prevention, use elevated support, air circulation, and compact edging to minimize pests while preserving aesthetics.
What’s the Best Mulch to Use on Beds?
You’re asking for mulch picks, so choose wisely: Mulch types matter, organic mulching shines. You’ll mulch with shredded leaves, wood chips, straw; avoid fresh manure. You’ll mulch lightly, preserve moisture, suppress weeds, and enjoy precise, aesthetic garden tech. Irony included.
How Often Should I Rotate Crops in a Bed?
Rotate crops every season to optimize crop succession and prevent soil exhaustion; after each cycle, assess nutrient depletion and plan for cover crops or amendments. Maintain precise records, monitor soil health, and stagger plant families for durable resilience.
Conclusion
Building your own raised bed is worth it—your plants will thank you with thriving growth and easier maintenance. Remember to plan size, location, and access first, then pick budget-friendly materials and assemble with straightforward steps. Fill, plant, and maintain for long-lasting results, and you’ll enjoy a tidy, productive growing space. Think of it as a tailored engine for your garden, humming smoothly beneath your careful craftsmanship and steady hands. Your perfect bed awaits.




