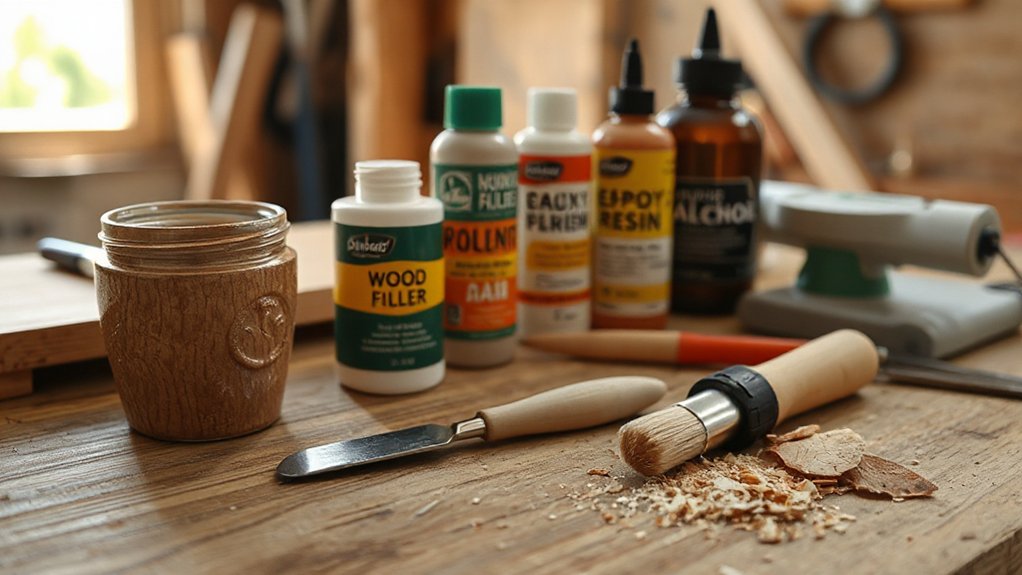
For home projects, match the damage to the right product: use fillers for surface flaws, epoxy for deep cavities or structural loss, and glue for joints. Start with thorough drying and cleaning, then sand and prep. Apply filler for light cracks, then epoxy for bulk fills or voids, sanding between coats. Seal and finish with weatherproof coatings for longevity. If you’re tackling outdoor wood, choose UV‑protected, flexible finishes. You’ll pick up practical, proven steps as you go.
Diagnose Common Wood Problems for DIYers
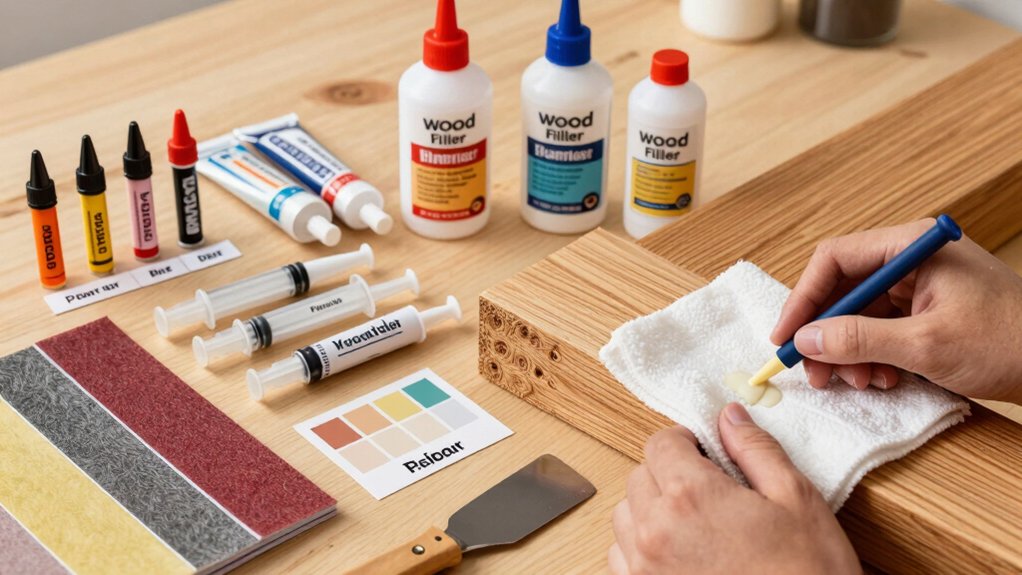
Diagnosing common wood problems starts with a simple, systematic check: look for signs of moisture, rot, or insect damage, then test strength and stiffness.
You’ll assess surface consistency, then probe with moderate pressure to gauge firmness. Pay attention to wood grain patterns; distortions can reveal internal delamination or decay. Check for soft spots, cracking, or hollow sounds when tapped.
If finish lifting or peeling, inspect for trapped moisture beneath; moisture meters help quantify risk. Compare adjacent boards to spot uneven swelling or cupping.
Document findings with precise notes and photos for future repairs. When you plan restoration, prioritize finish matching to maintain aesthetic integrity while you address structural concerns.
This disciplined approach gives you control, clarity, and the power to make durable, visually cohesive repairs.
Choose the Right Repair Method: Fillers, Epoxies, or Glue
Choosing the right repair method starts with matching the material to the problem. You’ll decide between fillers, epoxies, or glue by evaluating the damage type, the wood grain pattern, and the required strength.
For light surface flaws, a compatible filler can restore appearance without compromising integrity. When deeper cavities or structural loss exist, epoxy offers high bonding and gap-filling power, but you must mix precisely and account for moisture control to prevent cracking.
Glue methods excel for joints and some veneer repairs, delivering fast sets and solid holds when applied cleanly along the grain. Always prep, wipe away excess, and test on a hidden area first.
Anticipate future moisture shifts, and select a method that keeps wood grain visible and resilient.
Fillers vs Epoxies: When to Use Each
Fillers and epoxies each have a clear role in wood repair, and knowing when to reach for one over the other saves time and preserves the finish. You use wood filler for surface cracks, shallow gaps, and fast, visible repairs where color isn’t critical. It sands smooth, sets quickly, and accepts stain or paint with minimal effort.
Epoxy resin, by contrast, fixes deeper damage, voids, or structural splits, delivering strength and rigidity beyond filler. Use it when you need a durable bond or moisture resistance, and follow mixing ratios precisely for a solid cure.
Plan repairs with the cure time in mind, and apply epoxy resin behind surfaces or inside hollow areas to seal and reinforce. Choose accordingly to maintain integrity with minimal rework.
Color-Matching: Achieving Seamless Filler Hides
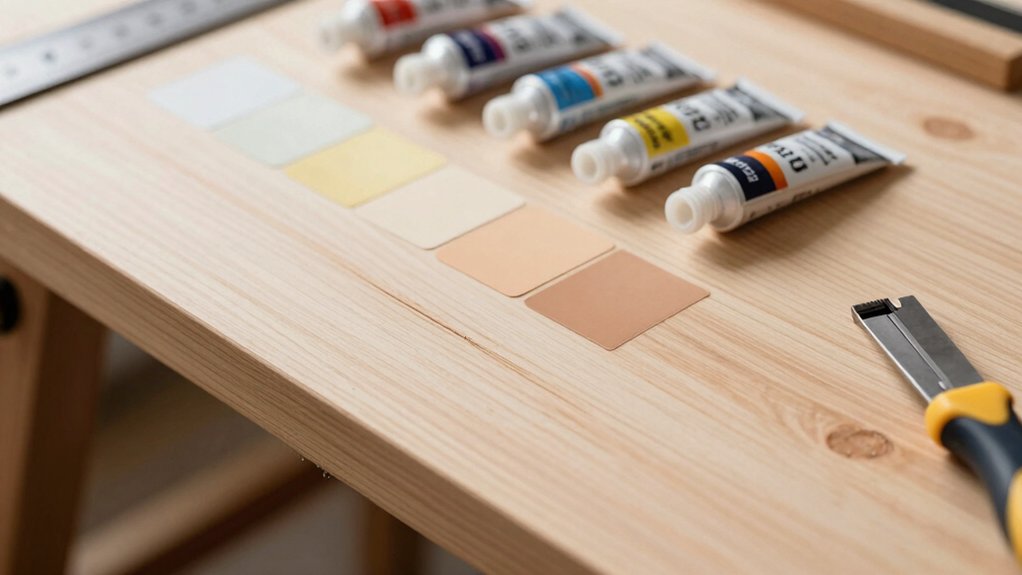
Color-matching is where the rubber meets the road after you’ve picked the right product. You verify tone, grain, and depth before you commit to filler. Start with a test on a scrap or a hidden area; adjust your filler mix with a compatible colorant if needed.
For wood stain matching, apply a light stain layer over the repair to compare against the surrounding wood, then refine the filler color to align shade and sheen. Finish blending by feathering edges into the surrounding finish so the gradation is invisible.
Use thin, controlled passes, not heavy coats, to prevent blotching. Target a seamless look with precise color control, ensuring the repaired area reads as part of the original surface.
Deep Damage and Structural Repair With Epoxy
Epoxy repair basics give you a strong starting point for restoring deep damage and compromised joints. You’ll learn how structural bonding techniques create a solid, lasting bond between damaged wood and repair material.
We’ll cover material choices, preparation, and the key steps to apply epoxy effectively for sturdy, durable results.
Epoxy Repair Fundamentals
When you’re tackling deep damage and structural repair with epoxy, the goal is to restore strength and stability while preserving the surrounding material. You’ll choose a two-part epoxy with a high-bond cure and thick-viscosity for bulk fills.
Prep matters: clean, dry, and roughen the surface, then mask edges to maintain neat boundaries.
Mix thoroughly in a precise ratio, then apply in stages to control exotherm and avoid shrinkage.
Use slow-entry pours for large voids, ensuring no air pockets trap beneath the repair.
Sand between coats for a tight bond, and finish with compatible wood coatings to protect the repair.
Respect wood grain orientation to maintain natural look, and aim for a uniform finish sheen that blends with the surrounding area.
Drying times? Follow manufacturer guidance for maximum strength.
Structural Bonding Techniques
Deep damage demands a bonding approach that restores strength without widening the repair. You confront structural failure with purpose, selecting epoxy methods that lock in stability while minimizing risk.
Begin by choosing a high-adhesion system designed for wood, ensuring the surface is clean, dry, and free of contaminants. Mix components to the manufacturer’s ratio, applying with deliberate, even pressure to force resin into all voids and fractures.
Clamp efficiently to maintain contact until cure, then test for creep and flex resistance. For deep cracks, injectSeal or structural epoxy blends provide greater adhesive strength and distribute loads across the repair.
Plan your repair to maximize bond durability under load, temperature changes, and vibration. Document cure times, monitor performance, and rework any suspect joints immediately.
Secure Loose Joints With Wood Glue and Hardware
If a joint has loosened, you can restore strength quickly by gluing and securing it with appropriate wood glue and hardware. Start with a clean, dry surface, then apply a high-strength wood glue rated for furniture or structural use. Clamp firmly until the adhesive cures to full strength.
Choose nails, screws, or dowels that fit securely without splitting the wood; predrill pilot holes to prevent cracking. For enhanced joint reinforcement, consider counterbored screws and washers or reinforce with a metal strap where applicable.
Remove squeeze-out and wipe excess glue for a clean finish. Check alignment before final tightening, ensuring squares are true. This approach delivers wood stabilization and reliable joint reinforcement, prolonging life and maintaining rigidity under load.
Water Damage: Identify, Dry, and Seal Properly
You’ll first identify water threats in your space, looking for staining, soft spots, and musty smells.
Next, you dry the affected areas promptly and completely to prevent further damage.
Finally, you seal the area for protection to keep future moisture from causing trouble.
Identify Water Threats
Water threats can show up in several forms, so start by spotting moisture clues early: staining, bubbling paint, warped materials, musty odors, and lingering damp spots. You’ll inspect wood surfaces for soft spots, cracking, or delamination, then test with a moisture meter to quantify risk.
Prioritize high-humidity zones, basements, kitchens, and bathrooms, where hidden moisture hides behind veneer and trim. When you find water, note its source and extent before acting.
Address wood grain inconsistencies and potential knot filling needs after drying to prevent future failures. Seal exposed fibers only after you stabilize conditions; otherwise you trap moisture inside.
Document findings for repair planning, ensuring you reserve time for proper airing, controlled drying, and targeted remediation rather than rushed fixes.
Dry Affected Areas
Once you’ve identified the affected areas, start drying promptly to limit further damage. You’ll control the process with speed and precision. Remove standing water, lift affected items, and improve airflow using fans and dehumidifiers.
Target moisture levels with a meter, aiming for stable readings across the wood grain. Drying isn’t just drying; it’s halting warping, cracking, and finish failure.
Prioritize thoroughness: reach into crevices, behind panels, and beneath shelves. Monitor daily, adjusting heat and humidity to prevent rapid surface changes that trap moisture.
Once moisture stabilizes, inspect for signs of lingering dampness and mold growth. Plan for finish matching by noting color and grain variation, and preserve uniform appearance as you restore structural integrity.
Your goal: solid, stable wood ready for the next repair step.
Seal For Protection
After moisture is under control, seal exposed wood to prevent further damage and restore finished appearance. You’ll apply a protective sealant that penetrates pores and creates a durable barrier against moisture, mold, and pests.
Choose a sealer with wood preserve properties to lock in color and reduce raising fibers, then brush, roll, or spray evenly for full coverage. Prioritize products labeled for exterior or high-humidity environments, and follow recoat intervals strictly to maintain protection.
Prepare surfaces by cleaning and drying thoroughly, removing loose fibers, and sanding flush. Pay attention to ventilation and cure times, avoiding traffic until fully cured.
This step reinforces pest prevention, minimizes future repairs, and preserves structural integrity—empowering you to maintain longevity and a pristine finish.
Finishing Compatibility: Sealing, Staining, and Topcoats
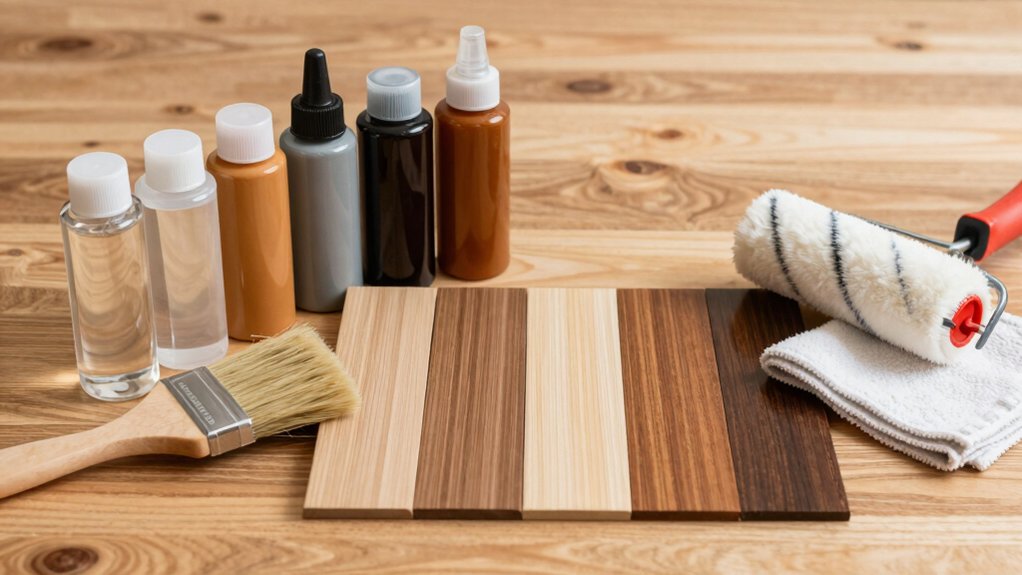
Choosing compatible finishes is essential for durability and appearance: sealing, staining, and topcoats must work together rather than fight each other. You’ll assess wood stain compatibility first, ensuring pigment and binder don’t lift or bleed when topcoats are applied.
Next, confirm finish adhesion by testing a small area; if adhesion is weak, adjust prep steps or switch products.
Surface prepare thoroughly: clean, sand smooth, and remove dust before applying any layer.
Select finishes with compatible solvents to avoid prolonged cure times or solvent crazing.
Apply seals last to lock in color, then topcoat for abrasion resistance.
Document product names and orders to reproduce results.
Quick Fixes for Small Repairs: CA Glue and Touch-Up Sticks
Small fixes can save a project, and CA glue plus touch-up sticks are your fast, reliable toolkit. You apply CA glue for fast adhesion, then clamp or weight the joint until set, minimizing disruption to grain and finish.
Use wood glue when you need a longer open time or a broader repair footprint, choosing the right viscosity for gaps and surfaces.
For scratches, nicks, and small chips, grab touch-up sticks to blend color and density with precision, then buff lightly to level. Always test on a hidden area first and wipe excess to prevent finish buildup.
CA glue excels on quick pocket repairs; touch-up sticks deliver color control. Together, they empower controlled, durable small repairs with minimal downtime.
Outdoor Wood Repairs: Weather-Resistant Solutions
Weather-resistant sealants and UV-protected finishes are your first line of defense for outdoor wood. You’ll want products that resist moisture while blocking sun damage, so the wood stays structural and visually appealing longer.
Start with a reliable sealant, then apply a UV-protected finish to lock in color and protection.
Weather-Resistant Sealants
Weather-resistant sealants protect outdoor wood from moisture, UV exposure, and temperature swings, making repairs durable and low-maintenance. You’ll choose products that form a continuous, flexible barrier, resisting cracking as seasons shift. Look for weatherproof coatings that bond to bare or treated wood without peeling.
Apply a uniform layer to seams, ends, and structural joints, then cap with compatible exterior sealants for lasting protection. Surface prep matters: clean, dry, and slightly roughen to maximize adhesion. Use fast-curing formulas when time is critical, or longer-set options for deep sealing in exposed locations.
Tool choice matters too—brushes or rollers should lay down even coats without dragging. With the right sealant, exterior surfaces stay protected, maintenance cycles shorten, and your project maintains a high-performance edge.
UV-Protected Finishes
To keep outdoor wood from fading or warping, choose UV-protected finishes that block sun damage while staying flexible. You’ll boost UV protection with products designed to resist chalking and cracking as seasons change.
Apply a multi-layer system for best results: a penetrating sealer, then a UV-stable topcoat, and finish with a durable last coat. Look for finishes that form a flexible film yet endure harsh light, rain, and temperature swings without lifting.
Check the label for real-world UV protection ratings and coverage efficiency, ensuring you achieve even, consistent protection. Prioritize finish durability, not just color.
Proper surface prep, light sanding, and clean surfaces maximize adhesion. When executed correctly, you gain longer service life and consistent appearance with minimal maintenance.
Sanding and Prep for a Smooth, Paint-Ready Surface
Sanding and prep are essential to a smooth, paint-ready surface, and starting with the right grit and method makes all the difference. You kick off with a coarse grit to knock down imperfections, then steady progress to finer grits for a flawless finish.
Use sanding techniques that match the wood type and existing texture, applying even pressure and long, consistent strokes. When grain raising occurs, pause and dry-sand lightly with a higher grit to control the surface.
For uneven areas, apply a thin layer of grain filler, let dry, then sand flush for a uniform plane. Remove dust thoroughly between steps with a tack cloth or vacuum.
Precision prep reduces repaints, boosts adhesion, and delivers a professional, lasting result.
Safety, Cleanup, and Disposal for Wood Repairs
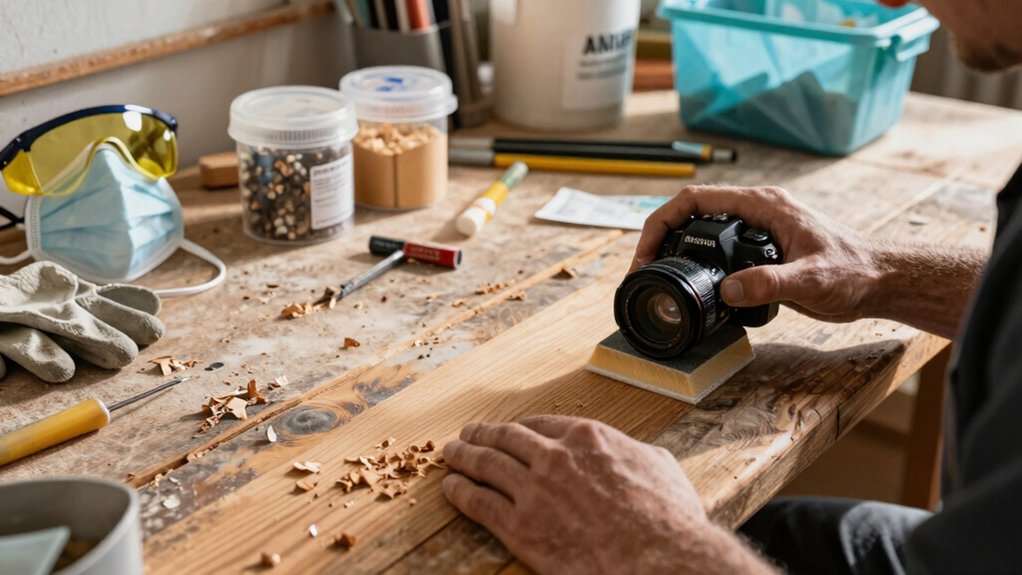
Safety, cleanup, and disposal are essential parts of any wood repair project. You take control by planning ahead: identify hazards, wear PPE, and follow manufacturer directions for all products.
Safety precautions include goggles, gloves, a respirator when sanding or using solvents, and proper ventilation to limit fumes. Keep tools in good condition, unplug sander cords when changing bits, and store finishes away from heat sources.
For cleanup procedures, wipe spills immediately, use appropriate rags in airtight metal containers, and ventilate the space to prevent buildup.
Dispose of waste according to local regulations, separating old finishes, solvents, and contaminated materials.
Maintain a tidy workspace to reduce accidents and ensure precise repairs, so your results stay durable and professional.
Frequently Asked Questions
How Do I Choose Between Wood Filler and Epoxy for Deep Cracks?
When choosing, you assess depth: for deep cracks, epoxy wins; wood filler’s better for surface fills. Prioritize wood grain matching and moisture resistance, and apply with precision, allowing proper cure to maintain strength and seamless, powerful repairs.
Are Epoxy Repairs Stronger Than Wood Glue for Joints?
Epoxy repairs are stronger than wood glue for joints, offering greater repair strength in wood joints under stress. You’ll gain durable adhesion, but prep and mixing precision matter; use proper clamps and cure times to maximize performance.
Can Fillers Be Stained to Match Aged Wood Tones?
Sure, you can, but fillers rarely stain perfectly; you’ll need compatible wood stain and technique. You’ll achieve aged wood matching by testing blends, applying thin coats, and embracing patience while noting wood stain compatibility and color drift.
What Curing Times Affect Subsequent Sanding and Finishing?
Drying time directly affects how soon you proceed; extend your finishing schedule accordingly, and don’t rush. Allow full cure before sanding, then apply finishes evenly, monitor temperature and humidity, and adjust your schedule for ideal durability and look.
How Should I Safely Dispose of Wood Repair Waste?
You should follow safe disposal practices by separating wood waste from hazardous scraps and using local Recycling options, drop-off sites, or curbside programs. Always verify disposal safety guidelines, store waste securely, and never burn or mix chemicals.
Conclusion
You’ve got the right tools and the know‑how to fix it. Treat each crack like a story begging for a proper ending: assess, choose your method, and match color until it vanishes. When in doubt, epoxy for depth, filler for surface gaps, glue for quick holds, and weatherproof for outdoors. Sand smooth, prep clean, and finish with care. With practice, small fixes become confident repairs, and DIY becomes a reliable, lasting crafting of your home.