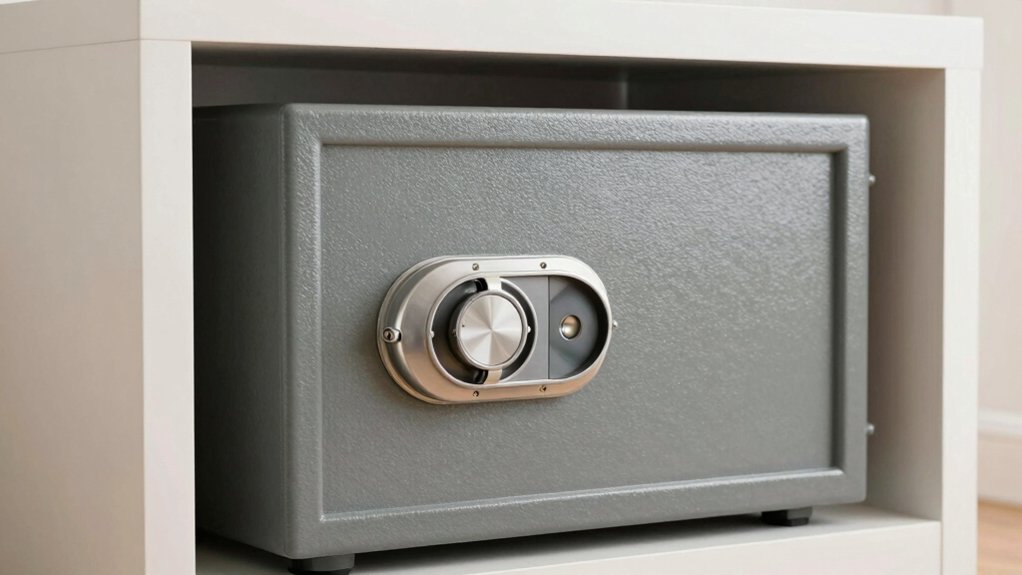
The best place for a safe balances quick access with deterrence and hinges on its purpose, environment, and structure. Favor discreet, high-traffic areas for everyday use, yet conceal it to deter tampering. Choose sturdy walls or floors with proper anchoring, away from heat, moisture, and utilities. Consider fire- or waterproof models for documents, and tamper-resistant options for valuables. Regularly inspect installation, seals, and batteries. If you keep reading, you’ll uncover practical placement nuances and concrete tips.
Assessing Security Goals and Accessibility
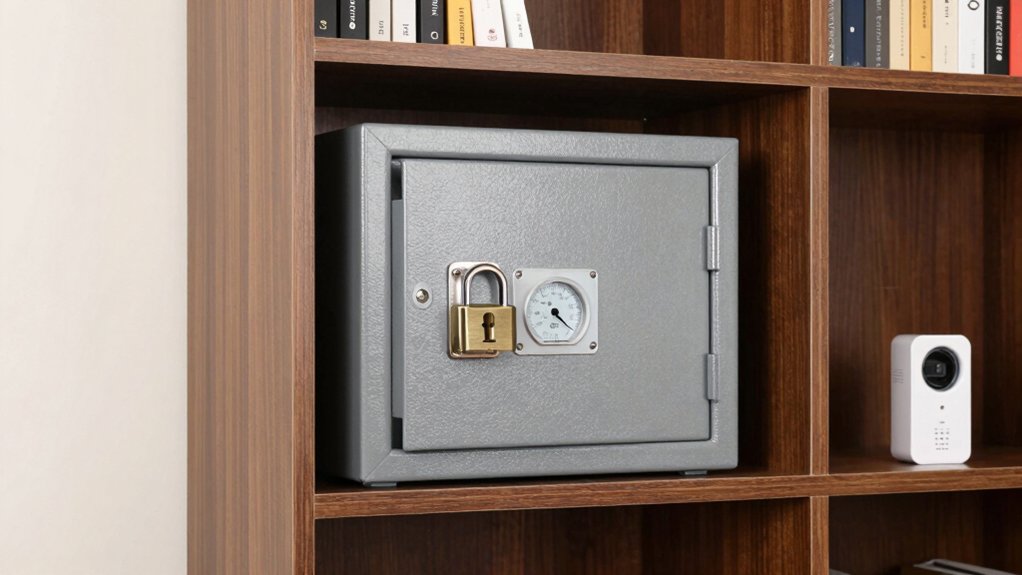
When evaluating security goals and accessibility, start by clarifying what you need to protect (valuables, documents, data backups) and how quickly you must access them. You then define measurable objectives: confidentiality, integrity, availability, and recoverability.
Assess threat exposure, prioritizing motivated intruders, environmental risks, and human error. Map access paths to minimize friction while preserving control, ensuring authorized users reach critical items promptly.
Align safeguards with goals: alarm systems deter and detect intrusion, security lighting reduces concealment and guides witnesses. Determine acceptable risk levels and incident response times, documenting recovery steps and escalation procedures.
Choose layered controls that are cost-efficient and scalable, such as reinforced enclosures, monitored alarms, and targeted lighting. Regularly review goals as needs change, updating plans to sustain balance between protection and accessibility.
Hidden vs. Visible Safes: Pros and Cons
Hidden safes trade concealment for accessibility, while visible safes emphasize deterrence and rapid retrieval; each approach shapes risk exposure, user behavior, and maintenance implications.
You weigh concealment against accessibility, considering how frequently you access contents and the likelihood of discovery during a breach. Hidden units reduce visible prompts to intrusion, but may complicate emergency access and monitoring.
Visible safes, by contrast, act as theft deterrents and facilitate quick retrieval, yet invite targeted effort from intruders aware of their presence.
Fire resistant materials enhance resilience in both configurations, but installation complexity and venting considerations differ.
In practice, you balance concealment level, routine use, and potential collateral damage from forced entry. Choose a design that aligns with your risk profile, maintenance capacity, and overall home security strategy.
Common Safe Locations in Homes
Common safe locations in homes tend to cluster around accessibility, concealment, and evidence of installation. You’ll evaluate options by how quickly you access valuables, how well the spot blends with surroundings, and whether installation risks are visible.
Priorities include high-traffic living areas for rapid retrieval, yet discreet spots minimize tampering. Consider walls, floors, or furniture with built-in opportunity, but confirm the safe materials and construction support long-term reliability.
You’ll size for typical needs without oversizing, avoiding awkward gaps or misfits that raise suspicion. For residence-specific choices, balance secure storage against risk exposure and keep ventilation and moisture in mind.
Safe size should fit your inventory while preserving room aesthetics, and materials must resist tampering without drawing attention. Always verify compatibility with existing décor and structural constraints.
Anchoring and Mounting Best Practices
You should evaluate wall-anchor techniques and floor-mount considerations to determine the most secure mounting method for your safe. Start with wall anchors that resist pry and shear forces, and pair them with appropriate bolts and studs for stability.
Then contrast floor-mount options—concrete slabs or reinforced subfloors—against vibration, weight, and access to utilities to guide your mounting choice.
Wall-anchor Techniques
When anchoring a safe to a wall, accuracy and solidity matter more than speed. You’ll assess wall structure first, confirming studs or solid masonry, then select appropriate anchors and hardware rated for load and security.
Use a level to ensure the safe sits plumb, and mark anchor points precisely to minimize oversize openings in the backing. For decorative safes, concealment matters; mount flush and consider spacing from outlets and vents to avoid interference.
If you’re choosing portable safes for temporary use, anchor points should still be secure yet compatible with removable fasteners, enabling relocation without compromising integrity.
Drill pilot holes, insert anchors, and torque fasteners to spec. After mounting, test restraint by applying steady force, refinish any drill marks, and document anchor locations for future maintenance.
Floor-mount Considerations
Floor-mounting shifts the focus from wall integrity to the structural behavior of the floor and the underlying substrate. You assess load paths, fastener type, and mounting height to prevent flex, cracking, or drift over time.
Start with a solid subfloor, verify joist span and finish materials, and choose hardware rated for the safe’s weight class. Use corrosion-resistant anchors, and distribute force with a wide base plate or a reinforced pad.
Ensure proper floor clearance to avoid interference with doors or utilities. Plan for electrical wiring and plumbing access—avoid burial behind the safe, and leave service routes unobstructed.
Grounding and seismic considerations should align with local codes. Document the installation, regularly inspect anchorage, and maintain accessibility for routine maintenance and emergencies.
Fireproof and Waterproof Considerations
Fireproof and waterproof protection is essential, because fire and water damage can destroy valuables even when a safe is properly secured. You assess risk by material, seal integrity, and placement proximity to hazards.
Focus on fire resistant materials in the safe’s construction, ensuring metal walls, resistant gaskets, and a rated fire seal. Evaluate the door, hinge fortification, and a proven locking system for resistance to tampering under high heat.
For water exposure, prioritize waterproof sealing, including sponge-free interiors, drainage clearance, and a gasket that remains effective after thermal cycling. Verify that the safe’s rating aligns with nearby threats, like sprinkler systems or flood potential.
Regularly inspect seals, test integrity, and document maintenance to sustain ongoing protection.
Safe Placement by Room: Living Areas, Bedrooms, and More
In living areas, bedrooms, and other common rooms, the ideal safe placement balances accessibility with concealment and risk exposure. You should map high-traffic zones to minimize disruption, choosing locations that integrate with home decor without signaling value.
In living rooms, consider behind furniture with reinforced mounting, ensuring the safe remains level and stable.
In bedrooms, opt for wardrobe or dresser-aligned installations that blend with interior design while offering quick access for emergencies.
In hallways and dens, conceal within structural components or false backs to reduce line-of-sight exposure.
Prioritize proximity to electrical outlets only if the safe includes electronic access, otherwise avoid moisture-prone areas.
Document installation details for maintenance, and align choices with a cohesive interior design strategy rather than ad hoc concealment.
Concealment Myths to Avoid

When you move from choosing where to place a safe to how you conceal it, beware of common myths that can undermine security. You’ll often hear that nearby clutter, hollow-core doors, or generic hiding spots guarantee safety, but myths don’t equal protection.
Focus on verifiable defenses: concealment should resist casual search and professional inspection, not rely on luck. Clear, targeted concealment works best, with deliberate considerations for access, lighting, and routine.
Assess concealment techniques for visibility, scent, and noise cues that might reveal a safe’s location. Avoid relying solely on obvious spots or prop features.
Use legitimate concealment techniques that blend with structure and avoid signaling intent. Consider a discreet integration with floor, wall, or cabinet design, while documenting access procedures for authorized users. Disguise techniques, false wall.
Safes for Firearms, Valuables, and Documents
Safes for firearms, valuables, and documents should be evaluated by purpose, risk, and accessibility to guarantee appropriate protection. You balance immediate access with theft deterrence, fire resistance, and water exposure.
For firearm storage, choose a model that permits controlled access, tamper resistance, and reliable locking mechanisms, while keeping ammunition separate.
Valuables demand serialization, internal organization, and reinforced construction to deter theft and impact.
Document protection should prioritize fire rating and waterproof seals to preserve records during disasters. Consider location concealment, ventilation, and ease of maintenance to sustain long-term reliability.
Avoid overbanked security or impractical compromises; align safe features with your actual risk profile and daily routines. In sum, select a unit that integrates access, durability, and environmental resistance for exhaustive protection.
Maintenance, Inspections, and Battery Life
Establish a clear maintenance schedule that aligns with your safe’s use and environment. Outline regular checks for hinges, seals, and locking mechanisms.
Consider defined inspection triggers—unusual sounds, slow door movement, or warning indicators—that prompt immediate action. Document results for trend awareness.
Track battery longevity by noting replacement intervals, monitoring voltage readings, and planning replacements before performance is affected.
Maintenance Schedule
Regular upkeep keeps a safe functioning reliably and extends its lifespan. You’ll establish a predictable cadence for core tasks: monthly checks, quarterly tests, and annual overhauls. Schedule is best kept in a dedicated log with date stamps and responsible person.
For maintenance, inspect door alignment, hinges, bolts, and locking mechanism to ensure smooth operation without forced acts. Tests should verify battery life if applicable, and confirm alarm signals, audible alerts, and panic features respond correctly.
Include fire resistant features and humidity control in baseline evaluations to prevent compromise from environmental factors. Record findings, replacements, and calibration needs, noting any deviations.
Coordinate with security upgrades or relocation plans, and adjust the timetable after significant events or storage changes. Maintain strict adherence to your documented schedule for ongoing reliability.
Inspection Triggers
Are you clear on when to trigger maintenance and inspections for your safe?
You should schedule formal checks after any security incident, audible alarm events, or failed access attempts. Maintain a predictable cadence: quarterly inspections for most residential safes and after any relocation or impact.
During each inspection, verify door alignment, locking bolts, and keypad firmware; confirm battery health and backup power readiness. Document all findings to track patterns and prevent recurring issues.
Watch for security risks such as corrosion, loose mounting, or tampering indicators, and address installation errors promptly to avoid silent failures.
If you notice unexpected delays in opening or entry failures, trigger another inspection and reassess placement, vibration, and nearby heat sources to preserve integrity.
Battery Longevity Tips
With battery health as a key component of ongoing safe performance, guarantee you maximize longevity through proactive maintenance, routine inspections, and smart charging practices.
You’ll assess energy storage systems by documenting cycles, temperatures, and charge histories, identifying deviations early.
Maintain ideal battery life by keeping cells within prescribed temperatures, avoiding deep discharges, and using correct chargers.
Schedule periodic visual inspections for corrosion, loose connections, and seal integrity, then test insulation resistance and load responses to confirm reliability.
When replacement becomes necessary, follow replacement tips: choose compatible chemistries, verify capacity, and replace in matched sets to prevent imbalance.
Calibrate monitoring sensors after any swap and update firmware or software where applicable.
Conclude with a maintenance log to guide future decisions and preserve overall safety performance.
Smart Tips for Weather and Burglary Protection
SmartWeather and burglary protection go hand in hand: securing your home hinges on proactive weather readiness and robust burglary defenses. You’ll assess entry points, seal gaps, and reinforce doors to reduce breach risk while planning for seasonal hazards.
Prioritize clear load paths for valuables, and align safe placement with both weather resilience and intrusion deterrence. When choosing a Safe material, consider corrosion resistance for damp climates and impact tolerance.
Digital vs. mechanical systems offer trade-offs: digital enables remote monitoring and audit trails but can fail with power or cyber threats; mechanical provides enduring reliability but lacks instant status feedback.
Harmonize protection by pairing a weather-ready environment with a well-secured, appropriately rated safe, optimized for your routine and layout.
Conclusion
When you plan, you prioritize protection, accessibility, and peace of mind. You assess goals, you compare hidden versus visible, you map common locations, you anchor firmly, you consider fire and water resistance, you debunk concealment myths, you choose safes for firearms, valuables, and documents, you schedule maintenance, you check batteries, you adapt to weather, you reinforce burglary defenses, you test regularly, you improve continuously, you protect thoughtfully, you secure confidently.