
You might not realize how much your garage floor choices affect tool longevity and cleanup cost. When you weigh epoxy, blends, mortars, or densified concrete, you’re choosing durability, maintenance, and upfront vs. long-term value. You’ll want to contemplate prep, spills, UV exposure, and how you’ll use the space day to day. There’s more to it than looks, and the best option becomes clear once you compare performance across your actual workflow. Let’s tackle the specifics.
Epoxy Coatings: Durable, Shiny, and Chemical Resistant
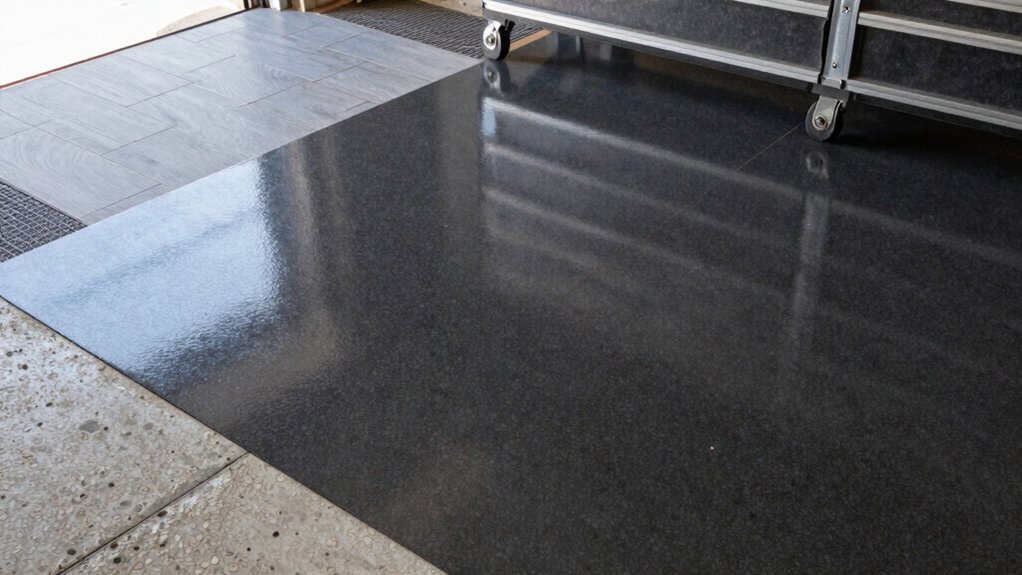
Epoxy coatings provide a durable, glossy surface that’s easy to clean and highly resistant to chemicals.
You prepare the concrete, ensuring it’s dry, etched, and free of dust.
You mix resin and hardener precisely, following manufacturer times and ratios.
You pour and spread evenly, watching for live edges and pinholes.
You’ll often apply a control primer to improve adhesion before the topcoat.
You maintain a suitable working temperature to prevent premature curing, avoiding moisture, dust, and contaminants.
You let the coating cure fully, typically 24 to 72 hours, depending on product specs, before foot traffic.
You appreciate the low odor and ease of maintenance, plus the sleek look.
You select a chemical-resistant formulation for garages with oils, solvents, or cleaners.
Polyurea and Polyaspartic Blends: Faster Cure, Stronger Wear
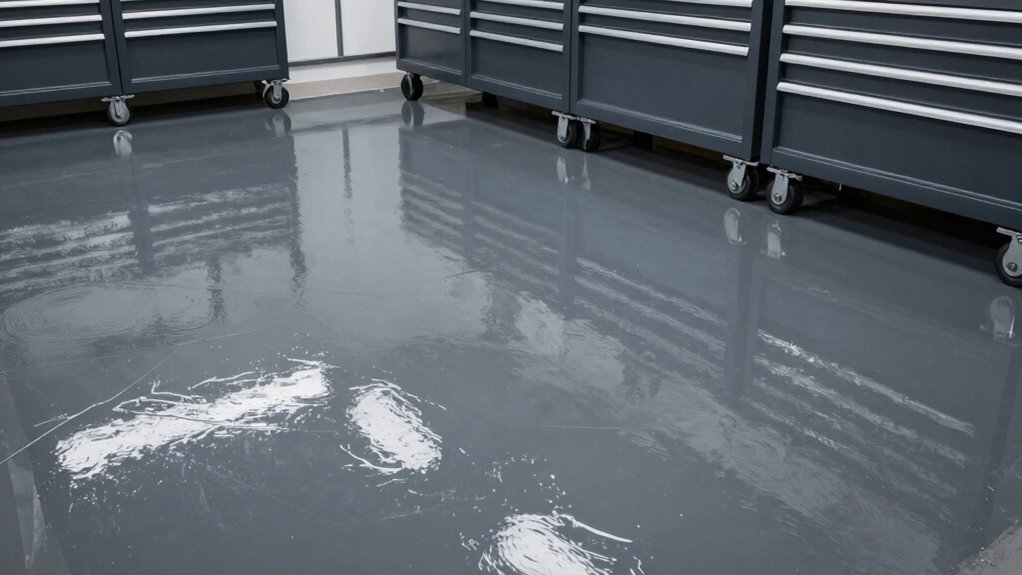
Polyurea and polyaspartic blends cure faster, letting you get back to using your garage sooner.
They also offer enhanced wear resistance, which helps protect floors from daily traffic and tool drops.
If you’re weighing options, these blends balance quicker setup with long-term durability.
Faster Cure Benefits
When you choose polyurea and polyaspartic blends, you get a faster cure that reduces downtime and speeds up project timelines. This cure speed translates to shorter floor preparation windows and quicker return-to-service for your shop.
You’ll notice rapid early hardness, which minimizes tracking and simplifies light-duty traffic during curing. The chemistry also curbs solvent evaporation, lowering VOC concerns while maintaining strong chemical resistance.
Expect a denser film that resists hot-tire pickup and UV degradation as it ages, even with intermittent exposure to fuels or solvents. Application efficiency matters: thin, consistent coats cure uniformly, reducing the risk of telegraphing or pinholing.
In practice, plan for rapid re-setup, quicker inspections, and a sooner-ready workspace.
Enhanced Wear Resistance
You’ll notice that enhanced wear resistance in polyurea and polyaspartic blends goes hand in hand with the faster cure you’ve already seen. In a workshop, you’ll benefit from a coating that resists scuffs, abrasions, and impact from dropped tools. These blends form a tough, flexible film that stays intact under heavy foot traffic and equipment wheels.
Expect low maintenance: surface is easier to clean and shows fewer micro-scratches over time. Cure speed reduces downtime, so you’ll return to work sooner without sacrificing durability. The chemistry creates a dense, cross-linked layer that distributes load more evenly, minimizing dents and chipping.
For high-use spaces, choose blends with UV stabilizers and appropriate topcoats to preserve color and gloss. Prioritize proper substrate prep for maximum wear performance.
Epoxy Mortar Overlays: Heavy-Duty Protection for Tools and Spills
Epoxy mortar overlays give you tough resistance to spills and chemicals, so your tools stay protected and cleanups are quick. They build multiple abrasion-resistant layers, reducing wear on high-traffic areas and extending floor life.
Consider how application and curing time affect your schedule, so you plan ahead for minimum downtime.
Durability Against Spills
Epoxy mortar overlays deliver heavy-duty protection against spills, forming a dense, chemical-resistant surface that resists staining and penetration better than standard epoxy or concrete coatings. You’ll notice spill protection from day one: oils, solvents, and coolants bead up and stay on top, letting you wipe clean without tracking.
The composite mix locks in place, reducing surface wear from harsh liquids and minimizing pitting or etching over time. You’ll benefit from a uniform, seamless layer that guards concrete beneath and resists color migration.
Temperature swings don’t compromise adhesion, so hot fluids won’t loosen bonds. Regular maintenance remains simple: promptly soak up spills, clean with mild cleaners, and coat high-traffic zones as needed to maintain the shield.
This approach keeps your shop safer and easier to manage.
Abrasion Resistance Layers
Abrasion resistance layers, especially epoxy mortar overlays, beef up protection where tools and heavy traffic take a beating. These overlays combine high compressive strength with good impact resistance, resisting gouges and scuffs from dropped parts and rolling carts.
You’ll install a dense, cementitious mix that bonds to prepared concrete, creating a seamless, wear-resistant surface. In workshops, this means fewer scratches, reduced surface delamination, and easier cleanup after spills.
Expect improved chemical resistance for common cleaners and oils, though note some solvents may require protection or alternative formulations. Application is typically concrete-ready, with surface prepping and a durable topcoat to seal porosity.
Maintenance focuses on prompt spill cleanup, periodic inspection of joints, and light cleaning to preserve the mortar’s integrity and longevity.
Application and Curing Time
To apply epoxy mortar overlays efficiently, start with a clean, sound slab and a meticulous surface prep, since proper bonding hinges on a dry, porous-ready substrate.
Once prepped, mix epoxy mortar according to manufacturer specs, avoiding air entrainment. Apply a tack coat to ensure uniform adhesion, then spread with a gauge trowel to achieve a consistent thickness suitable for heavy-duty use.
Work in small sections to maintain open time, and avoid overworking the mix, which can trap air and weaken the bond.
Allow initial set per the product’s guidelines, typically 6–12 hours, before exposing to foot traffic. Full cure usually takes 24–72 hours, depending on temperature and humidity.
Maintain repairs by cleaning spills promptly and resealing as recommended to preserve impact resistance and longevity.
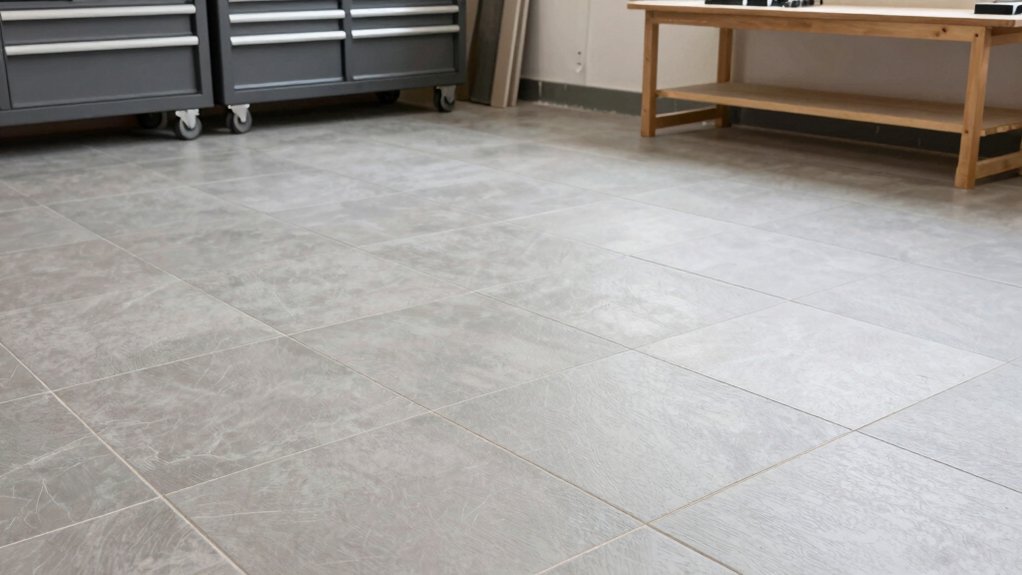
Stained and Densified Concrete: Aesthetic Meets Durability
Stained and densified concrete blends color with protection, giving your garage floor a durable, easy-to-clean surface that still feels solid and professional. You choose color to hide stains and create a defined work zone, while densification hardens the surface to resist wear.
The process improves abrasion resistance without adding bulk, so your clearance stays intact for tools and vehicles. Staining penetrates slightly, not flaking like surface coatings, aiding long-term appearance with minimal upkeep.
When you densify, you seal micro-porous paths, reducing dust and moisture ingress, which simplifies cleaning and maintenance. Plan for proper curing and ventilation, then apply a compatible sealer to consolidate the finish.
Space, traffic, and chemical exposure dictate gloss or matte options, ensuring a practical, resilient floor that suits workshop needs.
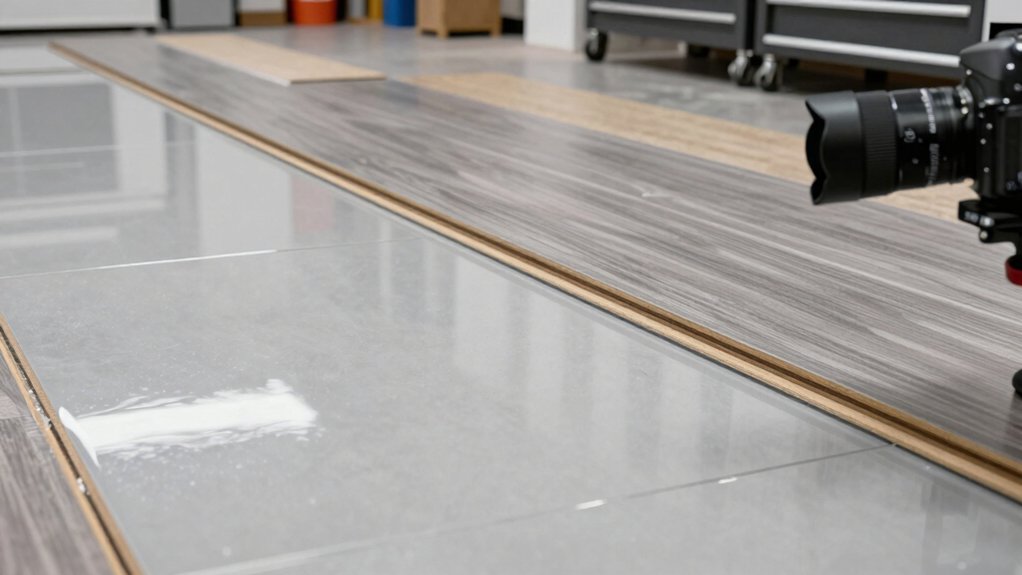
Interlocking Floor Tiles: Quick DIY Install and Easy Repairs
Interlocking floor tiles install in a snap, and you can tackle most of the work yourself. You’ll appreciate the modular design that lets you customize layout to fit your space, plus quick cutting with a utility knife for edges.
Start by preparing a clean, dry subfloor; guarantee any cracks are fixed so tiles sit flat. Lay tiles in your chosen pattern, snapping them together firmly; a rubber mallet helps without damaging edges. If a tile lifts, reseat and press until it locks.
For repairs, keep spare tiles on hand from the same batch to avoid color variation; replacements are straightforward—pull up the affected tile and snap in a new one.
Maintenance is simple: dry mop or light vacuum, and wipe spills promptly to prevent staining.
Garage Floor Sealing: Protecting Against Stains and Moisture
Garage floor sealing shields your concrete from spills, moisture, and everyday wear, helping you keep the space cleaner and easier to maintain. A quality seal forms a barrier that resists stains from oil, antifreeze, and chemicals, so you spend less time scrubbing.
Choose the right type for your needs: penetrating sealers for breathable protection, film-forming coatings for stronger water resistance. Apply on clean, dry concrete and follow product instructions for curing times.
For garages with frequent contact with moisture, opt for a water-based sealant to reduce odor and keep VOCs low. Recoat as recommended, typically every few years, to sustain performance.
Avoid cheap grab-and-go options; they may wear unevenly or peel. Regular sealing preserves appearance, reduces maintenance, and extends your floor’s life.
Surface Preparation Essentials: Cleaning, Profiling, and Repair
To prep a garage floor properly, you must start with thorough cleaning, effective profiling, and targeted repair.
Begin by removing debris, oils, and obvious contaminants with a degreaser, stiff brush, and pressure washer if available. Thoroughly rinse and let dry to avoid trapping moisture.
Next, profile the surface to ensure adhesion; use a mechanical grinder or epoxy scarifier to create a uniform, slightly rough texture. Vacuum or wipe up dust after profiling.
For repairs, fill cracks and holes with a matching epoxy or polyurethane compound, smoothing flush with the surrounding concrete. Allow appropriate cure time per product directions.
Finally, verify moisture concerns with a concrete moisture test if needed, and ensure the floor is clean, dry, and well adhered before applying primer or coating.
Cost and Longevity: Budgeting for Your Workshop Floor
Cost and longevity aren’t afterthoughts; they drive your material choice and your total project cost. You’ll compare upfront purchase price, install labor, and lifecycle expenses to choose a floor that fits your shop’s use.
Epoxy and polyaspartic coatings offer durability with moderate installation costs, but require surface prep and occasional recoat.
For budget-minded setups, stamped concrete or painted floors save upfront, yet may wear faster under heavy tools or chemicals.
Polyurethane blends balance cost and resilience, while solid concrete with proper sealing resists abrasives and spills longer, lowering long-term maintenance.
Expect to budget for surface prep, coatings, potential primers, and a contingency for repairs.
Don’t overlook downtime during install; plan around your project schedule to avoid rushed workmanship and costly mistakes.
Your choice should meet both immediate needs and long-term value.
Maintenance and Longevity Tips: Keeping Your Floor Lasting Longer
Even after you pick a durable floor, upkeep and timely protection keep it performing well longer. Start with a regular cleaning routine to prevent grit from abrading coatings and cutting into concrete. Use a broom for daily debris and a damp mop for spills, immediate blotting when chemicals appear.
Place mats at entry points to reduce tracked-in moisture and dirt. Inspect seams, edges, and coatings annually for cracks or lifting, addressing issues before they worsen. Use manufacturer-approved cleaners, avoiding harsh solvents that can degrade polymers.
Recoat or reseal as recommended to restore gloss and resistance. Protect against heavy impact with proper loading and wheel placement; rotate machinery to distribute wear. Document maintenance intervals to extend longevity and preserve warranty terms.
Frequently Asked Questions
How Long Does Each Coating Option Cure Before Use?
Typically, each coating cures at least 24 to 72 hours before light use, and up to 7 days for full cure, depending on product, humidity, and temperature; follow label specifics and avoid traffic until fully cured.
Are There Diy-Friendly Garage Floor Options for Beginners?
Yes, you can DIY. Start with a prep-clean surface, then use install-ready epoxy kits or interlocking/polyurea tiles designed for beginners; follow manufacturer directions, wear gear, and allow proper cure times before driving on.
Which Floor Type Resists Chemical Spills Best?
Epoxy-coated floors resist chemical spills best, especially multi-layer epoxy with a durable topcoat. You’ll want a proper prep, stain-blocking primer, and sealed edges; avoid porous options and guarantee immediate cleanup to maintain resistance.
How Do Temperature and Humidity Affect Installation?
“Measure twice, cut once” applies here: temperature and humidity affect cure times and adhesion. You’ll want stable conditions, use proper primers, and follow manufacturer guidelines to prevent cracking, peeling, or uneven curing during installation. Plan for ventilation and gradual temperature shifts.
Can Existing Cracks Be Repaired Before Coating?
Yes, you can repair existing cracks before coating. Clean, dry, and etch the surface; fill cracks with epoxy or polyurethane filler, then sand smooth. Follow with primer and sealant, ensuring the repairs bow nothing, and cure fully.


