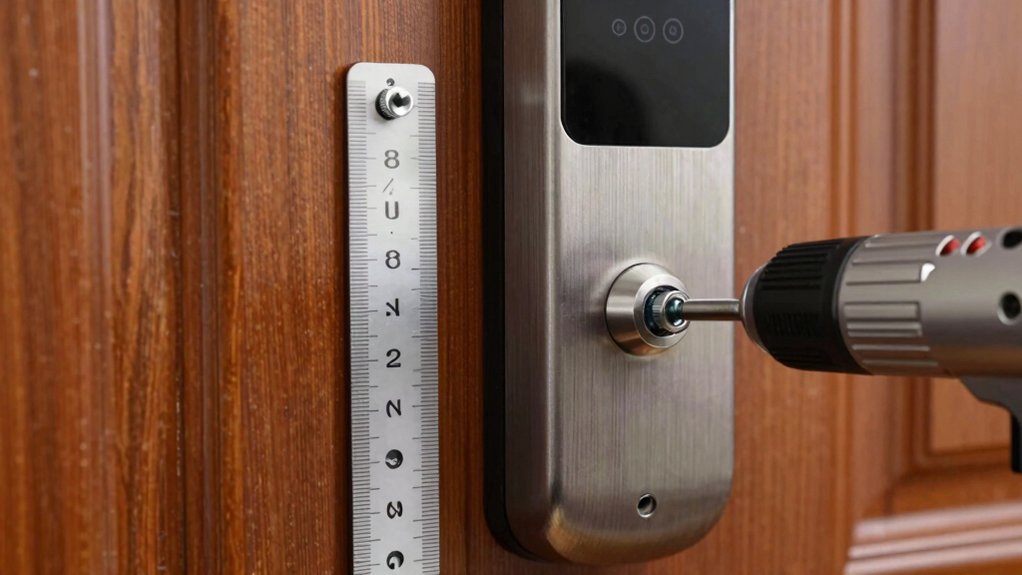
Start by choosing a deadbolt–compatible smart lock and confirm your door’s mortise, backset, strike, and bore size fit. Gather the right tools, prep the door, and align components before mounting. Install the adapter flush with the surface, secure the strike plate squarely, and verify vertical and horizontal alignment. Decide on power options (battery, USB, or hardwired) and wire safely if needed. Set up the device, add users, test security features, and update firmware—you’ll find more steps ahead.
Choose a Deadbolt-Compatible Smart Lock: Criteria and Models
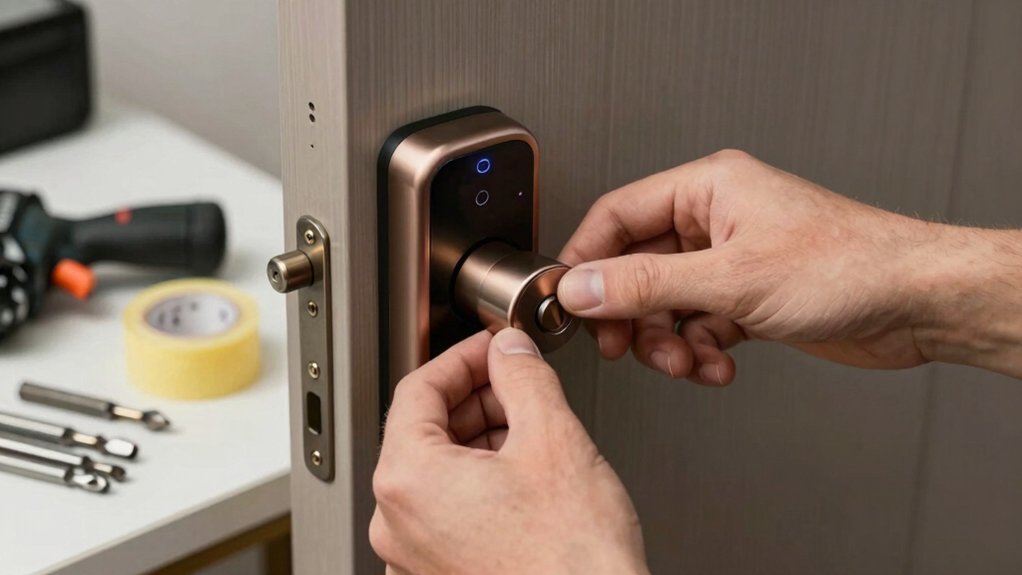
When choosing a deadbolt–compatible smart lock, start by confirming your door’s deadbolt type and backset, then verify compatibility with your door prep (faceplate, screw hatch, and strike box).
You’ll evaluate models for fit and function, not just brand. Prioritize smart lock features that match your routine: keyless entry, auto-lock timing, and remote control.
Check installation depth and bore size to ensure proper alignment with the latch and strike.
Assess power options, noting battery life and replacement ease, so you won’t surprise yourself midweek.
Consider compatibility with your smart home ecosystem, voice assistants, and mobile app reliability.
Review sensor accuracy for door-open status and tamper alerts.
Finally, compare build quality, warranty terms, and customer support before committing to a model.
Tools, Prep, and Prerequisites Before You Start
Before you start, gather the essential tools, confirm your door’s mounting details, and clear a workspace. You’ll need a screwdriver set, drill with bits, tape measure, pencil, level, wire stripper, and masking tape. Have the smart lock kit components, mounting plate, screws, and batteries on hand, plus a flashlight for dim work areas.
Inspect the door to confirm deadbolt alignment and strike plate dimensions, and verify compatibility with your door thickness. Prepare mild cleaning supplies for the faceplate and ensure a stable surface.
Follow installation tips closely, labeling screws by size to prevent mix-ups. Plan for wiring to the exterior side if required, and test battery installation before mounting.
Avoid common mistakes by double-checking alignment and torque.
Check the Door Mortise and Hardware Clearance
Start by inspecting the door mortise and the hardware clearance. You’ll verify fit with precise measurements and avoid future binding. Make certain door thickness supports the smart lock’s chassis and that the hardware spacing aligns with the strike and latch.
- Check mortise depth and ensure it accommodates the lock housing without wobble.
- Confirm the door thickness matches the lock’s specified range for secure mounting.
- Measure edge-to-edge spacing to prevent interference with the strike plate.
- Inspect surrounding hardware for clearance, avoiding friction on the bolt.
After confirming these clearances, note any adjustments needed before proceeding.
Tighten mounting screws evenly, recheck alignment, and ensure smooth engagement of the latch.
This step minimizes misalignment and guarantees reliable operation of the smart lock.
Fit the Adapter and Attach the Strike Plate
You’ll fit the adapter correctly, aligning it with the latch and strike for smooth operation.
Then tighten the strike plate securely, ensuring it sits flush against the door edge without gaps.
Confirm the alignment by testing the lock cylinder and latch to guarantee reliable engagement.
Fit the Adapter Properly
To fit the adapter properly, start by aligning it with the door edge and mounting holes, then secure the screws snugly without over-tightening.
- Check that the adapter sits flush against the door surface to ensure proper alignment.
- Set screws finger-tight, then snug them using a screwdriver until there’s no play.
- Verify the adapter’s vertical and horizontal alignment against the deadbolt edge.
- Recheck screw torque after the latch engages to confirm stable support.
This adapter fit requires attention to fit tolerance and consistent contact with the strike side. Avoid gaps that could shift during use.
Confirm there’s no binding as you rotate the key or turn the knob. Proper alignment prevents misreads and ensures reliable operation.
Attach the Strike Plate Tightened
With the adapter aligned and secured, attach the strike plate so it sits flush against the door jamb and aligns with the latch bolt.
Confirm the strike plate sits square and centered over the latch bore, then tighten the screws firmly without overdriving.
Check that the bolt extends smoothly into the strike hole without binding.
If misalignment occurs, loosen screws slightly and rotate the strike plate until the bolt engages cleanly.
Confirm that the plate’s edges are parallel to the door edge and that there’s no gap between plate and jamb.
This step is strike plate installation best practice for reliable operation.
For long-term integrity, consider door frame reinforcement if the jamb shows cracking or wear.
Re-test latch closure after any reinforcement.
Power Options and Wiring Guidance (If Required)
Ensure your smart lock is powered by compatible voltage and current. Confirm the power source matches the lock’s specifications.
Follow safe wiring practices, verify correct polarity, and isolate power before handling any components.
We’ll cover power compatibility checks and wiring safety guidelines to prevent damage or injury.
Power Compatibility Checks
Before you install, verify your smart lock’s power options and wiring requirements. You’ll assess compatibility, battery life, and the power source to prevent outages. Follow these steps:
1) Confirm supported power options (battery, USB, or hardwired) and choose the best fit for your door.
2) Check battery life estimates under typical usage and ensure replacements are readily available.
3) Identify the power source accessibility, including mounting position and cable routing.
4) Confirm any required adapters or converters, noting voltage and current specs and the lock’s warranty implications.
Additional tips: keep spare batteries on hand, label wiring connections, and document model-specific limits. This ensures reliable operation without compromising security or performance.
Wiring Safety Guidelines
If you’re wiring a smart lock, start by confirming the power path and conductor sizing to prevent overheating or voltage drop. Select components rated for the lock’s current draw and the door’s local wiring, and verify a dedicated circuit when possible.
Use strain relief, proper connectors, and insulated splices to minimize resistance and wear. Route wiring away from moisture, heat sources, and moving hardware, securing with approved staples or clips.
When integrating a power option, ensure the transformer or battery pack aligns with the lock’s voltage specification and includes overcurrent protection. Test continuity and insulation after installation, and label circuits for future maintenance.
Follow electrical safety and wiring best practices, document changes, and maintain accessible, code-compliant wiring.
Set Up, Pair, and Manage Users
Setting up, pairing, and managing users is a key step to secure and convenient smart lock operation. Start by creating the primary admin account, then add users with appropriate access levels and permissions. You’ll maintain clear access control and streamlined user management throughout setup.
- Create admin credentials with strong authentication and recovery options.
- Add trusted household members with tailored access, schedules, and permissions.
- Enable guest codes or temporary access for visitors, adjustable by duration.
- Review and revoke access promptly after changes or conflicts.
Keep audit trails enabled if available; logins, events, and user actions should be visible to the admin. Regularly verify permissions to prevent drift and ensure each user has only the rights they need. Maintain device firmware aligned with security updates.
Test Security, Update Firmware, and Finalize Setup
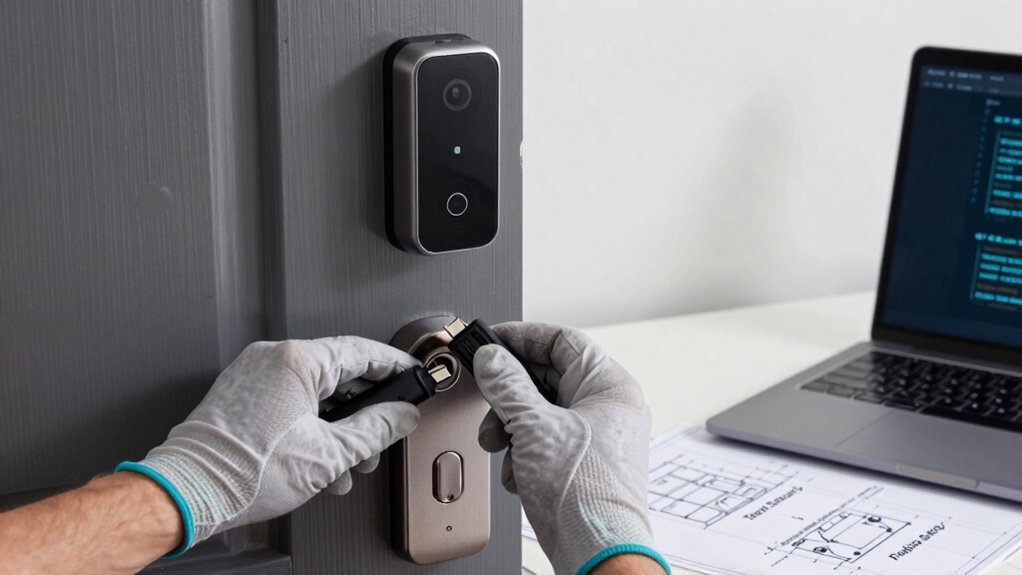
To guarantee your smart lock operates securely and reliably, start by testing all authentication paths, review the device’s security logs, and verify that all user permissions align with your intended access model.
Next, run a controlled test of entry, keypad, and app-based unlocks across multiple users, noting any latency or failure and addressing it immediately.
Test security by simulating removal of a user, revocation of temporary codes, and emergency access procedures; ensure alarms, auto-lock, and tamper alerts respond correctly.
Then, update firmware to the latest stable release from the manufacturer’s site, verify checksums, and complete a reboot cycle.
Finally, revalidate permissions, confirm backup methods work, and log the setup for future audits. Document changes and store recovery codes securely.
Frequently Asked Questions
Can I Retrofit a Smart Lock on a Break-In-Prone Door?
Yes, you can retrofit, but assess security risks first; guarantee lock compatibility with your door. Consider reinforced strike plates, high-quality hinges, and extra latch protection to reduce vulnerabilities. Choose certified devices and professional installation for best results.
Will Smart Locks Work With Non-Standard Deadbolt Designs?
Yes, smart locks work with some non-standard deadbolts, though compatibility varies. You’ll assess battery compatibility and lock size variations, then confirm mounting fit, electrical connections, and backup entry options before choosing a model.
How Does a Smart Lock Affect Fire Escape Safety?
A flame and key symbolize safety: you must guarantee a smart lock doesn’t obstruct a fire escape or emergency exit. You keep doors operable, provide manual overrides, and test regularly to avoid delays during emergencies.
Do Smart Locks Require Professional Installation for All Doors?
No, professional installation isn’t mandatory for all doors; many models offer DIY compatibility. You can handle standard setups, but for complex mortise or multi-point systems, professional installation guarantees proper alignment and safer, compliant performance with professional installation.
What Warranty Coverage Applies to Damaged Door Hardware During Installation?
“Time is money,” so you’ll get warranty coverage that varies by manufacturer and installer. You’ll be told what’s covered for damaged hardware and what isn’t, and you’ll receive steps to file a claim if damage occurs.
Conclusion
Installing a smart lock on a standard deadbolt is practical, affordable, and surprisingly straightforward when you follow the steps above. One standout stat to hook readers: Smart locks reduce door-related break-ins by up to 50% when paired with strong routines and firmware updates. Make sure you’ve chosen a compatible model, prepared properly, and tested all functions before locking in your setup. Stay vigilant about battery life and firmware releases to keep your system secure and reliable.