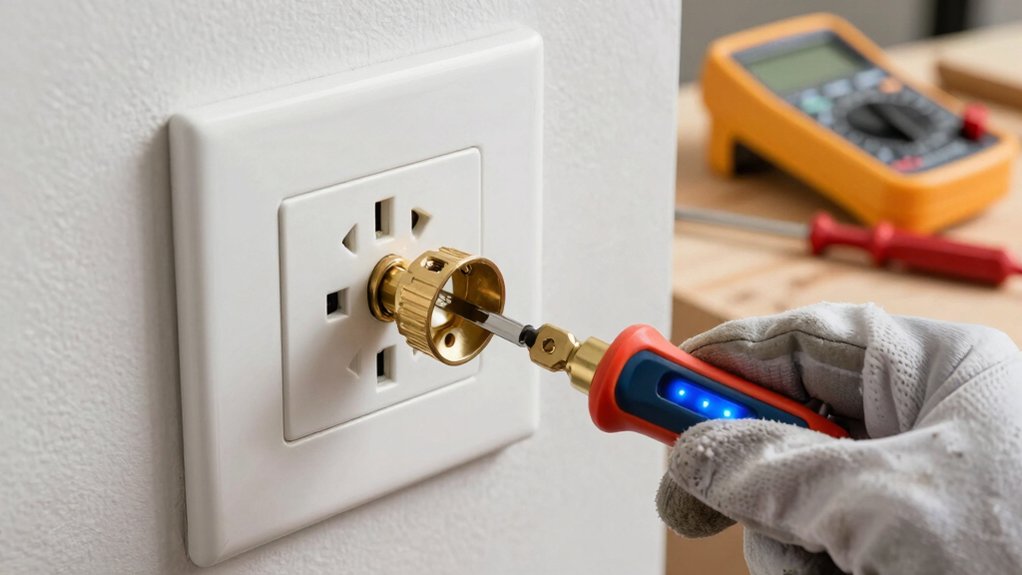
To test your home outlets for proper grounding, start with visual checks: ensure the ground pin is fully seated and the outlet shows a solid grounding path, with green grounding screws or straps intact. Use a digital multimeter or a dedicated three‑prong tester to verify continuity from the receptacle to the panel or ground rod, and confirm correct polarity. Also test GFCI/AFCI outlets for proper trip/reset and bonding. If issues appear, you’ll discover safer, actionable steps further on.
Why Grounding Matters for Home Safety

Grounding is a critical safety feature in every home electrical system. You rely on proper grounding to control fault currents, prevent shock, and reduce fire risk.
Grounding safety hinges on a solid connection between the electrical system and the earth, creating a low-impedance path for excess energy. When electrical grounding is adequate, equipment enclosures stay near earth potential, outlets and devices shed stray charges, and protective devices operate as intended.
You should understand that a compromised ground can render GFCIs and breakers ineffective, increasing danger during faults or lightning strikes.
Regular testing, qualified inspections, and adherence to code requirements ensure reliable performance. Prioritize proper conductor sizing, uninterrupted bonding, and code-compliant grounding practices to maintain a safe, predictable electrical environment.
What a Properly Grounded Outlet Looks Like
You should notice the ground pin alignment on a properly grounded outlet, with the round or U-shaped pin fully seated and aligned with the receptacle body.
Look for a visible grounding path or strap that ties the outlet chassis to the electrical system, ensuring continuity to earth.
Indicators like correct pin orientation and a solid grounding connection are essential to verify safe operation and reliable fault path.
Ground Pin Alignment
A properly grounded outlet features three visible contacts: a hot narrow slot, a neutral wide slot, and a round or U-shaped grounding hole aligned below them. If the grounding hole isn’t centered beneath the slots or the ground pin sits at an angle, you’re facing potential alignment issues.
Correct alignment ensures the ground path engages reliably before it conducts current during a fault, reducing shock risk. You should verify that the ground hole accepts a standard plug’s ground pin without forcing it, and that the hot and neutral slots match the plug orientation consistently.
Any misalignment may indicate a noncompliant receptacle, damaged faceplate, or improper wiring. When alignment issues persist, consult an electrician and avoid energizing the outlet until proper grounding is confirmed.
Regular inspections support ongoing electrical safety.
Visual Ground Indicators
Visual indicators provide a straightforward way to confirm a properly grounded outlet at a glance. You’ll rely on clear, hardware-standard cues rather than guesswork, focusing on color and symbol usage that matches electrical codes.
Look for consistent grounding color codes on wiring and interior terminals, and compare to the device’s labeling. If you see any mismatch, reassess with a tester.
Grounding wiring diagrams in manuals can help you map connections quickly, ensuring the ground path returns safely to the panel.
Relative to this, outlets may show green screws or grounding straps integral to the body, signifying a proper bond when installed correctly. If you’re uncertain, consult a licensed electrician.
- grounding color codes
- grounding wiring diagrams
- correct bond indicators
Tools You Need to Test Grounding Safely
To test grounding safely, gather a few essential tools and follow manufacturer instructions precisely. You’ll need a digital multimeter with continuity testing, a non-contact voltage tester for live checks, and a properly rated outlet tester that includes three-prong ground indication. Have a clamp meter if you’re measuring current on grounding conductors, plus insulated gloves and eye protection for personal safety.
Use manufacturer manuals to verify tool ratings, test procedures, and fallback options. Keep your work area dry and clear, and document readings for reference. Avoid relying on assumptions about grounding myths or shortcuts.
Reference electrical codes for permissible testing methods and tool tolerances, and ensure your process aligns with local requirements. Precision and safety win when tools are matched to the task.
Step-By-Step: Safely Test a Standard Outlet
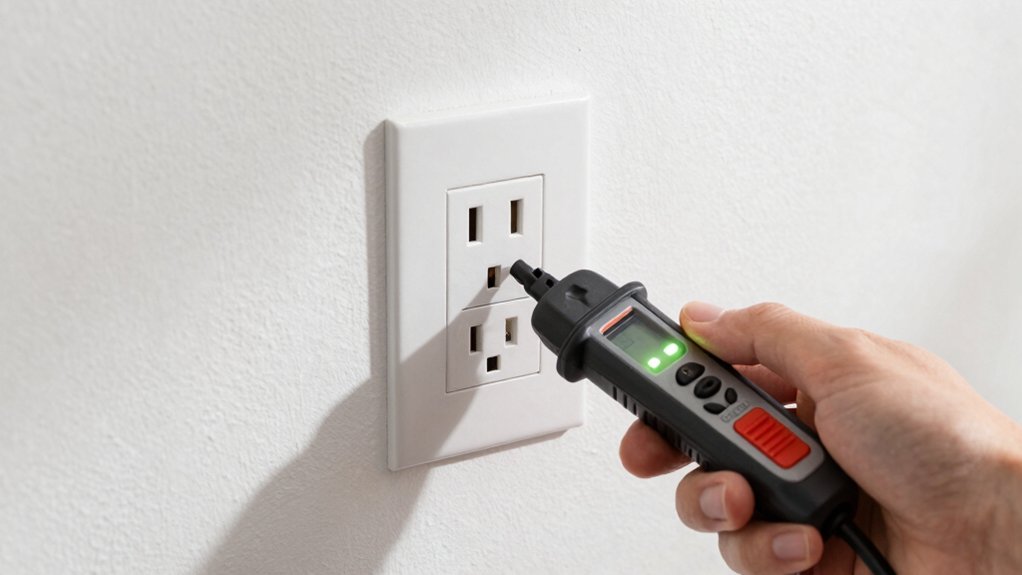
After gathering the proper tools from the previous section, you’ll verify a standard outlet’s safety by following a clear sequence of tests. You perform a visual inspection, then confirm polarity, grounding, and receptacle integrity per outlet safety guidelines and electrical codes.
Use an entire-branch tester to confirm hot, neutral, and ground alignment, and check for avoidable defects like loose screws or cracked faceplates. Document results and deviations, if any, before proceeding. Maintain a systematic approach to minimize risk and ensure compliance with electrical codes.
- Verify proper polarity and grounding with a portable tester
- Inspect for physical damage, secure mounting, and tight terminals
- Record readings and confirm consistency across cycles and outlets
Testing GFCI and AFCI Outlets for Grounding
Have you verified basic outlet polarity and grounding already, or is this your first pass at GFCI and AFCI testing?
You’ll approach grounding safety with a methodical check of GFCI and AFCI outlets. Confirm that a GFCI trips as intended under simulated leakage conditions, and that an AFCI clears arcs while remaining resettable after a nuisance-trip.
Use a tested outlet tester compatible with GFCI/AFCI indicators to verify proper wiring, labeling, and grounding continuity across the faceplate. Respect outlet standards by confirming the device is correctly installed, protected circuits are labeled, and the reset/test functions operate in the expected sequence.
Document results, noting any deviations from expected behavior and rectifications, since consistent adherence to standards protects both equipment and occupants. Maintain a cautious, evidence-based workflow throughout this testing phase.
Interpreting Grounding Test Results: Grounded, Ungrounded, or Open-Ground
A grounded outlet indicates a proper connection to the electrical system, while an ungrounded outlet lacks that path and may present shock risks.
An open-ground condition shows no effective ground path at all, requiring corrective action before use.
We’ll distinguish these indicators and outline their implications for safety and future testing.
Grounded vs Ungrounded
Grounding tests categorize outlets as grounded, ungrounded, or open-ground, and each result has immediate implications for safety and compatibility with appliances. When you identify a grounded outlet, you enable protection against faults and ensure proper adapter performance.
An ungrounded result signals missing conductor or improper wiring, compromising fault current paths and reducing protection.
An open-ground condition indicates a disconnected or degraded ground path, risking shock exposure and equipment damage.
Understanding these distinctions sharpens your grounding safety approach and informs corrective steps.
- Verify the presence of a continuous ground path before loading high-wattage devices
- Confirm compatibility with equipment that requires grounded connections
- Plan rewiring or grounding upgrades to restore grounding importance and reliability
Open-Ground Indicators
Open-ground indicators warn that the ground path is disconnected or degraded, exposing you to shock risks and potential equipment damage. When the test shows an open ground, you must verify continuity from the outlet ground prong to the building grounding electrode system.
Open grounds typically occur due to missing or damaged grounding conductors, incorrect outlet wiring, or compromised metal boxes. You’ll interpret results by comparing observed indicators against standard circuit diagrams and outlet types, noting where discrepancies arise.
Use a multimeter or dedicated tester to confirm continuity and inspect bonding at receptacles, panels, and ground rods. Document any inconsistent readings and plan corrective actions, such as replacing noncompliant outlets or regrading electrical boxes.
Ensure repairs meet code requirements before re-testing.
Quick Fixes You Can Do for a Non-Grounded Outlet
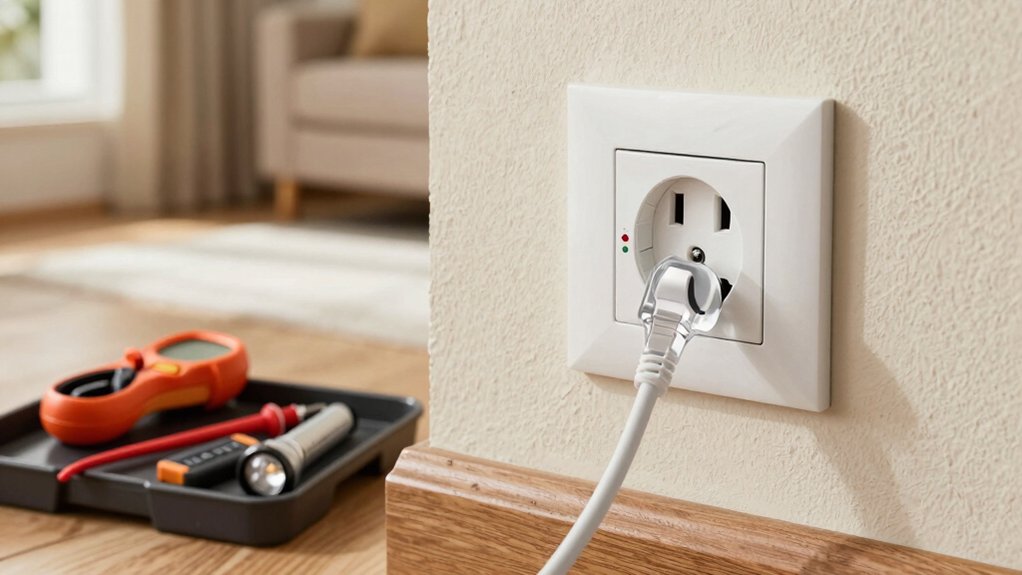
If you’re dealing with a non-grounded outlet, start by testing whether the outlet is truly ungrounded and identifying safety hazards before attempting any fixes. You’ll assess for obvious signs of damage, poor wiring, or loose connections that could elevate grounding hazards, then decide whether a safer approach is needed.
Quick, low-risk steps can improve outlet safety, but avoid permanent changes without proper circuitry. Use these checks to maintain control over the process:
- Verify that the receptacle is properly wired and secure
- Inspect for damaged insulation, melted plastics, or scorch marks
- Test that the ground path isn’t interrupted by a miswired or missing ground
Proceed with caution, and prioritize outlet safety while noting limits of non-professional repairs.
When to Call a Licensed Electrician
Call a licensed electrician as soon as you notice persistent grounding problems, signs of overheating, or damaged wiring beyond quick fixes. You should seek professional assessment when testing reveals inconsistent grounding or when outlet compatibility appears compromised across circuits.
A pro will verify compliance with grounding codes, examine panel and bonding integrity, and assess insulation condition to rule out hidden faults. Don’t rely on improvised repairs or temporary fixes that could exacerbate risk.
If you observe scorch marks, unusual odors, buzzing, or frequent tripping, shut off the affected circuit and contact an electrician promptly. Professionals will document findings, provide scope of work, and ensure installations meet current safety standards, reducing electrocution and fire hazards while maintaining system reliability.
Preventive Grounding Checks You Can Schedule
Schedule seasonal grounding checks to keep your system reliable. Mark test dates on a shared calendar and set reminders so nothing slips between inspections.
Confirm grounding paths during each check to verify continuity and detect drift or corrosion early.
Schedule Seasonal Checks
Seasonal checks should be built into your preventative routine, as grounding integrity can drift with weather, wear, and usage. Schedule regular evaluations tied to seasonal maintenance so issues don’t go unchecked.
You’ll align testing cadence with electrical codes and grounding standards, ensuring compliance and safety. Use quick, repeatable checks that confirm receptacles stay properly grounded and that protective devices remain intact.
- Set a quarterly reminder to inspect outlets near water sources and outdoor circuits.
- Mark calendar dates for fog, snow, heat, or humidity-driven stress tests.
- Log results, noting any grounding resistance shifts or visual wear for follow-up action.
These checks maintain system reliability, reduce nuisance trips, and support ongoing adherence to electrical codes and grounding standards.
Mark Test Dates
Mark test dates now to keep preventive grounding checks on track. You’ll convert recommendations into a practical schedule that fits your home maintenance routine.
Start by reviewing grounding standards and the expected intervals for outlets, panels, and safety devices. Align dates with manufacturer guidelines, local safety regulations, and utility advisories when applicable.
Use a calendar system that flags recurring checks and sends reminders a week in advance. Document each session: date, observations, test results, and any corrective actions.
Prioritize high-use areas and outlets near water sources or outdoor circuits. Coordinate with any home improvement projects to avoid overlapping work that could affect grounding paths.
This disciplined approach guarantees ongoing compliance with grounding standards and safety regulations.
Confirm Grounding Paths
Grounding paths must be verified before any preventive checks proceed. You’ll confirm that each outlet’s grounding conductor connects back to the main service equipment and earth ground, ensuring a reliable reference for fault currents. This step supports grounding safety by preventing false readings and mitigating shock risk.
During verification, reference electrical codes to validate acceptable conductor material, routing, and bonding practices. If you find a loose connection or missing ground, address it before testing sensors or performing continuity checks.
Verify that grounding paths remain continuous through any extensions or subpanels, and document deviations for remediation.
- Confirm continuity from receptacle ground to service panel or ground rod
- Check bonding at metal enclosures and metal conduit
- Note any impedance concerns that could affect readings
Verifying Grounding After Electrical Work or Renovations
After electrical work or renovations, verify the system’s grounding to guarantee safety and code compliance. You’ll assess that all affected outlets share a continuous ground path and that the grounding conductor remains intact or replaced as needed.
Confirm that grounding codes are satisfied for the revised circuit, including proper bonding to the service equipment and to any metal enclosures. Inspect connections at outlets, boxes, and junctions, ensuring secure, corrosion-free terminations and no loose conductors.
If you added new circuits or changed panel wiring, recheck continuity from the grounding electrode system to each receptacle. Document material compatibility, confirm approved grounding materials, and test with a calibrated tester.
Correct deficiencies before energizing system, then validate with a final field check.
Frequently Asked Questions
Can I Test Grounding With a Standard Outlet Tester Alone?
No. You can’t reliably test grounding with a standard outlet tester alone. For grounding safety, you’ll need a tester designed for GFCI or dedicated impedance tests, and verify outlet compatibility with your electrical system before proceeding.
How Often Should I Test Home Outlets for Grounding?
You should test grounding safety at least annually and after any major electrical work. Incorporate outlet maintenance checks quarterly, and whenever you notice warmth or buzzing. Regular testing reduces shock risk and preserves system integrity.
What if Tester Shows “Open Ground” on All Outlets?
Open grounds on all outlets signal a widespread issue; around 15% of homes reported grounding faults in surveys. You should stop using affected outlets, check grounding safety, and consult electrical codes, as improper grounding creates shock, fire, and equipment hazards.
Do Gfci/Afci Outlets Affect Grounding Readings?
GFCI/AFCI outlets can influence readings by tripping and reshaping load paths, so you should not rely on them alone for grounding. Confirm grounding safety and verify outlet compatibility with testers designed for modern GFCI/AFCI devices.
Is a Non-Contact Voltage Tester Sufficient for Grounding Checks?
No, a non-contact voltage tester isn’t sufficient for grounding checks; rely on proper grounding safety tests with a grounded outlet tester or multimeter. Understand tester limitations and follow coordinated methods to verify bond, receptacle, and system integrity.
Conclusion
Conclusion: You’ll sleep better knowing you’ve checked your outlets, even if the results whisper caution rather than alarm. Think of grounding as a quiet safety net—unobtrusive, but essential. If tests hint at concern, treat it as a nudge toward professional help, not a DIY bravado. A properly grounded system isn’t flashy; it’s the assurance that, when sparks fly, your home’s circuitry holds steady, guiding you toward safer living with restrained confidence.