
To install crown molding in inside corners, start by choosing a crown profile and spring angle that suit your room. Measure corners precisely with a speed square, recording wall references and true angles. Cut and cope joints carefully, dry-fit first, and trim for a tight fit. Tackle wall irregularities by filling dents and shimming as needed, then compress the crown to close gaps at the spring line. Finish gaps cleanly and secure joints; you’ll master the rest soon.
Choose the Right Crown Profile and Spring Angle
Choosing the right crown profile and spring angle sets the foundation for a clean, professional install. You select a crown profile that visually complements your room’s proportions and aligns with your ceiling height.
Next, determine the spring angle adjustment for your saw adjustments, ensuring the molding sits flush against both wall and ceiling. Precision matters: measure wall angles, check for buttered joints, and avoid aggressive profiles that crowd corners.
Crown profile selection should consider room function, lighting, and existing trim to maintain coherence. When you adjust the spring angle, test fit on a scrap piece before cutting the actual stock.
Document the chosen profile and angle for future projects, and maintain consistency across all joints to preserve a seamless look.
Measure Inside Corners Precisely
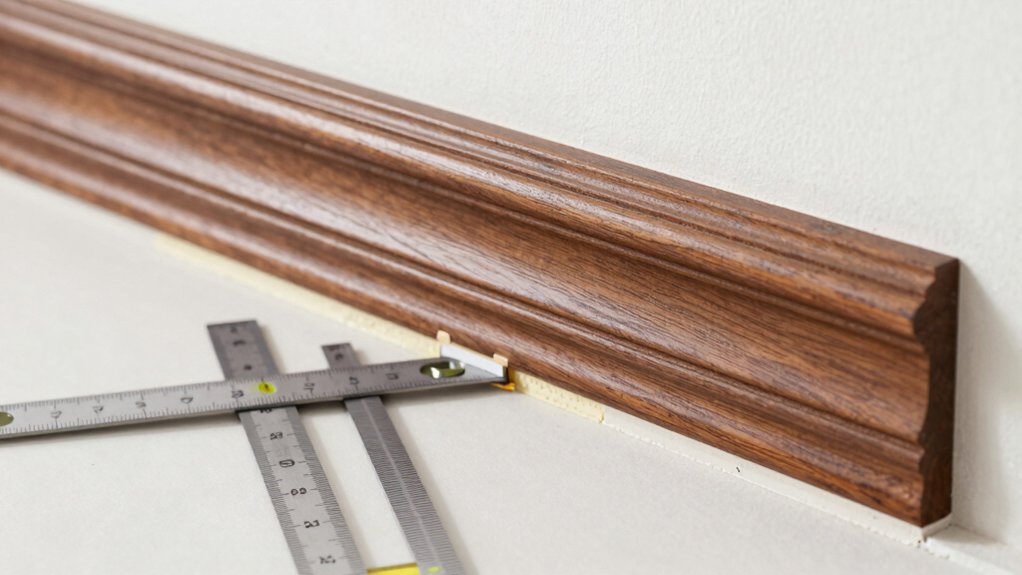
Measure inside corners precisely to guarantee tight joints and a seamless crown installation. You must establish accurate references before cutting. Use measuring tools to verify wall and ceiling angles, then record the exact room measurements.
Begin by finding the corner’s true 90-degree baseline with a speed square, then confirm any small deviations. For typical inside corners, template methods help reduce error: place corner templates flush against both surfaces, mark the intersection, and transfer the angle to your saw.
When unsure, recheck with a secondary measurement across both walls. Always document measurements in a dedicated sketch, labeling wall A and wall B. Avoid assumptions; precision minimizes gaps and misfits later.
Rely on deliberate, repeatable checks rather than memory.
Cut, Cope, and Join Crown Molding
When cutting, coping, and joining crown molding, you’ll align each piece to the wall and ceiling with precise angles and clean seams. Begin with miter cuts that match corner angles, using a sharp saw and steady speed to avoid chipping. Verify wall preparation before any cut by cleaning surfaces and ensuring plumb lines; this prevents gaps after installation.
Dry-fit sections to confirm fit, then mark all joints clearly for reference. Coping is your ally for inside corners: trim the profile back so the piece seats flush against the neighboring molding, creating a tight contact line. Apply minimal adhesive only where needed, and use temporary bracing until fasteners set.
Finally, test the joints for tightness, adjusting as required to maintain consistent shadows and accuracy.
Work With Imperfect Walls and Spring Gaps
Even with careful cuts and precise joins, imperfect walls and spring gaps can derail a neat crown, so address these issues before hanging. You inspect the wall surface for deviations, then decide on a plan that preserves profile integrity.
If you detect wall imperfections, fill small dents and consistently level high spots with a lightweight filler, sanding flush to create a true plane. For larger defects, apply a backing board or patch to provide solid mounting and avoid telegraphing through the veneer.
Spring gap solutions include compressing or shimming the crown during fitting, and using lightweight shaping wedges to maintain consistent contact at the spring line. Mark the layout clearly, then test-fit sections before final installation to ensure clean, continuous joints.
Finish, Install, and Troubleshoot Common Problems
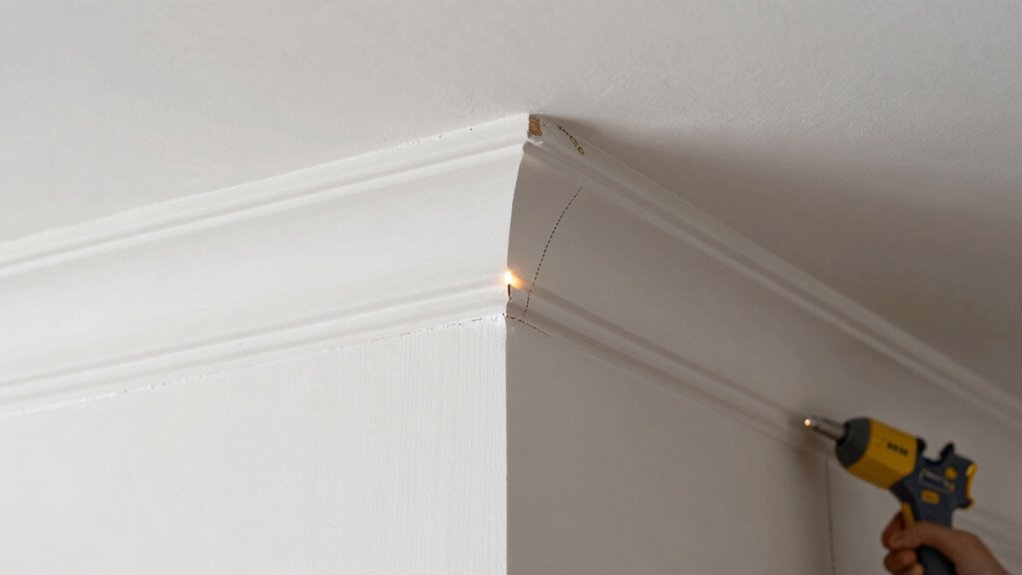
Once you’ve prepared the wall and spring gaps, begin by finishing and installing the crown with accuracy, then address common problems as they arise. Start with a clean alignment, confirm plumb ceilings, and use a level to verify consistent height along the run.
Cut miters precisely, dry-fit pieces, then fasten with finish nails, securing triangles first for inside corners. For gaps, apply lightweight caulk and, if needed, backer rod to prevent cracking. When joints show minor misalignment, fill with matching compound and sand flush before paint.
Maintain steady hands and slow cuts to avoid chatter. Tools overview: keep a sharp saw, miter box, tactile measuring tools, and a nail set ready. Safety precautions: wear eye protection, avoid overexertion, and secure ladders.
Frequently Asked Questions
How Do You Handle Crown Molding in Rooms With Irregular Ceilings?
When handling crown molding with irregular ceilings, you adjust for ceiling height changes and uneven wall surfaces by tracing consistent lines, cutting with adjustable angles, and shimming as needed to maintain a level, clean, professional finish.
What Tools Help Balance Crown Molding on Vaulted Ceilings?
Balancing crown molding on vaulted ceilings demands precise measuring techniques paired with solid adhesive options; you’ll clamp and level, then splice with modern tape and glue, balancing weight while you guide every cut, ensuring accurate, enduring alignment.
Can You Reuse Scrap Pieces for Decorative Corner Accents?
Yes, you can reuse scrap pieces for decorative accents. You’ll trim them precisely, fit with tight joints, and secure with glue and nails, creating unique, budget-friendly decorative accents that enhance your trim without compromising strength or finish.
How Do You Identify Hidden Electrical or Plumbing Behind Molding?
You identify hidden electrical wiring and plumbing pipes by using a stud finder with live-wire detection, checking behind drywall edges, and probing cautiously with a low-amperage detector before molding. This keeps you safe and prevents damage to systems.
What Safety Gear Is Essential for Overhead Cutting?
You’ll skip overhead cuts without safety glasses and ear protection? Sure—you’ll love the irony when sawdust stings and noise numbs you. Wear safety glasses, ear protection, and insist on proper support before you start any cut.
Conclusion
Master crown molding with careful planning and precise cuts, and your inside corners will look flawless. Start by choosing the right profile and spring angle, then measure each corner exactly. Cut, cope, and join with confidence, adjusting for imperfect walls and tiny spring gaps as needed. Finish cleanly, install solidly, and troubleshoot common issues without panic. As the old adage goes: measure twice, cut once, and you’ll save time, effort, and frustration in the long run.


