
To install interior door casing for a clean finish, measure the opening precisely and choose a casing profile that suits your wall and style. Cut stiles and rails to exact angles, layout joints accurately, and test-fit early. Nail through studs, clap to prevent springing, and conceal seams with tight joints. Fill gaps, sand smooth, and apply a thin, even coat of paint or stain. A flawless reveal and tight joints await any pro tips you’ll uncover next.
Choose the Right Door Casing for Your Door
When choosing door casing, start by measuring your door opening to determine standard casing widths and heights.
You’ll select a casing style that complements your interior, balancing proportion with the wall surface and surrounding trim.
Consider decorative styles you prefer, from traditional to contemporary, and guarantee the profile isn’t overpowering or underwhelming for the room.
Evaluate material options for durability, finish, and ease of installation; common choices include wood for warmth, MDF for economy, and PVC for moisture-prone spaces.
Confirm compatible corner joints and backer support to avoid gaps.
Prioritize a trim that aligns with casing thickness and wall plaster or drywall.
Measure the Opening and Plan for a Snug Fit
To guarantee a snug fit, start by measuring the door opening precisely and accounting for wall conditions. You’ll use measuring techniques that produce repeatable results: measure width at top, middle, and bottom; record the smallest clearance to avoid gaps. Check the height at each jamb side, and verify the plumbness of the head jamb with a level.
Subtract any expected drywall thickness or trim allowance from your openings to determine real casing dimensions. Plan for a consistent reveal around the frame, typically a 1/16 to 1/8 inch per side, depending on style.
Develop planning strategies that prioritize square references and reference edges, not walls that bow or settle. Confirm tolerances before cutting; miscalculations waste material and time.
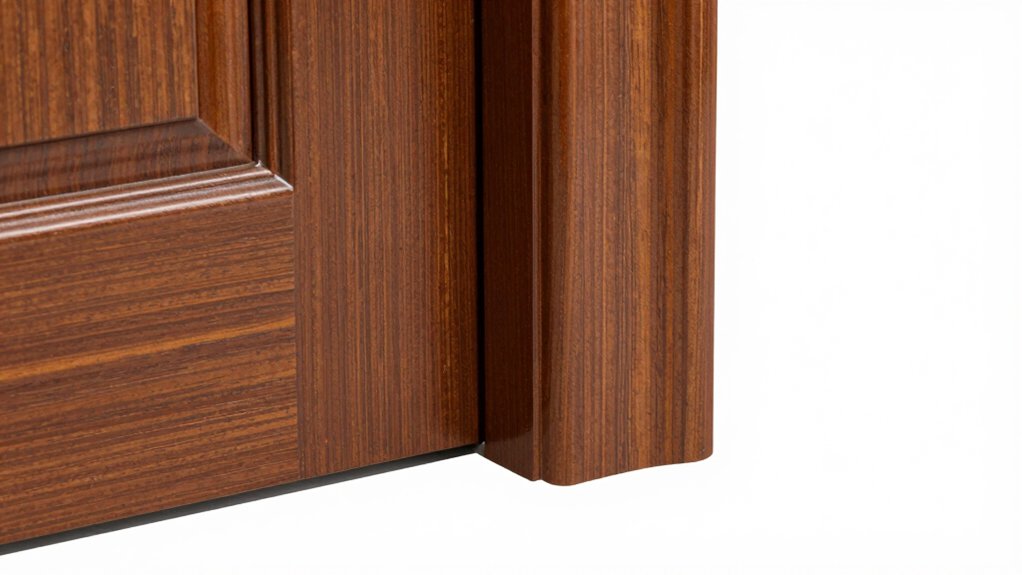
Understand Casing Components: Stiles, Rails, and Crown
Stiles and rails form the frame of your casing, determining how the door fits and operates. The stiles carry the bulk of the load, while the rails join them and set the width and alignment.
Crown adds visual height and can influence joint detailing, so understanding each component sharpens your trim installation from start to finish.
Stiles And Rails Roles
Casing components are built from stiles and rails, with the stiles forming the vertical sides and the rails spanning the top and bottom to create a stable frame. You’ll rely on stiles and rails to establish alignment, square the casing to the door, and support any decorative profiles you choose.
In this role, both pieces carry the load of casing weight and help define door clearance, so you must cut and join them accurately. Stiles provide vertical guidance for casing placement, while rails set the horizontal boundaries that frame the opening.
When you select decorative profiles, verify they’re proportional to the door and surrounding trim. Precision cuts, straight edges, and tight joints yield a clean, professional finish without gaps or misalignment.
Crown Influence Details
With the crown added to the framework, you’ll see how it ties the face of the casing to the room’s architectural line. Crown influence details center on how the crown interacts with stiles and rails, and how it completes the visual hierarchy.
You’ll evaluate crown profiles for proportion, ensuring the crown’s rise and projection reflect the room’s molding styles. Align the crown’s rabbet or fit with the casing’s edge so joints remain tight and lines stay straight.
Consider decorative accents—beads, ovolos, or ovals—that emphasize vertical rhythm without overpowering the doorway. Maintain consistent plane changes at the crown-face intersection to avoid gaps.
Precision here yields a seamless connection from wall to door, elevating the overall finish with deliberate detailing.
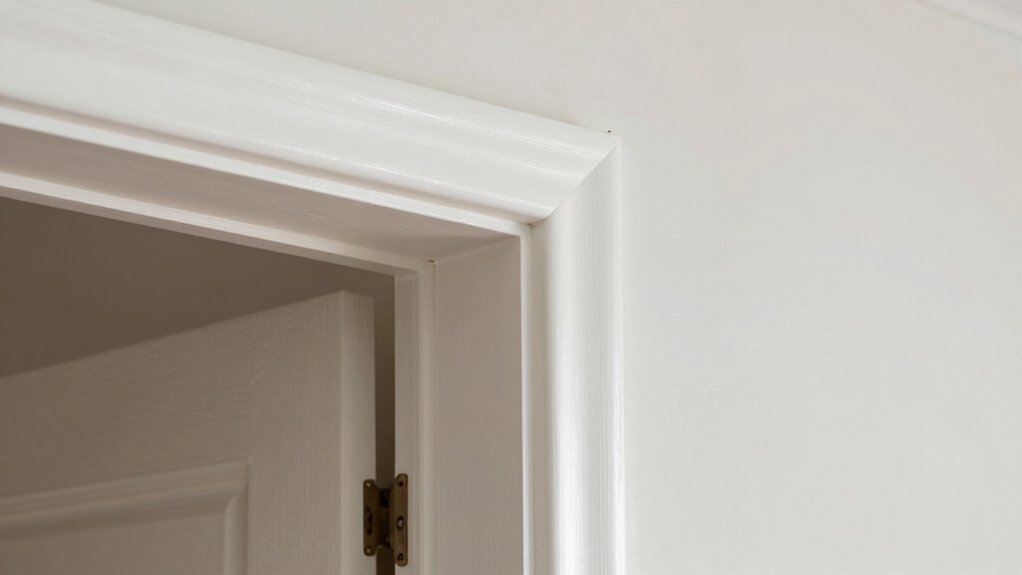
Cut Exact Angles and Lay Out Joints

You must cut angles precisely to guarantee clean joints and tight fits. Mark your cut lines carefully and verify each angle against the door frame before you trim.
Lay out joints accurately by test-fitting components and correcting any misalignments early.
Cut Angles Precisely
To cut angles precisely, you must establish exact saw settings and verify joints before making full-length cuts. Start by selecting a miter saw with a calibrated scale, then set the exact angle you measured for each corner. Double-check angle measurement against your layout marks, not guesses.
Clamp the work firmly and support long stock to prevent drift. Cut test scraps first to confirm fit, adjusting fence positions if necessary. For each joint, confirm both sides mirror the same angle and that the face surfaces align flush without gaps.
Use a tape and speed square to verify square and bevel alignment, then mark final cut lines clearly. When satisfied, proceed with full-length cuts, maintaining consistent posture and slow, deliberate passes for clean edges.
Layout Joints Accurately
Achieving exact angles starts with a precise layout. You lay out casing joints on the face of the frame, then mark where each piece meets. Use a square to verify 90-degree corners and a bevel gauge for mitered joints, ensuring consistent cut lines.
Establish reference edges and keep stock square and flat during layout; any twist or bow ruins alignment. When marking joints, trace each piece against the adjacent casing to confirm mating lines, and double-check corner-to-wall clearances. Note joint alignment as you draft the miters, not after installation.
Record your corner techniques on scrap stock first, then transfer to the actual pieces. Finally, recheck all joints in place; tight, accurate joints produce clean seams and a solid, professional look.
Nail, Clamp, and Conceal Seams
Nail, clamp, and conceal seams with clean, tight joints to guarantee the trim sits flush and looks seamless. You’ll position casing with deliberate nail placement to avoid spline gaps and misalignment. Use a finish nail at each stud line, driven slightly below surface, then countersink and fill later.
Clamp the corners during assembly to prevent springing and maintain consistent gaps at the jamb. Check for plumb and squareness before final fastening, adjusting as needed.
For seam concealment, apply a thin bead of wood glue along butt joints, then clamp until set to reduce joint openness. Tap nails shallowly and drive flush, then conceal with putty that matches the trim’s grain.
Keep joints tight, edges square, and seams minimally visible for a professional, durable finish.
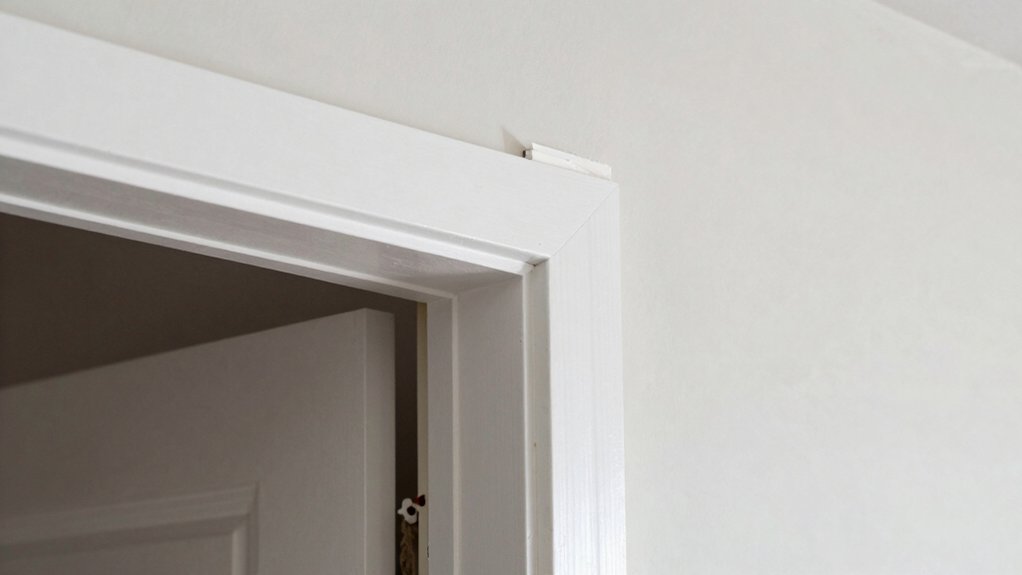
Fill Gaps, Sand, and Prep for Finish
After you’ve nailed and clamped the trim, inspect all joints for gaps and misalignment. Then fill them with a matching wood filler or putty. Let it cure fully, then sand flush with the surrounding surface. Begin with light, uniform strokes and shift direction to avoid creating ridges; wipe away excess dust as you work.
If gaps remain, reapply filler, allow curing, and sand again until the joint blends seamlessly. When you’re satisfied, apply a thin bead of caulking to tiny movement gaps along the casing, then smooth with a damp finger or tools designed for caulking techniques.
Finish sanding with fine grit to remove pencil lines and raised grain. Wipe clean, inspect for uniform color, and prepare the surface for the chosen finish.
Apply Paint or Stain for Durable Protection
Apply paint or stain to the trim after the joints have cured and the surface is clean and smooth. You’ll protect the casing with a durable finish, so choose method and product to suit your wood and room conditions.
For paint, use a high-quality enamel or latex with a semi-gloss or satin sheens for easy cleaning and reflectivity.
For stain, apply penetrating oil or water-based stain, then seal with a compatible topcoat.
Always test color matching on a hidden sample edge to ensure uniform appearance.
Follow staining techniques for even absorption, avoid lap marks, and wipe excess promptly.
Apply multiple thin coats rather than a single heavy one.
Allow proper dry times between coats, then light sand and buff for a professional, lasting result.
Frequently Asked Questions
How Do I Handle Uneven Walls During Installation?
You’ll handle uneven walls by wall preparation and precise shimming techniques, ensuring a plumb, square frame. Start with evaluating gaps, then shim behind trim edges until flush. Maintain consistent reveals, and check plumb with a level throughout.
What Tools Improve Efficiency for Large Trim Runs?
Power tools boost efficiency for large trim runs, and measurement accuracy matters most. Like a compass guiding you, you rely on precise cuts, squared corners, and fast, clean joints to finish quickly and confidently.
Can Door Casing Be Reused After Trimming or Resizing?
Yes, you can reuse door casing after trimming or resizing, but assess for fit and damage. You must consider casing reusability, plan replacements if joints split, and account for resizing considerations like alignment, matching profiles, and nail hole consistency.
How Do I Choose Between MDF and Hardwood Casings?
You should choose based on material comparison and cost considerations: MDF is cheaper and easier to machine but less durable than hardwood; hardwood lasts longer and takes paint or stain well, though higher upfront costs.
What Safety Steps Protect Finishes While Cutting and Nailing?
In a single breath, you protect finishes by wearing safety goggles and ear protection. You cut and nail with clamps ready, dust masked, blades sharp, and surfaces stabilized to prevent chipping or kickback during every cut.
Conclusion
Now you’ve got it—the perfect interior door casing, because nothing says “finished” like a perfectly straight line and a nail that vanished. You measured, cut, and fit with precision, so the joints never betray you. After a wipe-down, a touch of finish, and a steady hand, you’ve achieved durability and polish that’ll outlast most trends. Irony aside, you did the work right, and that smug little sense of victory is totally earned. Enjoy showing off your clean, snug fit.


