
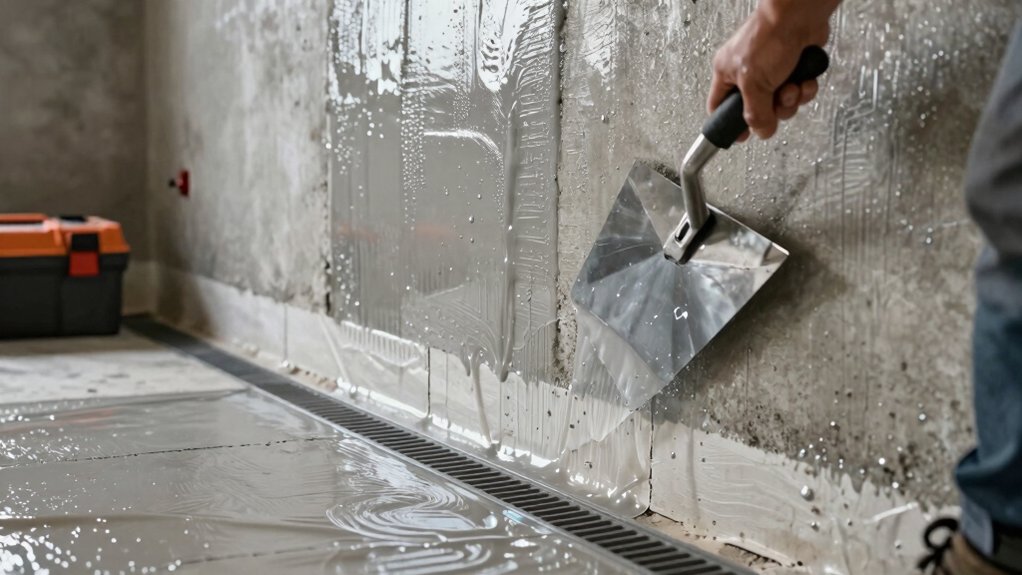
To waterproof a basement wall from the interior, start with a practical survey to pinpoint moisture sources and set clear goals. Clean walls thoroughly, remove efflorescence, repair cracks with hydraulic cement or epoxy, and make sure surfaces are dry to the touch. Choose compatible sealants—epoxies for solid walls or cementitious coats for masonry—and prep surfaces well. Install interior drainage with a perimeter drain and a low-profile sump, then apply primers, membranes, and top coats in proper order. If you keep going, you’ll uncover how to finish and monitor effectively.
Diagnose and Plan: Identify Moisture Sources and Set Goals
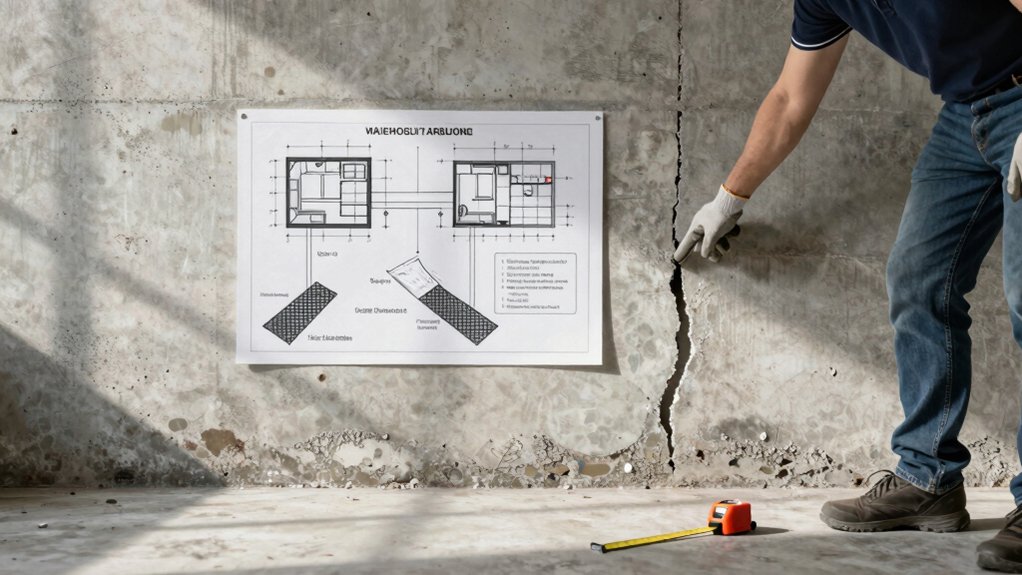
Diagnosing moisture sources and setting clear goals starts with a practical survey of your basement and its environment. You’ll identify where water enters, what surfaces stay damp, and how humidity fluctuates with seasons.
Start with a simple floor-to-ceiling check for cracks, gaps, and foundation contact points, then map exterior drainage and grading that influence interior moisture.
Conduct a soil analysis to understand underground water pressure and soil permeability, which informs how aggressively you must address drainage.
Perform a humidity assessment to gauge baseline moisture levels and seasonal swings, guiding target room conditions.
Use findings to set clear, measurable goals: reduce dampness, control humidity, and create a dry, stable space.
Document observations, prioritize fixes, and plan steps aligned with your basement’s specific risks.
Prep Walls for Waterproofing: Cleaning, Drying, and Minor Repairs
After identifying moisture sources and setting goals, you’ll prep the walls by cleaning, drying, and making minor repairs to create a solid, receptive surface for waterproofing.
Begin with wall surface preparation by removing loose paint, efflorescence, and crumbly plaster using a stiff brush and scraper. Vacuum the studs and baseboard edges to eliminate dust that can hinder adhesion.
Follow with targeted cleaning procedures: a mild detergent solution for grime, rinse with clean water, and let surfaces dry completely.
Inspect for cracks, gaps, and damaged mortar; seal small defects with hydraulic cement or epoxy putty as appropriate.
Ensure the wall is dry to the touch before proceeding.
Document any persistent damp areas and address ventilation or drainage issues outside the scope of interior prep.
Choose Interior Sealants: Epoxies, Cementitious Coats, and Masonry Products
Choosing the right interior sealant is essential for a durable, vapor-tight barrier, and you’ll decide among epoxies, cementitious coats, and masonry products based on the wall substrate, moisture level, and anticipated movement.
- Choose sealant types that match the substrate and expected stress to prevent cracking and delamination.
- Surface preparation is non-negotiable: clean, dry, and abraded for maximum adhesion.
- Epoxies offer strong chemical resistance and low permeability on solid, sound walls.
- Cementitious coats provide breathable, easier-to-apply protection on masonry surfaces while sealing minor leaks.
These options require careful surface prep and compatibility checks with any prior coatings to ensure lasting performance.
Interior Drainage Strategy: French Drains, Grading, Sump Placement
A robust interior drainage strategy starts with a clear plan for moving water away from the wall—French drains, proper grading, and strategically placed sumps work together to reduce hydrostatic pressure and keep the basement dry.
You implement French drains along the exterior perimeter inside the wall footing, connecting to a low-profile sump that exits above grade.
Confirm grading slopes away at least 1 inch per foot for the first 5–10 feet, directing groundwater toward the discharge point.
Place a sump in the lowest practical interior corner, with a pump rated for anticipated flow and a check valve to prevent backflow.
Coordinate with exterior excavation and landscaping drainage plans to prevent new water challenges and protect interior materials.
Apply Coatings and Barriers: Timelines for Coatings, Membranes, and Sealants
Timing matters as you apply coatings, membranes, and sealants to the finished basement surface. You’ll plan based on product labels, surface prep, and anticipated exposure. Check coating compatibility between primers, membranes, and top coats to prevent delamination. Follow specified application curing times to avoid trapped moisture or premature failure.
Temperature and humidity windows matter, so adjust schedules accordingly and allow proper drying between coats. For penetrative sealants, ensure substrate porosity is balanced to achieve a solid bond without blushing. Maintain clean application conditions and ventilate as required. Use protective tape and masking where needed, and don’t mix products midway unless the manufacturer approves.
Surface testing after cure confirms film integrity and long-term performance.
- Coordinate application curing times with ambient conditions
- Verify coating compatibility across each layer
- Prepare substrate, primers, membranes, and seals properly
- Monitor cure progress and recoat or seal as needed
Finish and Monitor Indoors: Vapor Barriers, Moisture Monitoring, and Air Quality
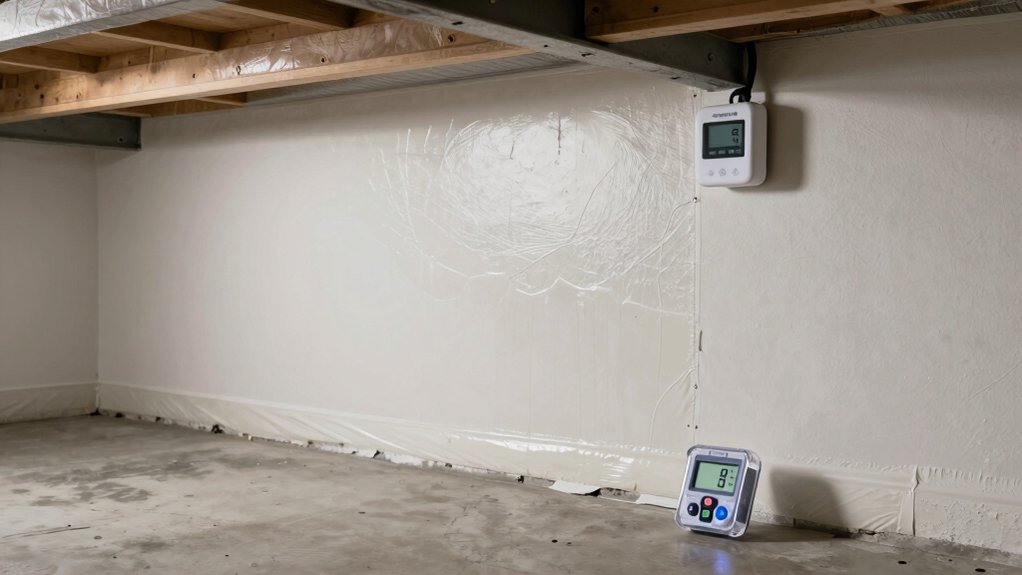
Finish indoor work by prioritizing vapor barriers, moisture monitoring, and air quality. You’ll install durable vapor barriers on walls and the floor, ensuring seams are taped and edges sealed to block humidity intrusion. Pair barriers with a clear plan for any penetrations, so future trades don’t create gaps.
Implement moisture monitoring at several points: place sensors high, mid, and low to catch sudden changes, and log readings routinely. Use a hygrometer or meter with alarms to flag spikes.
Maintain air quality by running a continuous exhaust or dehumidification cycle, especially during interior work or drywall installation. Keep vent ends unobstructed, and seal the space when you’re not actively working.
Document readings and actions for quick reference during inspections.
Long-Term Maintenance: Inspections, Repairs, and Refresh Cycles
To keep basement walls dry and durable over time, establish a routine of inspections, targeted repairs, and refresh cycles for coatings and barriers. You’ll systematically check for cracks, efflorescence, damp spots, and any signs of moisture intrusion, prioritizing issues that threaten structural integrity.
Address small cracks promptly with manufacturer-recommended products, then recoat or reseal as needed to maintain barrier effectiveness. Schedule seasonal checks, especially after heavy rain or temperature swings, and document findings to track trends.
Maintain humidity control and verify sump and drainage performance to prevent recurring moisture intrusion. Reassess ventilation needs when you remodel spaces adjacent to walls.
- Inspect for cracks, damp patches, and efflorescence quarterly
- Repair promptly, reseal, and recoat as needed
- Monitor drainage and humidity levels regularly
- Update records to track changes and plan refresh cycles
Frequently Asked Questions
Can Interior Waterproofing Prevent Groundwater Infiltration Completely?
No, interior waterproofing alone can’t guarantee complete prevention. It helps, but external drainage is essential and wall excavation may be required to seal foundations, manage hydrostatic pressure, and direct water away before interior systems gain effectiveness.
Which Interior Method Is Best for Busy Homeowners?
The best interior method for busy homeowners is a combined approach: install moisture barriers and guarantee proper basement ventilation, then seal leaks and use a sump pump or dehumidifier as needed to maintain a dry, healthy space.
Will Interior Coatings Affect Wall Insulation or Drywall?
Interior coatings may affect thermal insulation slightly and can interfere with drywall if too thick, so you’ll want proper vapor barriers and careful compatibility checks to preserve insulation performance while sealing moisture effectively.
How Long Before the Basement Can Be Used After Sealing?
Sealing cure times vary, but plan 24–72 hours before you reoccupy. You’ll want basement drying underway and moisture barriers fully set, then guarantee ventilation, odor-free air, and no lingering moisture prior to returning furnishings.
Are There Health Risks From Epoxy or Cementitious Coatings?
Yes—epoxy and cementitious coatings carry health considerations. Consider Epoxy safety by using respirators and ventilation; Cement risks include dust exposure. Follow manufacturer guidelines, test surfaces, and make certain of proper curing to minimize fumes, skin contact, and irritation.
Conclusion
You’ve learned to pinpoint moisture, prep walls, choose the right sealants, and install interior drainage with care. By finishing with proper coatings, barriers, and ongoing monitoring, you’ll keep basement walls dry and healthier year-round. A striking stat helps: up to 60% of indoor moisture can come from basement walls if neglected. Stay vigilant—inspect annually, recoat as needed, and maintain airflow to prevent mold growth. With disciplined maintenance, your basement stays dry, safe, and usable.




