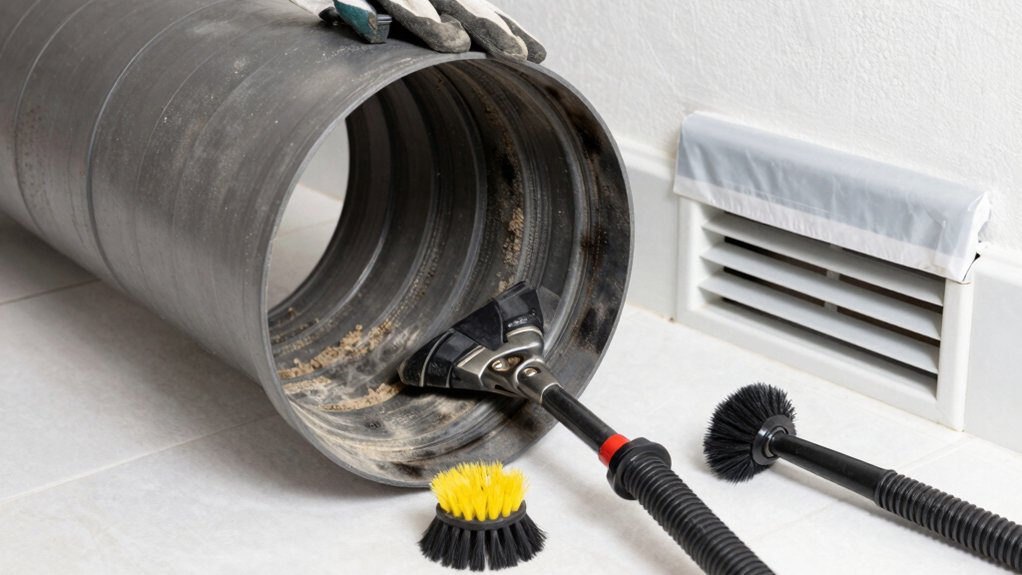
To prevent fires, start by noticing if your dryer runs longer than usual, clothes stay damp, or you feel heat around the unit. Turn off and unplug the dryer, then detach the interior duct at the outlet and loosen lint with a flexible brush in short, controlled motions. Vacuum the debris, reseat each segment, and repeat from the dryer to the exterior vent. Inspect and clear the exterior cap, then test airflow; more steps await.
Identify Signs Your Dryer Vent Needs Cleaning (Before You Start)

Here are the obvious red flags: your dryer takes longer to dry clothes, leaves others damp, or you notice a burning smell or excessive heat around the dryer. When you detect these signs, you’re facing potential lint buildup and vent blockage.
The first step is to stop using the appliance and inspect the lint screen for accumulation; frequent cleaning reduces risk but doesn’t replace vent maintenance. Check the vent outlet outside for visible obstructions, and feel for heat along the dryer surface—unusual warmth can indicate airflow restriction.
If you notice persistent heat, excessive lint near the lint screen, or a lingering odor, schedule professional assessment. Early recognition minimizes fire risk and supports safer, more efficient operation.
Tools for Dryer Vent Cleaning and Essential Safety
To clean a dryer vent effectively, assemble a focused set of tools and follow basic safety habits. You’ll prioritize vent cleaning tools and essential safety precautions to minimize risk and maximize efficiency.
- Screwdriver and pliers for quick hardware adjustments
- Vacuum with hose attachment to capture lint at the exterior vent
- Dryer vent brushes or roto-mitt kit for dislodging deposits
- Flashlight and safety glasses to illuminate and protect your eyes
Keep the area dry, disconnect power, and never force elbows or ducts. Label parts for later reassembly, and store tools in a dedicated bag.
Clean the Interior Vent Path: Step-by-Step Instructions
Begin by turning off and unplugging the dryer, then locate the interior vent path from the dryer to the exterior. Inspect the entire interior route for lint accumulation and potential vent blockage.
Start at the dryer outlet, detach the duct connection, and use a flexible, non-metallic brush to loosen lint in short, controlled motions. Move outward in small sections, cleaning the walls without bending or kinking the duct.
Re-seat connections securely after each segment, and reattach the dryer vent hose firmly.
Use a vacuum with a narrow nozzle to remove loosened debris from the interior segments. Avoid applying excessive force to avoid damaging joints.
Don’t skip sections or rush; thorough interior cleaning prevents cumulation, reduces fire risk, and improves airflow efficiency.
Clean the Exterior Vent and Vent Cap, Test Airflow
After cleaning the interior path, focus on the exterior vent and vent cap to guarantee unobstructed airflow. You’ll perform an exterior inspection and confirm nothing blocks the opening, then remove the vent cap if needed to inspect the duct connected behind it. Reassemble securely and test airflow to verify efficiency.
- Exterior inspection: check for debris, birds, or lint buildup around the vent opening.
- Vent cap removal: carefully detach, noting how it rests to avoid damage.
- Clean and reattach: wipe buildup, clear the cap’s screen, and reseat firmly.
- Test airflow: run the dryer on high, observe exhaust, and listen for smooth ventilation.
Maintain Yearly Maintenance and When to Call a Pro
Regular yearly maintenance keeps your dryer vent efficient and safer, so schedule a routine inspection and cleaning at least once a year and after heavy lint buildup periods.
You should perform minimal inspections monthly: check for visible lint, listen for unusual noises, and confirm proper airflow. Document any changes in performance and address blockages promptly.
DIY tips include wiping the interior with a dryer vent brush and reseating ducts to avoid gaps, but avoid forcing obstructions that could damage the vent.
When issues persist, or you notice overheating, decline DIY fixes and seek professional services. A trained technician can perform blower motor checks, lint trap inspections, and duct integrity tests with specialized tools.
Rely on pros for complex runs, suspected rodent intrusion, or inaccessible sections.
Frequently Asked Questions
How Often Should a Dryer Vent Be Professionally Inspected?
You should schedule a professional dryer-vent inspection annually. This maintenance checklist guarantees ideal airflow and reduces fire risk; follow the inspection frequency recommendations and maintain a proactive maintenance schedule to catch issues before they become costly problems.
Can Pet Hair Clog a Dryer Vent and How to Remove It?
Yes, pet hair can cause vent clogging. You remove it by unplugging the dryer, disconnecting the vent, sweeping or vacuuming hair from the lint trap and vent, and reassembling, then run a test cycle to confirm airflow.
What Temperature Settings Minimize Vent Fires Risks?
Washing machines aside, 90% of dryer fires occur with improper temperature use. You should keep temperature regulation strict, using low to medium heat, and avoid high heat; this enhances heat safety and minimizes vent fire risks.
Are There Vent Materials to Avoid for Safety?
Avoid flexible foil ducts; they’re hazardous. Use rigid metal or semi-rlexible metal venting. Prioritize vent material safety by choosing non flammable venting materials, and inspect for crushes or gaps regularly to prevent lint buildup and fires.
Do Dryer Vent Problems Affect Indoor Air Quality?
Yes, dryer vent problems can affect indoor air quality. When you have indoor pollution or vent blockage, you increase humidity and fumes, raising irritants and mold risk in your home you breathe. Regular maintenance helps protect your air.
Conclusion
Regular checks keep fires at bay, so don’t skip the basics: inspect for lint buildup, clean ducts from both ends, and test airflow after each session. Stay precise, stay safe, and treat each cleaning as a critical maintenance task—not optional chores. Remember: a clear vent path protects your home just like a shield. If in doubt, call a pro. Like a lighthouse, your diligence guides you away from danger.