
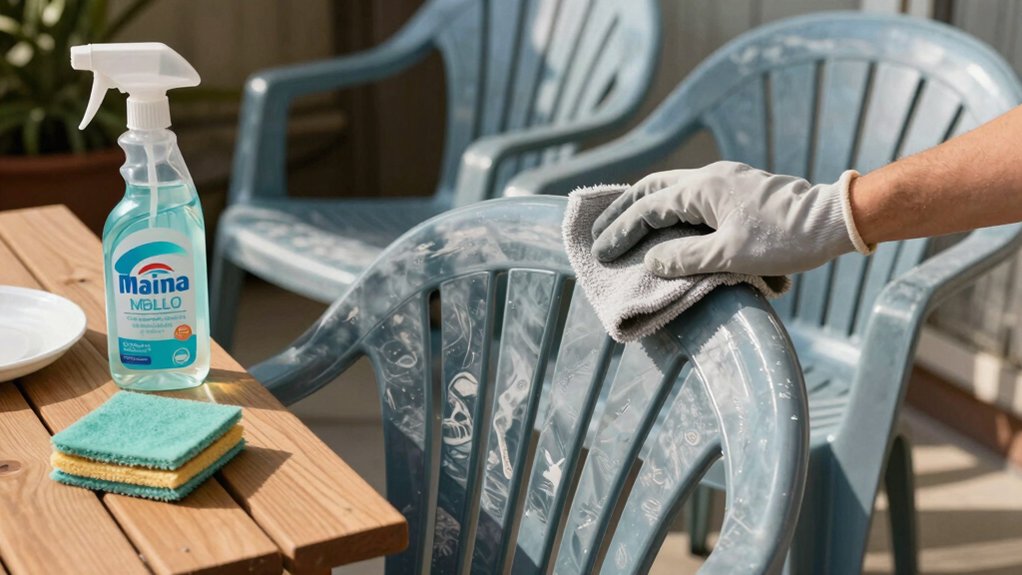
To clean and restore faded plastic patio furniture, start by identifying your plastic type and inspecting for cracks, fading, or chalking. Use a safe, color-preserving cleaner—think mild dish soap with warm water or a gentle, eco-friendly option—and test on a hidden area. For dirt, scrub with a soft brush, then dry away from sun. If color’s faded, buff lightly, apply a compatible dye or sealant, and finish with UV protection; more tips await.
Assess Your Furniture: Identify Plastic Type, Current Condition, and Color
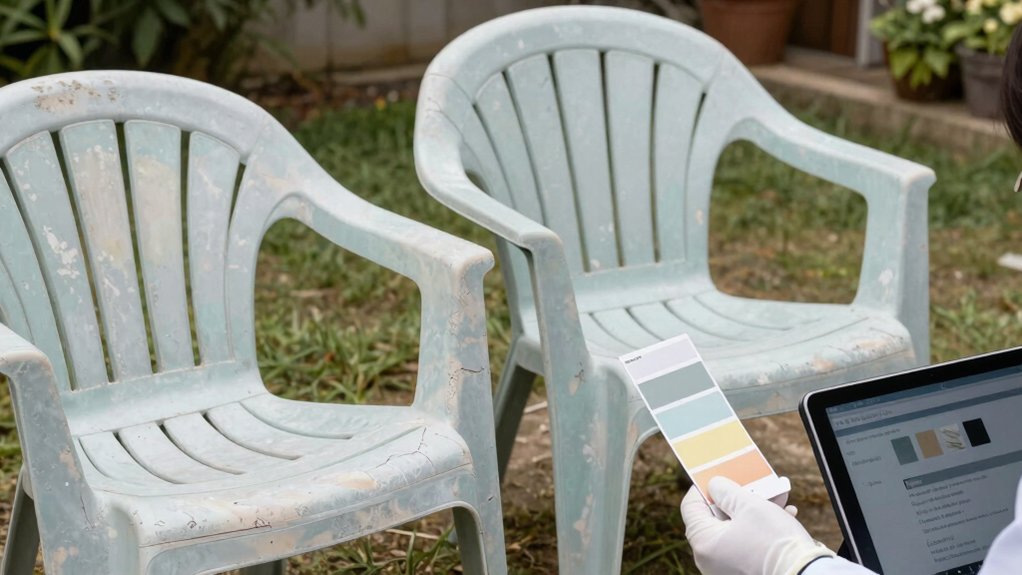
To assess your plastic furniture, start by identifying the plastic type, such as HDPE, polypropylene, or ABS, since different plastics react differently to cleaners and UV exposure. You’ll then evaluate current condition and color, noting cracks, fading, or chalking, and recording any warping or brittle spots.
This steps into plastic identification, guiding your approach to cleaning and restoration later. Inspect joints and fasteners for looseness or corrosion, as structural integrity affects overall results. Observe color uniformity and any blotching, which signals uneven exposure or degrading pigment.
Keep a simple inventory: material type, observed flaws, and shade changes. A precise surface assessment helps you choose appropriate treatments without risking damage. Document findings to establish a baseline for comparison as you proceed.
Choose Safe, Color-Preserving Cleaners
Choose cleaners that guard color while removing grime, prioritizing formulas labeled safe for plastics. Look for products with stain- and UV-resistance claims, and opt for mild, non-abrasive options that won’t strip pigment.
You’ll want clear instructions and minimal harsh chemicals to preserve finish over time.
Safer Cleaning Options
Choosing safe, color-preserving cleaners is essential for maintaining your plastic patio furniture’s look and longevity. You’ll minimize fading by selecting products that are gentle yet effective, avoiding harsh solvents and bleach that can stress plastics.
Start with water and mild dish soap, using a soft brush to lift dirt without scratching surfaces. For tougher stains, test eco-friendly solutions on an inconspicuous area before broad use. Consider natural remedies like baking soda paste for greasy spots, then rinse thoroughly.
When in doubt, choose products labeled for outdoor plastics and non-abrasive formulations. Always rinse completely to prevent residue, and air-dry away from direct sun to preserve color.
Regular gentle maintenance helps extend life while keeping colors vibrant without introducing harsh chemicals. Eco-friendly solutions, natural remedies.
Color-Preserving Formulas
When selecting cleaners for plastic patio furniture, prioritize formulas labeled safe for outdoor plastics and designed to preserve color. Color-preserving formulas minimize pigment loss while removing grime, helping you avoid new fading or uneven patches on faded plastics.
Look for product claims that mention UV stabilization, dye-safe ingredients, and resistance to rinse-off runoff. Prefer mild, non-abrasive options that avoid aggressive solvents, which can accelerate color fading and stress the plastic.
After cleaning, rinse thoroughly to prevent sticky residue that attracts dirt and dulls shine. Consider compatibility with recycled or upcycled materials, and choose bottles made from recyclable or recycled plastics to support plastic recycling efforts.
Consistent use of color-preserving cleaners extends the set’s life, reducing waste and preserving visual appeal.
Quick Cleaning: Dirt, Grime, and Stain Removal Step-by-Step
Start by targeting dirt and grime with a gentle scrub to prevent scratching.
For stubborn stains, apply spot solutions directly to the affected areas and work from the outside in to lift them evenly.
Move with steady, deliberate motions to keep the surface smooth and ready for a full clean.
Scrub Away Grime
To scrub away grime quickly, begin by mixing warm water with a gentle detergent in a bucket for a basic cleaning solution. You’ll target all surfaces with steady, deliberate motions, using your cleaning tools to lift dirt without scratching.
Hold an even perimeter around legs, arms, and tabletops to prevent streaks and residue. For stubborn grime, switch to a soft-bristle brush and apply extra pressure only where needed, avoiding sudden scrubs that could mar plastic durability.
Rinse thoroughly with clean water to remove soap film, then dry with a microfiber cloth to prevent water spots. This step sets a clean foundation for the next care stages, ensuring uniform appearance and preparing the furniture for future protection.
Stain-Spot Solutions
Stains don’t have to linger. You can tackle spots with quick, targeted methods that won’t wreck your furniture’s finish.
1) Identify the stain, then choose a mild Cleaning agents like dish soap, white vinegar, or baking soda paste.
2) Test on a hidden area before applying to the stain to prevent surprises.
3) Gently agitate with a soft cloth or sponge, working from outside the stain inward.
4) Rinse thoroughly with clean water and air-dry away from direct sun.
For stubborn marks, repeat the steps or switch to a gentle stain removal solution designed for plastics. Avoid harsh solvents that can dull color.
Restore Faded Color: Buffing, Recoloring, and Sealants
Restoring faded color starts with a careful assessment of the plastic’s finish and the extent of wear. You determine whether buffing, recoloring, or a sealant will restore uniformity without masking underlying damage.
For buffing, choose a mild abrasive pad and a compatible plastic-safe compound, applying steady, circular motions to revive surface luster without creating micro-scratches.
Recoloring requires matching the original shade with a spray or brush-on dye designed for outdoor plastics. Apply thin, even coats and allow full curing between layers.
Sealants lock in color and guard against future fading; pick a UV-rated formula suitable for outdoor exposure.
As you work, consider plastic recycling merits and prioritize products that minimize environmental impact, addressing color fading without compromising safety or longevity.
Repair Scratches and Surface Imperfections
When your plastic furniture shows scratches or surface imperfections, start by evaluating the depth and type of damage to choose the right fix. You’ll tailor your approach to preserve the piece’s look and integrity, not just hide flaws.
- Assess depth: shallow, superficial scratches respond to polishing; deeper gouges may need filler or repainting.
- Test color matching: verify the hue blends with the original color before applying any repair.
- Use controlled applications: apply thin layers, allow drying, then assess before adding more.
- Finish with a light buff: smooths the repaired area to blend with surrounding surface.
Surface scratches?
Color matching is key to a seamless repair, so compare under natural light and adjust as needed.
Protect After Cleaning: Sealants and UV Blockers
After cleaning, sealing with a protective layer is essential to extend your plastic furniture’s life. You’ll choose a UV protection product designed for outdoor plastics and apply it evenly across all surfaces. Read the label to confirm compatibility with faded, non-painted resin and follow the recommended drying times.
For best results, use a clean, lint-free cloth or a foam brush to prevent streaks, then work in light, even coats. If you’re applying a sealant, ensure complete coverage on flat areas and edges to minimize drying halos.
Allow full cure before exposure to sun or moisture. Remember, sealant application isn’t a substitute for shade or regular upkeep, but it greatly reduces further UV damage and helps maintain color and integrity.
Ongoing Care: Maintenance Routine for Longevity
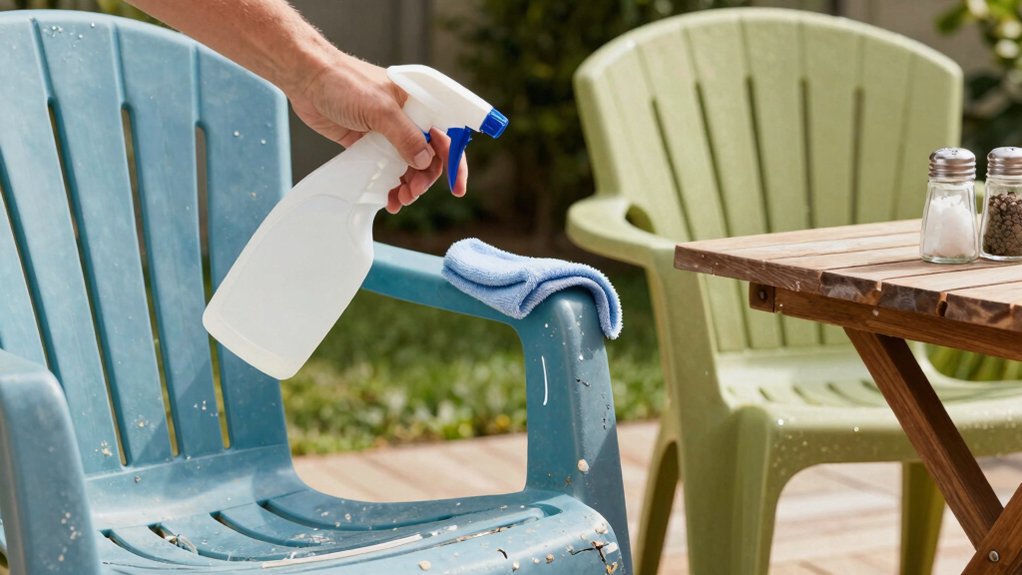
Establish a simple, regular cleaning schedule to prevent buildup and extend color and finish.
Pair it with protective storage practices to shield furniture from sun, moisture, and temperature swings.
This ongoing routine keeps maintenance efficient and your pieces looking fresh for seasons to come.
Regular Cleaning Schedule
To keep your plastic patio furniture looking its best and lasting longer, establish a simple, ongoing cleaning rhythm that fits your outdoor routine. A steady schedule helps suppress buildup and preserves color and texture over time. Use these steps as a core routine, then adjust by season.
- Cleaning frequency: light wipe-downs weekly; deep cleans monthly or after heavy use.
- Seasonal maintenance: swap in gentler products for hot months and more thorough scrubs after rain or pollen surges.
- Quick checks: inspect for cracks or loose hardware during each pass; address promptly.
- Record-keeping: note dates and products used to tailor future sessions.
Protective Storage Practices
Even with a routine clean, safeguarding your plastic furniture hinges on smart storage decisions that minimize exposure and stress. Begin by choosing a sheltered spot that shields from sun, moisture, and temperature swings, since these factors accelerate fading and brittleness.
When stacking or storing, use soft supports between pieces to prevent scratches and warp, and keep lids or covers breathable to avoid mold. Group by plastic types to avoid chemical interactions and mismatched aging, which can compromise durability.
Elevate items slightly off the ground on slats or pallets to improve airflow and prevent damp rot. For off-season storage, ensure a complete dry-down to protect furniture durability, and use reversible covers that vent and resist UV.
Regular checks maintain performance and extend your investment.
Quick Fixes for Common Outdoor Conditions
If you want to keep plastic patio furniture looking fresh despite the weather, start with quick fixes for common outdoor conditions.
1) Sun fading: wipe with a soft cloth, then apply a UV-protective spray to reduce further weather damage.
2) Rain pooling: stack or tilt chairs after use, and ensure drains are clear to prevent moisture buildup and staining.
3) Salt exposure: rinse with fresh water after coastal use to prevent corrosion and chalking.
4) Dirt and mildew: scrub with a mild detergent, rinse thoroughly, and dry promptly to restore color and prevent mold.
These quick adjustments help preserve outdoor furniture appeal and minimize weather damage between deeper cleanings.
Troubleshooting and When to Seek Pro Help
Sometimes problems with plastic patio furniture crop up after weathering or heavy use, and recognizing when routine fixes won’t cut it is essential. When you notice persistent staining, cracking, fading that worsens after cleaning, or structural loosening, stop and evaluate.
DIY tips can tackle minor issues, but don’t force repairs that may worsen the damage. If warranties apply, check coverage before attempting fixes.
For warped panels, brittle corners, or chrome-plated accents that peel, professional services offer inspection, replacement parts, and color-matching expertise you can’t DIY.
Document fading patterns and material type to speed up diagnosis. Maintainers with experience will recommend safe cleaners and UV protection.
If problems recur after a thorough cleaning and basic restoration, consider pro help to prevent unsafe use and extend longevity.
What to Do If Results Fall Short

When results fall short, assess why the DIY fixes didn’t meet expectations and pivot quickly to the most effective next steps. You’ll regain control by focusing on proven methods and avoiding wasted effort.
- Reassess the surface: identify stubborn fading, deep scratches, or chalky residue that standard DIY repair misses.
- Prioritize prep: a thorough clean, sand, and degrease to ensure paint touch up adheres properly.
- Decide on approach: if color is inconsistent, opt for a repaint using UV-stable paint; if texture remains uneven, consider refinishing.
- Seek alternatives: if DIY repair stalls, consult a pro for a targeted paint touch up or refinishing plan, then implement promptly.
Frequently Asked Questions
How Do I Test for Colorfastness Safely?
You test colorfastness safely by performing a fabric dyes color testing patch on an inconspicuous spot. Use a mild solution, blot gently, wait, and compare. If no bleeding occurs, you’re good to proceed with confidence.
Can I Use Household Bleach on Plastic Furniture?
Yes, you can, but use household bleach sparingly and dilute it properly. Avoid prolonged contact, rinse thoroughly, and test on an inconspicuous spot first. Household bleach can weaken plastic furniture if overused or applied undiluted.
Which UV Blocker Lasts Longest Outdoors?
Acrylic-based or UV-blocking coatings last longest outdoors, providing superior UV protection and outdoor durability. You’ll want a formulation with zinc oxide or benzotriazole filters, reapply as directed, and protect edges from cracking and chalking over time.
Will Color-Restoration Affect Plastic Flexibility?
Like a chameleon, you’ll test plastic flexibility first, and color restoration won’t considerably improve it. You’ll find it relies on material quality; color restoration mainly affects appearance, not structural flexibility, so expect limited gains.
How Often Should I Reapply Sealants?
You should reapply sealants every one to two years, depending on exposure; monitor wear, cracking, and discoloration. This sealing frequency preserves appearance and protection, while sealant longevity depends on product quality, surface prep, and outdoor conditions you endure.
Conclusion
You reach the end of your queue of steps, and something coincidences with your luck: the very soap you grabbed echoes yesterday’s sunshine on the patio. You’ll spot the color returning just as you expected, not by chance alone but by steady, practical care. If a stubborn corner resists, another scrub, another buff, another sealant—and you’ll notice how routine becomes routine magic. Your faded set isn’t merely restored; it’s renewed, quietly agreeing with your patience.




