

To build a simple, strong workbench, start with a square, stable frame using tight 90-degree corners and reinforced joints. Choose durable, workable materials for a warp-resistant top, like balanced veneer plywood or laminated MDF, and secure it with corrosion-resistant fasteners plus edge banding. Add level feet or stout casters, and fit a practical vise and clamps aligned for easy access. Finish with a durable, water-resistant coating and non-slip edges. If you keep going, you’ll uncover even more practical how-tos.
What Makes a Sturdy Workbench: Key Criteria You’ll Use Throughout This Build
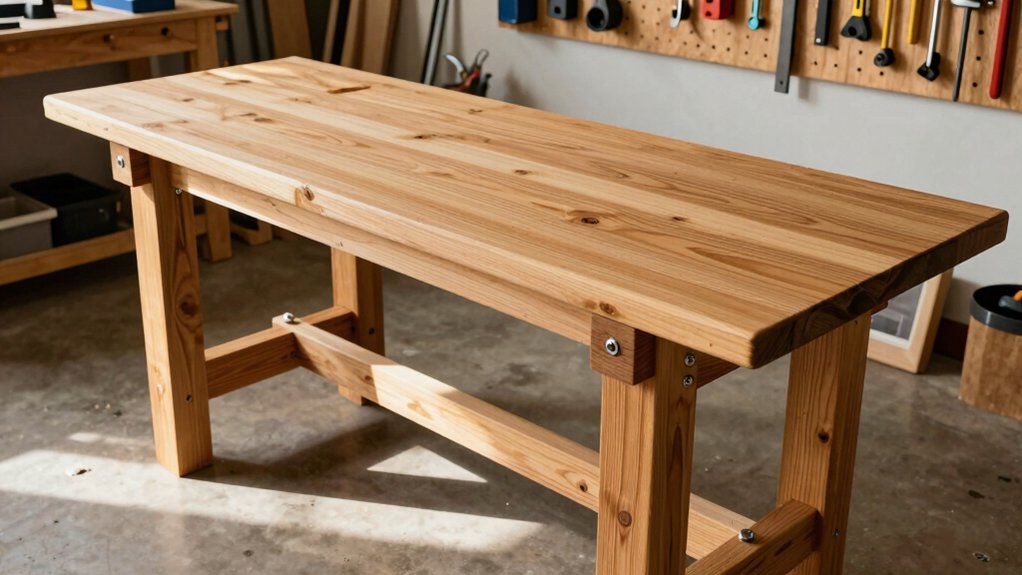
A sturdy workbench hinges on three pillars: stability, rigidity, and durability. You’ll prioritize Workbench stability by choosing a solid base, level feet, and a wide footprint, then verify it with a quick shove test.
Rigidity comes from choosing crisp joinery, tight fasteners, and proper alignment of components; avoid flimsy brackets or unnecessary gaps.
Durability means selecting durable materials and coatings that withstand shop wear, moisture, and impact. You’ll plan for load distribution, using a laminated top or thick plywood with a butcher-block edge as appropriate, and ensure it resists cupping.
Fasteners should be corrosion-resistant, and hardware should be sized for anticipated loads. In practice, you’ll balance weight, ease of use, and longevity to maintain consistent work surface performance.
Assess Your Space and Design Criteria
Before you start building, map out your space and your design criteria to guide every choice. Consider how much room you have, where tools will live, and how you’ll access the bench during projects.
Align your dimensions and features with your tasks so the bench fits your workflow, not the other way around.
Space Availability
To assess space availability, start by outlining the workspace you have and the activities you’ll perform. Measure overall dimensions, door clearances, and fixed obstructions. Note ceiling height, power outlets, lighting, ventilation, and floor levelness.
Identify primary work zones: materials storage, tool setup, assembly, and finishing. Consider workflow: can you move from raw material intake to processing without backtracking? Prioritize accessible storage for frequently used items to support garage organization.
Assess reach and line of sight to the bench from standing and seated positions, applying workspace ergonomics concepts to prevent strain. Reserve space for clamping, cutoffs, and waste, ensuring safe margins near edges.
Record constraints and opportunities, then translate them into bench length, height, and footprint that fit your space precisely. Budget, then optimize measurements accordingly.
Design Criteria
You should begin with a clear set of space-based design criteria that align with your workflow: identify the essential footprint, determine ideal bench height, and specify fixed and flexible PPE, power, lighting, and ventilation needs.
- Optimize material selection for strength, weight, and cost
- Define precise space planning to allow workflow, access, and future expansion
- Choose a bench height that matches your dominant task and tool access
- Allocate dedicated zones for storage, assembly, and finish work
- Ensure fixed and flexible utilities (PPE, lighting, power, ventilation) align with typical tasks
This approach keeps your bench practical, robust, and adaptable, preventing bottlenecks and improving safety.
Focus on tangible criteria, then iterate as tools and tasks evolve.
Build a Square, Stable Frame
A square, stable frame is the foundation of a reliable workbench, so assemble the sides with tight 90-degree corners and plumb alignment before you worry about any attachments. You’ll guarantee true edges by checking with a square and measuring diagonals; adjust clamps until diagonals match.
Use jointed stock or reinforced corners to prevent racking, then secure rails firmly to keep the frame square under load. Prioritize flat, level feet or casters rated for your weight, and verify that the frame remains square after tightening.
Plan your layout to support precise, repeatable work by incorporating accessible Workbench accessories and a layout system that won’t compromise rigidity. Keep the design ergonomic, avoiding unnecessary twists that force you to reach awkwardly and strain your back.
Choose Materials You Can Actually Work With
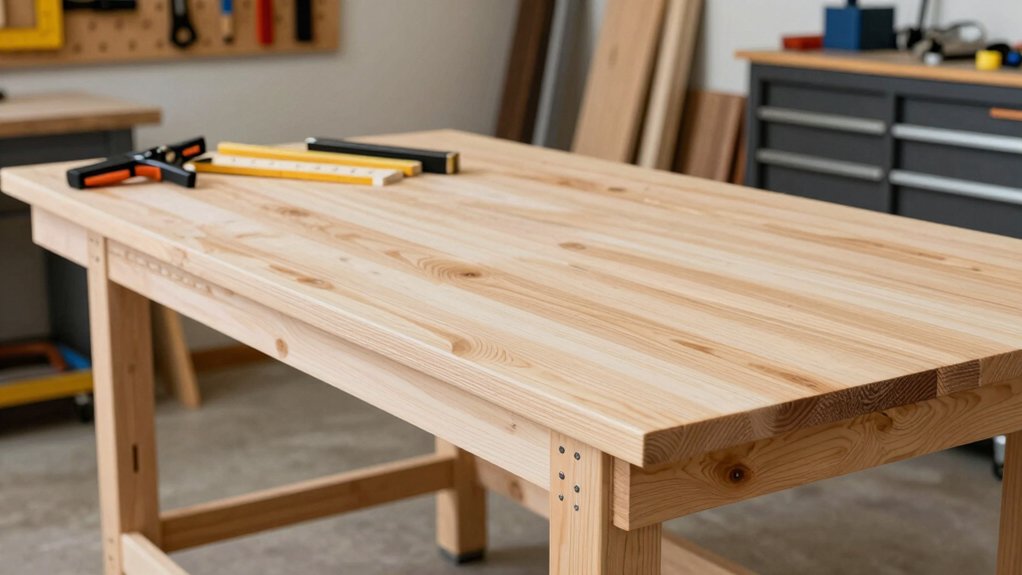
Choose materials that strike a hard balance between durability, workability, and availability, so you can build it once and use it often. You want boards that resist wear but aren’t a nightmare to cut, shape, or mill.
You should pick sources you can reliably get locally. Start with a straightforward, practical mix that you can actually work with today, and adjust as you refine your bench design.
Durable Materials Balance
When selecting materials for a simple workbench, prioritize durability and workability to keep the project sturdy and manageable. You’ll balance strength, weight, and control so the bench stays stable under use, not a sagging afterthought.
Choose materials that admit precise machining and reliable joints, while keeping overall weight reasonable for transport and position. Achieve durable material balance by aligning weight distribution with leg spacing and torso area support, preventing tipping and wobble.
- Favor closed-grain hardwoods or laminated composites for top panels
- Combine steel or substantial plywood legs with reinforced brackets
- Use dense core materials where impact is common
- Avoid overly brittle finishes on high-stress zones
- Opt for easy-to-source, consistent stock to maintain tolerances
This approach supports material selection clarity and reliable weight distribution across the bench’s footprint.
Workability and Availability
Workability matters as much as strength: pick materials you can cut, drill, and join with predictable results. You’ll grade options by how easily you can work them with common shop tools and a cordless drill.
If you’re new to woodworking or metal, start with forgiving stock and simple joints to avoid frustration from unexpected grain behavior or hardened fibers. Consider available tooling and your skill rate; even strong materials fail if you can’t shape them accurately.
Be mindful of workability issues that slow progress or cause inaccuracies, and document any adjustments you make. Availability constraints matter too: local supply, lead times, and batch consistency affect project timing.
Choose materials that meet both performance and handling expectations to ensure steady progress.
Craft a Warping-Resistant Tabletop
A warped tabletop can ruin accuracy and enjoyment, so start with a stable base and materials designed to resist moisture and temperature changes. You’ll choose core materials and protective finishes that limit flex, warp, and seasonal movement, keeping measurements true as you work.
Consider plywood cores with balanced veneers, or laminated MDF with stable cross-grain layups, sealed to minimize moisture ingress. Use a tight, uniform fastener plan and edge banding to guard against surface delamination.
Maintain room conditions and avoid rapid temperature swings to prevent tabletop warping and material expansion from catching you off guard.
- Consistent material selection prevents surprises
- Moisture resistance preserves flatness
- Balanced core reduces crown and bow
- Edge protection stops chipping and warping
- Finishes deter moisture and temperature shifts
Fastening Methods That Resist Daily Wear
Secure fastening is the backbone of a durable workbench. To resist daily wear, choose fastening techniques that distribute load and tolerate vibration.
Use metal fasteners with corrosion resistance and match sizes to the material thickness you’re joining. For wood, combine carpenter’s screws with washers to prevent pullout in softer fibers; for plywood, use pocket screws or screws with edge reinforcement.
Where metal meets wood, consider washers or backing plates to reduce crush. Avoid over-torquing, which can strip threads and loosen joints.
Use match-grade fasteners for high-stress areas, and reserve staples or nails for non-structural joins.
Ascertain material compatibility by confirming that fasteners won’t react with finishes or adhesives.
Periodically inspect joints and re-tighten as needed to maintain rigidity.
Align Legs, Rails, and Supports Gap-Free

Align legs, rails, and supports gap-free by checking each joint as you assemble. You’ll guarantee Workbench stability from the first screw, confirming square corners and straight rails before fasteners set. Prioritize material alignment so surfaces sit flush and load transfers are even. Tighten progressively, not once and finished; recheck after every adjustment. If a gap appears, reposition a leg or rail and re-torque, avoiding skew that compromises rigidity.
- Consistent squareness boosts confidence and performance
- Visualize load paths to prevent misalignment
- Clamp firmly, then verify with a straightedge
- Mind the offset between top and frame
- Recheck all joints after final assembly for true alignment
Practical Vise and Clamp Options for a Budget Bench
You’ll pick jaws and pads that suit occasional thicknesses and steady grip, choosing between hardwood, aluminum, or soft jaw pads for protection.
Position your vise and clamps for efficient workflow, balancing mounting stability with accessible reach.
Budget options like versatile quick-clamp tools and simple clamping fixtures can cover common tasks without overkill.
Jaw Types And Jaw Pads
There are several workable jaw types and pads you can use on a budget bench, and choosing the right combination depends on the work you do and the materials you plan to clamp. You’ll balance grip, protection, and accessibility by mixing tool steel, aluminum, and plastic faces with simple pads.
Select jaw types that fit your clamps and match the workpiece geometry for stable, repeatable holds.
- Secure bite without marring delicate edges
- Quick switch between tasks to save time
- Reusable pads extend vise life
- Moderate pressure for soft materials
- Low-cost options that resist wear and rust
Vise Mounting And Placement
Vise mounting and placement shapes how reliably you can work, so start with a solid base and precise alignment. You want a vise that remains square to your bench and to the work surface, not wiggling or tilting under load.
Choose a sturdy, flat benchtop area and mark drilling points that align with the vise’s screw holes or mounting plate. For budget setups, consider a face-mounted vise on a laminated top or a front-mixed bolt-on model with a flat reference surface.
Ensure screws, bolts, and washers seat cleanly and evenly. Tighten hardware to prevent flex, and verify alignment with a straight edge and a test cut or clamp.
Prioritize repeatable positioning, consistent clamping pressure, and stable, easy-to-reach placement for reliable work. vise mounting, vise placement.
Budget Clamp Options
Budget clamp options can dramatically expand a low-cost bench’s utility without sacrificing accuracy. You’ll want practical clamps that bite reliably, move smoothly, and resist drift under load.
Start with simple bar clamps and F-clamps as budget solutions for generic tasks, then add locking pliers or quick-release variants for fast setup. Look for anodized or rust-resistant housings to extend life, and prioritize clamps that mate with standard bench slots to maximize compatibility.
Guarantee jaw pads are replaceable to preserve workpiece finish. When choosing, compare clamp types for force, range, and tightening action. Invest in a few versatile pieces before specialty tools.
- Clear grip, minimal slippage, steady pressure
- Quick adjustment for fast setups
- Durable build that resists fatigue
- Compatible with standard bench slots
- Easy-to-replace pads and parts
Add Non-Slip Edges and a Durable Protective Finish
To keep the bench stable and safe, add non-slip edges and a durable protective finish that resists wear and moisture.
You’ll first plan edge treatment to prevent tools from sliding and to protect workpieces. Install non slip edges along the front and rear where contact with benches and brackets occurs; use a gripping profile or rubber-inset strips that stay secure with long screws.
Choose a protective finish that’s rugged, water resistant, and easy to apply in multiple coats, such as a polyurethane or polymerized varnish. Apply evenly, sanding light between coats for a smooth surface.
Allow full cure before heavy use, then maintain by wiping spills promptly and reapplying finish as needed to preserve edge integrity and overall durability. Regular inspection keeps performance consistent.
Quick Setup Tips for a Safe, Long-Lasting Workbench
A quick setup matters just as much as the build itself, so start with a stable, level base and secure mounting points to prevent movement during use. Then verify clamps, vises, and shelf supports are aligned and tight.
Plan proactive storage solutions that keep tools accessible without crowding work space, reducing reach and strain. Prioritize ergonomic considerations: adjust height, posture, and workflow to minimize bending and twisting.
Use integrated pegboard zoning for frequent items, plus drawers for small parts. Label surfaces for quick identification and consistent placement.
- Stable base, precise leveling, and solid fasteners
- Accessible tool zones that reduce reach
- Clearly labeled storage solutions for speed
- Ergonomic adjustments that prevent fatigue
- Secure, quiet clamping and durable, easy-clean surfaces
Frequently Asked Questions
How Much Weight Can a Budget Workbench Safely Support?
A budget workbench can safely support a load capacity of about 200–300 pounds, depending on construction. Use sturdy workbench materials, reinforce joints, and avoid sudden impacts to maintain reliability and safety for typical garage tasks.
What Is the Ideal Bench Height for Common Tasks?
The ideal bench height is roughly at your elbow’s bend when standing, about 36–40 inches, for ergonomic comfort. Consider material considerations like solid hardwood or steel, then tune for clearance and reach to maximize practicality and efficiency.
Which Finish Resists Chemicals and Staining Best?
Polyurethane and epoxy finishes resist chemicals and staining best, so you’ll enjoy durable protection. You’ll trust chemical resistance and stain resistance, because proven formulas guard against solvents and dyes while staying easy to clean and scratch-tolerant.
How Do I Prevent Workbench Warping Over Time?
To prevent warping, you should prioritize proper moisture control and smart materials selection; store and seal wood, use level, stiff legs, and cross supports, and monitor humidity, adjusting as needed to maintain dimensional stability over time.
What Clamps or Vises Work Best for Beginners?
Clamp types and vise selection? Choose quick, dependable clamps (C-clamps, bar clamps) for steady grip, plus a beginner’s vise with smooth jaws and sturdy mounting. You’ll lock, clamp, and cut confidently, ensuring precise, problem-free projects.
Conclusion
You’ve built more than a bench—you’ve carved out a workspace that stands up to the job. As you tighten the final jig or lock in the tabletop, the room seems to pause, listening. Will the next cut betray your plan, or trust your craft? With steady hands and the proven design you followed, you’ll find the answer in the quiet seconds after the clamp releases. Your strong, stable bench is ready for whatever comes next.




