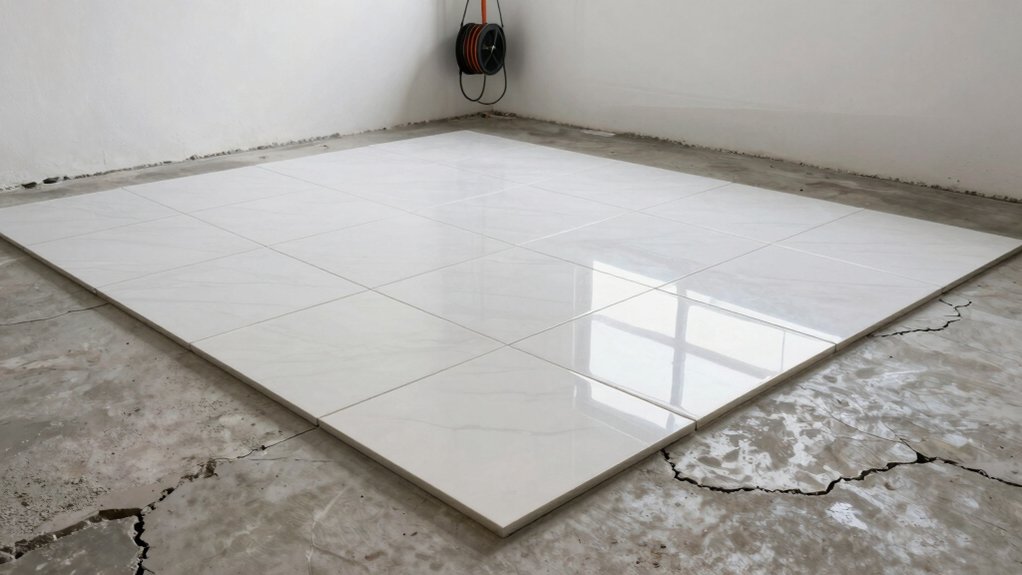
You’re considering garage floor tiles over cracked concrete, but the decision isn’t simple. If cracks are active or spreading, tiling can trap movement and lead to tile cracks, debonding, or a wobbly floor. You’ll want solid prep—assess the substrate, repair or overlay, and choose a resilient tile system suitable for heavy use. It’s not just sticking tiles on top; underlying issues drive durability. Keep the risks in mind as you weigh options and plan your next steps.
Assessing Cracks and Substrate Condition
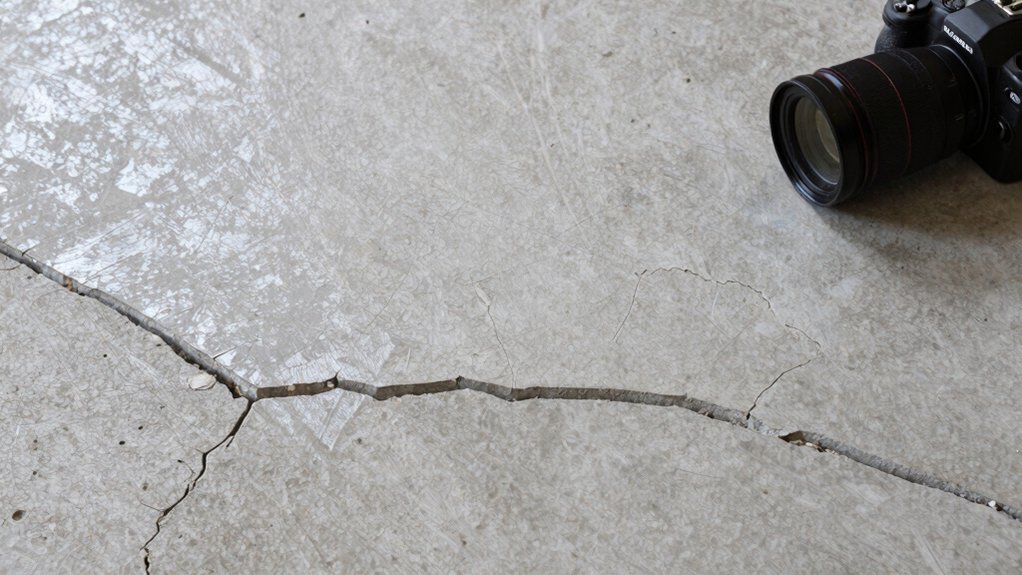
Cracked concrete can undermine tile performance, so start by inspecting the extent and depth of the cracks and evaluating the substrate for stability. You’ll map crack patterns, note whether they’re wide, shifting, or intersecting, and document elevations using a level or laser.
Check for moisture signs, efflorescence, and spalling, since moisture drives failure later. Probe the substrate with a thin screwdriver to gauge hardness and confirm bonding surface consistency.
Verify that the slab is flat within a few millimeters over a 1-meter span; high spots and depressions demand corrective work. Determine whether reinforcement has shifted, causing differential movement.
If cracks are active or the slab shows ongoing movement, plan for remediation before any tile installation. Gather all records, measurements, and visuals to guide the next steps.
Risks of Tiling Over Cracked Concrete
Tiling over cracked concrete introduces several clear risks that can compromise performance, longevity, and safety if you don’t address movement first. You’ll invite tile cracking, debonding, and uneven surfaces as foundations shift or settle.
Hairline cracks can widen under load, transferring stress to tiles and grout, causing pops and hollow spots. Water infiltration between tile and substrate increases mold risk and damages underlayment, especially in garages with temperature swings. Joint flex can create differential movement, leading to grout cracking and tile spalling.
Poor substrate preparation lets aggregates protrude, dulling edges and causing tile edge chipping. Mortar or adhesive failures are likely when surfaces aren’t clean, dry, or properly primed.
Finally, you heighten the risk of trip hazards from high spots or loose tiles, undermining safety and maintenance. Prioritize movement assessment before tiling.
Preparation Methods: Repair or Overlays
When preparing for repairs or overlays, you must assess the crack patterns, movement potential, and moisture conditions first, then choose a method that restores a stable, flat substrate.
Start with pinholes, map active joints, and note whether cracks reflect or propagate.
If movement is minimal and cracks are wide, use a bonding agent and a cementitious patch to relevel the surface.
For wider substrates with slight movement, consider a self-leveling overlay to achieve a true plane, then prime to improve adhesion.
If moisture is present, address it with moisture barriers or epoxy primers before any overlay.
Avoid overlay if the substrate continues to move, as failure will recur.
Conclude with a test area to confirm adhesion and plan for preventative edge detailing.
Proceed decisively, documenting each step.
Tile System Options for Garages
You’ve assessed cracks, movement potential, and moisture, and now you’re choosing a garaged tile system that stays stable under load and traffic.
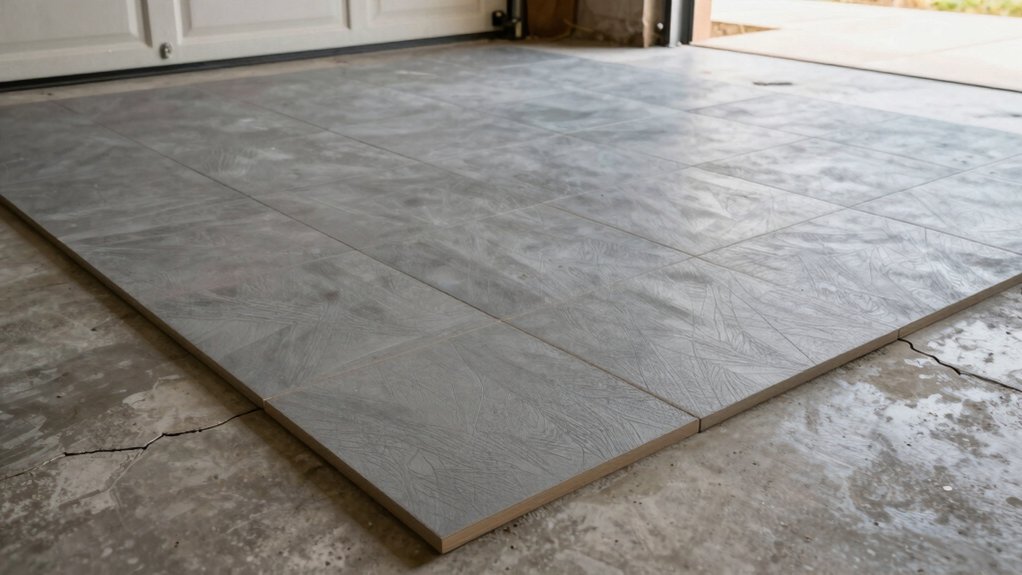
In garages, you’ll prioritize interlocking modular systems, heavy-duty vinyl, or composite porcelain options with solid wear ratings. Interlocking tiles simplify replacement and allow select panels to lift if access is needed beneath the slab, but ensure locking tabs resist shearing from abrasion.
For moisture-prone floors, choose tiles with closed-cell cores or sealed surfaces to prevent water ingress and staining.
Consider a substrate-thin leveling layer if you need uniform height, but avoid thick overlays that crack under movement.
Look for non-slip textures, chemical resistance, and warranty coverage against impact and UV exposure.
Compatibility with radiant heat and garage mats can extend life and reduce maintenance.
Step-by-Step Installation Considerations
Before you lay anything, assess the slab and moisture conditions, then prep the surface with a patching compound or leveling layer as needed to achieve a flat, dry base.
You’ll verify crack width, control joints, and residual moisture with a meter, addressing any high spots or pits first.
Clean thoroughly, removing dust, oil, and cured residues; a tack coat helps bonding if using self-leveling products.
Choose tile and underlayment compatible with your floor and climate, and follow manufacturer specs for thickness, adhesive, and cure times.
Apply primer where required, then install in a consistent pattern, staggering joints.
Roll or weight-set tiles to ensure full contact, checking for voids.
Seal edging, trim, and expansion gaps per guidelines, then test for leveling and adhesion before light traffic.
Frequently Asked Questions
How Long Does a Garage Tile Installation Last Before Replacement?
A durable garage tile, like a stubborn guard dog, lasts about 10–20 years with proper prep. You’ll need resealing every 3–5 years and replacement sooner if tiles crack, peel, or moisture breaches show up.
Can Radiant Floor Heating Be Used With Garage Tiles on Cracked Concrete?
Radiant floor heating can work with garage tiles on cracked concrete, but you must fix the crack, guarantee proper subfloor flatness, use compatible heat‑rated tiles, and install a rigid, insulated subfloor with a vapor barrier before heating.
Will Moisture Affect Tile Adhesion on Cracked Slabs Long-Term?
Moisture will jeopardize long-term adhesion on cracked slabs, even if tiles temporarily hold. You measure risks, prep thoroughly, stabilize cracks, seal leaks, and use high-quality epoxy or urethane grout to maintain bond through moisture cycles.
Are There Color or Texture Limits When Tiling Over Cracks?
Color and texture limits aren’t forgiving: avoid bold patterns that exaggerate cracks, choose neutral, consistent hues, and keep textures smooth for even grout lines; guarantee crack management with proper prep first, then test adhesion before final installation.
Is Professional Inspection Required Before Tiling Over Cracks?
Yes, you should get a professional inspection before tiling over cracks. You’ll compare risks and costs, weigh alternatives, and verify moisture and structural issues are addressed, otherwise cracked concrete undermines tiles, causing failures and costly repairs later. Proceed cautiously.