Automating your thermostat, lights, and plugs cuts waste by matching energy use to real activity. With a smart thermostat, you tailor heating and cooling to occupancy and seasons, lowering HVAC run time. Motion sensors and dimmable lights reduce over‑illumination and keep rooms comfortable only when needed. Smart plugs curb standby power and auto‑shutdown idle devices. Use zones and schedules to target active areas, so you pay only for what you actually use. Ready to optimize further? You’ll uncover more practical steps.
Choosing the Right Thermostat and Sensors
Choosing the right thermostat and sensors starts with your home’s heating and cooling needs. You assess your typical daily schedule, occupancy patterns, and climate to pick a device that aligns with those realities. A smart thermostat isn’t just a dial; it’s a learning hub that adapts to your routines and reduces waste.
Look for compatibility with your system, Wi‑Fi reliability, and remote control features. When it comes to sensor placement, put sensors where they’ll capture true conditions—public spaces, bedrooms, and kitchens—avoiding heat sources, drafts, or direct sun.
Balance comfort with energy use by correlating sensor data to zoning options and fan settings. Prioritize a model that supports gradual adjustments, clear energy reports, and easy integration with smart home ecosystems.
Automating Lights for Comfort and Efficiency
Smart lighting automates daily comfort and trims energy use by adapting to how you move through spaces. You’ll gain seamless control that reduces waste without sacrificing convenience. Use motion sensors to turn lights on when you enter and off after you leave, avoiding idle power draw.
Pair this with ambient lighting to maintain a steady level of brightness that suits tasks and mood, minimizing dependence on overheads. Set zone-based rules so corridors dim softly at night and work areas stay brighter during tasks.
Choose dimmable bulbs and smart switches to fine-tune intensity rather than flipping lights on full. Maintain a simple routine: automate entrances, adjust for occupancy, and monitor usage to validate savings over time.
Scheduling and Zoning for Targeted Energy Use
How can you target energy use with precise schedules and zoning to maximize savings? Start by defining zones that reflect how you inhabit your space—living areas vs. bedrooms, work zones vs. common spaces. Use scheduling to align heating, cooling, and lighting with actual occupancy, not rigid clock times.
Implement zoning strategies that treat each area independently, so you don’t waste energy heating or lighting unused rooms. Rely on occupancy detection to trigger or omit activity, reducing waste during off hours. Create overrides for mornings and nights, and set vacation modes that preserve essential comfort without overdoing it.
Regularly review usage patterns, adjust thresholds, and fine-tune schedules seasonally. This approach delivers precise control, minimal fluff, and tangible savings.
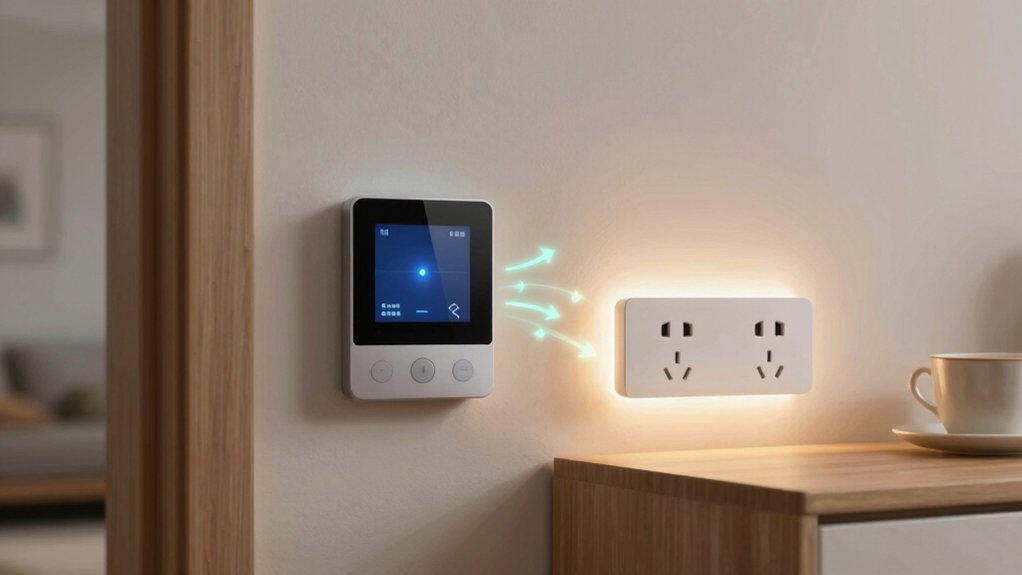
Plugs and Power Management to Cut Standby Draw
If you want to cut standby draw, start with smart plug scheduling and energy monitoring alerts to catch idle devices.
Use these tools to curb phantom power and keep only active components energized.
I’ll help you tune setups for maximum efficiency without adding overhead.
Standby Power Reduction
To cut standby power use, focus on plugs and power management that stay on but draw minimal current. You’ll reduce idle draw by choosing high-quality, low-leakage adapters and using devices with efficient power supplies.
Prioritize energy conservation by unplugging unnecessary gear or enabling built-in on/off timers for always-on modules. Use smart strips with individual outlets so idle devices aren’t feeding phantom loads, and group cluttered chargers into a single controlled surge protector.
Enable sleep or idle modes on electronics when appropriate, and aim for devices rated with low standby consumption. Regularly assess wall-wart or USB chargers; replace aging units that still draw power when idle.
This practical approach supports standby reduction and keeps your home energized-efficient, without overhauling routines.
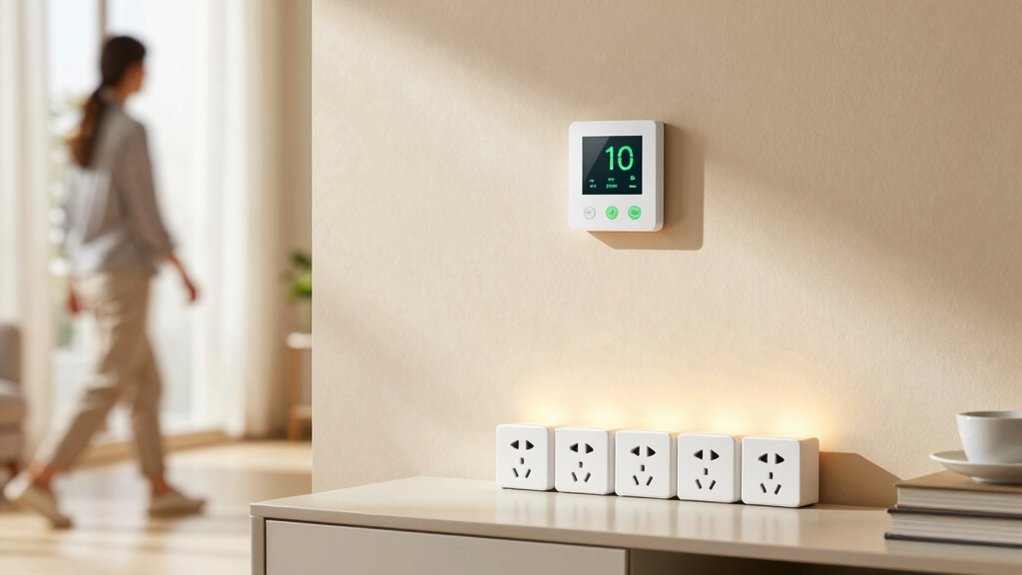
Smart Plug Scheduling
Smart plug scheduling builds on cutting standby power by giving you tight control over when devices draw power. You’ll set specific times or conditions for outlets, so idle chargers and phantom loads don’t quietly drain energy.
Use schedules to delay powering devices until you actually need them, and create routines that align with your daily rhythm. Corporate-level precision isn’t required, just reliable, repeatable patterns that save watts.
Rely on clear, simple automations in your plugs’ apps, and verify they run as intended at the expected times. Use voice commands to start or adjust schedules on the fly, and leverage the user interfaces to tweak accuracy.
Keep monitoring, testing, and refining to maintain steady energy savings without sacrificing convenience.
Energy Monitoring Alerts
Energy monitoring alerts help you spot standby and phantom loads so you can trim wasted power. When you enable alerts, you’ll see real-time energy consumption spikes and trends, so you can act fast. Use them to identify idle devices that still pull power, and set thresholds that reflect practical savings, not alarm fatigue.
This feature pairs with smart plugs and hubs, but you must consider device compatibility before relying on it fully. Check that your equipment supports the monitoring protocol and communicates status reliably.
Then routinely review weekly charts to confirm improvements are meaningful. Keep actions simple: unplug, reconfigure schedules, or swap out energy hogs. With disciplined monitoring, you’ll reduce waste and lower your energy footprint efficiently.
Real-World Routines for Daily Savings
Real-world routines make daily savings practical: program a wake-up scene that lowers heat or AC gradually, then turn on lights only where needed. You’ll set small, predictable actions that become habits, reducing waste without feeling restrictive.
Create a daytime routine that shifts to energy-aware settings when rooms aren’t in use, and automatically dim or switch off plugs after activity ends. Pair scenes with occupancy signals so systems respond to presence, not just time.
Use energy efficient insulation as a baseline so ambient changes matter less. Build on renewable energy sources when available, aligning high-usage chores with sunny or windy periods.
Test briefly each week, adjust thresholds, and document results to reinforce consistent behavior. Consistent routines compound daily savings across seasons.
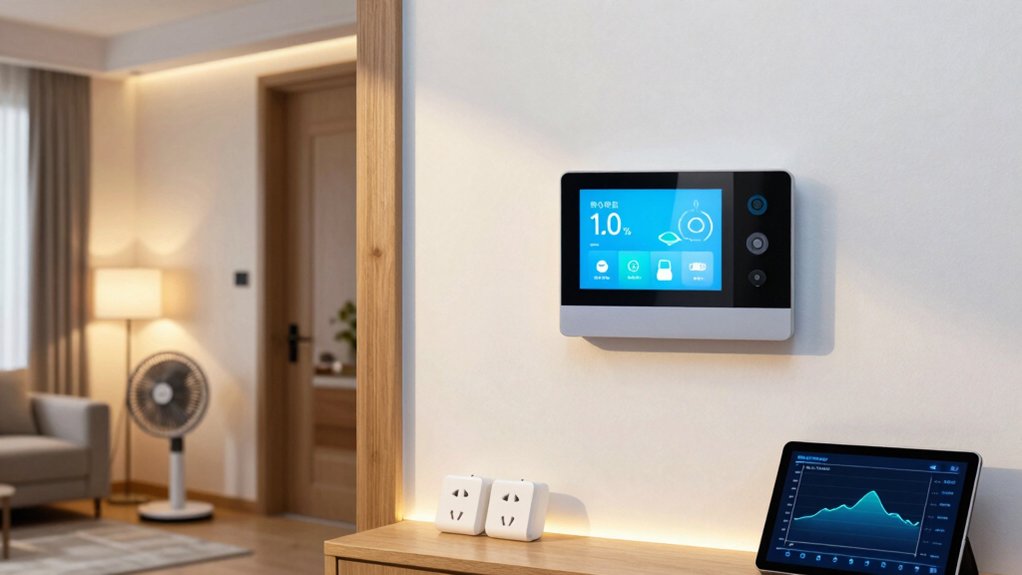
Monitoring Gains: Track Your Energy and Costs
To start gaining clarity on savings, monitor your energy use and costs in real time. You’ll see how automation shifts patterns, enabling precise decisions and faster payback.
Track gains with consistent data, then translate numbers into concrete actions. Use energy audits and usage comparisons to benchmark progress, identify anomalies, and optimize routines.
Stay disciplined: review dashboards weekly, not yearly, and act on outliers. Your measurements should guide tweaks to temperature, lighting, and plug schedules, maximizing efficiency without compromising comfort.
- Observe real-time consumption during peak hours and compare to baseline
- Run energy audits to verify savings against targets
- Compare usage across devices and rooms to prioritize fixes
- Document changes and track resulting cost reductions over time
Troubleshooting Common Automation Hurdles
Troubleshooting automation hiccups is a natural next step after you’ve started monitoring gains. When a device misbehaves, first confirm your network is solid and your firmware is current. A quick reset can clear minor glitches without losing schedules.
Check that voice command prompts match the intended scenes and that microphones or hubs aren’t muted or obstructed. If a scene won’t trigger, verify the trigger conditions and any conditional logic you’ve set, then test each component separately.
If you need immediate control, use a manual override to maintain comfort or safety while you diagnose. Document recurring issues and avoid overloading routines with complex conditions.
Keep automation lean, update regularly, and prioritize reliable, simple flows over intricate, fragile setups.
From Smart Home to Lasting Habits: Sustaining Savings
Sustaining savings means turning smart-home gains into lasting habits, not one-off tweaks. You’ll lock in energy efficiency by keeping routines consistent and reviewing settings monthly.
- Build simple checks into your week: confirm schedules, adjust temps, and verify device sleep modes.
- Tie automation to life events: work from home days, vacations, and seasonal shifts, so savings persist.
- Track impact openly: compare bills, monitor energy efficient habits, and celebrate small wins.
- Reassess environmental impact: prune unnecessary automations and align with sustainability goals.
Getting Started: Quick Setup Checklist
Start with quick setup steps to get devices online fast. Connect each device confidently, then confirm basic functionality before scaling.
Use clear schedules and simple rules to optimize performance from day one.
Quick Setup Steps
Getting started is quick and straightforward: set up your hub, connect each device, and run a quick test to confirm everything works. You’ll keep momentum with a tight checklist and clear steps that respect Energy efficient upgrades and User friendly interfaces as guiding themes.
- Install the hub in a centralized location and power it up
- Pair each device one by one, following on-screen prompts
- Run a system test to verify status, lighting, and climate signals
- Label scenes and quick buttons for immediate, practical control
Keep sessions brief, and document any hiccups. This setup prioritizes simplicity and reliability, so you can begin saving energy right away without unnecessary steps.
Connect Devices Easily
To connect devices quickly, follow a straightforward, step-by-step approach: power the hub, then pair each device one by one using the on-screen prompts. You’ll establish a reliable baseline in minutes.
Start with a quick hardware check—confirm power, good antenna positioning, and fresh batteries if required. Next, select the device type in the app and initiate pairing. Keep the hub within close range to reduce interference.
When prompted, enter any necessary codes or confirm permissions, and watch for a successful connection indicator before moving on. Focus on streamlined setup: complete one pairing, verify it’s stable, then proceed.
This method emphasizes device pairing efficiency and awareness of wireless protocols, ensuring compatibility across sensors, plugs, and controllers without unnecessary steps.
Optimize Scheduling Basics
Now that your hub is pairing smoothly, it’s time to optimize when things happen. Optimize scheduling basics gives you solid control without complexity.
Start with a daily rhythm: align heating, cooling, lights, and plugs to your routine. Use simple presets for weekdays and weekends, then fine‑tune with gradual changes to avoid abrupt shifts.
Validate temperature calibration so the thermostat reflects actual room conditions. Check sensor placement to ensure accurate readings across spaces; place sensors away from drafts, sunlit spots, or heat sources.
Test automations by simulating typical days and adjust timing if rooms heat or cool too fast. Keep a short, editable plan and review weekly for improvements.
- Set core wake/sleep windows
- Calibrate temps and verify sensors
- Layer lighting and outlet schedules
- Review and refine weekly
Conclusion
You’ll save energy by automating your thermostat, lights, and plugs, but the real win is consistency. Set schedules, use sensors wisely, and avoid overcomplicating scenes. Track your usage to prove progress and adjust as seasons shift. If a routine stalls, simplify—ditch extra automations and stick to core savings. Treat automation like a trusty monitor, not a gadget stash. And yes, your future self will thank you, especially when you don’t miss those brick-sized power bills. —Now, a little 1980s coffee break.