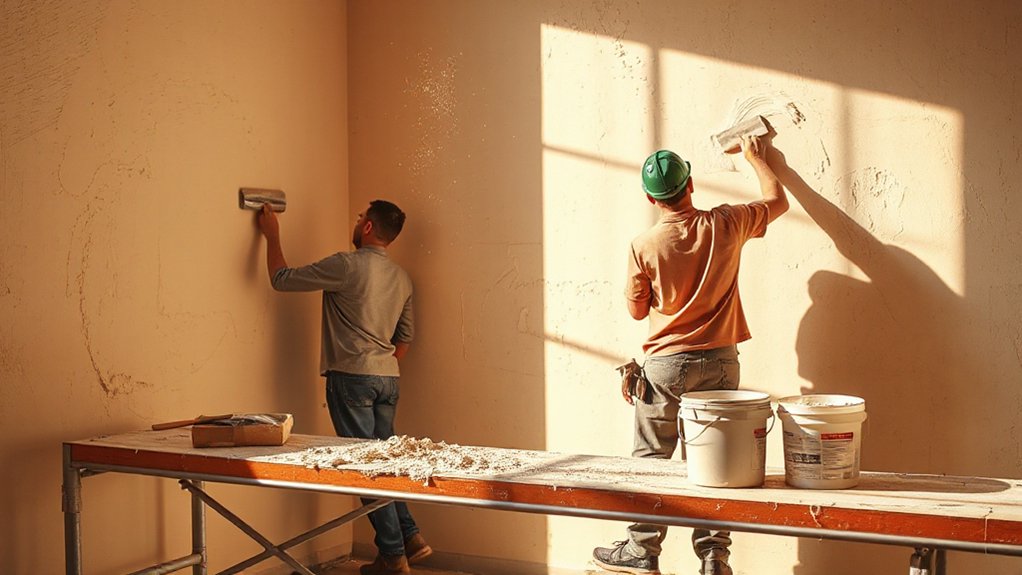
Did you know that plastering costs aren’t just about material price but also the condition of your walls and the finish you want? You’ll want a precise plan because surfaces, repairs, and primer can reshape timelines and bills, not to mention scaffolding and labor rates. If you map room-by-room needs and compare lime, gypsum, or cement—as well as negotiate smartly—you’ll uncover where budgets creep and where you can cut without losing quality. Keep going to pin down a practical approach.
Estimate the True Cost of Plastering a House
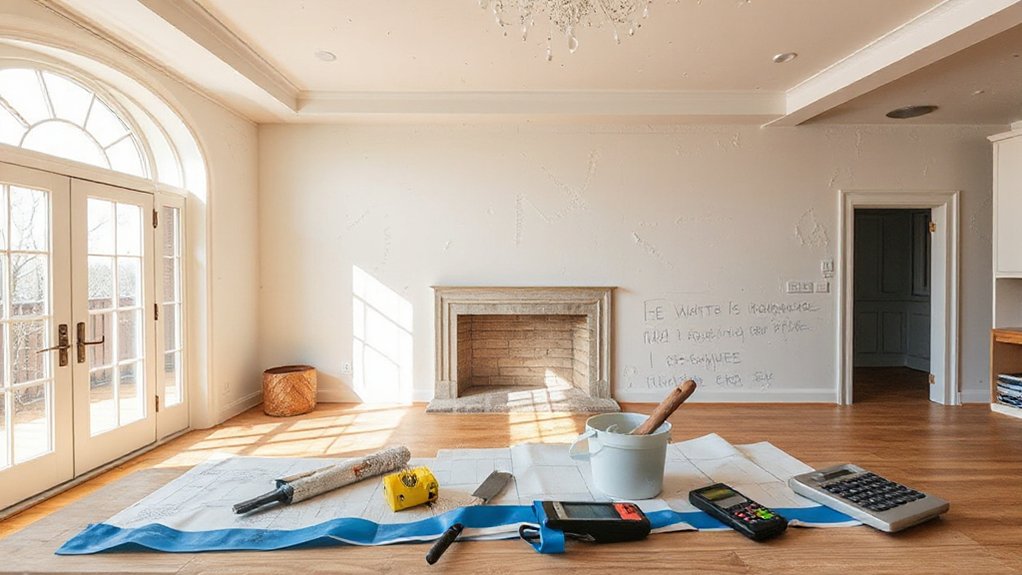
Estimating the true cost of plastering a house requires breaking down both material and labor components, plus fixed costs and contingencies. You’ll quantify materials by type (lime, cement, plaster, lath, mesh) and finish (skim coat, render, decorative techniques).
Labor costs reflect skill level, crew size, and project duration, with productivity assumptions documented.
Fixed costs include scaffolding, protection, site prep, and waste disposal, while contingencies cover weather delays and design changes.
To avoid miscalculation, separate quantity takeoffs from unit prices and audit assumptions periodically.
Consider plastering myths that can skew expectations, such as underestimating finishing labor or overestimating rapid turnaround.
A transparent cost framework helps you compare bids, plan cash flow, and align scope with budget, ensuring accurate projections across materials, labor, and overhead.
Key Drivers of Plastering Price Variations
Labor rate variations, material cost shifts, and the project scope collectively shape plastering price ranges.
You’ll see even small changes in labor costs, material choices, or required work impact overall quotes.
This section introduces how each driver interacts to produce tangible differences in final pricing.
Labor Rate Variations
There are several distinct factors that drive plastering labor rates, and recognizing them helps explain price variation. You assess skill level, project complexity, and access to work areas, which directly affect hourly or per-square-foot charges.
Time pressures, crew size, and scheduling also shift cost expectations. You’ll notice higher rates where supervision and precision are paramount, such as with plastering techniques and decorative finishes, because mistakes incur waste and rework.
Geographic differences, trade shortages, and local wage norms further influence bids. Efficiency gains from experienced crews can reduce cost, while atypical materials or intricate textures raise it.
By identifying these levers, you gain clarity on value and budgeting accuracy.
- Skill level and crew size
- Project complexity and access
- Scheduling and time pressure
- Local wage norms and market demand
Material Cost Fluctuations
Material costs drive price swings because the materials themselves vary in price and availability due to supply chains, quality grades, and regional sourcing. You’ll see fluctuations driven by quarry yields, cement and plaster additives, and packaging costs, all shifting with demand cycles and regulatory shifts.
Material durability affects long-term value, influencing replacement timelines and waste, which in turn alters total project cost. Environmental impact informs sourcing choices and waste handling, sometimes narrowing supplier options or prompting premium bids for eco-certified products.
You should monitor commodity indexes, transportation tariffs, and storage losses, as these directly impact unit prices. Effective budgeting requires scenario planning for price uplifts and downgrades, plus contingency allowances tied to material durability and environmental considerations.
Project Scope Differences
- Work volume and surface type
- Finish standards and detailing
- Access, height, and site conditions
- Decorative moldings and color decisions
Plastering Walls vs Ceilings: What Costs More?
You’ll compare ceiling material costs with wall materials to see where expenses cluster.
Labor for walls and ceilings varies due to access and prep needs, so differences here drive total job cost.
Consider how access and prep fees magnify gaps between wall and ceiling pricing to form a clear cost baseline.
Ceiling Material Costs
- Ceiling texture choices and impact on cost
- Decorative finishes and their material premiums
- Substrate readiness and preparation requirements
- Protection, containment, and cleanup considerations
Wall vs Ceiling Labor
Wall and ceiling plastering differ most in labor intensity and access, with ceilings typically taking longer per square foot due to overhead work and the need to protect vertical surfaces.
You assess labor cost drivers by surface type, joint complexity, and required finish. Walls usually involve more substrate transitions and detailing, but ceilings demand scaffolding, overhead containment, and careful curing times, elevating total labor hours per area.
For budgeting, estimate wall finish speed against ceiling pace, then apply a proportional overhead for protection tasks. Material handling, mudding, and sanding sequences differ, impacting crew coordination and downtime.
When planning designs, consider color schemes and lighting fixtures, since color and glow influence texture perception and perceived effort.
Accurate labor projections hinge on surface flatness, access, and simultaneous execution without compromising quality.
Access and Prep Fees
- Access restrictions influence scaffold and ladder requirements
- Prep equipment costs drive initial outlays
- Masking and containment add to prep time
- Surface irregularities impact material and labor needs
Choose Your Plastering Material: Lime, Gypsum, or Cement
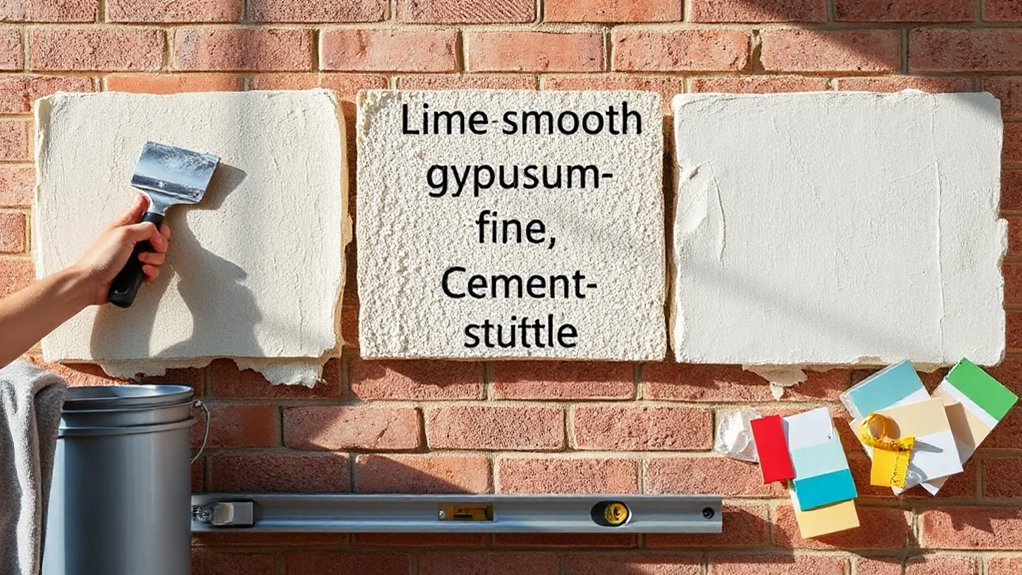
Choosing the plastering material is a decision that shapes durability, finish, and cost, so you should evaluate lime, gypsum, and cement against your project needs.
In this section, you compare material properties, installation compatibility, and long‑term performance.
Lime offers breathability and historic appeal but slower work rates and higher labor costs. It is suitable for renovation with decorative finishes that require aged textures.
Gypsum delivers a smooth, rapid finish and precise detailing, making it ideal for interior walls but limited in moisture-prone spaces.
Cement provides compressive strength and moisture resistance. However, it can crack if substrate movement isn’t controlled and may require more surface preparation.
Assess setting time, final texture, and maintenance implications to inform plastering techniques and achievable decorative finishes within your budget.
How Labor Rates Are Set for Plastering Jobs
Labor rates for plastering jobs are set through a structured mix of time, material, and task factors. You’ll see adjustments for project duration, local wage standards, and the complexity of the work, including ceilings, corners, and access challenges.
Historical plastering considerations influence pricing where traditional techniques or ornate finishes are requested, reflecting skill scarcity and tooling needs.
Plastering techniques employed by the crew determine labor intensity, surface quality expectations, and potential rework. You’re charged for preparation, application, and curing oversight, with efficiency bonuses or penalties tied to measured output.
By comparing bids, you can gauge whether rates reflect actual effort, risk, and expertise rather than vanity estimates.
- Time, material, and task drivers shape the base rate
- Historical plastering influences specialty finish premiums
- Techniques and access drive labor efficiency
- Bids reveal value beyond headline costs
Surface Prep Matters: What You’ll Pay for Preparation
Surface prep costs hinge on the exact needs of your walls, the condition of substrates, and the required methods. You’ll see price differences driven by prep-time implications, material quality, and the extent of surface repairs.
This section outlines how each factor—surface prep cost factors, prep time implications, and material quality impacts—drives overall budgeting and scheduling.
Surface Prep Cost Factors
Preparation costs for plastering and decorating hinge on the condition of the surfaces you’re starting with: flaws like cracks, holes, peeling paint, dampness, or unevenness drive up time and material needs.
- Surface contamination can necessitate extra cleaning, priming, or sealers to guarantee adhesion and finish quality.
- Moisture barriers may be required, adding cost for installation and potential overruns if substrate damage is found.
- Substrate type and porosity affect primer and plaster mix choices, influencing coverage rates and waste.
- Temporary or cosmetic fixes (patching, sanding, skim coats) add labor hours even when the end goal remains intact, shaping the overall price.
Prep Time Implications
Since prep time directly tracks with surface condition, you’ll see longer schedules and higher costs when flaws linger—cracks, holes, dampness, or peeling paint elevate labor and material needs beyond the basics.
In this section, you evaluate the time impact as a function of defect severity and remediation steps. Minor imperfections add incremental days; major damage can double timelines.
You’ll quantify hours for cleaning, priming, and masking, then adjust labor rates and contingency buffers accordingly.
Prioritizing efficient sequencing reduces idle time and accelerates flow, delivering cost-effective solutions without sacrificing quality.
Documented routines improve predictability and enable value tracking across trades.
Sustainability considerations influence the choice of primers, low-odor products, and waste minimization strategies, aligning timing decisions with long‑term environmental and budget objectives.
Material Quality Impacts
Material quality sets the baseline for prep work and directly drives cost, as tougher substrates require more aggressive tools, longer abrasion cycles, and higher-grade coatings. You’ll assess substrate condition, identify contaminants, and choose compatible products to minimize failures later.
Material durability influences wear, bond strength, and long-term upkeep, determining whether additional coats or primers are necessary. When you prioritize durable materials, you reduce rework and seasonal maintenance, though upfront costs can rise.
Environmental impact enters decisions through VOC limits, waste generation, and lifecycle footprint, guiding selections toward lower-emission options without sacrificing performance. You balance speed, durability, and eco-friendliness to avoid costly callbacks, optimizing your schedule and budget.
- Substrate assessment and preparation plan
- Durable materials vs. short‑term fixes
- Eco‑friendly coating choices
- Long‑term cost and care considerations
Seasonal Timing: When to Book Plastering for Savings

Seasonal timing can considerably impact plastering costs, so booking during the right window is a smart saver. You’ll often find lower rates in off-peak periods when demand declines and crews have available capacity.
Analyze your project timeline against weather patterns, since rain and extreme heat can delay work and inflate labor minutes. Seasonal discounts may apply for early bookings or multi-room contracts, so compare quotes that explicitly list these reductions.
Consider scheduling during shoulder seasons to lock in predictable pricing and minimize premium surcharges. Improve your positioning by aligning deadlines with supplier cycles, ensuring material availability without rush fees.
Booking tips include obtaining written estimates, confirming crew hours, and documenting cancellation terms to protect your savings. This approach yields transparent, controlled costs.
Finishing Options: Skim Coats, Sashes, and Trowel Finishes
You’ll assess how skim coat textures—from fine to textured—affect uniformity, cost, and drying time. Recognize that choices influence final appearance and maintenance.
Consider your sash finishing options for smooth versus detailed profiles, noting how edge definition, longevity, and ease of repair vary by style.
Finally, compare trowel finish effects on wall surfaces to determine the balance between visual character, hidden imperfections, and overall budget.
Skim Coat Texture Choices
What skim coat texture should you choose for walls and ceilings? Your decision hinges on durability, lighting, and room use, then aligns with finish goals. Skim coat techniques vary in depth, pattern, and application speed, affecting cost and maintenance.
Consider texture pattern options that hide imperfections while preserving a clean look. A precise approach yields predictable results, reducing callbacks and material waste.
- Assess room function and lighting to select a finish that enhances visual space
- Compare skim coat techniques for levelness, seed marks, and edge clarity
- Match texture patterns to conceal joints and minor irregularities
- Plan maintenance needs, cleaning, and touch-ups over the life of the coating
Sash Finishing Options
Sash finishing typically aims to balance durability with appearance, selecting between smooth, matte, or satin sheens to control light reflection and fingerprint resistance. You assess preparation needs, compatibility with underlying plaster, and the long-term cleanability of the finished surface.
Structural concerns include adhesion, gap sealing, and substrate stability to prevent cracking. You compare cost implications, application timelines, and required curing periods, noting that trims often dictate masking and detailing strategies.
Ultimately, you prioritize consistent finish quality, minimal upkeep, and alignment with architectural intent.
Trowel Finish Effects
- Texture control and decorative patterns
- Labor intensity and skill requirements
- Light interaction and shadow depth
- Maintenance and durability considerations
Decorating After Plastering: Painting vs Wallpaper
When deciding how to finish after plastering, painting and wallpapering present distinct advantages and trade-offs. You weigh durability, cost, and upkeep to choose a route that aligns with your objectives.
Painting offers flexibility in color shifts, faster refresh, and lower long-term maintenance, making it suitable for evolving decorating styles.
Wallpaper delivers texture, pattern richness, and hide imperfections, supporting a high-end, cohesive look. However, it can require more effort to replace or repair.
Consider room function and moisture exposure: kitchens and baths favor washable paint, while living areas may benefit from statement wallpapers.
Budget and timing influence decisions; painted finishes often install quicker, whereas wallpaper may entail precision alignment.
Plan furniture placement to complement the chosen finish, ensuring harmony without clutter.
Primer, Paint, and Sealant: Budgeting the Finish
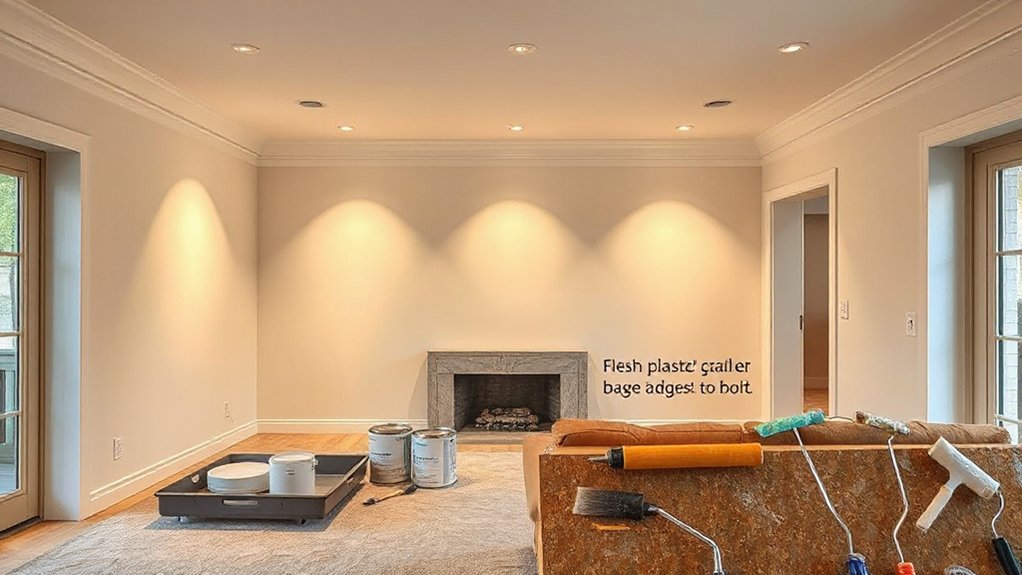
After choosing a finish, your next focus is the budgeting for primer, paint, and sealant. You’ll quantify coverage, coats, and waste, then translate that into real costs. Precision matters: calculate square footage, adjust for windows and doors, and factor priming needs separately from topcoats.
Consider color schemes and their impact on pigment quantity and finish durability, plus sealant necessity in damp or high-traffic areas. Budget for primers compatible with your chosen paints to avoid adhesion issues, and reserve a contingency for unexpected surface repairs.
Track labor vs. materials, compare DIY versus contractor quotes, and account for disposal or recycling fees. Finally, align choices with lighting fixtures to ensure color accuracy and consistency in the finished spaces.
- Color schemes and their pigment impact
- Primer compatibility with your paint system
- Sealant needs by surface and moisture exposure
- Budgeted contingency for adjustments and waste
Room-by-Room Decorating Budget: A Practical Template
Room-by-room decorating budgets translate the overall project into actionable line items, helping you prioritize spends, measure progress, and spot gaps before they derail your timeline.
A practical template begins with a per-room inventory: scope, materials, labor, and contingencies. Assign unit costs for finishes, color schemes, and fixtures, then total each room’s line items.
Use a master checklist to track approvals, delivery windows, and installation windows, avoiding overlaps that inflate durations. Incorporate lighting fixtures early to prevent mismatches with wall color and room function.
Normalize overhead and permit considerations where applicable. Build in a 10–15% contingency across rooms to absorb price fluctuations.
Present the data in a concise dashboard, enabling quick variance checks between forecasted and actual spend, ensuring you maintain schedule integrity without sacrificing quality.
Cost-Saving Tactics Without Sacrificing Quality
Optimizing costs in plastering and decorating starts with smart material and process choices that *guarantee* quality. You’ll minimize waste, select durable finishes, and pair them with efficient application methods to sustain long-term value. Focus on low-odor paints, plaster mixes with proper water-to-paste ratios, and calibrated tools to reduce touch-ups.
Plan interior lighting and furniture placement to maximize perceived quality without premium upgrades. Implement coating schedules that align with ambient conditions, preventing failures and rework. Use standardized color palettes and modular textures to cut mastering time while maintaining cohesion.
Monitor materials’ lifecycle costs, not just upfront price, to ensure durability and ease of maintenance. The result is cost-efficient elegance that remains resilient.
- Material and process optimization
- Color, texture, and palette consistency
- Interior lighting and furniture placement impact
- Lifecycle cost awareness and planning
Hiring Smart: Vetting Plastering Tradespeople and Negotiation Tips

Vetting plastering tradespeople begins with a clear, criteria-driven process: define scope, required licenses, and a track record of similar projects, then verify each candidate against that standard.
You assess quotes for scope alignment, timelines, and materials, ensuring consistency across bidders.
Prioritize plastering safety by confirming site protocols, scaffold use, and PPE requirements, and verify that safety records are current.
Check trade certification and licensing credibility, requesting official documentation and recent renewals.
Evaluate references from comparable projects, focusing on outcomes, cleanups, and on-time completion.
For negotiation, set benchmark prices, demand detailed itemization, and build in contingency allowances.
Negotiate a clear payment plan tied to milestones, not dates.
Document all agreements; retain records to prevent scope creep and protect quality throughout the project.
Full Home Makeover Budget Worksheet: Step-by-Step Planning
Creating a full home makeover budget worksheet starts with a clear, itemized plan that translates your scope into tangible costs. You’ll map phases, estimate quantities, and assign unit prices, forming a defensible baseline for decision-making. Use a structured template to separate hard costs (materials, labor) from soft costs (permits, contingency).
Track timing, dependencies, and potential alternates to minimize surprises. Integrate risk factors, including security system investments and outdoor work, to preserve timeline integrity. Include gardening tips as a planning reference to optimize outdoor improvements without inflating budgets.
Review monthly, adjust estimates, and document variance. Maintain version control, so stakeholders see progress and constraints clearly. This disciplined approach supports informed trade-offs and a predictable funding path.
- Itemization by phase and cost drivers
- Contingency and risk budgeting
- Security system budgeting considerations
- Outdoor scope alignment with gardening tips
Frequently Asked Questions
How Long Does Plastering a Full House Typically Take?
Plastering a full house typically takes 1–2 weeks, depending on size and coats. For accurate cost estimation, plan for drying times and labor intensity, and use preparation tips like masking, surface cleaning, and protecting floors throughout the project.
Can I Plaster Over Existing Wallpaper or Paint?
Yes, you can plaster over wallpaper only if it’s thick and well-adhered; otherwise you’ll regret it. Irony aside, you’ll need wallpaper removal and paint preparation, then skim coat properly, ensuring a smooth, durable finish with proper priming.
What Maintenance Follows Plastering in the First Year?
In the first post-plaster year, you must monitor moisture and prevent damp; fix cracks promptly. You should maintain humidity control, inspect for efflorescence, reseal joints when needed, and perform crack repair to preserve finish integrity and prevent peeling.
Do Bigger Walls Cost More per Square Foot?
You’ll probably pay more per square foot for bigger walls, even after bulk discounts. On average, larger walls show about 12% price variance. You’ll weigh wall texture and insulation benefits as you compare rates and materials. Analyze efficiently.
Are Eco-Friendly Plaster Options Worth the Extra Cost?
Eco friendly materials can be worth it, depending on your budget and priorities. You should conduct a cost benefit analysis, weighing upfront costs against long-term savings and environmental benefits to determine if the extra expense pays off.
Conclusion
In short, plastering costs hinge on material choice, surface condition, and labor intricacies, with ceilings often priced higher than walls. By detailing room-by-room needs, comparing lime, gypsum, and cement, and factoring repairs, primers, and finishes, you gain a precise, defendable budget. Use a full home budget worksheet to track shifts and save without skimping on quality. Plan ahead, negotiate wisely, and you’ll avoid budget cliffs—one surprise expense can feel like a meteorite to your plans.