DIY home decor can be worth it, but it hinges on your room and your skill mix. You’ll save money on small updates and enjoy a faster turnaround, yet some tasks demand professional hands for safety or long-term durability. Start with rooms that benefit most from function—kitchens and baths—while minding your limits in electrical or structural work. Curious which projects fit where and how to price them out? Let that question guide your plan and, above all, your pace.
Assessing DIY Viability: When to Tackle Projects Yourself

When deciding whether to tackle a project yourself, start by honestly evaluating the scope, materials, and your own skill level. You’ll gain clarity by listing steps, noting required tools, and estimating time.
Consider visible risks: electrical, plumbing, or structural work that could affect safety or insurance. If a task hinges on precise measurements, complex finishes, or heavy lifting, you’ll likely benefit from professional help.
On the flip side, simple repainting, sewing cushions, or assembling modular furniture can be rewarding and budget-friendly if you’ve got patience and a plan.
Assess your motivation: are you learning, or chasing a flawless result? Weigh the payoff against potential frustration, cost, and disruption.
When outcomes matter more than process, it’s smart to delegate.
Cost vs. Value: Is DIY Worth It for Your Space
You weigh the cost of a project against the savings you’ll see in your space, and you’ll notice if the value comes from durability, style, or both.
When you consider value vs. effort, you’ll spot where your time, materials, and skills pay off, and where they don’t.
Let’s discuss how small choices add up to real impact on your home and budget.
Cost vs. Savings
DIY projects can save you real money, but the math matters: materials, tools, and the time you invest all eat into the total savings. When you compare costs, track the price of a DIY version versus a ready-made option, plus potential delivery fees or returns.
The savings aren’t just dollars; consider resale value, durability, and fit for your space’s color story. You’ll often save by choosing affordable finishes, but only if you’ll enjoy the result over time. Plan projects that align with current trends yet remain timeless enough to avoid fast-fashion fatigue.
Concentrate on high-impact areas—trim, hardware, lighting details—that transform perception without a huge investment. Finally, weigh your comfort with learning curves against immediate convenience for an honest, practical assessment.
Value vs. Effort
Balancing cost and value changes the equation from “Can I DIY this?” to “Is this effort worth the payoff for my space?” After weighing materials, tools, and time, you’ll weigh how much a project boosts mood, utility, and resale power.
Value isn’t just price tag math; it’s durability, aesthetics, and how often you’ll actually use the result. You want a finished look that’s on-trend without tipping into fad overload, so prioritize timeless textures, colors, and proven hardware.
If a shortcut saves weeks but looks sloppy, the payoff collapses. Conversely, a thoughtful upgrade—quality paint, precise angles, clever storage—adds confidence and function.
In the end, you measure satisfaction by how well the result supports daily living and long-term home worth. Choose projects that reward effort with consistent, vibrant impact.
Time Investment and Skill Level: Realistic Expectations
You’ll want to gauge how much time you can realistically commit versus the skill you already bring to the table.
If you underestimate the learning curve, delays and frustration creep in, but a clear plan and practical milestones keep you on track.
Start with small projects that match your current skills and build up as you gain confidence.
Time Vs Skill
Time investment and skill go hand in hand, and the key is matching what you can realistically handle with what you want to achieve. You’ll save time and frustration by evaluating the scope, not just the shine.
Start with one achievable project, then scale. If you’re aiming for a bold, high-end look, expect more prep, measurements, and patience; simpler, functional updates can still feel fresh without overhauling your schedule.
Be honest about your skills: carpentry, painting, textiles, or digital designs each demand learning curves and tools. Prioritize projects that leverage your strengths and fit your room’s vibe—color, lighting, texture.
Set a reasonable timeline, build a small toolkit, and plan for learning moments. Progress beats perfection, and smart pacing keeps decor stylish without burnout.
Realistic Commitment Needed
Putting a realistic ceiling on what you commit to is your best DIY ally. You’ll save time, money, and frustration by matching projects to your schedule and skills.
Start with a clear scope: one wall, one furniture piece, or a single mood board, not a total room overhaul. Gauge time by color decisions, prep, and finish coats—each layer adds up.
If you’re short on hands-on practice, choose simpler tasks or kits that deliver polished results with minimal fuss. Be honest about tools you actually own and the learning curve you’re willing to endure.
Favor durable finishes and timeless palettes over trend-driven fads. Real progress comes from consistent, small bets that you can sustain without burning out.
Kitchen Transformations: What DIY Can Achieve
Kitchen transformations aren’t just about fresh paint or new hardware; they’re about making everyday tasks faster, cleaner, and more enjoyable. You can revitalize workflow with smart accessories, like magnetic spice rails, labeled containers, and under-cabinet lighting that casts clean, daylight tones.
Choose color palettes that resist wear: cool neutrals with warm wood accents or bold, forgiving greens and blues that hide splashes. DIY can upgrade storage efficiency through adjustable shelving, drawer dividers, and peg-system inserts, so you grab what you need without chasing clutter.
Focus on durable finishes, splash-friendly backsplashes, and high-contrast trim to guide the eye. Plan in stages, budget wisely, and measure for compatibility. You’ll gain measurable efficiency, a cohesive look, and a kitchen that feels refreshed, not overwhelmed.
Living Room Updates: Front-Loaded vs. Finish-Completed
Living room upgrades are all about balance between immediate impact and lasting finish, so you can choose front-loaded projects that save you time now or finish-completed tweaks that keep the room chic for years.
Front-loaded ideas lean into quick wins: fresh paint in a current on-trend shade, bold accent pieces, or swap-out hardware that instantly updates cabinets and shelves.
Finish-completed options focus on longevity: durable fabrics, quality rugs, and layered lighting that ages well with your style.
You’ll enjoy cohesive color stories—warm neutrals with a pop of cyan, sage, or terracotta—paired with textures that read curated rather than cluttered.
Prioritize harmony over hype, and mix high-impact accents with timeless foundations.
Plan in stages, track costs, and let color direction guide you toward both instant satisfaction and enduring appeal.
Bedroom Upgrades: Comfort, Style, and Practicality

Could your bedroom feel cozier, more organized, and still stylish without breaking the budget? You can achieve this with a calm color palette, smart textures, and simple layout tweaks.
Prioritize a soft, breathable sheet set in a neutral base—add one bold accent via a throw or pillows to cue personality without overpowering the room.
Invest in a comfortable mattress topper or pillow, then layer with ambient lighting—warm bulbs and a dimmer for mood signals.
Choose functional storage that blends in: a low dresser, under-bed bins, or modular shelves.
Keep surfaces clear, so the space breathes; color-blocked decor or a single gallery wall ties the look together.
Practicality meets trend by balancing durable fabrics with affordable updates.
Bathroom Remodeling on a Budget: Limits and Hacks
Bathroom remodeling on a budget means smart choices and real-world tweaks that keep style intact without breaking the bank. You’ll prioritize color palettes that refresh visuals without costly overhauls, leaning into bold accents, matte finishes, and cohesive contrasts.
Limit tile changes to focal walls or shower niches, or swap grout for a cleaner, modern look. Instead of full fixtures, swap hardware, faucets, and mirrors for a coordinated, high-impact update. Use paint to transform cabinetry or vanities, selecting shades that play well with your existing suite.
Add affordable textiles—shower curtains, towels, and rugs—in trend-forward tones like sage, terracotta, or soft navy. Maximize lighting with warm LEDs and layered sources to elevate quieter spaces.
Plan within limits, document dimensions, and shop smart for lasting cohesion.
When to Hire Pros: Red Flags and Safe Bets
Sometimes the best way to know when to hire pros is to spot the red flags early and recognize safe bets you can handle yourself. You’ll spot risky tasks—plumbing leaks, wiring, or structural changes—where mistakes cost more than time.
If a project requires permits, code checks, or heavy tools you don’t own, consider a pro from the start. Safe bets include paint refreshes, cosmetic updates, and fixture swaps that stay within your skill set and budget.
Look for red flags like vague quotes, sketchy timelines, or pressure to waive warranties. When in doubt, request portfolio examples and client references.
Choose pros who communicate clearly, respect deadlines, and align with current trends—color-forward, durable finishes, and sustainable options.
You’ll gain confidence by clearly separating risks from doable DIY touches.
Smart Budgeting and Decision Shortcuts by Room
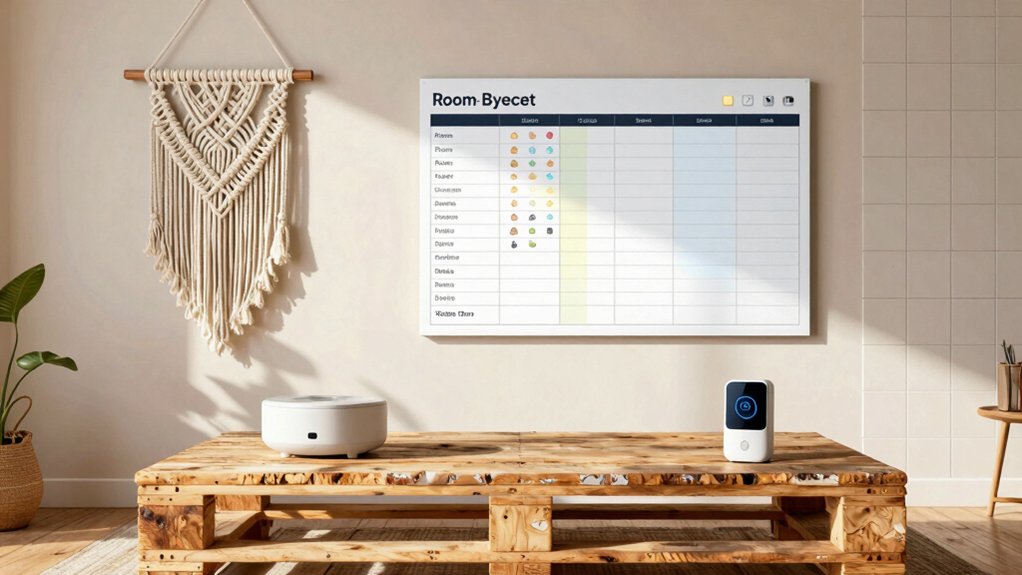
Smart budgeting for each room starts with a clear target: know what you’re willing to spend and what you’re hoping to gain in style and function. You’ll avoid impulse buys by setting a visible cap and a prioritized list of features. Compare costs by room, not project, and reserve a small contingency for surprises.
Use color-conscious planning: pick a primary palette, then map must-haves to accent hues to reduce redos. Decision shortcuts help: repurpose, resell, or swap components in, rather than buying new. Favor durable basics in dominant areas and save finishes for removable details.
Time-box shopping sessions, track prices, and leverage seasonal sales. With purposeful choices, you’ll balance aesthetics, practicality, and budget without diluting the room’s impact.
Frequently Asked Questions
How to Gauge Return on DIY Improvements by Room Type?
Yes, you gauge ROI by room type: focus on high-impact spaces like kitchens and bathrooms where 75% of DIY upgrades recoup value, then track costs, energy savings, and resale lift to refine your project priorities.
Which Tools Are Essential for Beginner DIYERS Across Rooms?
You’ll need a basic toolkit: a quality hammer, tape measure, utility knife, level, pliers, screwdriver set, stud finder, and a hot glue gun. Add a multi-surface saw, drill, L-bracket kit, and a sanding block for versatility.
How to Budget for Hidden Costs in DIY Projects?
“Measure twice, cut once.” You budget for hidden costs by adding a 15–20% contingency, tracking receipts, and forecasting overruns per project, staying color-conscious with affordable materials, trending but practical, and adjusting plans before you’re surprised. You’ve got this.
Can DIY Decor Compromise Home Safety or Insurance?
Yes, DIY decor can affect safety or insurance if you ignore codes, use faulty wiring, or void coverage; you’ll protect yourself by following current standards, documenting upgrades, and consulting professionals for electrical, structural, or fire-safety tasks.
What Are Quick DIY Upgrades With Lasting Impact?
You’ll love quick DIY upgrades with lasting impact: swap bold handles, conceal wires with cable covers, refresh grout, add peel-and-stick wallpaper accents, upgrade lighting, and swap textiles. You’ll see instant polish, sustainable style, and brag-worthy confidence, instantly.