

Loft spaces pose a paradox: limited headroom can become your greatest asset. You’ll balance compact layouts with clever storage, recessed niches, and sloped-ceiling zoning to keep wet and dry areas separate. Efficient fixtures, moisture-resistant finishes, and smart ventilation must align with structure and regulations, or the plan stalls before you start. If you want a practical, durable bath that adds value without sacrificing space, there’s a method to master—and it begins with the right questions.
Assess Loft Feasibility: Space, Structure, and Regulations

Evaluating loft feasibility requires a clear understanding of available space, structural integrity, and relevant regulations. You’ll assess floor area, headroom, access, and potential obstructions to guarantee a viable bathroom footprint.
Inspect load paths and joist condition; identify required structural reinforcement to support fixtures, plumbing, and finishes.
Verify building codes, fire separation, ventilation, and drainage constraints early to avoid redesigns.
Consider roof structure, insulation, and potential thermal bridging that could impact energy performance.
Plan for services routing, watertightness, and sensor placements without compromising structural elements.
Factor in existing loft insulation, upgrading where needed to meet heat-loss targets.
If insulation and reinforcement are feasible within budget, proceed with a formal survey, stamped drawings, and permit checks.
This groundwork guides design choices and prevents costly iterations.
Maximize Headroom: Layout Principles for Low-Ceiling Bathrooms
Maximizing headroom in a low-ceiling loft bathroom hinges on efficient layout and purposeful placement of fixtures. You optimize space by aligning plumbing runs with structural bays and selecting compact, wall-hung products.
Prioritize vertical clearances: tuck cabinets into knee walls where possible and use mirrors to visually extend height. Position the shower and toilet to minimize door swing and create a continuous line of sight, reducing perceived bulk.
Consider a recessed basin and a slim vanity to preserve floor area. Guarantee adequate access to services without compromising headroom; plan access panels where needed.
Address loft insulation to avoid bulk intrusions at eaves, and confirm structural support remains capable of carrying any added fixtures or walls.
Integrate float shelves and niches to maintain clean lines.
Plumbing and Ventilation Essentials for Loft Conversions
When converting a loft into a bathroom, plan plumbing and ventilation around the structure’s quirks and limited access. You’ll align pipe routes with joists, maximize headroom, and minimize chase complexity. Ventilation must handle odor and humidity with a dedicated extractor, ducting to exterior or roof, and controllable dampers. Sizing for future heat and moisture loads prevents primer tripping.
Use moisture-rated materials and sealed joints to avoid leaks. Color schemes and material choices influence perceived space and moisture resilience, so pick nonporous finishes and low-porosity tiles.
- Compact vertical stacks minimize horizontal intrusion while simplifying routing
- Slimline vents and inline boosters for quiet, effective extraction
- Sealed pipe penetrations with fire-stop margins
- Moisture-resistant coatings on walls and ceilings
- Coordinated color schemes and materials to reduce visual clutter
Space-Saving Fixtures for Tight Loft Bathrooms
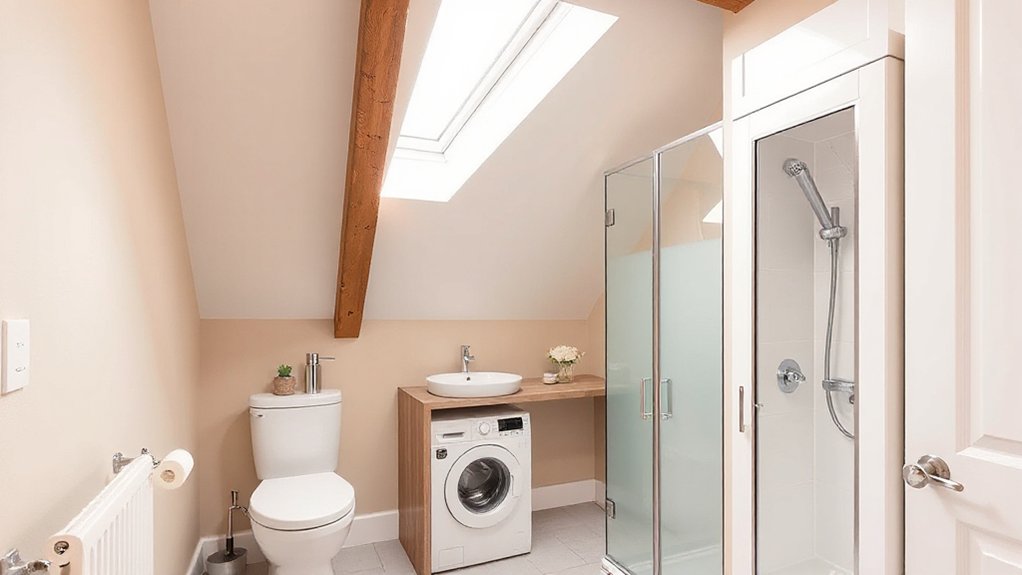
Smart loft bathrooms demand fixtures that fit within constrained envelopes without sacrificing function. You’ll prioritize compact, wall-mounted elements that maximize floor space and simplify routing for plumbing and electrical.
Choose slim-profile basins, recessed shelves, and corner-saving toilets with dual-flush mechanisms to limit footprint. Consider pedestal-free vanities with integrated storage to reduce bulk while keeping access for maintenance.
Use fold-down or sliding shower screens to avoid swinging doors in tight alcoves. Opt for compact, efficient lighting and heat sources that don’t intrude on usable area.
When you select Vintage fixtures, you gain character without adding bulk, provided you match dimensions to available space. For sustainability, favor eco-friendly materials and water-saving valves to minimize environmental impact while preserving performance and durability.
Wet Room vs. En-Suite: Which Concept Fits Your Loft?
Consider how Space Allocation Basics shape whether a wet room or an en-suite suits your loft, especially in how room layout and plumbing run with minimal disruption.
Assess Drainage and Venting Needs upfront to prevent moisture buildup and guarantee reliable performance in either concept.
Weigh Privacy and Noise Considerations, since both options affect comfort and operation in a compact loft.
Space Allocation Basics
Choosing between a wet room and an en-suite hinges on how you want to use the loft space, plumbing layout, and desired moisture control. You balance space efficiency with future access needs, then map utility routes and load.
- Visualize traffic flow from stairs to main fixtures
- Allocate shower, toilet, and basin with minimal cross-traffic
- Reserve access for servicing panels and valves
- Plan for moisture barriers and ventilation at key zones
- Align finishes with insulation and structural limits
Loft insulation and structural reinforcement determine achievable span and component sizes. Shorter runs reduce piping complexity, while thicker insulation lowers condensation risk.
Prioritize predictable heat distribution to avoid cold-spot chill.
Drainage and Venting Needs
Drainage and venting are the critical bottlenecks in a loft bath, and choosing between a wet room and an en-suite hinges on how waste, runoff, and air travel will be routed.
You’ll need robust drainage planning to manage gravity-fed waste lines and trap placement, along with slope calculations for showers and sinks to prevent standing water.
Assess lateral connections to existing stacks, or plan new vertical risers with appropriate fall.
Venting options must prevent siphonage and odors, so size каждый fixture branch appropriately and consider a shared vent where feasible.
In a loft, compact routing matters; design accessible access panels and cleanouts for future maintenance.
Confirm local code setbacks, moisture management, and potential condensate risks to finalize the balance between wet room flexibility and en-suite privacy.
Privacy and Noise Considerations
When deciding between a wet room and an en-suite in a loft, privacy and noise control take center stage. You’ll weigh enclosure quality, door seals, and vibration isolation to minimize guest disturbance and bathroom sounds.
Focus on practical barriers that preserve serenity without sacrificing access or airflow. Choose materials with high sound attenuation and resilient thresholds to reduce impact noise.
Address privacy from both inside and outside by selecting appropriate window coverings and discreet venting options. Plan layout so noisy activities aren’t adjacent to sleeping areas.
- Tight-seal doors with solid cores
- Acoustic underlayment beneath flooring
- Complementary window coverings for light and sound
- Zoned, quiet ventilation with vibration isolation
- Strategic wall decoupling around plumbing and fixtures
Light and Moisture-Resistant Finishes That Play Well With Humidity
Installing finishes that resist moisture is essential in a loft bathroom. You choose moisture‑resistant substrates and coatings to minimize warp and mold risk in high humidity. Tile lasts longer when you select a proper adhesive and grout with low porosity and mildew resistance. Ensure expansion joints align with wall and floor planes for movement.
Tile durability hinges on backer board compatibility, water exposure, and proper sealing at transition points. For walls, paint selection matters: pick acrylic or epoxy‑based paints rated for bathrooms and humidity. Apply primer designed for high humidity to improve adhesion.
Floor finishes should tolerate constant moisture, so consider porcelain or ceramic with slip resistance. Maintain ventilation to sustain finish performance and reduce condensation, avoiding timber or plasterboard finishes in direct shower zones.
Clever Loft Storage: Cabinets, Niches, and Hidden Solutions
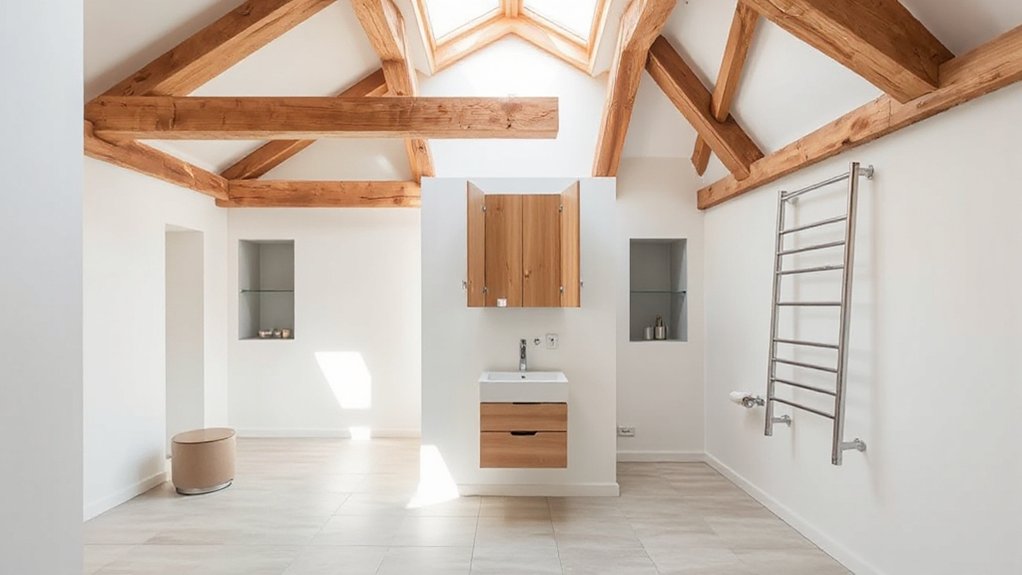
Clever loft storage harnesses vertical space and irregular ceiling lines to keep a bathroom compact and organized. You’ll optimize alcove depth, integrate hidden compartments, and minimize fixture intrusion. Use modular cabinets that align with sloped walls, maximizing edge-to-edge storage while preserving sightlines.
Incorporate decorative alcoves to house essentials without exposing clutter, and pair them with soft-close hardware for durability. Prioritize accessible zones near the sink and shower for daily use, and reserve overhead niches for infrequently accessed items.
- Hidden compartments behind mirrored panels
- Recessed shelves tucked along angled walls
- Float panels that reveal internal organizers
- Corner niches with integrated lighting
- Decorative alcoves framing towels and toiletries
Zoning and Privacy in Open Loft Bathrooms
Closed-plan loft bathrooms require deliberate zoning to balance open sightlines with functional privacy. You control zones by defining wet, dressing, and cleansing areas, using lines of sight and vertical separations. Implement clear boundaries with privacy barriers, such as frosted glass, partial walls, or tall cabinetry, to shield routines without sacrificing airiness.
Align fixtures along a single axis to minimize crossings and maintain sightlines; place the toilet and shower behind discreet screens where feasible. Use curtains or sliding panels for temporary enclosure during use, reducing visual clutter when not needed.
Reference Zoning regulations early to ensure compliance with room height, egress, and ventilation requirements. Pair zoning strategies with purposeful finishes and lighting to reinforce functional privacy while preserving an open feel.
Designing Around Sloped Ceilings and Nooks
Maximize every inch of your sloped spaces with tailored layouts that keep essential fixtures reachable and comfortable. Prioritize nook-centric storage that hides clutter while adding surfaces and pull-out solutions for towels and toiletries.
Use angled lighting to highlight work zones and create depth, balancing task and ambient needs across the ceiling and walls.
Maximizing Sloped Spaces
Sloped ceilings and irregular alcoves pose unique layout challenges, but they also offer opportunities to tailor a bathroom around existing geometry.
- Align fixtures with the slope to maximize knee room and accessibility.
- Use built-in niches at varying heights for storage without encroaching on headspace.
- Select low-profile fixtures and compact fittings to maintain circulation.
- Specify continuous linear lighting along peaks for even illumination.
- Implement vertical planes and color shifts to perceptually expand tight zones.
Prioritize practical details: plan for adequate ventilation, guarantee a tight door seal, and integrate loft insulation and soundproofing solutions to control noise transmission and temperature swings.
Use recessed panels and flush finishes to reduce bulk, guiding sightlines toward open, usable space. Keep targets precise, measurements exact, and transitions seamless.
Nook-Centric Storage Ideas
Nooks and sloped recesses don’t just constrain space—they shape smart storage by offering built-in, low-profile niches that keep vertical clearance intact. You organize around these features with reproducible modules: shallow drawers, pull-out baskets, and corner towers that hug the slope.
Use vertical planes for wall-mounted cabinets that don’t intrude on a shower’s footprint, and place mirrors to reflect light without widening the footprint. Prioritize adjustable shelves inside cabinets to adapt to changing items.
Select materials with low transverse thickness to maximize usable depth in restricted zones. Integrate vintage fixtures where line of sight matters, and choose eco-friendly materials for countertops and shelving to sustain the loft’s reduced footprint without sacrificing durability.
Finish with tight gaps and minimal hardware for seamless cleanability.
Lighting For Angled Ceilings
- Ambient lighting that fills uneven planes without harsh shadows
- Recessed or slim track fixtures pointing along the slope
- Cove lighting to soften shifts near eaves
- Dimmer-compatible fixtures for mood and task balance
- Low-profile ceiling fixtures that won’t collide with stored items
Compose zones with layered layers: ambient base, task-targeted beams, and decorative accents. Maintain glare control and guarantee uniformity to reveal details in angled corners.
Permits, Inspections, and Safety Basics for Loft Projects
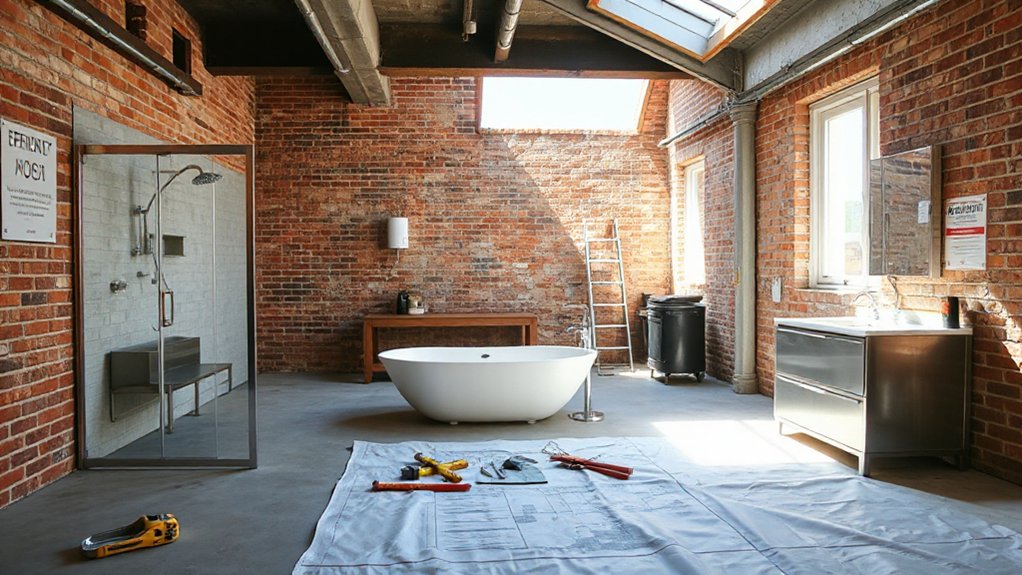
Permits, inspections, and safety basics set the framework for any loft bathroom project: secure the necessary approvals before work starts, schedule inspections at key milestones, and implement code-compliant measurements, ventilation, and electrical and plumbing layouts.
You’ll navigate permit processes early to confirm scope, access, and load requirements, reducing revisions later.
Safety regulations dictate temporary protections, debris containment, and hazard assessments during demolition and framing.
You must maintain accurate as-built records, updated drawings, and material certifications for inspectors.
Coordinate with your local authority to align fire, plumbing, and energy codes, and ensure ventilation paths meet moisture-control standards.
Track inspection results, address deficiencies promptly, and document test outcomes for occupancy readiness.
Adhere to standards, minimize rework, and safeguard occupants throughout the loft conversion.
Real-World Loft Bath Layouts to Inspire Your Plan
When you’re planning a loft bath, real-world layouts show how to balance compact space with comfort and code compliance. You’ll see corridors, niches, and fixtures arranged to maximize flow without overstretching structure.
Below are common patterns that translate to practical planning.
- Vertical wet zones: stacked shower, toilet, and sink to minimize pipe runs
- Corner cores: compact radiators and storage tucked beside doors
- Flush doors: pocket or barn doors to save room in tight footprints
- Integrated vanity: wall-mounted units with open underfoot clearance
- Ventilation strategies: inline fans coordinated with roof outlets
Consider Loft insulation and Structural reinforcement early; they shape feasible paths, permit routes, and long-term durability.
Frequently Asked Questions
Can a Loft Bathroom Be Built Above a Living Space?
Yes, you can, but guarantee structural support and access are sound. You’ll need proper loft insulation and ventilation systems to manage moisture, plus restrict weight. Check building codes, insulation, fire barriers, and potential sound transmission to living spaces.
What Is the Typical Cost Range for Loft Bathrooms?
A typical loft bathroom costs between $15,000 and $40,000, depending on fixtures and finishings. You’ll need Cost considerations and Budget planning to balance plumbing, drainage, and ventilation, plus stairs access. Plan contingencies for permits, structural work, and energy-efficient fixtures.
How Long Does a Loft Bathroom Conversion Usually Take?
Typically, a loft bathroom conversion takes several weeks to a couple of months, depending on scope. Juxtapose speed with precision; ventilation challenges must be solved while insulation solutions are implemented, ensuring compliant, efficient, fully functional spaces.
Are Radiators a Problem in Loft Bathroom Designs?
Radiators aren’t inherently problematic in loft bathrooms. You should optimize radiator placement for heat distribution and moisture exposure, pairing with efficient heating solutions. Consider wall-mounted or underfloor options, and guarantee adequate insulation to prevent cold spots and condensation.
Can I Install a Full-Height Shower in a Sloped Ceiling?
Yes, you can install a full-height shower under a sloped ceiling, but plan around headroom and lighting. Sloped ceiling considerations include optimizing drainage and ventilation; shower enclosure options like curved doors or partial-height panels maximize space and accessibility.
Conclusion
Sure—here’s a concise, ironic closer in the requested style:
So you’ve turned a ceiling crawl into a spa, solved with recessed niches and low-profile fixtures. Amazing how a few inches and smart ventilation magically materialize durability, privacy, and wow-factor. Because nothing screams “quality loft bath” like dramatic headroom in theory and perfect damp zones in practice. If it all fails, blame the architect; if it succeeds, remind yourself you knew it all along. Either way, congratulations on your engineered sanctuary.




