
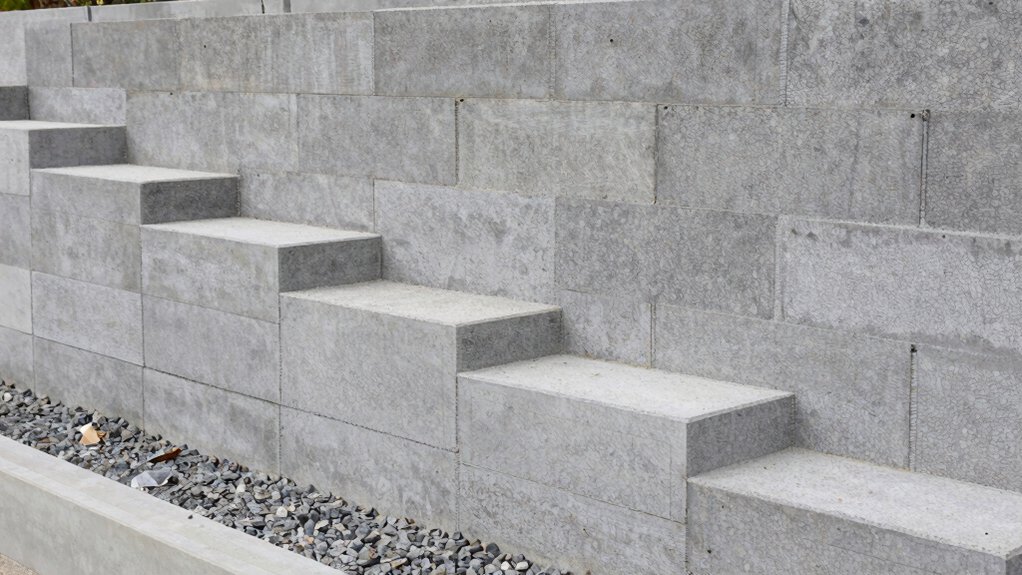
Plan your wall by defining height, span, and loads, then select blocks, mortar, and reinforcement accordingly. Gather essential tools, PPE, and a stable foundation trench with a clean bed. Lay blocks in a running bond, keep joints uniform, and check plumb and level after every two courses. Backfill in lifts with compacted fill and install drainage—perforated pipe, gravel, and outlets. Maintain drainage, inspect for movement, and reseal as needed; more steps await to guide you through the rest.
Define Wall Height, Span, and Load Requirements

When designing the wall, you must define its height, span, and load requirements up front. Start with material selection decisions that affect both performance and constructability. Your height dictates block grade, reinforcement needs, and drainage considerations.
While span governs alignment and base support. Conduct a quick structural analysis to verify bearing capacity, overturning resistance, and soil-structure interaction under anticipated loads.
Pinpoint maximum wall height for adjacent slopes and determine backfill types to ensure stability. Specify load cases including surcharge, seismic, and hydrostatic pressure where applicable.
Ensure block selection accommodates anticipated stresses, then confirm junctions, tie-ins, and drainage paths align with design limits. Document assumptions, tolerances, and critical clearances.
This disciplined approach helps prevent creep, settlement, or premature failure, guiding precise, durable construction.
Gather Tools, Materials, and PPE You’ll Actually Use
To execute the design safely and efficiently, assemble the exact tools, materials, and PPE you’ll actually use on site. You’ll choose a Tools checklist that prioritizes accuracy, reliability, and speed.
Start with basic hand tools: rubber mallet, framing level, masonry chisel, Broadway trowel, iron lining rods, and a pry bar.
Add a compact masonry saw or snap cutter for block cuts, a mixing trough, and a wheelbarrow with solid tires.
Materials include concrete blocks suitable for gravity walls, gravel, and a bagged mortar mix or preblended cement, plus binder polymer if specified.
PPE essentials cover eye protection, durable gloves, dust mask, hearing protection, and steel-toe boots.
Maintain a clean workspace, organize fasteners, and store moisture-sensitive items properly to prevent set-back delays.
Plan Location, Stability, and Drainage for Your Block Wall
Plan the wall’s location with site realities in mind and establish stability and drainage as you go. You’ll assess grade, sun exposure, soil type, and nearby utilities to choose an alignment that minimizes erosion risks and visual disruption.
Prioritize load paths, surveying for level, plumb, and setback requirements per block manufacturer specs. Plan for proper drainage to prevent hydrostatic pressure—install a perforated pipe or weep holes where applicable, with a gravel backfill to encourage water dispersion.
Consider landscaping aesthetics when selecting sightlines, ensuring the wall complements existing terrain and plantings. Material selection should balance strength, permanence, and ease of maintenance, favoring graded concrete blocks with interlocking profiles.
Document setback, cap design, and access points to simplify subsequent steps and ensure long-term stability.
Prepare the Trench and Foundation for a Solid First Course
The trench for the first course must be precise and stable, with clean, square walls and a consistent depth that matches the block size. You establish a solid base by grading the site, removing organics, and compacting soil to prevent settlement. Then, prepare the foundation surface with a level, clean bed for uniform bearing.
For best results, perform soil preparation and moisture conditioning to avoid frost heave and lateral movement. Once the trench is dug, lay a compacted bedding layer of gravel or sand, checked with a straightedge before concrete mixing begins.
- Align and compact the trench bottom, checking for level and plumb.
- Set a bedding course and verify consistent thickness across the length.
- Mix and place a concrete bed or concrete block adhesive per manufacturer specs.
Stack Concrete Blocks, Check Alignment, and Backfill Properly
With the foundation in place, you’re ready to stack the blocks, verify alignment, and backfill properly. Begin by placing blocks in running bond, ensuring each course aligns with batter and setback.
Check perpendicular plumb using a spirit level across corners and midpoints; adjust with slight taps rather than forcing. Maintain joint visibility and consistent mortar application at each contact face; avoid overfilling to prevent squeeze-out that can compromise joint stability.
Fit blocks snugly but not tight, and stagger joints to create a continuous, interlocked wall. Transfer alignment markers as you progress, rechecking plumb after every two courses.
When backfilling, compact soil in lifts, keep backfill away from the joint faces, and maintain proper trench slope to facilitate drainage and future stabilization.
Install Drainage, Compact Backfill, and Edge Resilience

To guarantee long-term performance, install drainage first, then compact backfill methods, and finally reinforce edge resilience.
You implement drainage solutions that prevent hydrostatic pressure, using perforated PVC or flexible pipe wrapped in filter fabric, and cap outlets downslope.
Next, apply backfill techniques with a granular, well-graded material, placing in lifts no more than 6-8 inches and compacting each lift to target density.
Edge resilience requires continuous edging, tight alignment, and a keystone layer to resist lateral loads.
Maintain a continuous backfill behind the wall to distribute weight evenly and keep joints clean and level.
- Install drainage solutions and outlets to terminate runoff effectively
- Apply layered backfill techniques with proper compaction
- Add edge resilience elements and verify joint integrity
Inspect, Maintain, and Refresh Your Concrete Block Wall Over Time
Regularly inspect your wall for visual signs of movement, cracking, or bulging, and address issues promptly to prevent escalation.
Maintain the drainage systems and backfill integrity to keep water away from the foundation and minimize erosion.
Refresh the wall’s appearance by cleaning, sealing exposed joints, and repairing any surface wear to preserve long-term durability.
Inspect Visual Signs
How can you quickly spot signs that your concrete block wall needs attention? You’ll rely on precise observations that flag risk before failure. Look for visual damage and material discoloration along joints, blocks, and the base. Acknowledge misalignment, cracking, bowing, or foreign detritus that suggests shifting soil or improper backfill. Note efflorescence, salt bloom, or damp patches signaling moisture movement behind the wall.
Inspect cap blocks for hollow or loose seating and verify the wall remains plumb and level. Document findings with photos and dates to track progression, then prioritize repairs before structural compromise occurs.
- Inspect for visual damage, cracking, or bulging, and record locations.
- Check for material discoloration, efflorescence, and moisture indicators at the base.
- Assess joint integrity and cap alignment; flag loose units immediately.
Maintain Drainage Systems
Maintaining drainage systems is essential to protect your concrete block wall from hydrostatic pressure and seepage. You’ll inspect for block pooling, overflowing drains, and sediment buildup behind the wall, focusing on the interior backfill and footing drainage.
Verify that perforated conduit, French drains, and aggregate layers remain unobstructed; clear debris without disturbing wall alignment. Assure permeable barriers continue to guide water away from the base, preventing saturation in the footing zone.
Regularly test surface grates and outlets for unobstructed release, repairing any rusted or cracked components promptly. To sustain performance, implement a consistent water diversion plan that directs runoff around the wall footprint, minimizing lateral pressure.
Schedule seasonal checks after heavy rain, reestablishing proper slope and drain elevation as needed. Maintain documentation for future maintenance cycles.
Refresh Wall Appearance
Your concrete block wall should look as good as it functions, so start with a focused visual assessment and targeted refresh plan to preserve color, texture, and alignment over time.
Oversee masonry joints for cracks, efflorescence, and staining; address issues promptly to maintain garden aesthetics and structural integrity.
Wash surfaces with a mild detergent, scrub stubborn grime, and reseal where color options are faded or uneven. Use compatible sealers that enhance moisture resistance without changing texture.
Repoint or replace damaged mortar as needed, keeping lines true and plumb.
Consider subtle color enhancements that harmonize with surrounding plantings and hardscape. Maintain a consistent finish to prevent patchiness.
- Inspect, clean, and reseal in stages to preserve uniform color options.
- Repoint and replace damaged mortar for straight, tight joints.
- Periodically compare wall tone with borders and garden aesthetics.
Frequently Asked Questions
How Long Does a Concrete Block Wall Typically Last?
Concrete block durability typically spans 50 to 100 years if properly installed and maintained, with wall longevity hinging on drainage, reinforcement, and backfill. You should inspect joints and grout regularly for long-term structural integrity and performance.
Can I Build a Retaining Wall Without a Footing?
Yes, you shouldn’t skip a footing; without one, your retaining wall design risks failure. Check soil, drainage, and block selection; proper footing is essential. Concrete block selection matters for weight, reinforcement, and load tolerance, for reliable performance.
What if Drainage Only Partly Drains the Area?
If drainage only partly drains the area, you should implement drainage solutions alongside the wall and add wall reinforcement to stabilize the structure, reducing hydrostatic pressure and preventing failure. make certain of proper grading, weep holes, and compacted backfill for effectiveness.
Do I Need a Permit for a Small Retaining Wall?
Symbolism anchors your code awareness: you do need a permit for a small retaining wall. You should check zoning regulations and permitting requirements before starting, ensuring compliance, access, and setback rules for reliable, lawful construction.
How Do I Repair Cracks in Block Walls?
Seal cracks promptly with concrete sealing, then perform crack injection to restore strength. You’ll clean, dry, and mark the area, inject epoxy or polyurethane, cure per manufacturer, and verify lateral stability, preventing water intrusion and further deterioration.
Conclusion
You’ve got the know-how to plan, lay, and maintain a solid concrete block wall. Remember: a well-drained trench, proper foundation, and level courses keep blocks aligned and prevent shifting. When you backfill, do it in lifts and compact steadily to avoid voids. Think of a wall like a bookshelf: if plumb and supported now, it will bear years of weight. I once saw a 40-year-old wall still true after a severe flood—precision pays. Maintain annually, and it stays strong.




