To brace a wobbly banister, start by diagnosing looseness at posts, joints, and fasteners, noting gaps and corrosion that affect load paths. Gather tools, matching rail parts, and corrosion-resistant bracing hardware. Stabilize with doorway braces between wall and post, install blocking behind the wall, and add steel brackets to couple framing to the rail. Tighten spindle joints to spec, then reseat and re-torque from the top down. For solid, code-compliant results, plan your next steps carefully. You’ll uncover more precision steps ahead.
Diagnose the Wobble and Plan the Fix
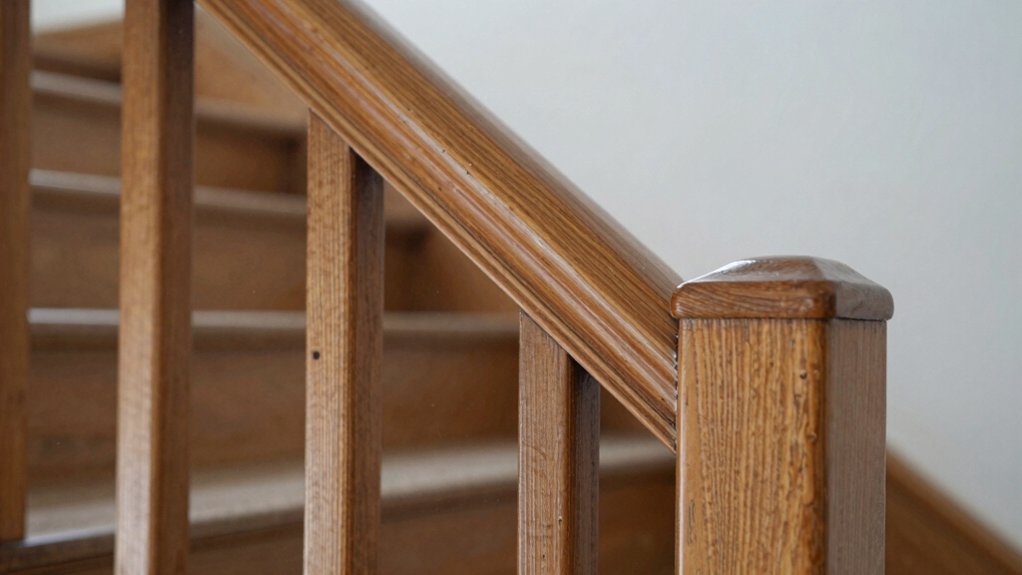
To diagnose the wobble and plan the fix, start by evaluating whether the banister feels loose at the posts, joints, or fasteners. You’ll inspect each connection point for movement, gaps, or corrosion, noting any screw or bolt wear.
Check the handrail-to-post interface for looseness or lift, and confirm that balusters are firmly anchored without wobble. Document observed defects, prioritizing safety hazards and load paths.
Consider whether decorative accents affect structural integrity or concealment, and ensure that any decorative work remains removable without compromising support.
Assess alignment issues that raise stress on joints, and determine whether repairs should be localized or extend to substructure.
Plan a targeted fix sequence, emphasizing historical accuracy when replacing fasteners or restoring visible details.
Gather Tools and Materials for Railing Repair
Gather the essential tools you’ll need for the repair, from a level, tape measure, and drill to clamps and wood glue.
Source replacement parts that match your railing’s type and fastener pattern, so you can swap in sturdier components as needed.
Inspect the railing’s stability as you gather items, noting any gaps or loose fittings to guide your selection and setup.
Gather Essential Tools
Before you begin repairs, assemble the essential tools and materials for railing work. You’ll need basic hand tools: tape measure, level, carpenter’s square, pencil, pry bar, hammer, and screwdriver set.
For fasteners, have wood screws, countersink bits, and corrosion-resistant brackets. Power tools aren’t mandatory, but a cordless drill with assorted bits speeds setup and reduces waste.
Keep clamps, shims, wood glue, and epoxy on hand to secure joints and fill gaps. Inspect for decorative accents or historical styles to match trim details, but don’t rely on them for structural fixes.
Have replacement rail brackets, end caps, and dowels ready if components loosen. Store everything in a labeled kit to streamline measurements, cutting, and reassembly during the brace process.
Source Replacement Parts
Securing the right replacements starts with a quick parts audit: match each broken or loose component to its exact size, style, and material, then verify compatibility with existing rails and brackets.
You’ll prioritize reliable, code-compliant items and plan for minor variances in finish or mounting hardware.
- Identify core components: posts, balusters, braces, brackets, screws, and fasteners.
- Catalogue dimensions: length, width, hole spacing, and thread size for screws and anchors.
- Source options: custom parts or standard replacement sourcing from reputable suppliers.
- Verify compatibility: match rail profile, handrail diameter, and mounting hardware to your setup.
Inspect Railing Stability
To inspect railing stability, assemble the essential tools and materials now, so you can accurately assess every joint and connection. You’ll verify fasteners, brackets, and posts, noting looseness, corrosion, or warping.
Prepare a tape measure, OEM screws, a framing square, a level, a stud finder, an adjustable wrench, and a cordless driver. Include a flashlight, mirror, and clean rags for inspection angles.
Gather replacement hardware compatible with your handrail materials and baluster design, plus shims if misalignment appears. Check rail height, post base tightness, and anchorage to the wall or floor.
Document findings, marking squeaks or gaps. Maintain accuracy by testing movement with steady pressure.
Before repairs, confirm correct handrail materials and baluster design compatibility to ensure a durable, code-compliant fix.
Stabilize Posts and Rails With Bracing Options
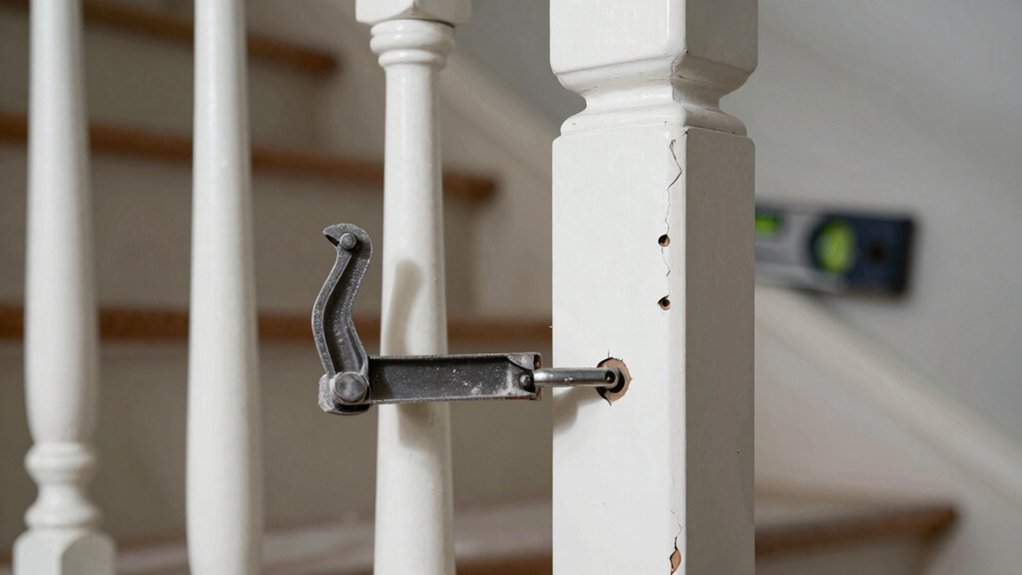
When you’re stabilizing a wobbly banister, start by bracing the posts and rails with three proven options: doorway braces, exterior-grade screws and blocking, or steel brackets.
- Doorway braces provide crosswise support between the wall and post, reducing sway at the base.
- Exterior-grade screws anchor rails to posts and framing, enhancing stiffness without visible hardware.
- Blocking behind the wall cavity transfers load into structural members, improving post reinforcement.
- Steel brackets couple joist or stud framing to the rail system, resisting twisting and lateral movement.
Focus on material selection to resist weather and load. Use corrosion-resistant hardware and appropriate fastener length. Verify alignment and recheck rigidity after installation.
Tighten Spindle Joints to Stop Wobble
Tighten spindle joints to stop wobble by checking each spindle connection for looseness, then reseat and torque to the specified spec. You’ll methodically test every spindle where it meets the handrail and newel posts because loose joints transfer movement and amplify handrail wobble.
Use a calibrated torque wrench or manufacturer-recommended torque values, avoiding over-tightening that could crack wood or strip fasteners. Start at the topmost spindle and work downward, ensuring each joint seats fully before proceeding.
If a joint won’t seat, inspect for damage or misalignment and replace components as needed. Recheck all joints after initial tightening, then perform a final light wack test along the length of the handrail to confirm stability.
Prioritize spindle joints for immediate wobble reduction, confirming a solid, safe banister.
Reinforce the Railing Base and Underside Connections
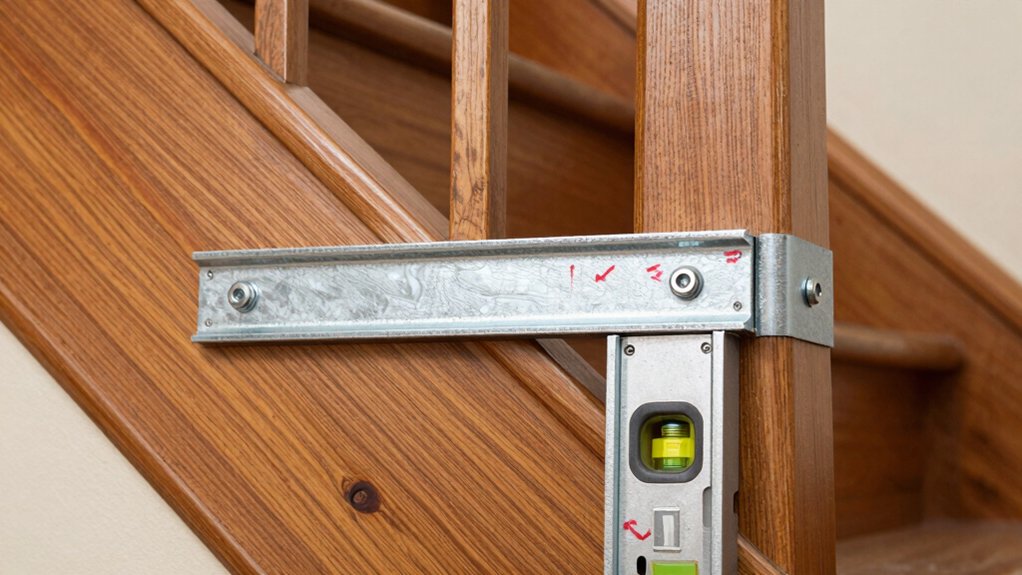
If the railing base or underside connections show signs of movement, reinforce them immediately to prevent ongoing sway. You’ll secure the base with structural brackets, add hidden shims, and guarantee screws bite into solid framing.
Then, brace the underside joints to eliminate flex by tying the rail to the stringer or wall studs with sturdy plates. Finally, verify alignment before finishing.
- Install metal brackets at base corners for rigid transfer of load
- Add calibrated shims to eliminate gaps without over-tightening
- Use corrosion-resistant screws that penetrate solid framing
- Check alignment, then test for wobble after tightening
These steps deliver decorative embellishments and aesthetic enhancements while preserving the rail’s integrity and safety.
Protect Finishes and Masking During Repair
Protect finishes and masking during repair by isolating work areas and guarding surrounding surfaces. You’ll prep the space first, laying drop cloths and painter’s tape to shield floors, walls, and adjoining railings. Remove or cover decorative accents that could be damaged, and note any softened finishes for later touch-ups.
Use low-adhesion masking film on nearby trim to prevent adhesive residue. When sanding or carving, opt for dust containment and wheel guards, reducing airborne particles that settle on finishes. Apply a dust barrier if needed, and seal the work zone to keep finishing techniques consistent across repaired sections.
After work, inspect for residue and re-tape as necessary. Clean tools promptly, preserving finish integrity and preserving the original look of painted or stained surfaces.
When to Call a Pro: Signs You Shouldn’t DIY
When the project involves structural load, complex carpentry joints, or safety-critical components, call a pro. You’ll protect yourself and the structure by recognizing when hands-on experience matters more than ambition. DIY safety must trump nostalgia, especially in load paths, fasteners, and rail connections.
A professional assessment confirms material integrity, alignment, and code compliance, reducing costly revisions later.
- You detect cracks that grow under load or during testing.
- You notice loose posts, rails, or fasteners that won’t tighten.
- You’re unsure about load calculations or joinery that bears weight.
- You face code or permit requirements you can’t meet alone.
Frequently Asked Questions
Can I Fix a Wobbly Banister Without Removing Trim?
Yes, you can fix it without removing trim. Use framing techniques to brace the rail against studs, and select solid hardware. Guarantee proper material selection for posts and brackets, then torque anchors securely and test for rigidity before finishing.
How Long Should a DIY Railing Repair Last?
A DIY railing repair should last many years if you properly anchor to structural framing, use quality hardware, and maintain joints. For decorative railings and historical preservation, expect longer life with period-appropriate materials and professional inspections.
Are There Weight Limits for DIY Railing Bracing?
A wobble is a red flag: weight limits exist. You should verify weight capacity and assess structural integrity before bracing. Like a steel spine, your railing must handle loads; any deficiency demands redesign or replacement for safety.
What if the Post Bases Are Rotten or Hollow?
If post bases are rotten or hollow, replace them immediately with proper post base replacement, then apply railing reinforcement techniques. Secure new anchors, use treated lumber, and verify alignment; maintain structural integrity and code compliance throughout the process.
Do I Need Permits for Railing Repairs?
Yes, you typically need permits for railing repairs. Check local building codes and scheduling safety inspections; obtain approvals before work, and guarantee inspections verify compliance with height, fasteners, and load requirements. Always comply with jurisdictional requirements to avoid penalties.
Conclusion
If you follow these steps, your wobbly banister will regain stiffness and safety. Start by diagnosing the wobble, then stabilize with proper bracing, tighten spindle joints, and reinforce base connections. Protect finishes as you work, masking where needed. Use the right tools and materials, and inspect for proper alignment before finishing. When in doubt, don’t push your luck—call a pro. Is your staircase truly secure after these fixes, or is that slight wobble still whispering danger?