
Did you know that a properly prepared garage floor can resist oils and chemicals for over a decade with the right coating? You’ll want a durable, low-permeability system and solid surface prep to maximize adhesion and chemical resistance. Think through material choices, choose finishes with high density and impact resistance, and plan maintenance to keep spills contained. If you’re aiming for long-lasting performance under heavy tool use, you’ll find the next steps are key to locking in value and resilience.
Materials That Stand Up to Oil and Chemicals
When choosing garage floor materials that resist oil and chemicals, you should prioritize coatings and substrates proven to endure exposure without degradation. You assess oil resistance by focusing on chemical compatibility, pore structure, and cure integrity, not just appearance.
You’ll favor epoxy and polyurea systems with low permeability, crosslink density, and documented resistance to hydrocarbons, solvents, and detergents. Substrates matter too: concrete accepts high-performance overlays when properly prepared, and steel-reinforced sections minimize microcracking under chemical assault.
Avoid porous Renderings or thin films that delaminate under contact with automotive fluids. You verify performance by reviewing data sheets, testing protocols, and service histories, then plan for proper surface prep, moisture control, and ventilation during installation.
With disciplined selection, you reduce long-term maintenance and extend service life.
Surface Finishes for Heavy Tool Traffic
Heavy tool traffic demands finishes that resist gouges, abrasion, and impact while minimizing downtime. You’ll evaluate surface options by density, cohesive strength, and edge retention, targeting consistent performance under forklift loads and dropped metal.
Prioritize substrates with uniform hardness and low porosity to reduce absorption and staining. You’ll compare slip resistance, cleaning ease, and maintenance intervals, balancing safety with availability of workspaces.
Consider surface textures that hide micro-scratches without creating tripping hazards, and verify compatibility with existing coatings and primers. Assess cure times, curing temperature tolerances, and environmental controls to avoid setup delays.
Document abrasion ratings, impact resistance, and long-term wear patterns through standardized testing. Conclude with a decision matrix that supports predictable uptime, clear maintenance procedures, and verifiable performance under heavy tool use.
Epoxy and Polyaspartic Coatings: Pros and Cons
Epoxy and polyaspartic coatings offer durable, fast-curing options for garage floors, but they differ in chemistry, cure times, and performance under harsh conditions.
Epoxy formulations yield strong chemical resistance and 2-part mixing, yet they cure slower and can yellow under UV exposure. You benefit from excellent wear resistance, but surface scratches may mar appearance if traffic is high.
Polyaspartics cure rapidly, enabling same-day return to service, with superior UV stability and flexibility that tolerates temperature swings. However, they can be pricier, and some systems rely on precise application conditions to avoid gloss loss or pinholes.
You evaluate substrate compatibility, odor, and long-term upkeep: epoxy favors rigidity and economy; polyaspartic favors speed, clarity, and resilience. Your choice hinges on usage pattern, environmental exposure, and financial constraints.
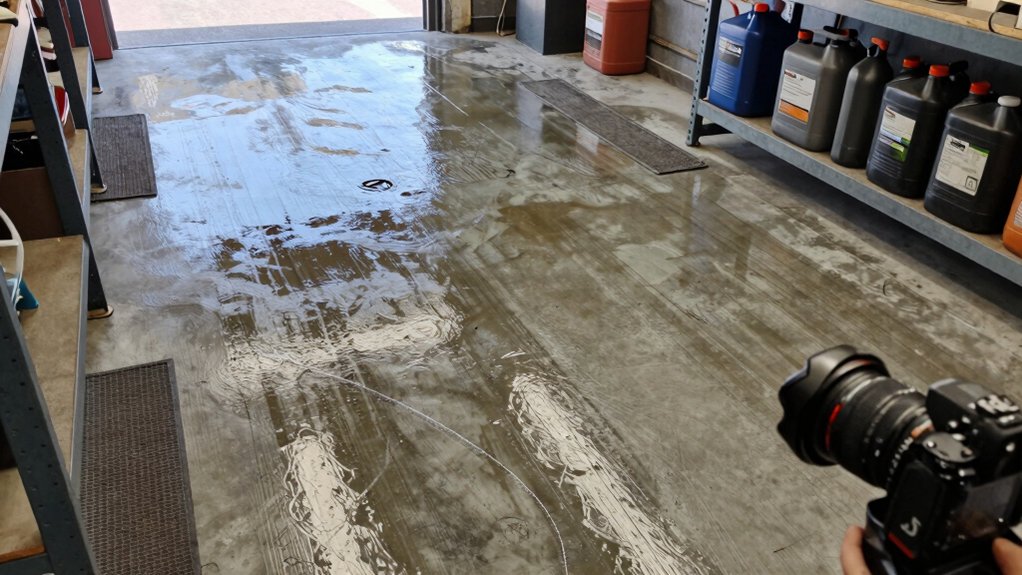
Prep Steps for Durable Garage Floors
Prep steps for durable garage floors start with a precise assessment of the existing slab: test moisture, identify coatings or contaminants, and map out the repair plan before any new finish goes down.
You then document substrate condition, porosity, and crack patterns with exact measurements, so remediation targets are clear.
Cleanliness matters: remove oils, debris, and old finishes using proven methods, ensuring a dust-free surface. Degrease stubborn areas, rinse, and dry completely to prevent bonding issues.
Select primers and patch materials matched to the concrete, based on porosity and moisture data.
Apply repairs in a controlled sequence, allowing cure times that align with product specs.
Finally, verify surface readiness with a moisture barrier test and adhesion pull test before proceeding to coating installation.
Maintenance Practices for Longevity
To maintain longevity, you’ll establish a regular cleaning routine that removes dust, spills, and debris before they penetrate surfaces.
You’ll also implement a protective coating schedule, applying appropriate sealants or finishes at intervals that match your floor’s use and wear patterns.
This approach focuses on consistency and measurable maintenance milestones to preserve appearance and performance.
Regular Cleaning Routine
Regular cleaning is the foundation of flooring longevity. You establish a routine that targets contaminants before they penetrate surfaces. Begin with a daily dry sweep to remove grit that abrades resin and paint.
Next, use a pH-neutral cleaner and warm water for light soils, applying solution with a microfiber pad and promptly extracting with a clean, damp microfiber after scrubbing joints and seams. Avoid harsh detergents that can leave residues or degrade coatings.
Log each session, noting spill events and corrective actions. Schedule deeper cleanings quarterly, focusing on high-traffic zones and tool storage areas.
Rinse thoroughly to prevent soap buildup, which can attract dust. Inspect for nicks, cracks, or moisture intrusion after cleaning, documenting findings and reinforcing maintenance triggers without altering coatings.
Protective Coating Schedule
Protective coating schedules should be defined by material performance, anticipated wear, and environmental exposure. You establish intervals by reviewing manufacturer specs, substrate condition, and anticipated contaminants. Begin with initial cure and first maintenance window, then set revisits at predictable milestones rather than guesswork.
You’ll track film thickness, adhesion, and curing integrity, noting deviations promptly. Schedule integrates surface preparation, recoat timing, and debris control to minimize downtime. You assess traffic patterns, chemical exposure, and temperature cycles to adjust the cadence without over-servicing.
You document each cycle, record testing results, and update the plan as products evolve. You prioritize simple, repeatable steps: clean, inspect, recoat, cure, and verify. This disciplined timetable preserves protection, extends service life, and supports safe, durable operations.
Installation Tips From Pros
Pros know that quick tips and durable setup tricks shape long-lasting floors. You’ll examine material choices, seam strategies, and cure times with a precise, stepwise approach.
This discussion initiates practical, results-driven guidance for installation that you can apply right away.
Pros’ Quick Tips
When you’re installing a garage floor, follow a disciplined sequence: prep the substrate, choose the right coating system, and verify each step before moving on. Pros’ quick tips center on disciplined measurement, clean progressions, and documenting conditions.
Begin with substrate profiling: grind or shot-blast to a uniform profile, remove contaminants, and test porosity.
Choose coatings based on exposure, chemical resistance, and traffic load; confirm warranty requirements and cure times.
Apply primers only when specified, and maintain temperature and humidity within tolerance during the process.
Mix components precisely, and avoid over- or under-stirring.
Use dedicated tools to prevent cross-contamination between products.
Implement a staged, modular schedule to isolate sections and monitor cure progression.
Finally, conduct a concise post-install inspection, noting any deviations for remediation before opening the space.
Durable Setup Tricks
After finishing a proper substrate prep, you’ll lock in durability by adopting structured setup tricks that keep each step tight and repeatable. Begin with precise mixing ratios and measure every batch. Use exact temps for curing, and log readings to ensure consistency across runs.
Plan adhesion strategies upfront: prime, then bond with a compatibility check between the coating system and substrate. Apply evenly with a calibrated squeegee, maintaining a steady pace to avoid lap marks. Maintain cleanliness during setup; contaminants derail adhesion.
Time your intervals to prevent premature sheet stress, and document environmental conditions. Verify substrate flatness with a straightedge and profile gauges, correcting high spots before proceeding.
Finally, perform a controlled cure sequence, protecting from drafts and vibrations to sustain film integrity long-term.
Frequently Asked Questions
How Long Does Curing Time Affect Oil Resistance in Coatings?
Curing time strongly affects oil resistance: longer cures improve crosslinking and form a denser barrier, while premature use weakens adhesion and elevates solvent attack. You’ll notice better resistance as curing progresses, stepwise, with ideal performance at recommended intervals.
Can Epoxy Be Repaired After Chemical Spills Without Full Replacement?
Epoxy can be repaired after chemical spills without full replacement; thoroughly clean, assess damage, and use a compatible repair kit. Lightly scuff, apply patch resin, cure per instructions, and test for integrity before returning to service.
Do Garage Floors Off-Gas Harmful Fumes During Curing?
Yes, they can off-gas during curing. You’ll notice mild solvent odors initially, diminishing over days to weeks as volatilized compounds evaporate. Make certain ventilation, wear a respirator if needed, and follow product-specific curing guidelines for safety.
Are There Diy-Friendly Coatings That Resist Solvents Long-Term?
Yes, you can. About 70% of DIY coatings fail solvent resistance within a year; choose epoxy or polyaspartic systems rated for solvents, apply thinly, follow curing temps precisely, and use compatible primers and sealers for long-term durability.
How Do Garage Floors Handle Heavy Chemical Drums and Drops?
You should install a high-strength, chemical-resistant coating with a solid epoxy or polyaspartic base, plus an appropriate primer; inspect regularly, reseal joints, and use drip pans or absorbents to manage drips and full-drop events efficiently.


