
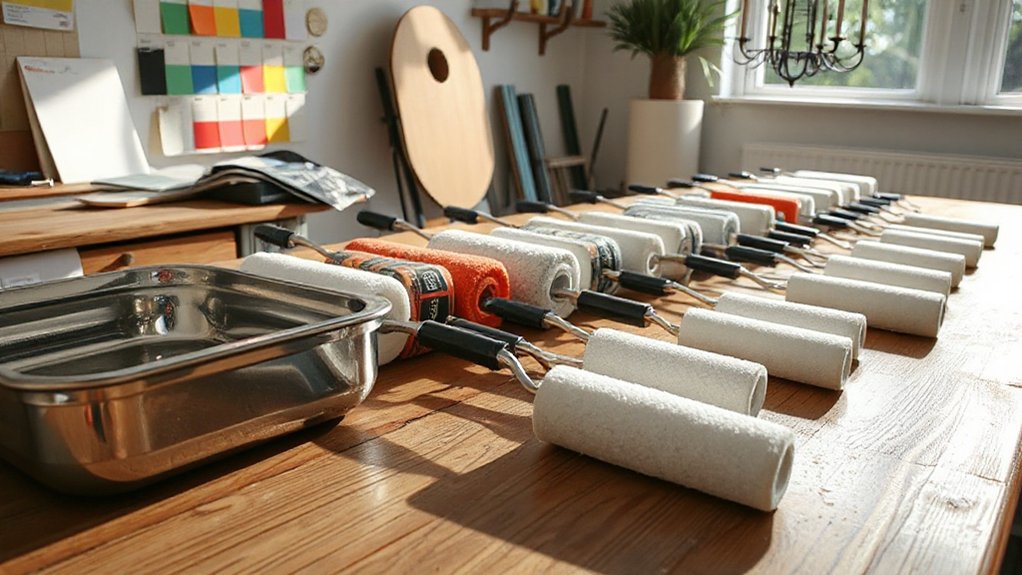
When you compare rollers, match the nap length and cover to your surface and paint. Foam rollers give crisp, uniform coats on smooth, water-based finishes but aren’t great for rough walls or thick enamels. Short-nap (¼”) works on flat surfaces; medium-nap (½”) handles textured walls; longer naps cover rough textures. Microfiber suits modern, low-VOC paints with fewer roller marks. Mohair and faux-nap are ideal for trims. Special-purpose rollers handle curved surfaces and textures. You’ll see how choices fit your project as you keep exploring.
How to Choose a Roller: Criteria, Paints, and Surfaces
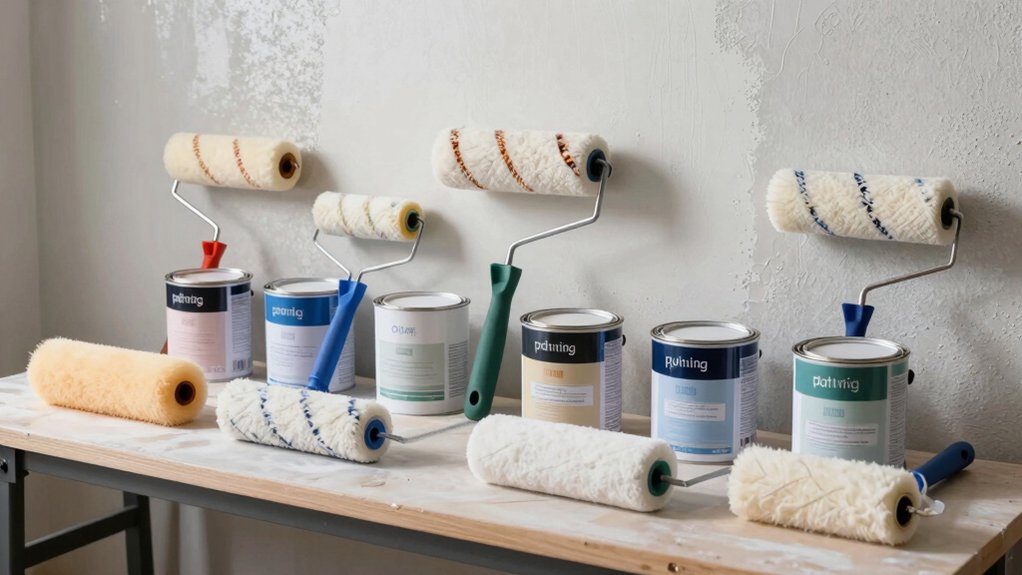
Choosing the right roller starts with your project: match the roller to the surface, the paint type, and the finish you want. You’ll gauge criteria like nap length, roller material, and coverage speed to maximize control.
For paints, pick synthetic for waterborne and natural for solvent-based, ensuring ideal spread and minimal fiber shed.
Surface texture matters: smooth walls need shorter naps; rough stucco benefits from longer naps for deeper paint absorption.
Consider paints and finish demands—high-gloss coats demand crisp, even coats, while matte finishes forgive slight texture.
Pay attention to paint absorption and roller ergonomics; a comfortable grip and balanced weight reduce fatigue on long jobs.
With purpose and precision, you’ll deliver uniform, professional results that withstand scrutiny and time.
Foam Rollers: When They Shine and When to Avoid
Foam rollers shine on smooth surfaces and with water-based paints, delivering a crisp, uniform laydown that minimizes lint and texture. You’ll appreciate their fast coverage, but you’ll also know when to avoid them: rough or highly textured walls, thick enamels, or heavy coatings invite micro-hair sheds and fisheyes.
For best results, apply thin, even coats and maintain a steady, moderate pace to prevent air trapped under the nap. Paint adhesion hinges on surface prep and a clean roller, so keep solvents away from the roller to avoid contamination.
After use, rinse thoroughly, squeeze out excess moisture, and dry completely before storage. Rollers storage should be airtight and upright to prevent deformation, protecting performance for your next project.
Short-Nap vs. Medium-Nap: Picking by Texture and Surface
Texture matters for picks, and the nap length you choose will shape your finish.
Short-nap hairs grab tighter textures, while medium-nap smooths larger surface details and helps even out texture.
Consider your project surface and aim for a finish that matches the surface feel you want.
Texture Matters For Picks
Texture matters when picking rollers, because nap length changes how well paint grips and lays down on different surfaces. You’ll feel the difference between short-nap and medium-nap fast: short-nap delivers smoother, more uniform coats on flat, slick surfaces, while medium-nap handles textured walls without loading up.
Your goal is clean coverage without streaks, so choose nap length that matches texture and project size. Consider roller material and how it interacts with your paint; stiffer foams splatter less but can leave micro-grooves, whereas traditional cloth or knit covers hold more paint for rapid work.
The roller handle should feel balanced in your grip, reducing fatigue on long sessions. With the right combination, you command precision, speed, and professional results.
Surface Finish Influences Choice
So how does surface finish steer your nap choice when you’re deciding between short-nap and medium-nap rollers? The texture you plan to lay down dictates grip and coverage efficiency.
Short-nap rollers shine on smooth, finished surfaces, delivering clean lines and solid paint adhesion with less stipple. Medium-nap rollers grip rougher textures and previous coats without overloading your tool, balancing transfer and control.
Consider surface finish as the decisive factor: slick surfaces demand less nap, while textured or repaired areas benefit from the extra bite. A confident choice reduces pass counts and fatigue.
Microfiber Rollers: Benefits for Modern Paints
Microfiber rollers deliver smoother, more uniform coats with modern paints, thanks to their finer fibers that hold less air and shed less lint. You’ll notice quicker cuts in touch-ups and fewer roller marks on flat or glossy walls. The fibers grip paint evenly, reducing spatter and delivering consistent coverage from edge to edge.
For modern, low-VOC formulations, microfiber minimizes lint and facilitates clean, rapid cleanup. Eco-friendly options exist without sacrificing performance, giving you a cleaner job site and less waste.
Ergonomic designs reduce hand fatigue during lengthy sessions, letting you push faster with better control. Choose high-density, properly nap-rated rollers for smooth finishes, then pair with compatible trays and extensions for maximum efficiency. Precision results meet power-ready execution.
Mohair and Faux-Nap Rollers for Trims and Cabinets
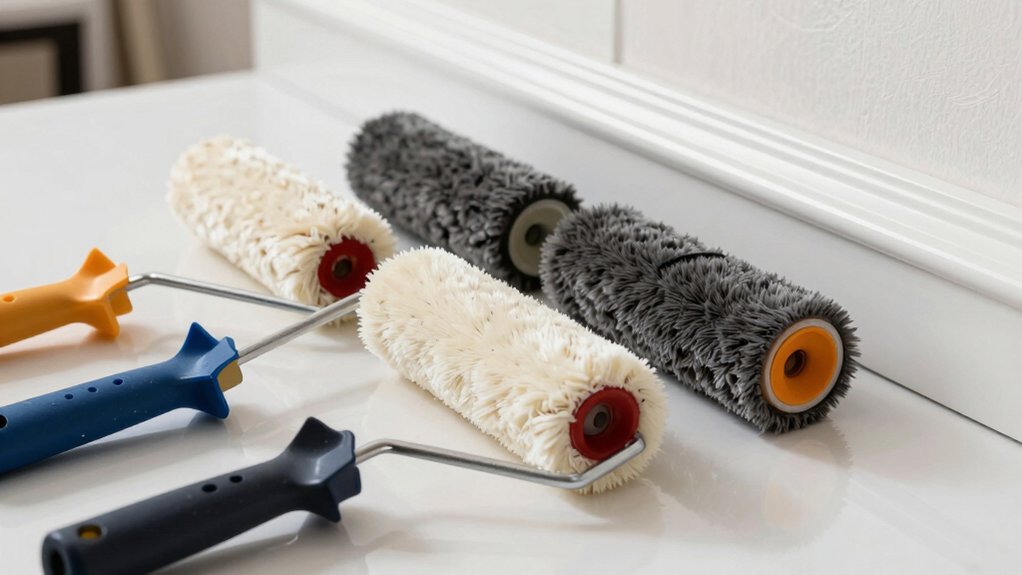
Mohair and faux-nap rollers excel for trims and cabinets because their short, plush fibers lay down tight, smooth coats with minimal texture. You’ll notice clean, uniform coverage on woodwork and inset panels, with less flashing than wool blends.
The mohair texture delivers precise control at edges, letting you reach tight corners without fraying or ribbing. Faux-nap fibers boost glide, reducing drag while preserving a crisp finish.
For gloss and semi-gloss paints, these rollers minimize stipple, yielding a showroom-ready appearance, especially on doors and trim molding. Use a high-quality, solvent- or water-based setup to maximize durability.
Expect consistent dye uptake and reduced roller marks, producing professional-grade results you can trust on high-visibility surfaces like cabinets. Faux nap sheen stays even through multiple coats.
Picking Roller Size by Project: Walls, Ceilings, and Tight Spaces
Choosing the right roller size makes drywall and trim jobs cleaner and faster: walls tolerate larger formats, ceilings benefit from wide coverage, and tight spaces demand compact rollers.
You select size by task: walls respond to 9″ or 12″ for quick coverage, reducing strokes without sacrificing edge control. Ceilings merit 9″ for broad swathes and fewer drips, yet you switch to 6″ or 4″ when edging along crown molding or fixtures.
In tight spaces, go with a compact roller and short nap to prevent splatter and maintain control.
Keep a dedicated roller handle for each size to speed changes, and organize rollers in roller storage that’s accessible and protected.
With deliberate choices, you cut rework, finish smoother, and maximize your project’s momentum.
Roller Covers vs. Cores: Durability, Cost, and Performance
Roller covers and cores each bring distinct advantages to the job, so picking the right combo saves time and money. You’ll measure durability by surface you face and paint type, not just price. A high-quality cover boosts roller durability, resisting fray, shed, and wear, while a sturdy core keeps you rolling without wobble or failure.
In practice, you gain smoother, consistent coverage with the right blend of stiffness and absorbency. Cost efficiency comes from choosing durable materials that last, plus compatible cores that fit your toolset without modification. Don’t chase cheapness at the expense of performance—over time, poor pairs cost more in rework.
Prioritize a balanced, durable setup that holds paint, resists cracking, and maintains steady application.
Special-Purpose Rollers: Curved Surfaces, Textures, and Stippling
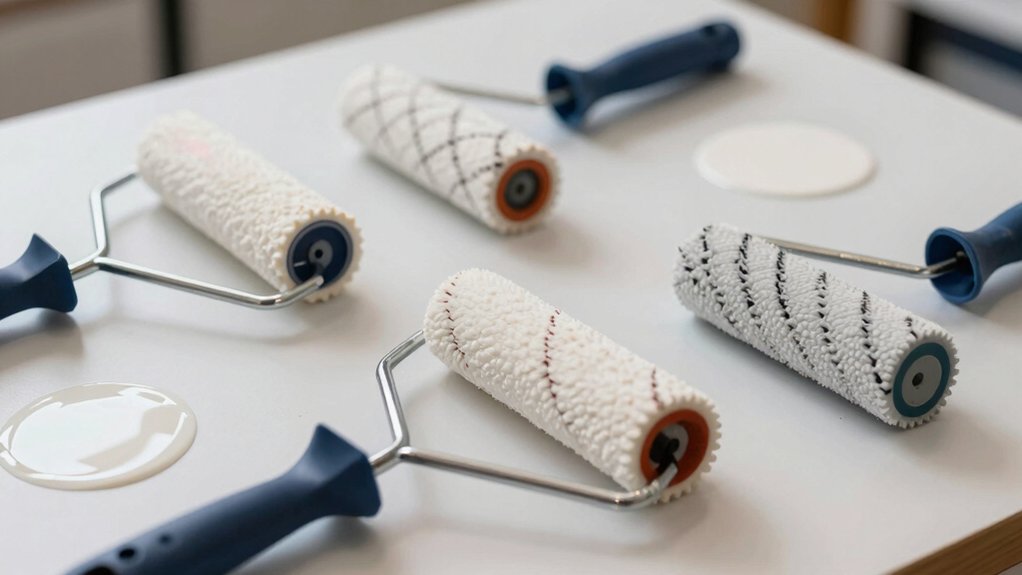
Curved surface techniques let you adapt rollers to irregular walls and edges for smooth, even coverage.
Texture rollers bring depth and pattern quickly, with consistent results across large areas.
Stippling tips focus on controlled, tactile effects to add dimension without overworking the finish.
Curved Surface Techniques
Curved-surface rollers open up new textures and stippling effects by following non-flat geometries instead of uniform, straight lines. You’ll control depth and rhythm by adjusting curved surface techniques, choosing roller angles that match furniture curves, stair rails, or soffits.
Start with a shallow pass to map the contour, then deepen texture where you want emphasis. Keep steady pressure to avoid skips, and rotate the roller slightly between strokes to blend edges along tight radii.
For larger curves, pivot from the wrist and guide the roller with deliberate, smooth motions, not brute force. Maintain consistent grip height and pace to preserve uniform coverage.
This approach amplifies impact, delivering bold, professional results with precise curved surface texture and controlled stippling.
Texture Rollers Applications
Special-purpose texture rollers expand your toolkit beyond flat-wall patterns, letting you tackle curved surfaces, unique textures, and stippling with precision. You’ll use a roller texture to create dimensional finishes on arches, rails, doors, and soffits, matching contour and grain with controlled pressure.
For curved surfaces, apply steady, even rolls along the contour, avoiding overloading the nap. Texture rollers excel at random and repetitive patterns; choose one that suits your desired effect and repeat consistently.
In application techniques, work in small sections, maintain a fresh paint film, and roll at a 45-degree angle to blend edges. Clean between color changes to preserve texture.
Keep your technique deliberate: measure, plan, roll, inspect, adjust. The result is durable, professional-looking depth.
Stippling Pattern Tips
Stippling with special-purpose rollers isn’t just a showpiece trick—it’s a practical way to add micro-dimension and texture on curved surfaces, textures, and stippled patterns. You’ll master stippling pattern tips by planning a consistent approach, then letting the roller do the heavy lifting.
Apply steady pressure and short, controlled bursts to build even density across the surface. Keep your pattern alignment tight; rotate or flip the roller as needed to avoid gaps and achieve pattern consistency. Work in small sections, reloading as you go, to prevent dry edges.
Use contrasting paint shades sparingly to enhance depth without overpowering the texture. Focus on even stippling techniques to maintain uniform distribution, ensuring you achieve a professional, durable finish that reads intentional and polished.
Maintenance and Cleaning: Extend Roller Life
Regular maintenance and cleaning extend roller life by preventing buildup, wear, and misalignment. You take charge by rinsing or wiping rollers immediately after use to remove paint and solvents, then inspecting for nicks or frayed fibers. Dry thoroughly to avoid rust on metal components, and store with core caps in place to maintain shape.
Between projects, loosen residue with warm water and a mild detergent, rinse, and air-dry completely before reuse. For solvent-based coatings, use appropriate cleaners and minimize exposure to harsh chemicals that degrade the sleeve.
Store tips include keeping rollers elevated, away from direct sun, and in a clean container to prevent contamination. This discipline boosts roller lifespan and ensures consistent application, so every project starts with peak performance and predictable coverage.
Budget Tips: When to Splurge vs. Save on Rollers
After maintaining and cleaning your rollers, you’re ready to weigh where it pays to splurge and where you can save. Budget tips guide your choice without surrendering results. You’ll prioritize budget shopping for basic coatings and large projects, choosing mid-range sleeves that balance durability and price.
Save on disposable foam rollers for quick jobs with low grit or delicate surfaces. When you’re tackling high-traffic areas or glossy finishes, splurge on high-quality, shed-resistant covers and a sturdy frame to avoid rework. Seek professional recommendations to confirm brand reliability and compatibility with your paint.
Invest where it matters: uniform coverage, smooth finish, and fewer tip-offs. Use smart purchasing patterns, buy in bulk when feasible, and avoid gimmicks that inflate cost without improving performance.
Quick Decision Framework: Match Surface, Paint, and Technique in Minutes
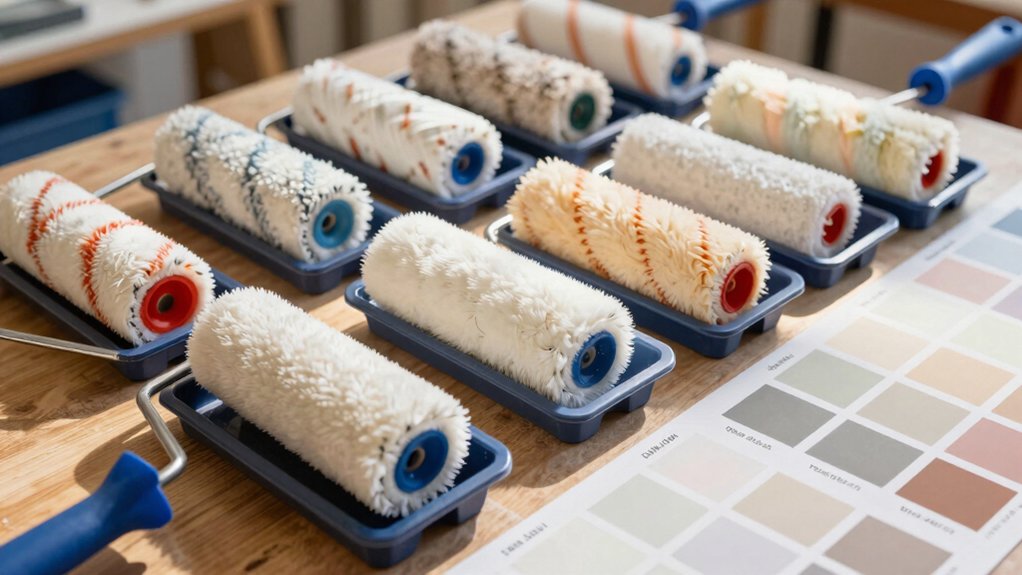
Pick the right surface-appropriate roller, confirm paint compatibility, and pick a matching technique in minutes.
You’ll tighten decisions by pairing texture with nap length, solvent or water-based paint, and a quick stroke plan.
This framework keeps you moving fast without sacrificing coverage or finish quality.
Surface-Appropriate Rollers
When you’re selecting a roller, start by matching the surface, paint type, and technique to the roller’s nap and cover material, so you get uniform coverage without streaks. Surface-appropriate rollers save time and boost results: use smooth-nap for walls, longer nap for textured ceilings, and synthetic covers for latex.
For oil or enamel, choose solvent-resistant materials to prevent fiber shed and ensure clean edges. Align roller width with room size and trim work to maximize control, avoiding over-application. Keep brush types and edge tools handy for precise corners, and reserve a dedicated spot for roller storage to preserve nap integrity between jobs.
Plan a quick swap-in approach to match each surface, painting method, and finish you require. This focus yields faster, flawless results.
Paint Type Compatibility
To choose the right roller for paint type, start by pairing the solvent base and sheen with your sleeve and nap. Your goal is paint compatibility that delivers clean coverage without splatter or texture mishaps.
Match waterborne emulsions to lightweight, synthetic roller surfaces for smooth, even spread. Switch to natural fibers or denser naps for oil-based paints to prevent roller snag.
Consider sheen: glossier surfaces demand tighter nap control to avoid texture telegraphing. For flat or matte finishes, a shorter nap boosts precision; semigloss benefits from a slightly longer nap to reduce reel-in lines.
Always verify compatibility between the roller surface and the paint’s thickness, plus any primer underlayment. This strategic pairing minimizes touch-ups and speeds project completion.
Technique Quick-Guide
Ever wonder how to decide in minutes which surface, paint, and technique to use together? You start with the surface texture, then pick a compatible paint type, and finally lock in a proven cover technique.
For rough surfaces, choose a high-adhesion roller paint and a bold, thick nap that grips texture without splatter. For smooth walls, opt for a fine-nap roller paint to lay down even coats and minimize fiber pickup.
Always test a small patch to confirm coverage and edge control before committing to the full area. Use cross-hatching or light, steady strokes to ensure uniform color, then finish with a light pass to smooth any ridges.
This quick framework delivers confident, repeatable results—no guesswork, just power.
Frequently Asked Questions
Are Roller Handles Comfortable for Extended Projects?
Yes, roller handles can be comfortable for extended projects. With an ergonomic grip and lightweight design, you’ll feel less strain, maintain control, and finish faster, powering through tasks while reducing fatigue and improving overall productivity.
Which Rollers Resist Shedding Most Reliably?
“Practice makes perfect,” you’ll find, because you’ll want rollers that resist shedding most reliably. Pick shedding prevention roller material choices known for durability, ensuring consistent coverage and less cleanup on demanding projects.
Do Foam Rollers Hold Paint Well on Latex?
Yes, foam rollers hold latex paint well, but you’ll notice fast drying and higher shine. They excel with paint absorption on smooth surfaces, though rough textures may require more coats for surface adhesion and even coverage.
How to Prevent Lint Transfer to Flat Finishes?
Like a magnet to lint, you’ll prevent lint transfer by preparing surfaces and using the right tools; choose lint prevention steps, foam paint for flat finish, and shedding resistance techniques with reusable rollers for reliable results.
Are Reusable Rollers Worth the Cleaning Effort?
Reusable rollers aren’t worth the cleaning effort for most projects; you’ll lose time. If you insist, you’ll save time with quick paint removal and proper roller storage between uses, avoiding stiff, ruined fibers.
Conclusion
Choosing the right roller speeds your project and saves money. If you’re painting drywall, a short-nap microfiber blends finish and coverage; glossy trims shine with mohair. Foam works for slick, smooth surfaces—but not stucco. An interesting stat: using the right roller can cut repaint time by up to 30%, plus reduce roller lint issues by 40%. Pick by surface, paint, and technique, and you’ll hit a clean, durable finish—with less mess and fewer trips to the store.




