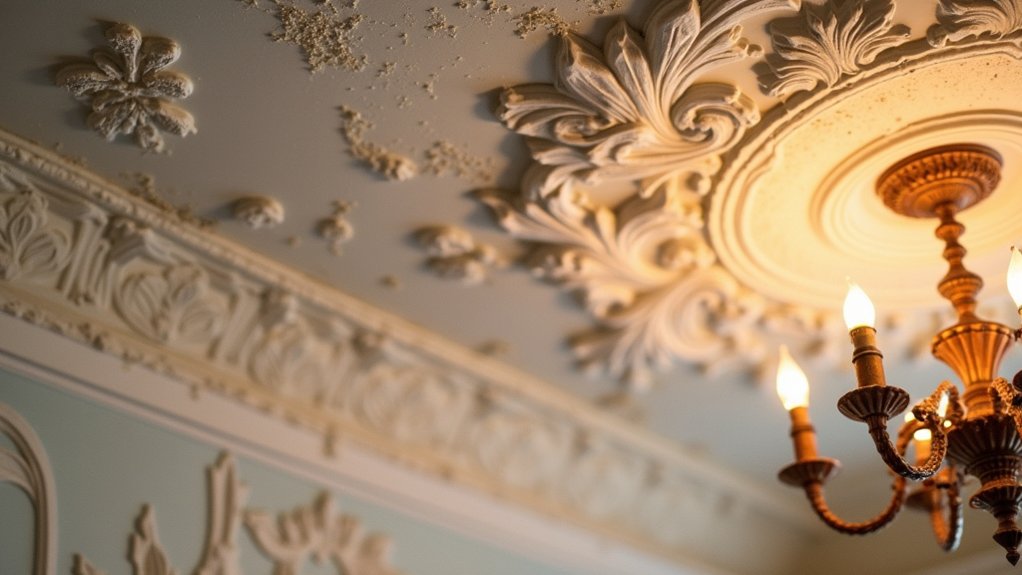
In restoring plasterwork and ceiling roses in heritage homes, you assess the fabric with a precise, evidence‑based approach, prioritizing lime‑based mortars and gypsum mixes to match historical textures while preserving structural integrity. You evaluate cracks, moisture, and delamination, then decide between repair or replication after consulting conservation standards. The work demands meticulous planning, clear documentation, and coordinated permits, with maintenance and environmental control guiding long‑term stability—a careful balance that compels you to contemplate every chosen method before proceeding.
What Makes Heritage Plasterwork Unique
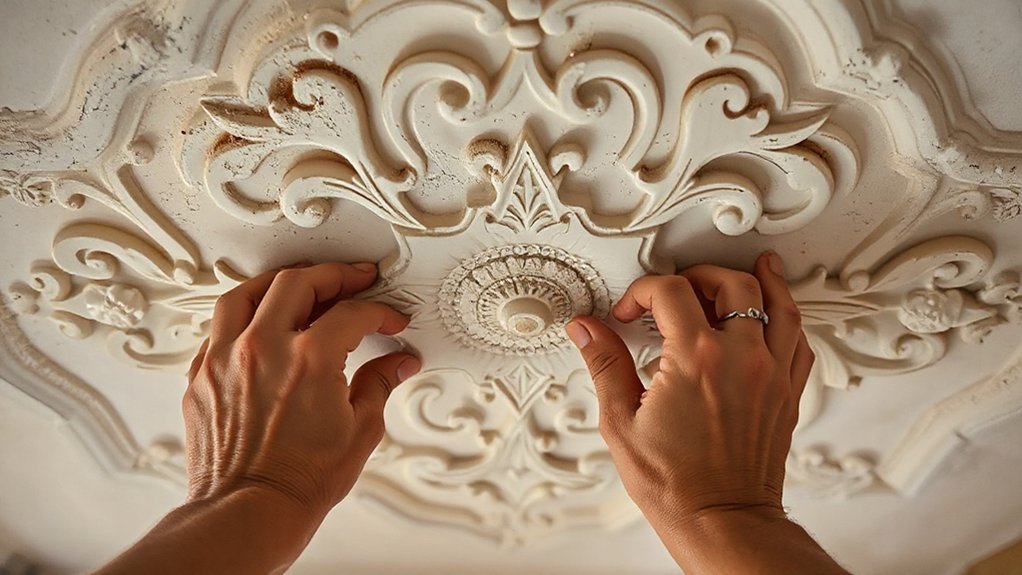
Heritage plasterwork stands apart because it blends traditional materiality with skilled craft, yielding surfaces that are both durable and expressive. You study how lime, gypsum, and cementitious mixes converge to form cohesive substrate systems, capable of bearing fine ornamentation.
Historical artistry informs form, proportion, and rhythm, guiding the creation of cornices, bosses, and friezes that endure alongside the structure. Decorative detailing defines texture and surface language, where depth, shadow, and relief convey lineage and craftsmanship.
You leverage controlled sash temperatures, plaster fly, and proper screeding to minimize settlement effects while maintaining porosity for breathability. You respect original joints, mold skins, and render thickness to maintain compatibility with adjacent materials.
Precision, consistency, and documented techniques guarantee faithful reproduction without compromising performance.
How to Assess Cracks, Moisture, and Delamination
You’ll start by identifying cracks with standardized methods, noting location, width, pattern, and progression.
You’ll assess moisture through surface indicators and non-destructive tests, correlating staining, efflorescence, and RH data with material condition.
You’ll apply delamination assessment techniques to gauge bond loss, using backlighting, tapping, and adhesion tests to guide repair priorities.
Crack Identification Methods
Crack identification is the first critical step in evaluating plasterwork and ceiling roses, because cracks reveal moisture intrusion, material fatigue, and potential delamination. You begin with a visual survey, noting crack pattern, width, and alignment relative to joints or decorative motifs.
Use a calibrated gauge or a disposable crack width ruler to quantify opening, and document any progression over time. Tap testing helps distinguish hollow areas from solid bonds, while sounding reveals delamination zones.
Record substrate condition, prior repairs, and paint layer integrity. Color matching informs patching strategy, ensuring final appearance aligns with surrounding plaster.
Surface preparation is essential before any assessment, removing loose material and dust to expose true edges. Accurate mapping of cracks guides targeted remediation without compromising heritage aesthetics.
Moisture Impact Indicators
Moisture indicators are key to linking visible cracks to underlying water intrusion and material deterioration. By correlating humidity, dampness, and efflorescence with crack patterns, you can distinguish moisture-related damage from purely structural issues.
You assess subtle staining, salt efflorescence, and texture changes around joints, corners, and plaster roses to map moisture pathways. Use noninvasive moisture detection methods first, noting surface readings and patterns over time.
Record ambient conditions, air exchange, and historical leaks to interpret transient versus persistent dampness. Monitor for mold prevention implications, especially in enclosed cavities where temperature and humidity stabilize.
Prioritize repair sequencing that minimizes ongoing moisture exposure, and re-evaluate after remediation to confirm crack stabilization and restored plaster integrity.
Maintain documentation to guide ongoing conservation decisions and future preventive measures.
Delamination Assessment Techniques
Delamination assessment combines crack mapping, moisture profiling, and layer integrity checks to determine the extent and mechanisms of separation. You begin with a focused survey of surface evidence, documenting crack patterns, areal delamination, and staining that suggests moisture trails.
Use non-destructive techniques first: infrared thermography, moisture meters, and impulse-echo testing to locate concealed underlayers and voids without disturbing the plaster. Correlate findings with substrate history, adhesive systems, and lime plaster compatibility to identify failure modes.
Surface preparation is essential before any intervention, including dust removal, surface smoothing, and compatible priming to reveal true delamination without introducing bias.
Material compatibility guides adhesive selection, ensuring that repair mortars and meshes match elasticity and vapor permeability.
Conclude with a corrective plan targeting crack consolidation, controlled moisture stabilization, and reversible, compatible repairs.
Repair vs. Replication: Choosing the Right Restoration Approach
Repair or replication decisions hinge on damage scope, historical integrity, and future performance requirements. You evaluate crack extent, loss of mass, and plaster delamination to determine whether repair can restore function without compromising heritage value.
When damage is localized and material cores remain sound, repair—patching, lime-putty refinement, and feathered reintegration—offers minimal intrusion and preserves original patinas.
Replication becomes appropriate for extensive loss, complex profiles, or compromised substrate where historical appearance must be maintained across larger areas.
You balance structural stability, long-term durability, and conservation ethics, selecting methods that minimize visible changes. Modern technology informs measurement, pattern matching, and non-destructive testing, while aesthetic considerations guide jointing, texture, and sheen to harmonize with adjacent work.
Choose minimally invasive strategies that meet performance goals without overstating restoration.
Materials and Techniques That Honor Authenticity
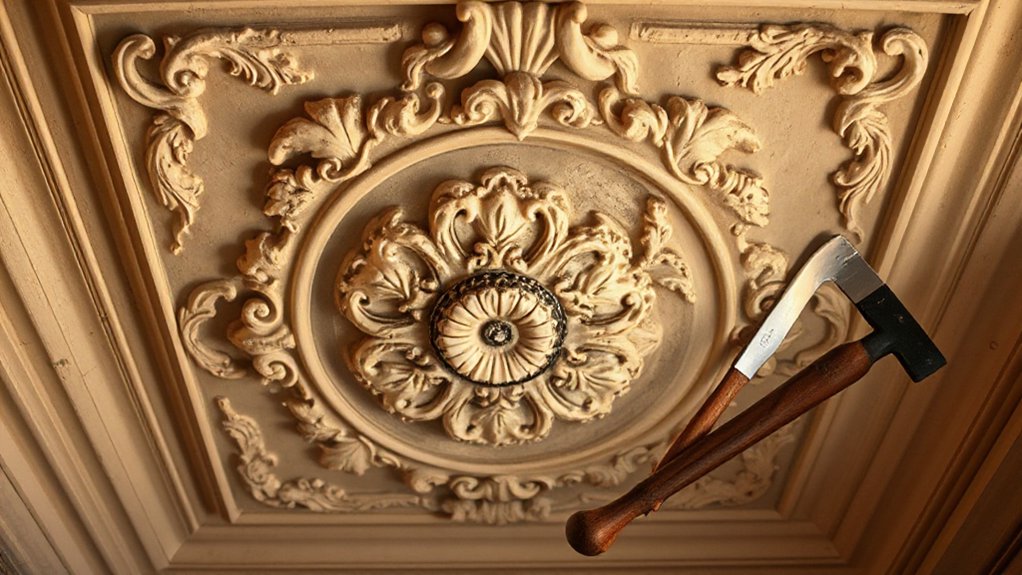
You should select traditional material options that align with historical plasterwork, ensuring compatibility with underlying substrates and long-term stability.
Employ authentic craft techniques—hand-scarfed molds, lime-based mortars, and gypsum mixes only when historically appropriate—to preserve texture and detailing.
Adhere to preservation standards throughout material testing, documentation, and installation to maintain integrity and authenticity.
Traditional Material Choices
Portland cement is avoided except where dictated by heritage guidelines, preserving wall moisture dynamics and reducing cracking risk.
For finishes, you opt for traditional Historic paint schemes that resist aging without obscuring relief, applying limewash or calcined lime paints to preserve mineral adhesion.
Decorative moldings are shaped from authentic gypsum or lime-based plasters, cast from original molds or skilled reproductions, ensuring profile fidelity.
You document each material choice with performance notes, enabling future conservation decisions while maintaining architectural integrity and visual authenticity.
Authentic Craft Techniques
- Use lime-based mortars for compatible porosity and breathability.
- Employ restricted modern admixtures only when they preserve authenticity.
- Document each intervention for provenance and future stewardship.
- Calibrate setting times through controlled environmental conditions.
The approach remains precise, disciplined, and transparent, aligning skill with ethics to sustain heritage without compromising structural or aesthetic integrity.
Preservation Standards Adherence
Preservation standards guide every choice in restoring plasterwork and ceiling roses, ensuring materials and techniques preserve authenticity while meeting modern durability requirements. You assess substrate compatibility, joint treatment, and adhesion under strict conservation protocols, prioritizing lime-based mortars over Portland cement where appropriate.
You select historically accurate textures, profiles, and finishes, avoiding modern synthetics that obscure provenance. You document material provenance, tooling marks, and construction sequences to support ongoing stewardship.
You evaluate structural implications, moisture management, and ventilation to prevent deterioration without altering original appearance. Historical significance informs decisions about replication versus restoration, ensuring care plans respect era-specific aesthetics.
Cultural symbolism governs motif preservation and placement, safeguarding the meaning conveyed by ornamental details for future interpretation and study. You adhere to standards, confirming long-term fidelity and resilience.
Planning With Conservators and Navigating Permits
Effective planning with conservators and steering permits starts with defining project scope, timelines, and required documentation up front, so stakeholders align on expectations and constraints.
- Identify applicable heritage statutes and permit authorities, then map approval milestones to your schedule.
- Catalog materials, preservation methods, and safety standards to guide conservator input and technical reviews.
- Assess funding options, budgets, and grant deadlines to prevent funding gaps mid-project.
- Establish clear decision rights, change-control procedures, and documentation for each submission.
Modern technology enables precise documentation, condition surveys, and progress tracking, improving review efficiency.
You leverage expedient permit routing, triage potential issues early, and maintain compliance.
Keep all parties informed with concise briefs and updated timelines to minimize delays and rework.
Outreach to stakeholders should emphasize scope, constraints, and risk, ensuring aligned expectations throughout the permit process.
Maintenance Strategies to Protect Restored Ceilings
Restored ceilings demand disciplined maintenance to sustain their structural and decorative integrity. You implement a proactive inspection schedule, documenting cracks, flaking plaster, and moisture indicators every season.
Prioritize environmental control: regulate humidity, address dampness promptly, and monitor for salt efflorescence that can undermine plaster bonds.
Use nonabrasive cleaning methods, avoiding harsh chemicals that risk surface damage or staining, and preserve original finishes whenever feasible.
When planning repairs, adhere to restoration ethics by matching materials, textures, and techniques with historical accuracy, ensuring any new work blends seamlessly with the existing fabric.
Schedule periodic repainting only after evaluating substrate stability and color-matching to historical palettes.
Train staff in careful handling and containment to minimize vibration and dust during ongoing maintenance.
Frequently Asked Questions
How Long Does a Plaster Restoration Typically Last?
A plaster restoration typically lasts decades, often 50–100 years, depending on workmanship and conditions. You’ll benefit from using historical techniques, matching materials and textures, and proper substrate preparation.
Preservation challenges include humidity, movement, and prior repairs that can compromise integrity. You should expect periodic inspections and targeted retouches rather than full rewrites.
With precise plaster mixing, lath compatibility, and crack mitigation, your restored surface remains stable longer, while addressing environmental fluctuations that drive deterioration.
What Are Common Costs for Ceiling Rose Repairs?
Ceiling rose repairs typically cost between £150 and £600 for minor fixes, and £600 to £2,000 for extensive restorations. You should budget for assessments, material sourcing, and skilled labor.
I can help you estimate by room size and damage extent.
You’ll find that Historical techniques inform authentic detailing, while modern materials control cost and durability.
You’ll get precise quotes when you specify plaster type, depth of damage, and whether you want reproduction mouldings or repairs integrated with the existing ceiling.
Can DIY Fixes Damage Historic Integrity?
Yes, DIY fixes can compromise historic integrity if you ignore technique and materials. You tighten the suspense as you plan: will modern materials clash with historical accuracy?
You shouldn’t improvise; use careful plaster bonding, lime putty, and gypsum only where appropriate. You’ll preserve details, joints, and moldings by testing compatibility, documenting original finishes, and avoiding substitutions that degrade authenticity.
Follow standards, consult guides, and err on cautious, precise repair to protect heritage value.
Which Coatings Best Protect Breathability and Appearance?
Breathable paints and protective finishes are your best options. You should choose breathable paints designed for historic plaster to allow moisture movement while keeping appearance pristine.
Apply a breathable primer, then a compatible finish coat to minimize sheen and cracking.
For long-term protection, use a matte or satin protective finish that seals dust and residues without blocking breathability.
Repaint every 5–10 years as needed, inspecting plaster joints for movement and cracks.
How Do You Document Restored Plaster for Future Audits?
A hypothetical case: you document plaster repair by photographing, timestamping, and recording material specs. You then compile a chronological log, noting hinge points, lime putty mix ratios, and restraint methods.
For future audits, guarantee Historical preservation standards are met, and apply standardized Documentation techniques like defect mapping, material provenance, and repair annotations.
You attach condition surveys, sketches, and product datasheets, and maintain a digital backup.
This rigorous approach safeguards compliance and demonstrates traceable, transparent restoration history.
Conclusion
You stand at the door of a long-held memory. Like a careful archivist, you mend the plaster threads, matching lime to lime and gypsum to gypsum, so the ceiling sighs only with its own history. Each crack becomes a chapter rejoined, moisture diverted, delamination halted. Conservation isn’t conquest; it’s a pledge. As you seal the rose’s quiet orbit, you preserve a craft, a code, and a culture—closed but not silenced, inviting future caretakers to reread its substance.