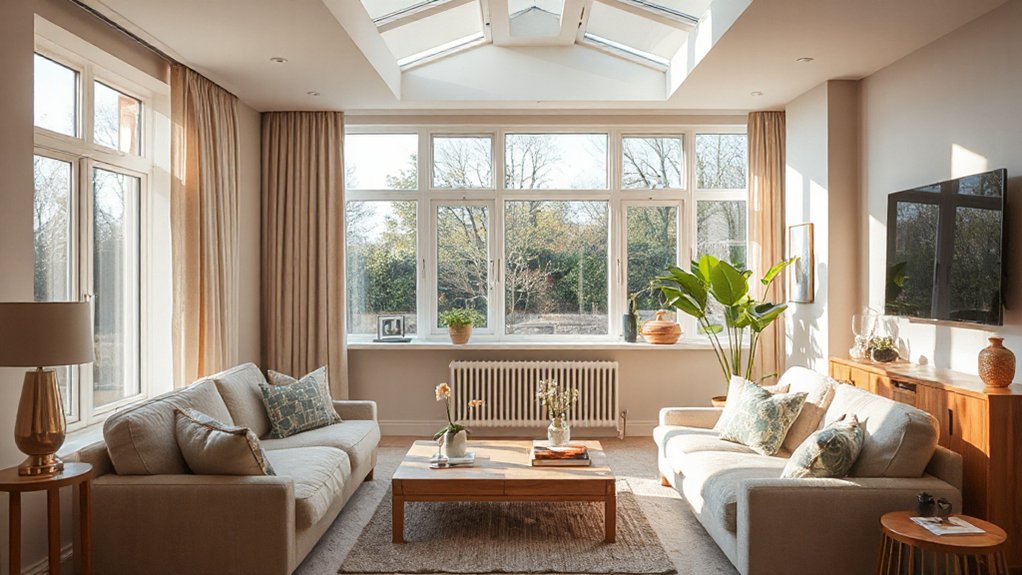
Maximise brightness in UK homes with limited natural light by layering lighting and using reflective surfaces. Start with light, low-saturation paints in mid to light whites and soft warm neutrals, then add mirrors opposite windows to bounce daylight deeper. Combine ambient, task, and accent lighting with dimmers and smart controls. Choose reflective furnishings and glossy finishes to multiply light, while keeping clutter to a minimum. Use window treatments that reflect light, and place seating to face brighter points. You’ll uncover practical tactics beyond this.
Foundational Brightening Principles for UK Homes
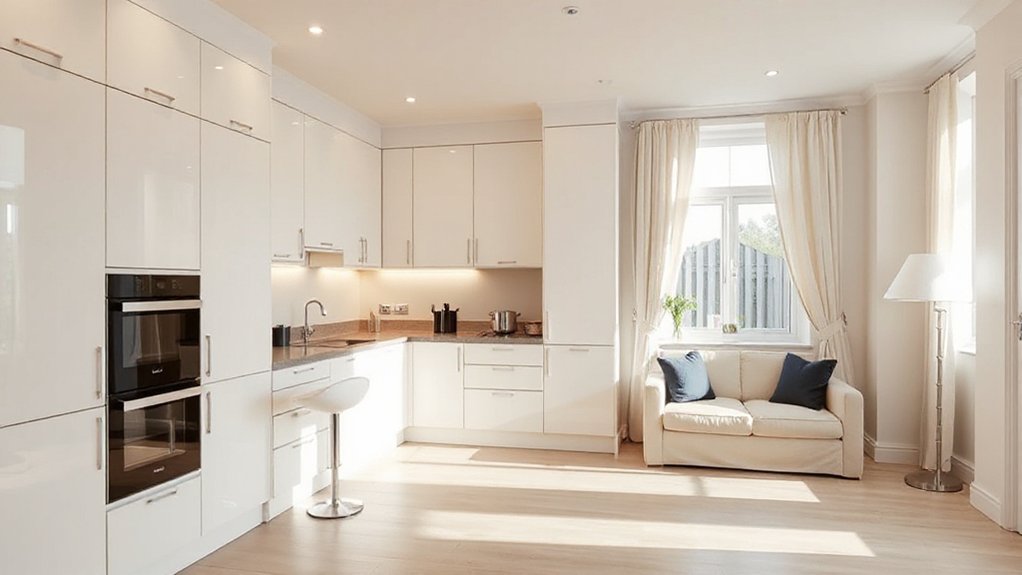
In UK homes with limited natural light, start with a clear brightness plan: maximize reflected light, minimize shadows, and choose high-contrast, color-balanced schemes. You’ll align layout to capture daylight from key angles, placing seating and work zones near windows while avoiding blockages.
Use natural skylights to extend daylight hours where feasible, ensuring proper diffusion to reduce glare. Integrate interior reflective panels to bounce light toward darker corners without increasing energy use.
Select finishes with low saturation near walls and floors to avoid color fatigue, and apply lighter ceilings to amplify vertical brightness. Control contrast with calibrated luminance—light walls paired with slightly deeper accents to preserve depth.
Implement scalable lighting layers: ambient, task, and accent, tuned to room function for consistent brightness.
Light-Reflecting Paint Palettes That Work
When you choose light-reflecting paints, you’ll boost perceived brightness by maximizing surface reflected light, especially on walls and ceilings with good even coverage.
Focus on palette choices that amplify ambient light without washing out room tone, and pair with durable, easy-to-clean finishes for practical UK homes.
We’ll compare brightness-boosting finishes and concrete palette options to guide your precise, functional selections.
Light-Reflecting Palette Choices
For spaces with limited natural light, choosing light-reflecting paint palettes that actually work hinges on balance: high reflectance must pair with subtle undertones to avoid flatness and glare. You should prioritize mid to light whites with low chroma or pale warm neutrals that bounce daylight without shifting color casts.
Test large swatches on multiple walls at different times of day to confirm stability. Favor paints labeled with high-visibility brightness but low sheen to minimize hotspots; brilliant whites can overwhelm, while eggshell or satin can better distribute light.
Incorporate color contrast deliberately to define zones and prevent washed‑out expanses, and introduce natural textures—wood, linen, stone—to add depth and warmth. This guarantees a cohesive, legible interior despite limited daylight.
Brightness-Boosting Finishes
Opt for mid-sheen emulsions that smooth chatter from uneven walls and reduce perception of dimness. Pair with luminous accents—soft pearlescent or satin layers near windows—to guide light deeper into rooms.
Use primers and undercoats designed for high-reflectance schemes to prevent chalking and maintain color integrity. Test swatches under varying daylight, adjusting hue warmth to prevent yellow casts.
In practice, document lumens per square meter and adjust coats to maintain consistent brightness throughout the day.
Maximize Natural Light With Window Treatments
To maximize natural light, choose light-colored drapes that reflect daylight rather than absorb it.
Layer sheer fabrics with velvet to control glare while preserving brightness throughout the day.
Add reflective window film to amplify incoming light without sacrificing privacy or view.
Use Light-Colored Drapes
Light-colored drapes reflect more daylight than dark fabrics, helping rooms feel brighter without additional lighting. You should choose light fabric curtains to maximize natural illumination while maintaining privacy.
Opt for fabrics with a smooth, matte or lightly reflective finish to reduce glare and improve diffusion. Prioritize off-white, ivory, pale beige, or cool-toned pastels that complement wall tones and furniture without overpowering the space.
Curtain styles matter: consider full-length panels that reach close to the ceiling to visually expand the height of the room, and avoid heavy pleats that trap light.
Install lightweight rods that allow easy operation and maintain clean lines. Pair these drapes with unblocked window areas and minimal layering for consistently bright, practical illumination.
Layer Sheer And Velvet
Layering sheer panels with velvet adds depth to your window treatment while maximizing daylight. You’ll layer lightweight sheers beneath thicker velvet textures to control glare without sacrificing brightness. Use crisp, pale sheers to reflect ambient light, then choose velvet textures in muted neutrals for warmth.
Align curtain rods close to the ceiling to create an uncluttered plane that amplifies natural glow. Choose clip-on rings or hidden track systems to minimize visual bulk and preserve sightlines.
Test opacities by pairing sheer layers with semi-opaque velvet in fluctuating lighting conditions. Maintain crisp edges with precise hemlines and accurate tailoring to avoid sag.
Layer sheer and velvet thoughtfully for a balanced, daylight-efficient scheme.
- Layer sheer over velvet textures for depth
- Choose pale sheers to maximize ambient light
- Use close-to-ceiling mounting for height
- Opt for hidden track systems to reduce bulk
- Tailor hems precisely for clean lines
Install Reflective Window Film
Reflective window film can dramatically boost daylight in shaded rooms by bouncing natural light deeper into the space. You apply a reflective film to interior glazing to redirect incoming light toward darker corners, improving perceived brightness without enlarging openings.
Measure windows, cut films precisely, and follow manufacturer instructions for surface prep and adhesion. Choose a product with high visible light transmission (VLT) for minimal dimming, and verify static cling or adhesive-backed options based on your DIY comfort.
Window tinting reduces glare and helps stabilize interior lighting levels throughout the day. UV protection is a key benefit, preserving fabrics and artwork from sun damage while maintaining color accuracy.
Guarantee you remove air pockets and seal edges to prevent peeling, and test for coverage across operable panels.
Layer Lighting: Ambient, Task, and Accent
Layer lighting combines ambient, task, and accent layers to create a balanced, functional space in homes with limited natural light. You’ll use layering techniques to guarantee even coverage, reduce glare, and highlight architectural features.
Ambient light sets the overall mood, task light targets work areas, and accent light adds depth with color layering to enhance texture. Choose dimmable LEDs for flexibility and energy efficiency. Prioritize a cool-to-warm color temperature plan that supports daily activities and visual comfort.
Integrate wall, ceiling, and under-cabinet fixtures to avoid dark corners. Use control zones and smart profiles for seamless adjustment. Maintain consistent color rendering to prevent flat looks and ensure true material tones. Balance brightness to prevent contrast fatigue and support focus.
- Layering techniques across ambient, task, and accent light
- Dimmable LEDs with calibrated color temperatures
- Layered fixtures for uniform coverage
- Under-cabinet and wall lighting for depth
- Color layering to enhance texture and mood
Mirrors and Reflective Surfaces to Create Space
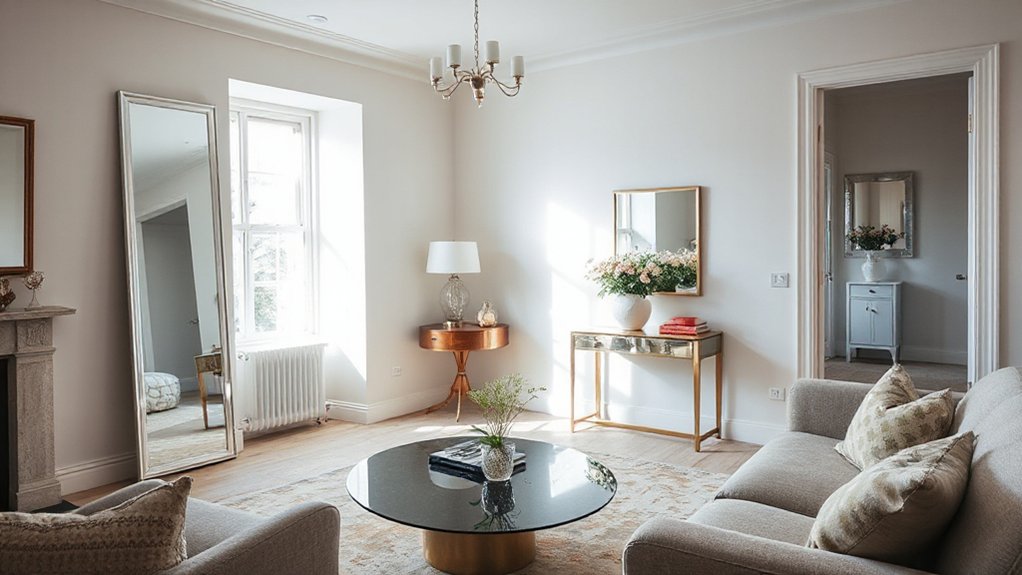
You’ll use reflective wall solutions and strategically placed mirrors to multiply light and visually expand tight spaces.
Place mirrors to reflect key light sources and vistas, aligning edges with walls and furniture for maximum bounce.
Opt for shiny surfaces in high-traffic or compact zones to brighten rooms without adding clutter, while maintaining a cohesive, image-clean aesthetic.
Reflective Wall Solutions
Strategically placed mirrors and other reflective surfaces can dramatically expand a room’s perceived size by bouncing light across the space. You’ll bias light flow with tall, narrow mirrors opposite windows, and pair large panels with higher ceilings to reduce depth loss.
Use polished glass, metallics, and glossy tiles to maximize bounce without creating glare. Keep framing simple and edges crisp to avoid visual clutter, which cushions the effect.
In high-contrast schemes, reflect a lighter tone to brighten corners and improve depth perception. Test reflections from multiple angles during different times of day, adjusting placement as needed.
Mirror placement and reflective surfaces work together to optimize daylight distribution without crowding lines or introducing awkward focal points.
- Mirror placement tips for vertical emphasis
- Reflective surfaces across from windows to maximize bounce
- Use of glossy tiles to extend daylight
- Metallic accents to amplify brightness
- Framing choices that reduce visual clutter
Mirror Placement Strategies
Mirrors and reflective surfaces should be positioned to maximize daylight diffusion without creating glare or visual clutter.
To optimize space perception, place mirrors opposite windows or light sources at a height that aligns with sightlines, avoiding obstruction of furniture flow.
Consider vertical mirrors to extend ceiling height in low rooms, and wide, horizontal profiles to widen narrow spaces.
Tilt mirrors subtly to bounce light deeper into the room without producing hotspots; resist mounting that directs glare toward seating areas.
Reflective surfaces should complement wall color and texture, maintaining a cohesive palette to prevent visual dissonance.
Use multiple smaller panels rather than a single oversized mirror for flexible configuration.
Always verify reflections don’t reveal clutter and adjust placement for balanced illumination and spatial harmony.
Mirror placement, reflective surfaces, verified.
Shiny Surfaces For Light
Shiny surfaces can dramatically expand a room’s perceived size by spreading natural light deeper into the space. You’ll use mirrors and reflective finishes to bounce light from lamps, windows, and glossy cabinetry, creating a brighter, more open feel without major renovation.
Place mirrors opposite light sources to maximize diffusion, and choose frameless designs to minimize visual clutter. Select reflective finishes with controlled glare, and align edges to enhance depth perception.
Keep scale in mind: oversized mirrors work in large rooms; compact rooms benefit from multiple small accents. Regularly clean surfaces to preserve reflectivity, and balance shine with matte textures to avoid harsh contrasts.
Consistent framing and spacing maintain a cohesive look while optimizing light distribution.
- Mirror opposite light sources for maximum diffusion
- Frameless designs to reduce visual clutter
- Oversized mirrors in larger spaces, small mirrors in tight areas
- Matte textures paired with reflective finishes for balance
- Routine cleaning to preserve sparkle and clarity
Lightweight, Space-Saving Furniture Choices
When space is tight and light is scarce, choosing lightweight, space-saving furniture makes a big impact. You’ll prioritize pieces that are easy to move, with compact footprints and modular capabilities.
Select chairs and stools without bulky arms, and opt for stackable or foldable options to free floor area when not in use. Look for furniture with integrated storage—ottomans, benches, and coffee tables that conceal shelves or drawers maximize function without crowding.
Use materials like aluminum, plywood, or high-strength plastics to keep weight low while preserving durability. Guarantee adequate clearance around seating to maintain flow and maintain sightlines for daylight.
This approach delivers lightweight furniture and space saving solutions that improve usability without compromising structure or design integrity.
Color Psychology: Brighten Small, Dark Rooms
Using reflective surfaces and light-enhancing color combos can noticeably lift a room’s brightness in tight UK spaces. You’ll want to choose high-reflectance finishes and cool, airy tones that bounce natural light without washing out detail.
Start by testing a few swatches under actual daylight to confirm the combined effect before committing to larger updates.
Brighten With Reflective Surfaces
To brighten small, dark rooms, rely on reflective surfaces that bounce natural and artificial light around the space. You’ll gain immediate impact by selecting materials with high reflectivity and smooth finishes, then position them strategically to maximize coverage.
Mirror placement matters: place mirrors opposite windows to double daylight, and align with light sources to avoid glare. Use reflective decor in key zones—entryways, hallways, and dining nooks—to extend brightness beyond the fixtures themselves.
Opt for glass, polished metal, and high-gloss lacquer for surfaces that reflect without dulling. Keep trims and frames slim to reduce visual clutter and maintain brightness.
Balance with soft, cool whites to prevent harsh echoes and preserve color integrity. Maintain clean, dust-free surfaces for consistent reflectivity.
- Mirror placement
- Reflective decor
- Opposite windows
- High-gloss finishes
- Slim frames
Light-Enhancing Color Combinations
Bright rooms start with color choices that maximize perception of space and light. You’ll use light-bright palettes with high luminance values to reflect natural and artificial light more efficiently.
Implement color harmony by selecting adjacent hues or complementary tones that avoid jarring contrasts, keeping your eye moving without distraction.
For walls, choose soft whites, pale neutrals, or warm limestone shades to create a cohesive backdrop that amplifies daylight.
Accent colors should be limited to two to three shades, ensuring shade coordination across furniture, textiles, and decor.
Consider cool undertones for larger pieces to counterbalance warmth from artificial lighting, while warm undertones on smaller accents add coziness.
Test samples at different times of day to confirm luminance consistency and avoid muddy results.
Floorplan Tweaks to Open Up a Space
Floorplan tweaks can make a tight, light-starved UK home feel larger by creating sightlines and better flow. You’ll use layout changes to maximize daylight, improve circulation, and define zones without sacrificing openness. Focus on core principles: floorplan optimization and space zoning to separate work, dining, and living areas while preserving light paths.
- Remove non-structural partitions to extend sightlines between rooms
- Use partial-height screens or open shelving to segment zones
- Place the sofa to create a central axis toward brighter windows
- Align doors and openings to enhance cross-visibility and air flow
- Optimize corridor width and doorway placements for smoother movement
Soft Textiles and Warm Lighting for Coziness
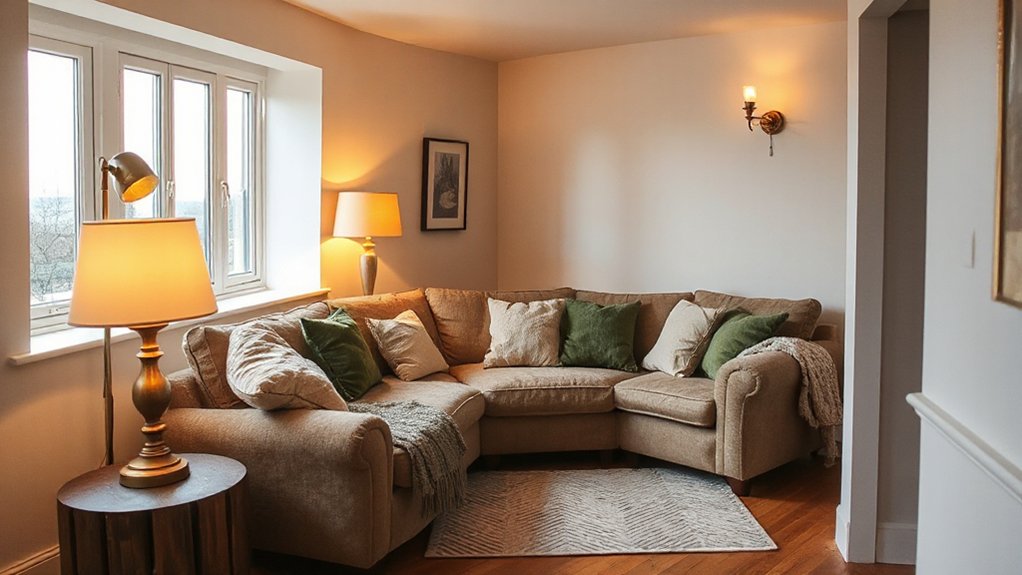
Soft textiles and warm lighting work together to offset limited daylight, so you should prioritize textures that trap heat and diffuse glow.
Pair cozy color palettes with soft fabrics and adjustable lighting to create layered warmth and visual depth.
Maintain precise, practical adjustments—focus on fabric weight, light color temperature, and dimming controls to sustain a steady, inviting atmosphere.
Soft Textiles Warmth
Soft textiles are essential for adding warmth to interiors with limited natural light, because they absorb and diffuse artificial glow to create a cozier atmosphere.
- Implement textile layering with varied textures to maximize light diffusion and depth.
- Use thick, breathable fabrics that resist glare while adding insulation.
- Prioritize cozy textiles like wool, bouclé, and fleece for tactile warmth.
- Mix matte and subtle sheens to control light reflection without harsh highlights.
- Choose neutral bases with warm undertones to enhance perceived brightness.
This approach maintains practical control over color, texture, and material performance, ensuring consistent glow without overlighting.
Gentle Lighting Effects
Select fabrics like brushed cotton, velvet, or linen blends for lampshades and upholstery that visually soften reflected light. Aim for a target ambient glow around 2700K to 3000K, balancing task needs with mood.
Integrate dimmable LEDs and diffusers to maintain a consistent tone as daylight shifts. Place multiple light sources at different heights to minimize glare and promote depth.
Use wall washers or uplights to gently illuminate corners. Filament-style or frosted fixtures contribute texture, while soft glow accents unify space without overpowering it.
Ambient glow remains the dominant, comfortable footprint.
Cozy Color Palettes
- Soft velvet cushions in amber, taupe, and blush
- Knit throws and wool blends that diffuse light
- Satin or matte ceramics in warm ivory tones
- Ambient LED strips behind coves for subtle glow
- Floor rugs with low-sheen fibers to minimize glare
Applying these elements keeps walls feeling cozy, trees of color restrained, and lighting purposeful, ensuring consistent mood setting and cohesive color harmony throughout the room.
Brighten Kitchens and Dining Areas: Practical Tips
To brighten kitchens and dining areas, start with a layered lighting plan that combines task, ambient, and accent lighting, guaranteeing every corner gets sufficient illumination even in darker spaces. You’ll maximize contrast by pairing under-cabinet LEDs with a neutral white main light and a dimmable central fixture.
Use task lighting over prep zones, choose high-CRI sources, and ensure even coverage to reduce shadows. Incorporate reflective surfaces: light cabinets, glossy backsplashes, and countertops in pale tones to bounce light.
Practical placement matters: position fixtures to avoid glare on screens and windows. Integrate these lamps with a smart switch system for scene control, aligning with kitchen organization and dining decor goals.
Maintain balanced color temperature across zones, and document wiring diagrams for future upgrades.
Budget-Friendly Bathroom Brightening Tips
Even with a tight budget, you can make a bathroom feel brighter by prioritizing light sources and reflective surfaces. Practical updates focus on efficient lighting, mirror placement, and surfaces that bounce light without breaking the bank.
Prioritize bathroom ventilation and moisture control to prevent dimming from fog or mold, keeping reflective finishes effective. Use white or pale tiles, high-gloss cabinets, and frosted glass panels to maximize light diffusion.
Install energy-efficient LED fixtures with daylight color temperature for true brightness. Keep clutter minimal to avoid shadows.
Seal gaps around doors and windows to reduce drafts that dull illumination over time.
- Install bright, energy-efficient LEDs with daylight temperature
- Add a large mirror or mirrored cabinet
- Use high-gloss or reflective surfaces
- Optimize ventilation and moisture control
- Choose light, neutral tones for walls and tiles
Hallways and Corridors: Quick Brighter Tricks
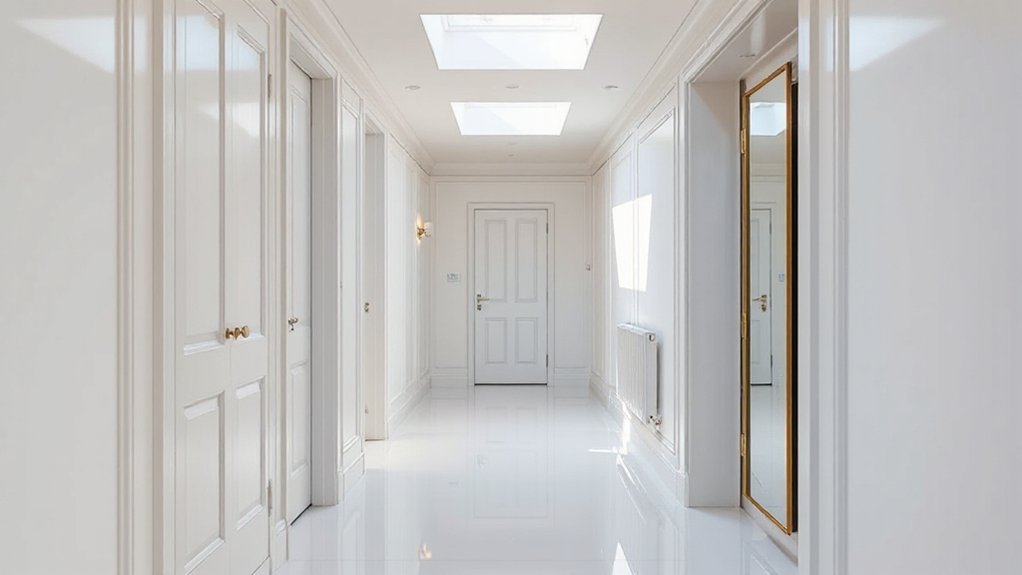
Hallways and corridors don’t need major renovations to feel brighter; small, strategic tweaks can yield noticeable gains. Start with lighting layering: install a bright, neutral ceiling light and supplement with wall sconces to reduce shadows along walls. Use cool-white bulbs for a crisp, daylight-like effect that enhances contrast.
Choose high-reflectance finishes—semi-gloss paint, light vinyl, or enamel—to bounce light without glare. Hallway accents should guide the eye: a pale runner or light-plank flooring creates depth, while mirrors at ends multiply perceived space.
Corridor textures matter: smooth plaster walls reflect more light than heavy textures. If you must incorporate textures, keep them subtle and in small doses. Prioritize consistent color temperature and avoid dark contrasts that trap shadow.
Low-Light Thrive: Plants That Do Well Indoors
If you’re short on natural light, choose indoor plants that tolerate shade and low intensity, since they’ll perform best with even minimal illumination. In low-light environments, focus on species proven to endure dim conditions, and organize them with deliberate plant placement to maximize coverage without crowding.
Expect slower growth, but consistent vigor with proper care and rotation. Use a simple, cool-to-moderate lighting setup to supplement ambient light, and avoid overwatering by checking soil moisture frequently.
Group plants by their light tolerance, placing tolerant options near windows or light shelves. Design teams should consider scale, texture, and height variance to sustain an indoor jungle look without overwhelming spaces.
Regularly prune dead leaves for maximum photosynthesis and airflow.
- Indoor jungle
- Plant placement
- Shade-tolerant types
- Space-efficient grouping
- Maintenance schedule
Seasonal Lighting in UK Winters: Make It Last Longer
Seasonal lighting in UK winters demands a practical approach that preserves brightness while conserving energy. You should map daily usage to the natural rhythm of seasonal daylight, aligning task lighting with the most productive hours. Install high-CRI LEDs with stable color temperature to maintain perceived brightness as daylight fluctuates.
Use dimmable fittings and smart controls linked to occupancy sensors to minimize waste during low-activity periods, especially around the winter solstice when daylight is shortest. Accent lighting should emphasize functional zones—reading spots, work surfaces, and circulation paths—without overlit gaps.
Layer lighting through ambient, task, and accent layers, and leverage reflective surfaces to bounce available illumination. Regularly review lumen output targets and adjust for seasonal brightness shifts to sustain visual comfort and energy efficiency.
Real-World Makeovers: Before and After Ideas
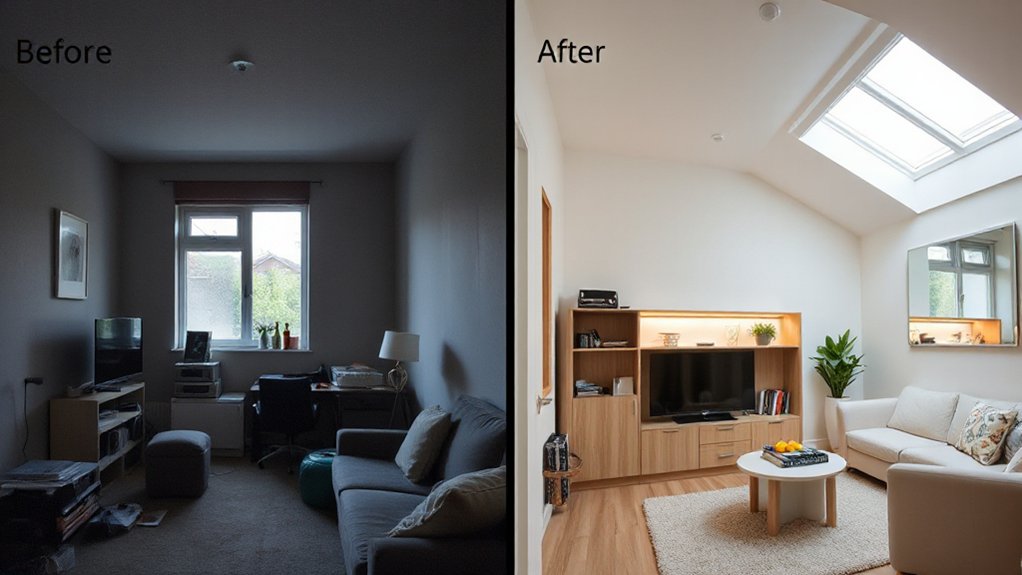
Real-world makeovers prove you don’t need a full renovation to boost light quality and usability. You’ll see practical shifts that transform spaces with minimal disruption.
Focus on color contrast and furniture arrangement to maximize luminance and flow, not size.
- Use light, neutral walls paired with a single bold accent to reflect more light
- Push seating away from windows and mirror walls to increase perceived brightness
- Orient rugs and furniture for open sightlines and daylight diffusion
- Introduce high-contrast trim to sharpen edges and create depth
- Replace heavy, dark drapes with sheer or minimal treatments to reveal daylight without glare
DIY, Budget-Smart Lighting Tweaks That Pay Off
Smart, budget-friendly lighting tweaks can dramatically brighten UK homes with limited natural light. You’ll start with a directional plan: map tasks to rooms, target glare reduction, and maximize reflected light.
Focus on DIY projects that upgrade fixtures, switchplates, and lampshades without a full remodel. Choose high-CRI LED bulbs and daylight or cool-white tones to preserve true color and perceived brightness, then pair with dimmers for flexibility and energy efficiency.
Reorganize lamps into zones: one primary task light per area, plus ambient fills to eliminate shadows. Use light-coloured paints, mirrors, and semi-sheer curtains to boost reflectance.
Prioritize plug-in options and under-cabinet strips for cost-effective layer additions. Document results, compare power use, and iterate for sustained energy efficiency without sacrificing performance.
Storage Tricks That Keep Rooms Bright
Efficient storage isn’t just about tucking things away; it’s about preserving light and space. You’ll maximize brightness by selecting compact, high-capacity solutions that keep surfaces clear and walls uncluttered.
Prioritize Hidden storage to maintain clean lines: under-bed drawers, ottomans with lids, and recessed shelving hide essentials without sacrificing floor area.
Use Color contrast to reflect light: pair light-toned cabinetry with dark accents only where needed to avoid absorbing daylight.
Install wall-mounted units instead of freestanding furniture to free floor space and reduce shadowed corners.
Choose transparent or glass-front boxes for quick visibility.
Guarantee doors and lids stay flush to surfaces to minimize protrusions.
Regularly reassess to remove items that don’t serve daily use.
Lighting Controls: Dimmers, Timers, and Smart Solutions
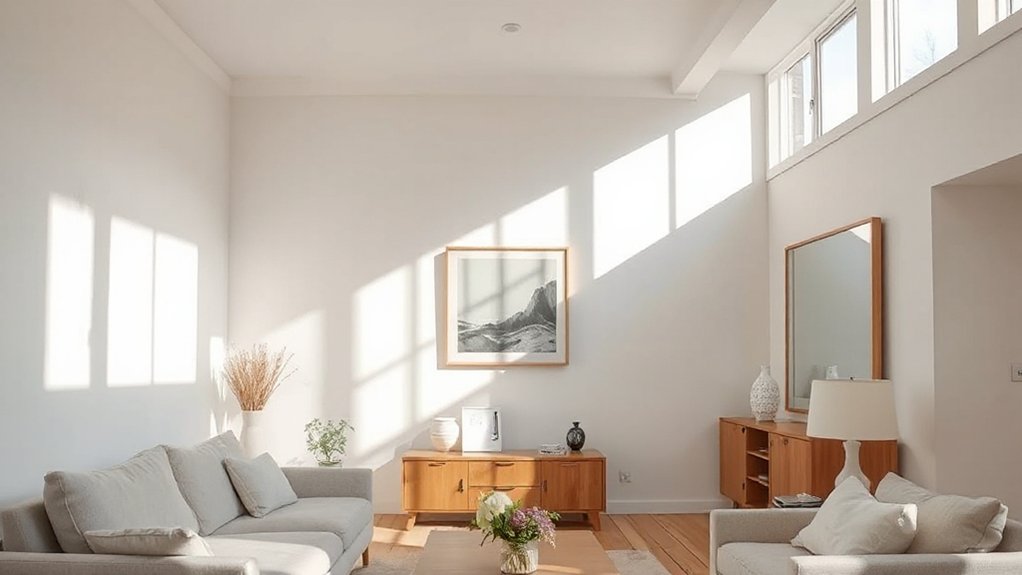
Lighting controls let you preserve the brightness you’ve created while tailoring ambiance to time of day and activity. You’ll benefit from dimmers that adjust color and intensity without changing color temperature, guaranteeing subtle shifts as daylight fades.
Timers automate scenes, so you wake to gentle illumination and depart with lights lowering automatically, saving energy.
Smart controls integrate with room sensors, occupancy zones, and daylight harvesting to maintain consistent luminance while reducing glare.
Use scenes to match tasks: focused work, relax mode, or media viewing, each with a defined brightness level.
Considers wiring options, compatibility, and load ratings before installation.
Lighting automation helps you maximize natural light, prevent overlight, and simplify daily routines.
Confirm secure device pairing, reliable connectivity, and clear naming for intuitive control.
Maintenance for Bright Interiors: Easy Long-Term Care
Regular upkeep keeps a bright interior from losing its clarity. To preserve brightness over time, apply targeted maintenance tips that minimize grime buildup and color fade, while protecting surfaces from glare and heat. You’ll keep natural light looking crisp by choosing durable finishes, sealing joints, and coordinating with lighting controls.
Schedule seasonal checks for filters, seals, and reflective surfaces, and document results to refine routines. Maintain ventilation to prevent humidity-related dullness and mold, which can obscure brightness.
Use proper cleaners that won’t dull paint or glass, and test on inconspicuous areas first. Consistency matters: establish a simple, repeatable cadence and adjust as daylight patterns change throughout the year.
- Regular dusting and filter checks
- Sealant and joint maintenance
- Reflective surface care
- Safe cleaning products
- Seasonal inspection log
Frequently Asked Questions
How Can I Brighten North-Facing Rooms Effectively?
Yes—optimize north-facing rooms by using bright, neutral walls, strategic lighting, and reflective surfaces. Choose window treatments that maximize light while controlling glare, and place reflective surfaces to bounce daylight; avoid heavy drapes, and calibrate warm LEDs.
Which Artificial Lights Best Mimic Daylight in UK Homes?
Smart lighting with high Color Rendering Index best mimics daylight, especially CRI 90+, while tunable brightness preserves mood. An interesting statistic: 80% of homes underestimate spectral richness. You’ll optimize with dimmable LEDs, aiming for consistent color and practical shadows.
What Color Temperatures Suit Dim Rooms in Winter?
You should use warm-to-neutral color temperatures around 2700–3000K for winter lighting, ensuring color accuracy and ambiance. In dim rooms, target 3000K with higher CRI, and adapt to conversions between 2700K and 3500K for balance.
How Do I Maintain Color Accuracy Under Low Natural Light?
You’ll maintain color accuracy under low natural light by calibrating your setup with a reference light source, using consistent color temperatures, and adjusting white balance; guarantee color matching and inspect how light reflection changes at different angles.
Are Energy-Efficient Options Worth the Investment for Bright Spaces?
Yes, energy-efficient options are worth it for bright spaces. You’ll benefit from energy saving lighting and cost effective upgrades, improving lumen output, color accuracy, and long-term savings while keeping installation practical and technically sound.
Conclusion
In short, you sharpen spaces with smart, practical fixes. Start with surging light through strategic daubs, lighter palettes, and reflective surfaces, then fine-tune with layered lighting and controlled contrasts. You’ll balance blinds, bars, and brightness while budget-minded tweaks build big impact. Keep maintenance minimal, manage momentum with timers, and master mood with dimmers. Stay deliberate, systemize storage, and sustain brightness with steady care, sensible sequencing, and sturdy, scalable solutions you can trust.