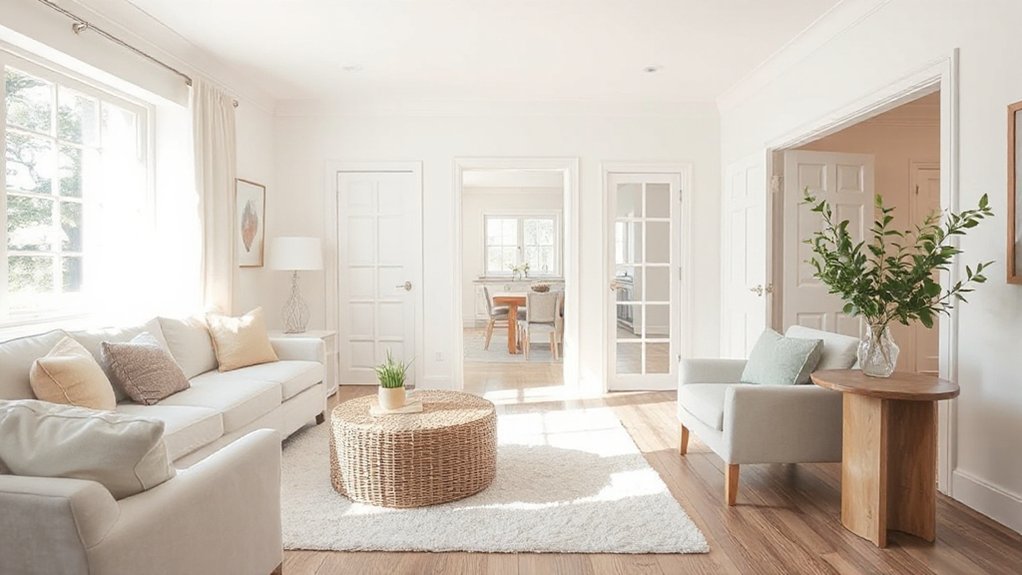
Start by defining your listing goals, timeline, and target price, then back it with quick market checks to set realistic milestones. Boost curb appeal with fresh paint, tidy lighting, and framed entryways. Declutter and depersonalize to open spaces, then deep clean high-traffic areas and fix small issues for polished photos. Tackle budget-friendly upgrades in kitchens and baths, and gather essential disclosures and manuals for buyers. With strong staging and clear pricing, you’ll attract confident offers—more tips follow.
Define Your Listing Goals, Timeline, and Target Price
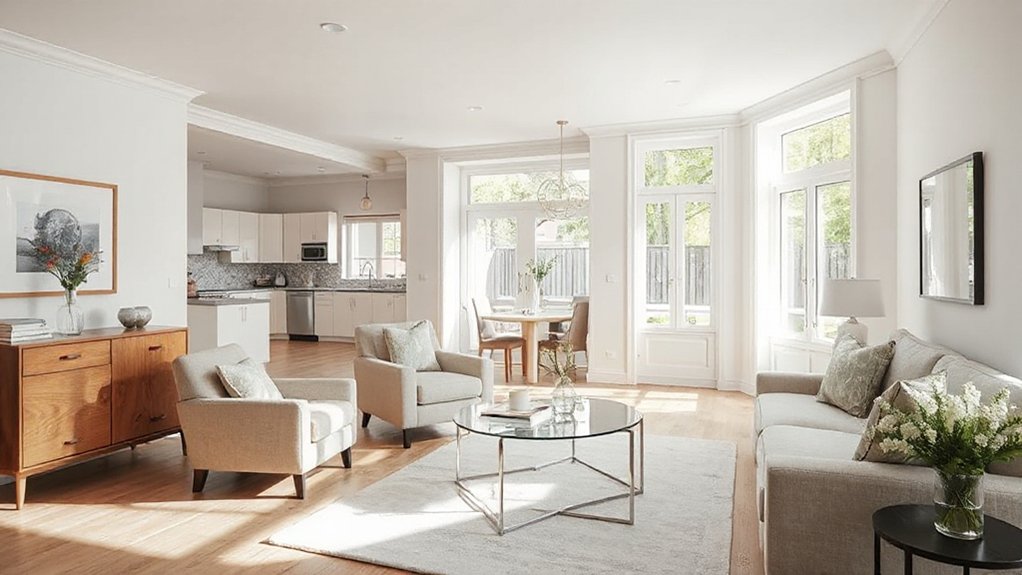
Before you polish your listing, be clear about what you want to achieve: your goals, your timeline, and your target price. You’ll start with a practical plan that layers intent over expectation.
Define a crisp pricing strategy by weighing recent sales, current listings, and local demand. In parallel, run quick Market research to gauge buyer sentiment and price endurance in your neighborhood.
Translate numbers into a concrete target range, then align your timeline with realistic milestones: when you’ll stage, photos, and open houses.
Document each decision so you can compare progress week to week. Remember, clarity cuts wasted days and saves stress.
With a focused approach, you’ll enter the market confidently, knowing exactly what success looks like and how you’ll know you’ve achieved it.
Assess Curb Appeal: First Impressions That Sell
Curb appeal starts the moment a buyer pulls up, so you’ll want a clean, cohesive first impression that whispers “walk-ready.” Start at the curb and move inward: repaint or touch up peeling trim, swap stale house numbers for something crisp, and plant fresh greens or potted flowers that pop against the facade. Visualize the path: garden landscape that invites stepping closer, not merely gazing.
Consider how exterior lighting guides the eye to key features without glare.
- Refresh the front pathway with even lighting and clean edges.
- Layer greenery to frame the entry and soften hard lines.
- Add a focal plant or two with seasonal color for year-round appeal.
Declutter and Depersonalize for Wider Appeal
Decluttering and depersonalizing isn’t about sterile sameness; it’s about creating breathing room so buyers can imagine their own life unfolding in the space. You’ll start with a quick sweep: tuck away personal photos, remove tchotchkes, and stash seasonal clutter in closed storage.
Use horizontal surfaces for a clean, purposeful look, not a collection of odds and ends. Think function first—every drawer should feel usable, every shelf intentional. Integrate storage solutions that look sleek: labeled bins, slim baskets, and under-bed totes that hide excess without crowding your rooms.
Favor minimal decor: a single focal piece per room, a restrained color palette, and open sightlines. The result is a calmer backdrop where natural light hits polished surfaces, and buyers can project their life without distraction.
Deep Clean: The Non-Negotiables Before Photos
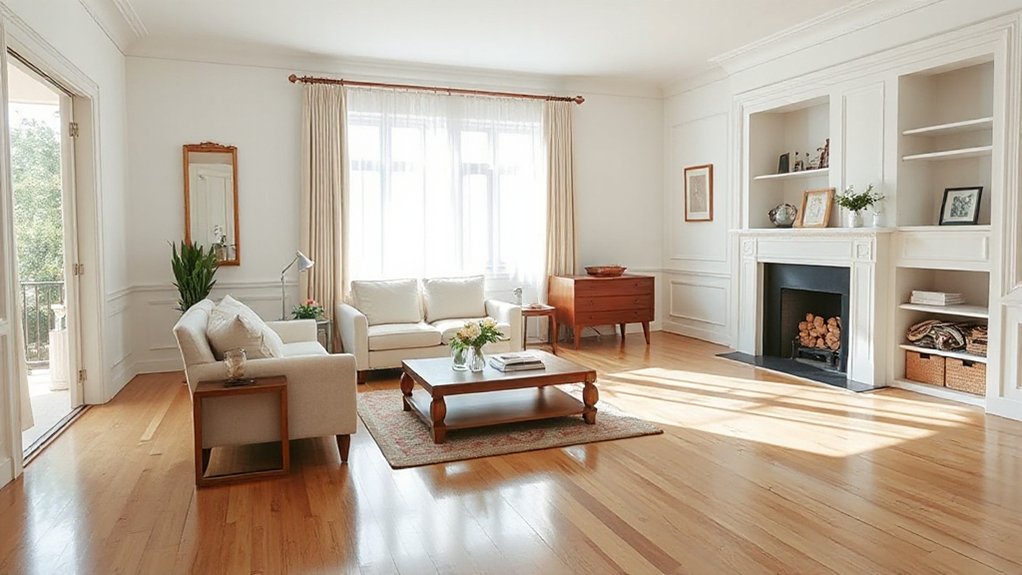
Now that you’ve created a calm, uncluttered stage, it’s time to lock in a deep clean that makes every surface photograph-ready. You’ll reveal true color and texture by targeting high-traffic spots and hidden grime, so your photos pop. Focus on fresh scents, spotless fixtures, and gleaming edges that mirror good lighting.
- Stain removal: tackle coffee rings, soap scum, and mud smudges on counters, tiles, and glass with targeted cleaners and a meticulous wipe.
- Odor elimination: vent, sanitize trash areas, refresh fabrics, and eliminate mustiness from closets and basements.
- Surface perfection: wipe down doors, baseboards, and window sills; polish chrome; and ensure mirrors reflect bright, inviting spaces.
Tackle Quick-Win Fixes That Add Value
When you tackle quick-win fixes, you zero in on changes that look immediate and feel tangible, like fresh caulk, bright switch plates, and a smooth door hinge.
You’ll see how small tweaks add perceived value, guiding buyers’ eyes to the room’s potential rather than its flaws.
Think of it as a visual checklist you can execute today, with crisp results that set the tone before the first showing.
Quick-Win Fixes Prioritized
Even small, high-value fixes can shift a buyer’s perception fast, so start with the ones you can complete in a day or two and that make rooms feel brighter, cleaner, and more functional. Prioritize fixes that deliver noticeable impact with minimal disruption.
Here’s a focused, prioritized list you can act on now:
1) Quick de-clutter and brightening: clear countertops, wash surfaces, and replace empty frames with fresh art.
2) Refresh and re-light: swap to daylight bulbs, tidy lamps, and ensure universal lighting covers each major zone.
3) Outdoor curb appeal jump: landscaping enhancements and outdoor lighting to frame the entrance and invite a closer look. These moves set the scene before buyers step inside and help photos sing.
Value-Boosting Home Tweaks
Small changes can compound into real value, so start with quick-win tweaks that buyers notice the moment they walk in. You’ll guide them through a scene where light floods in, surfaces gleam, and space feels calmer.
Begin with clean sightlines: declutter countertops, stage with a single, calm focal point, and refresh hardware for instant polish. Target comfort and efficiency with practical tweaks: replace dated fixtures, seal drafts, and switch to LEDs.
Garden landscaping makes curb appeal sing; trim hedges, mulch beds, and add a potted accent or two to frame the door.
Inside, emphasize energy efficiency: programmable thermostats, efficient appliances, and smart lighting. Highlight these gains in your listing photos and open-house talk, framing value as tangible savings and livability, not abstract potential.
Stage Rooms Strategically on a Budget
Clear the clutter first so every room reads open and inviting. Then layer in light with well-placed lamps and sheer curtains to create an airy vibe.
Use budget-friendly decor tricks—store-away items, fresh greenery, and simple mirrors—to bounce light and add depth without breaking the bank.
Picture each room with a cohesive palette, brighten the space, and let your buyers feel the potential as they move from one well-staged area to the next.
Declutter Before Staging
Decluttering is the first cost-effective staging move you should make, because a clean space reads larger and calmer in photos and on walk-throughs. You’ll create flow by removing excess furniture and personal items, then group remaining pieces to emphasize each room’s purpose.
Consistency matters: align surfaces, baskets, and textiles to a single tone. Focus on function, not fashion, so buyers imagine living there.
- Triage belongings into keep, donate, and discard piles, then streamline daily chaos with a simple routine.
- Create storage-focused habits that keep spaces tidy post-listing, like a 10-minute nightly reset.
- Highlight storage solutions by staging closets and cabinets with uniform boxes and labels.
This approach blends organizational habits with practical storage solutions, shaping a calm, purchasable environment.
Light, Bright, Airy Feel
Now that you’ve trimmed clutter, you’ll want rooms to feel open and inviting without blowing your budget. A few strategic tweaks can create a natural, cinematic brightness.
Let natural sunlight flood in by keeping window treatments light and unobtrusive, and prioritize keeping views unobstructed. Choose mirrors to bounce light across walls, widening perceived space without adding clutter.
Paint walls in soft neutrals to reflect light and maintain balance with furniture accents. Declutter surfaces to let the air circulate; every inch should feel calm, not crowded.
Use multi-functional furniture with slim profiles to preserve openness. When you’re staging, position seating to invite flow and conversation, not peering corners.
Remember: open windows, airy lines, and thoughtful contrasts craft that effortless, affordable glow.
Budget-Friendly Decor Tricks
Even on a tight budget, you can stage rooms to feel cohesive and inviting by making a few strategic decor choices. You’ll curate a calm palette, mix textures, and highlight focal areas without overspending. DIY wall art adds personality without costly commissions, while budget-friendly furniture anchors each space.
- Create a focal vignette with a thrifted frame, a simple print, and a neutral mat to draw attention without heavy costs.
- Layer textures—linen cushions, wool throws, and a jute rug—to add depth and warmth underfoot.
- Swap oversized accessories for compact, versatile pieces that maximize flow and function.
These touches read well in photos: cohesive, stylish, and buyer-friendly, with practical, on-budget impact.
Improve Lighting and Choose Neutral Colors
A bright, inviting home starts with smart lighting and a calm color palette. When you brighten rooms with layered lighting and stick to neutrals, spaces feel larger and more welcoming. You’ll map lighting by function: ambient glow across living areas, task light by desks and counters, and accent beams to highlight architectural details.
Choose bulbs in 2700–3000K for a warm, cohesive feel, then dimmers let you adjust mood without changing fixtures. Keep walls, ceilings, and floors in soft neutrals—greige, ivory, taupe—that bounce light and keep photos crisp.
Consider color psychology: airy tones reduce perceived clutter, while subtle contrasts add depth. Avoid heavy chroma; let natural light lead. Simple finishes, clean lines, and uncluttered layouts amplify brightness and buyer appeal.
Refresh Key Spaces on a Budget: Kitchen and Bathrooms
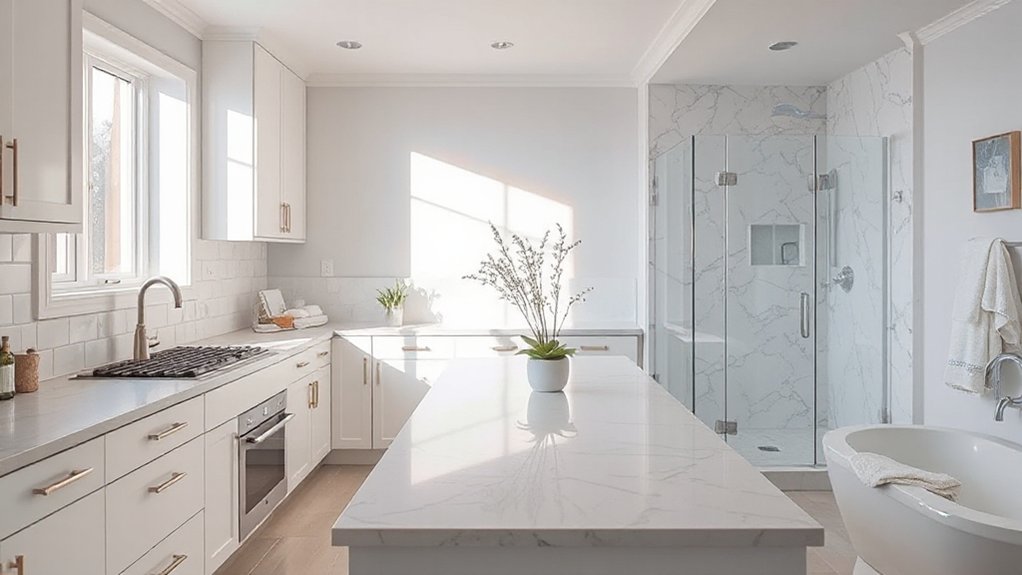
Start with a quick faucet refresh—swap in chrome or satin fixtures that gleam in photos and feel fresh to the touch.
Then, scale the impact by upgrading high-traffic surfaces in bathrooms with resilient options that wipe clean and resist water marks.
We’ll map a budget-friendly list of updates that makes each space look polished without overhauling the layout.
Refresh Kitchen Faucets
Could a small upgrade make a big impression? Yes—refreshing kitchen faucets can sharpen the whole feel of the space without a full remodel. You’ll notice details up close: chrome splendor, brushed nickel warmth, or a matte black edge that ties to your fixtures and hardware.
Think through function first, then finish, so you enjoy smooth pulses of water and clean lines that photograph well.
1) Pick a faucet with a pull-down sprayer for practical, targeted cleaning.
2) Match the finish to existing hardware to create cohesive visuals.
3) Consider a water-efficient model to appeal to budget-minded buyers.
Pair this with honest staging: garden landscaping outside and soft garden-friendly outdoor lighting inside cues reflection and care.
Refresh Bathroom Surfaces
Begin with bathroom fixtures: wipe chrome, brushed nickel, and matte black until they reflect light, free of water spots. Target mirrors and glass with a final streak-free wipe so every shot reads crisp.
For surfaces, choose a cohesive palette: white, soft gray, or warm beige to create a calm feel. Use a gentle surface cleaning routine everywhere—countertops, sink surrounds, and tile grout—to reveal even tone and texture.
Finish by highlighting purposeful storage, tidy lines, and minimal accessories that emphasize space over excess.
Budget-Friendly Upgrades List
If you’re listing on a budget, prioritize high-impact, low-cost upgrades that readers can visualize in photos and understand in person. You’ll craft a kitchen and baths you can showcase without breaking the bank, focusing on clean visuals, durable finishes, and small embellishments that read as premium in photos. Think simple, concrete steps that elevate perception and value.
- Replace bold hardware and refresh caulk; pair with clean grout for a like-new look.
- Add under-cabinet lighting and a bright, energy-efficient bulb scheme to improve depth and mood.
- Trim yards with garden landscaping touches near entryways and install subtle outdoor lighting to extend appeal beyond the interior.
Small updates, big impact. You’ll guide buyers to see value in every detail.
Gather Essential Documentation for Buyers
Gathering essential documentation ahead of showings streamlines the process for buyers and protects you as a seller. You’ll present a clean, organized bundle that answers questions before they arise, reducing back-and-forth and keeping momentum steady.
Compile recent disclosures, warranties, and utility records, plus HOA rules if applicable, so negotiations stay focused on value. Include tax information and a concise homeowners’ manual for ongoing upkeep.
Visualize buyers picturing themselves living here, so highlight energy bills, insulation, and system ages with clear, labeled sheets.
Integrate your market research snippets—comps, days-on-market, and price rationale—into a single, truthful overview.
Pair this with a brief home-staging note, noting where natural light meets space.
The result is confidence for buyers and a smoother path to offers.
Craft a Clear, Compelling Listing Description
Nestled on a quiet street, this sunlit home invites buyers to move right in with its thoughtful updates, proven curb appeal, and effortless livability. You’ll describe flow, light, and practical upgrades that set it apart, pairing visual storytelling with precise details. Highlight how garden landscaping enhances curb appeal and how energy efficiency trims ongoing costs.
1) Highlight the living spaces you’ll use daily, noting natural light, ceiling height, and seamless progression.
2) Call out updated systems and finishes, mentioning insulation, efficient appliances, and low-maintenance textures.
3) Emphasize outdoor living, from a welcoming porch to garden nooks and a smart irrigation setup.
Focus on clarity: feature-benefit combinations, measurable updates, and a buyer’s imagined day-to-day.
Finish Line Ready: Show-Ready Habits and Viewing Etiquette
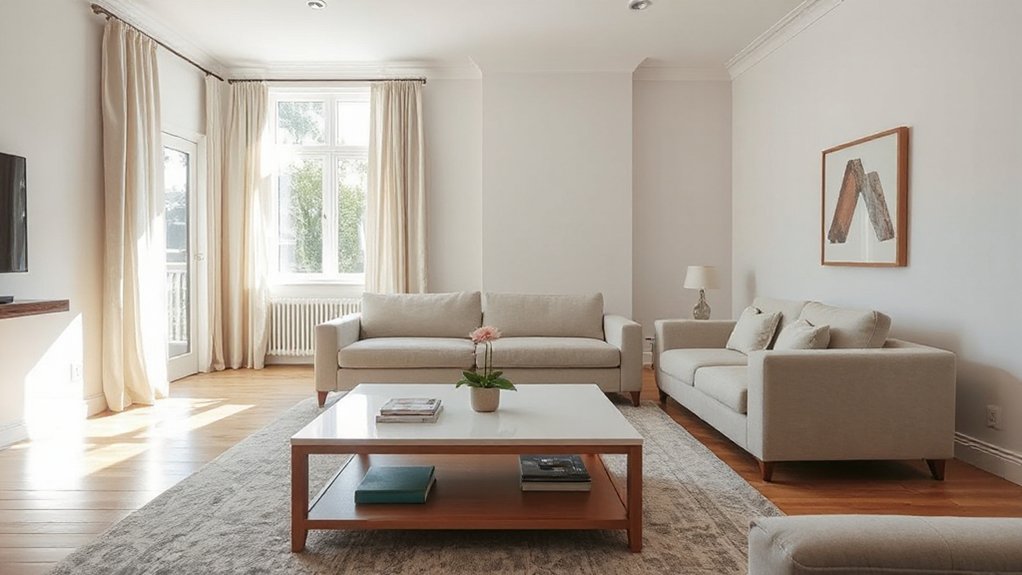
To keep showing your home crisp and inviting, establish a quick, repeatable routine: open blinds to let in natural light, tidy clutter to reveal space, and run a quick sniff test to guarantee no cooking smells linger.
When guests arrive, greet them with a warm, brief hello and a ready path through each room. Maintain a quiet, confident pace during tours; point out practical details like storage solutions and fresh paint touch-ups.
Outdoor landscaping matters—mow edges, trim shrubs, and sweep pathways to reflect care.
Emphasize Neighborhood safety by mentioning secure entrances, working locks, and well-lit exterior areas.
Stage with minimal personal items, allow time for questions, and keep distractions—pets, phones—to a bare minimum.
End with a courteous, anticipatory nod to next steps.
Frequently Asked Questions
How Soon Should I List After Improvements Are Done?
You should list as soon as improvements finalize, but time it with market timing in mind. Align your pricing strategy to current comps, stage visually, and capture fresh momentum before demand cools, maximizing exposure and buyer excitement.
What Documents Do Buyers Typically Request First?
You typically request title deeds and property disclosures first, so you understand ownership and any known issues. You’ll review them closely, flag problems early, and keep everyone informed with precise, visual notes and practical, actionable steps.
Can Small Repairs Deter Buyers if Left Unfinished?
A tiny crack is a red flag; left unfinished, it can deter buyers. Tackle DIY projects and minor fixes now, then highlight interior upgrades with clear photos and timelines to reassure buyers and showcase lasting value.
How Long Does Staging Typically Take and Cost?
Staging typically takes 1–3 weeks and costs a few thousand dollars, depending on scope. You’ll showcase with Virtual tours and Drone photography, creating practical, visual, detailed storytelling that appeals to buyers while you tighten pacing and impact.
What Is the Most Overlooked Curb Appeal Fix?
The most overlooked curb appeal fix is polished exterior lighting, plus tidy garden landscaping. You’ll notice texture at night as you place outdoor lighting, highlight walkways, and frame plantings; every detail guides eyes toward the entrance and home.
Conclusion
You’ve laid the groundwork: a stair-step plan, curb appeal that invites, and a home that greets buyers with clarity. As you list, keep the rhythm steady—declutter, deep-clean, fix the quick wins, and refresh where it matters most. Gather docs, craft a sharp description, and rehearse show etiquette so every viewing shines. When a buyer steps in, they should feel they’ve found “the one.” Stay prepared, stay purposeful, and watch the interest roll in like clockwork. It’s a win-win.