If you want stronger flow, start with quick DIY checks: verify the main shutoff and any inline valves are fully open, and clear faucet aerators and showerheads of mineral buildup. Test pressure at a few fixtures to spot where it drops. Clean or replace restricted fittings, and descale mineral deposits with a safe cleaner. If pressure still lags, inspect for leaks, then consider a pressure regulator adjustment or upgrade. More tips ahead will guide you further.
Diagnose Your Low Water Pressure in 5 Minutes
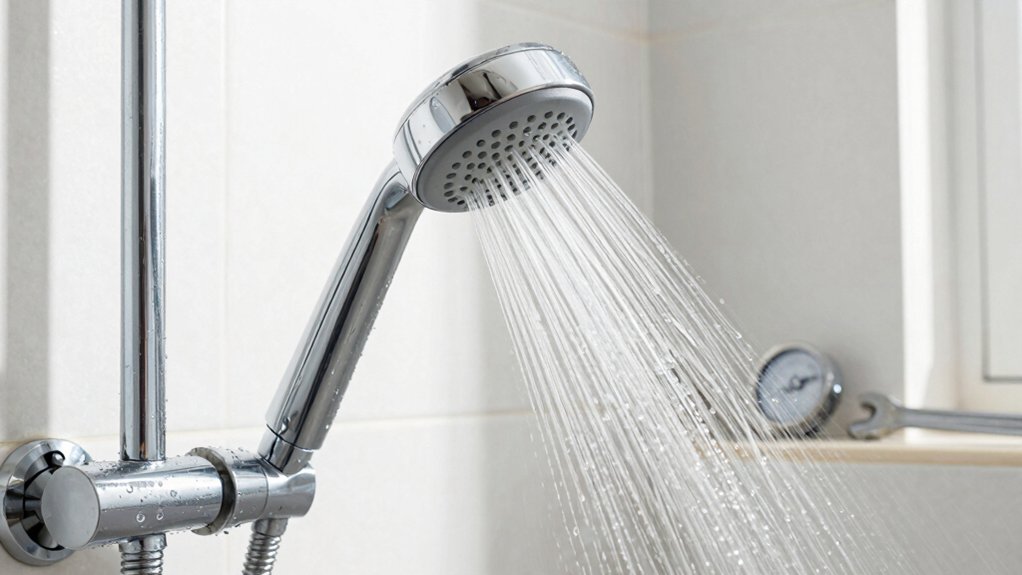
If you suspect low water pressure, start by checking the simplest causes: your fixtures and aerators. You’ll often uncover blockages or mineral buildup in minutes, not hours. Remove showerheads, faucet aerators, and inline filters, rinse, and reassemble. If flow improves, you’ve pinpointed the issue and saved a service call.
If not, inspect the main shutoff valve for partial closure and confirm your home’s supply is steady. Listen for noisy pipes or banging that signal hidden restrictions.
Document findings for plumbing inspections, and consider water conservation practices that reduce demand while you diagnose. Maintain pressure by replacing worn seals and checking older pipes for leaks.
Quick checks protect efficiency and support reliable water conservation over time.
What Causes Low Water Pressure at Home
Low water pressure isn’t always a single fault—it often stems from several common causes around your home. You’ll want to inspect these top culprits and act accordingly.
- Pipe corrosion
- Municipal supply fluctuations
- Partially closed valves
- Hidden leaks or clogged fixtures
Pipe corrosion can narrow passages over time, reducing flow and pressure at the faucet. Municipal supply issues crop up when the utility district restricts pressure during peak demand or maintenance, affecting your entire home.
Partially closed valves—often overlooked during renovations—limit flow to fixtures. Hidden leaks, whether in walls or underground, drain pressure and waste water.
Clogged aerators or showerheads add resistance, masking broader problems. If you identify corrosion, leaks, or municipal supply changes, address them promptly or consult a pro for a precise fix. Prioritize fixes that restore steady pressure safely and reliably.
Quick DIY Checks to Boost Flow Now
Start with quick, practical checks you can do today. First, inspect visible pipes for leaks, drips, or obvious corrosion; repairs here can restore flow without waiting for a pro. Next, check the main shutoff valve and any inline shutoffs to ensure they’re fully open.
If you have a fixed showerhead or faucet aerator, remove and reseat them to confirm clearance and verify flow isn’t blocked by debris. Look for flow restriction anywhere along the line, especially near fittings where sediment can accumulate.
Test pressure at different fixtures to pinpoint the area; low readings at multiple fixtures suggest pipe corrosion or a broader supply issue. If you notice rust, flaking, or constricted lines, plan a professional assessment to prevent future drops in pressure.
Clean or Upgrade Faucet Aerators and Showerheads
Start by cleaning your aerator components to remove mineral buildup that restricts flow. Consider upgrading to high-efficiency showerheads and aerators that optimize pressure. Then perform regular faucet aerator maintenance to prevent clogging.
This sets the stage for better performance and easier future adjustments.
Clean Aerator Components
If your water flow seems weak or spotty, it’s time to clean or upgrade your faucet aerators and showerheads. You’ll target the aerator components, not the whole fixture, to boost efficiency with minimal effort. Aerator cleaning restores flow by removing mineral buildup, while maintaining faucet efficiency over time. Follow these steps:
- Remove the aerator or showerhead tip.
- Soak parts in vinegar or lemon juice to dissolve deposits.
- Scrub screens gently with a soft brush.
- Reassemble and test flow; replace if damaged.
Tips for lasting performance: reinstall snugly, avoid overtightening, and clean monthly during mineral seasons.
With clean aerator components, you’ll reclaim steady pressure and better spray patterns, without costly upgrades.
Upgrade Showerheads Options
Upgrading your showerhead can deliver a noticeable boost in water pressure and spray quality, especially after cleaning the aerators. You have several practical paths: replace with a high-flow model, switch to a rainfall or massage head, or choose a fixed or handheld design that suits your bathroom setup.
Consider flow rate ratings to balance pressure with efficiency, and look for models with simple installs and durable materials. For tight budgets, a basic replacement often yields the clearest gains; for larger showers, a multi-spray head can optimize coverage without wasting flow.
When evaluating showerhead styles, prioritize reliability and ease of cleaning. For broader improvements, review faucet upgrade options that pair well with your chosen head, ensuring fittings, connections, and compatibility align with your plumbing.
Faucet Aerator Maintenance
To restore flow and efficiency, start by cleaning or upgrading faucet aerators and showerheads. Over time, mineral buildup constricts flow, so remove the aerator, soak it in vinegar, and rinse.
If flow remains limited, upgrade to a high-flow aerator or a flow-regulator showerhead. While you work, check for leaks and tighten fittings to prevent pressure loss. Also consider a valve adjustment if your supply valves aren’t fully open.
For ongoing performance, replace clogged filters and keep mineral scale in check. Regular maintenance helps avoid premature parts replacement and maintains ideal pressure. You’ll benefit from consistent output and reduced usage.
1) Inspect every faucet aerator.
2) Soak and clean.
3) Replace filter as needed.
4) Test valve adjustment and reassemble.
How to Test Your Home Water Pressure and Interpret the Results
Testing your home’s water pressure is quick and essential to diagnose flow issues. To begin, pick a reliable gauge and place it on an outdoor hose bib or a sink’s cold-water supply. Note the reading when no major appliances run.
Water pressure testing should show a steady range; compare it to typical home standards (40–60 psi). If you’re consistently below or above that band, you’ve identified a pressure concern worth addressing.
Next, interpret the results: low numbers suggest restriction or leaks, while high numbers can indicate a miscalibrated regulator. Record your measurements and timing, then monitor fluctuations during peak usage.
Pressure interpretation helps you decide whether the issue is supply-side, fixture-related, or regulator-related, guiding practical next steps without overhauling your system.
Adjust or Replace the Pressure Regulator for Better Flow
If your pressure readings fall outside the normal range, adjusting or replacing the pressure regulator can restore steady flow. A properly set regulator maintains consistent pressure entering your home, improving shower and faucet performance.
Follow these steps for effective flow adjustment:
- Check manufacturer specs and identify your regulator type.
- Loosen the adjustment screw or cap to set the target psi.
- Recheck pressure with a gauge, aiming for the mid-range of your rating.
- Replace the regulator if readings don’t stabilize or if corrosion/leaks appear.
Tips: avoid over-tightening, which can restrict flow, and use thread sealant on connections.
If issues persist, consider professional service. A well-tuned pressure regulator delivers reliable flow and protects appliances.
Identify and Address Pipes That Cap Pressure
Pipes can cap pressure when buildup, leaks, or incorrect sizing restrict flow, so identify and remedy these bottlenecks promptly. You’ll start with a quick inspection of supply lines for kinks, corrosion, or loose fittings that create pressure leaks.
Look for pipe blockages caused by mineral buildup, sediment, or debris that narrows passages and reduces flow to fixtures. If you detect a blockage, flush lines with a safe, approved cleaner or descaling method, or replace restricted sections as needed.
Check for pressure caps or restrictive fittings near shutoffs and fixtures, replacing undersized or damaged components with properly rated ones. Measure line diameter against your system’s needs, and consider professional sizing if you consistently lose pressure after addressing obvious blockages.
Smart Maintenance Tips to Keep Pressure Steady Long-Term
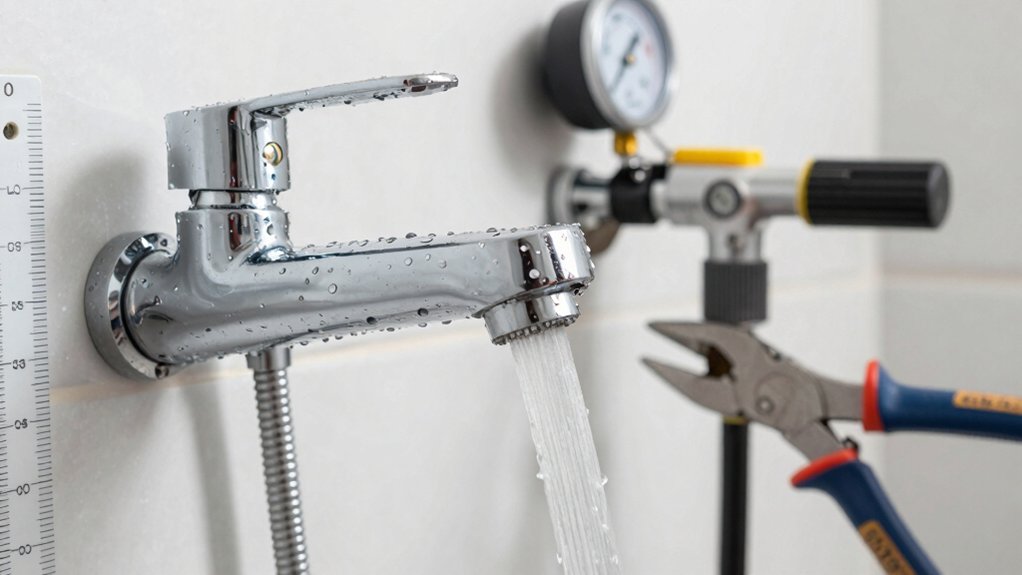
To keep pressure steady over time, adopt a simple, proactive maintenance routine. You’ll reduce fluctuations and extend system life by tackling small tasks now.
- Inspect fixtures for mineral buildup and clean aerators and showerheads regularly.
- Check for hidden leaks with soapy water on joints; repair promptly to prevent pressure drop.
- Schedule periodic valve and pressure regulator tests to ensure correct settings.
- Plan budget-friendly plumbing upgrades that improve flow efficiency and curb wasted water.
Smart maintenance supports water conservation and keeps performance predictable. Track any gradual changes so you can address them early.
Use water-saving fixtures where possible to maximize gains.
When considering upgrades, prioritize components with easy access and proven reliability to avoid future disruptions while boosting overall pressure stability.
Frequently Asked Questions
Can Low Water Pressure Affect Hot and Cold Separately?
Yes, low pressure can influence hot and cold individually due to valve wear or mixed-flow issues, causing temperature swings. Check temperature consistency and fixture compatibility, inspect cartridges, and guarantee supply lines aren’t throttling one side more than the other.
Will Replacing Pipes Improve Overall Pressure or Just Flow?
Replacing pipes can improve overall pressure more than just flow, you’ll notice steadier water delivery as broader pipe materials and plumbing upgrades reduce friction. You’ll get consistent pressure, not merely faster drips, when you upgrade pipes and fittings.
Do Water-Saving Fixtures Hurt Shower Pressure?
Water-saving fixtures can slightly reduce water flow, but you won’t lose essential pressure if you choose high-efficiency models and guarantee fixture compatibility with your system. Inspect aerators, pressure-balancing valves, and maintain adequate water pressure for ideal performance.
How Long Should a Pressure Regulator Last Before Replacement?
A pressure regulator typically lasts 5 to 10 years, but lifespan depends on water quality and usage. Inspect annually, replace when you notice fluctuating pressure or leaks. Consider replacement timing if you observe sticky gauges or inconsistent performance.
Is Higher PSI Always Better for Shower Performance?
No—more psi isn’t always better, because wildly high pressure can ruin fixtures and waste water. You want steady water flow with pressure balance, ensuring comfort and safety while you enjoy predictable performance.
Conclusion
If you’ve followed the quick checks and tested your pressure, you’re close to a breakthrough. But the real test begins when you tune the regulator, clean the aerator, and inspect the pipes where greedier pressure hides. One hidden clog or loose connection can derail your gains. Stay vigilant, document your results, and adjust patiently. The moment you hear steady, strong flow again, you’ll know you cracked the code—until the next pressure dip, that is. Stay prepared; the answer may be closer than you think.