To hang a heavy mirror securely on drywall, start by locating studs with a stud finder and plan mounting points that align with the frame’s weight. If studs aren’t available, use rated drywall anchors or toggle bolts designed for heavy loads, and predrill oversized holes to prevent drywall damage. Distribute the weight with multiple fasteners, level the mirror, and tighten gradually. Keep an eye on the hardware over time—you’ll find practical steps you can apply as you proceed.
Do You Need Studs or Strong Anchors for Your Mirror?
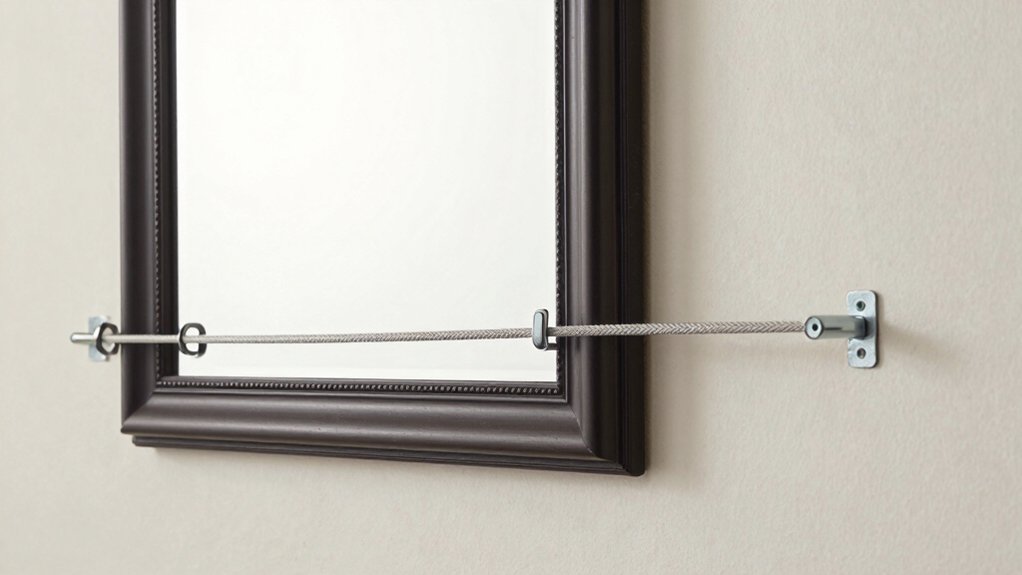
Yes, you need solid support for a heavy mirror or picture. To determine anchoring, you’ll verify wall structure first, not guess.
Use a stud finder to locate vertical studs behind the drywall, then confirm with a light tap; solid studs produce a sharp, hollow sound elsewhere. If you locate multiple studs, plan a mounting plate that spans at least two.
When no studs align with your desired location, opt for heavy-duty anchors rated for drywall repair and weight, and follow manufacturer specs precisely. Avoid relying on single screws into hollow drywall.
Always predrill pilot holes, keep screws away from wiring, and level your fixture before final tightening. Proper placement minimizes pressure on joints and prevents failure.
Match Hardware to Mirror Weight: Light, Medium, or Heavy
To choose the right hardware, start by grouping your mirror or frame into light, medium, or heavy. This is a weight classification that guides hardware selection.
Light loads often require basic screws or small picture hooks with minimal anchors.
For medium weights, upgrade to wall anchors rated for drywall and larger screws, ensuring the fasteners penetrate enough core material.
Heavy mirrors demand purpose-built hardware: rated cleats, reinforced anchors, or toggle bolts paired with sturdy mounting plates.
Always verify each component’s load rating and compatibility with your drywall and stud presence.
Remember that security and load transfer depend on the weakest link, so don’t mix mismatched parts.
In every case, use hardware selection aligned to weight classification, and follow manufacturer guidelines for installation torque and withdrawal limits.
Plan Your Wall Layout: Safe Mount Points and Height
Plan your wall layout by identifying safe mount points and choosing a height that places the mirror or picture at eye level for the intended space.
Before drilling, map where studs run and avoid hollow drywall zones. Mark two or more secure attachment points that align with the frame’s weight distribution, ensuring a balanced load.
Consider the room’s traffic flow and typical viewing distance to refine height planning. Use a level to confirm symmetry and a plumb line for vertical alignment.
Avoid placing heavy hardware near outlets or switches. Confirm the final location accommodates baseboard or molding as needed, maintaining clearance for any hanging hardware.
Document the layout for future adjustments, and verify accessibility for mounting and removal.
This approach is essential for a stable wall layout.
Prepare Tools and Wall Surface Before Mounting
Once you’ve mapped safe mount points, gather the right tools and prepare the wall surface to guarantee a secure mounting. You’ll assemble a stud finder, level, pencil, tape measure, drill, bits suitable for drywall, and a clean rag.
Check the wall for imperfections, and plan for proper wall preparation. Wipe the surface with a damp cloth to remove dust, grease, and chalky residues, then let it dry completely. Lightly sand glossy patches to improve adhesion, if needed. Make certain the area is free of debris that could hinder mounting.
Mark precise screw locations with a level line, confirming they align with the chosen hardware. Inspect for electrical or plumbing hazards before drilling. Maintain clean hands and work area to prevent contaminating the wall.
Install Anchors and Fasteners Correctly for Drywall
When mounting on drywall, choose anchors that match the weight of your mirror or picture and install them at the marked screw locations.
Start by locating a stud for added security, using a stud finder to confirm wall structure and to decide if you’ll use a stud-based mount or drywall anchors.
For heavy loads, aim for toggles or sleeve anchors rated for the weight, and always pair them with screws appropriate to the anchor type.
Verify wall compatibility with your chosen hardware, ensuring access to the back of the wall and avoiding electrical or plumbing hazards.
Pre-drill pilot holes as required by the anchor manufacturer, insert anchors fully, tighten snugly, and then align the mounting plate with the screw holes for a solid, level hold.
Hang the Mirror and Level It Precisely
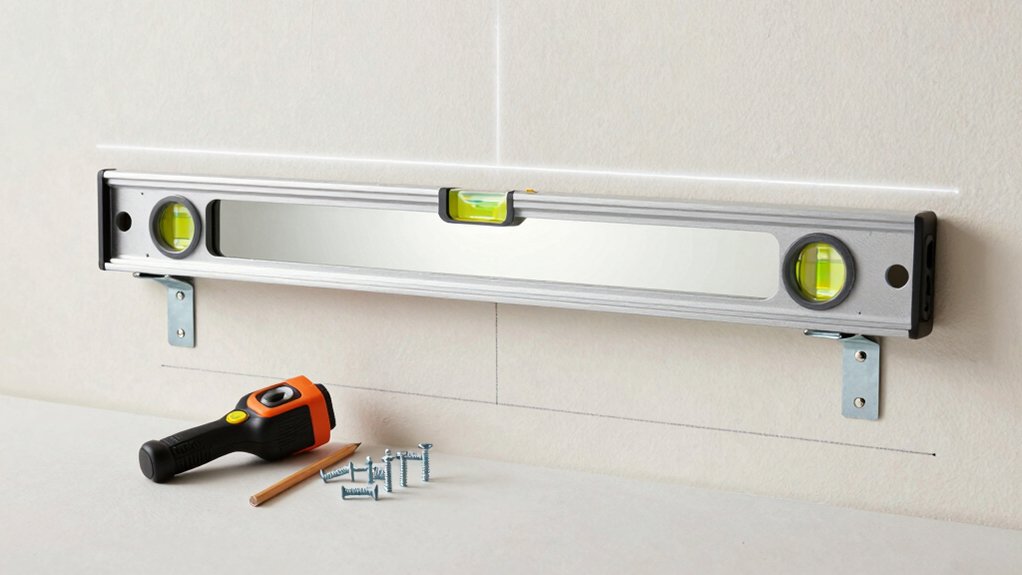
To hang the mirror and guarantee a precise, level result, start by positioning the mounting hardware on the wall exactly where you marked them, then attach the mirror or frame to those points using the approved screws and fasteners.
With the hardware in place, verify wall leveling with a spirit level, adjusting each point slightly before final tightening. Tighten evenly to prevent tilt, and test the hang by gently nudging the frame to confirm stability.
Double-check that the top edge aligns with your mark and remains perpendicular to the floor. If a secondary support exists, align it parallel to the primary line for balanced weight distribution.
Maintain consistent screw torque and keep hanging hardware clean and secure for enduring wall support and precise alignment.
Use Multiple Points to Distribute Weight When Needed
Distribute the load across multiple mounting points when a single hanger or bracket can’t safely bear the weight. When you can’t rely on one fastener, spread the load with two or more anchors aligned to studs or solid backing.
Use a stud finder to locate vertical supports, then place each hanger or bracket into a stud or into a reinforced area to minimize wall damage. Space points evenly along the frame’s centerline and use locking screws rated for heavy loads.
Don’t mix drywall-only anchors with heavy hardware; combining supports reduces pullout risk. Mark precise pilot holes, predrill straight, and secure each fastener firmly before hanging.
This approach preserves wall integrity while distributing weight, preventing sag and reducing risk of failure.
Protect Walls Long-Term: Sag Prevention and Reweighting Tips
Sag prevention starts with understanding weight distribution and wall prep, so you’ll monitor sag risk and plan reweighting before damage occurs. Use simple checks and fast, solid fixes—think sturdy mounting points, proper hardware, and evenly distributed load to keep walls pristine long-term.
When you reweight, apply controlled adjustments and document changes to maintain alignment and restraint over time.
Sag Prevention Basics
Sagging can damage walls over time, so start with a solid plan to protect them. In sag prevention basics, you assess load and mounting surface before you drill.
Choose wall reinforcement strategies that distribute weight away from drywall alone, such as dedicated studs, toggles, or a concealed mounting board. Verify bracket spacing and weight ratings, then match hardware to the mirror or frame size.
Implement proper anchoring, ensuring anchors engage solid wood or reinforced studs where possible. Consider aesthetic considerations, so hardware choice remains unobtrusive and aligned with the room’s style.
Keep it tight and level during installation, and avoid adding unnecessary screws through fragile drywall. Regularly inspect joints and hardware after seasonal changes to maintain long-term stability.
Reweighting Techniques Tips
When you reweight an established mounting setup, focus on restoring balanced load distribution without stressing drywall. Reweighting techniques should prioritize even force across anchor points, preventing concentrated pressure that promotes sag.
Begin by loosening fasteners just enough to shift weight gradually, then test for level. Move to staggered anchors or add additional points to distribute load across studs or solid backing.
For heavy objects, verify that the hardware and wall system are rated for the combined weight, and replace any fatigued components. Tighten connections incrementally, avoiding overtightening that can strip drywall or shear anchors.
Document changes and recheck after 24 hours of normal use. These tips for heavy objects help maintain long-term wall integrity and preserve mounting accuracy.
Frequently Asked Questions
Can I Hang Without Studs if the Mirror Is Very Light?
Yes, you can, but not without risk. Use a stud finder to locate anchors, then opt for drywall anchors rated for the weight. If light, consider multiple anchors and verify load limits before hanging the mirror.
How Often Should I Recheck the Mirror’s Level After Hanging?
Follow up daily, then weekly during the first month. Recheck the level after any bump or temperature shift. This mirror maintenance habit guarantees wall inspection remains accurate and prevents gradual misalignment from unnoticed settling or vibrations.
Are Adhesive Hooks Ever a Safe Option for Heavy Frames?
Yes, adhesive hooks can be safe only if their adhesive strength and weight capacity match the heavy frame; otherwise, avoid them. Use appropriate hardware instead to guarantee secure mounting and reduce risk of failure.
What Signs Indicate Mounting Failure or Wall Damage?
Like a closing latch, you’ll spot mounting failure by wall cracks and loose fittings. If you see cracking, shifting, or hardware wobble, stop immediately; reassess, tighten or replace supports, and consider professional help to prevent collapse.
Do Corner Braces Improve Long-Term Stability for Large Mirrors?
Corner braces do improve long term stability for large mirrors, especially when paired with proper anchors and central supports. You’ll distribute weight, reduce shear, and minimize wobble, ensuring secure, durable mounting over years. Use them correctly for best results.
Conclusion
To secure a heavy mirror, you’ll rely on strength where it matters: the wall, not just the frame. Juxtapose confidence with caution—your plan is solid, but a small misstep can undo it all. Use proper anchors, distribute weight, and level every point; alignment becomes your safeguard. In the end, durability sits between preparation and restraint: the wall’s stubborn load balanced by precise placement. Do it right, and the reflection lasts as long as your resolve.